Flying Geese

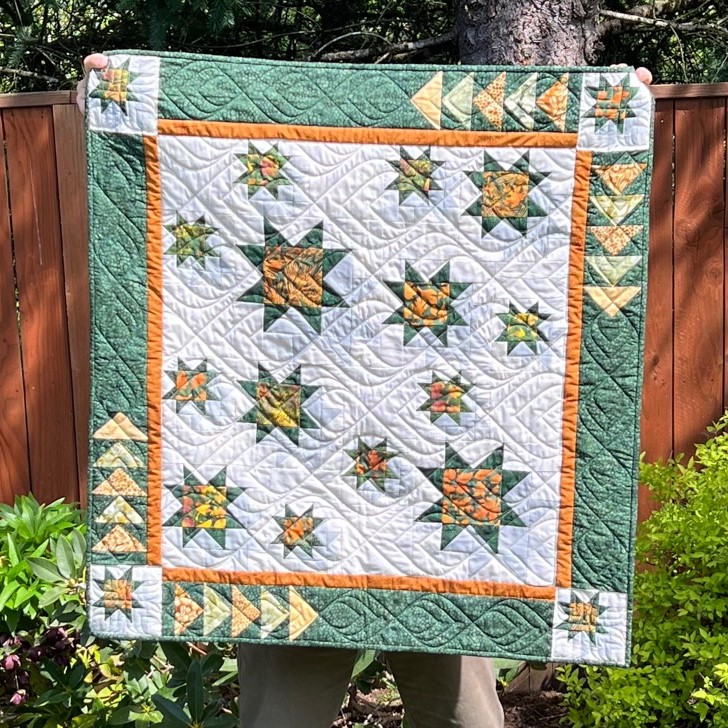
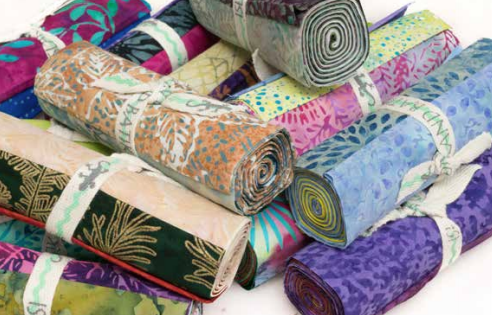
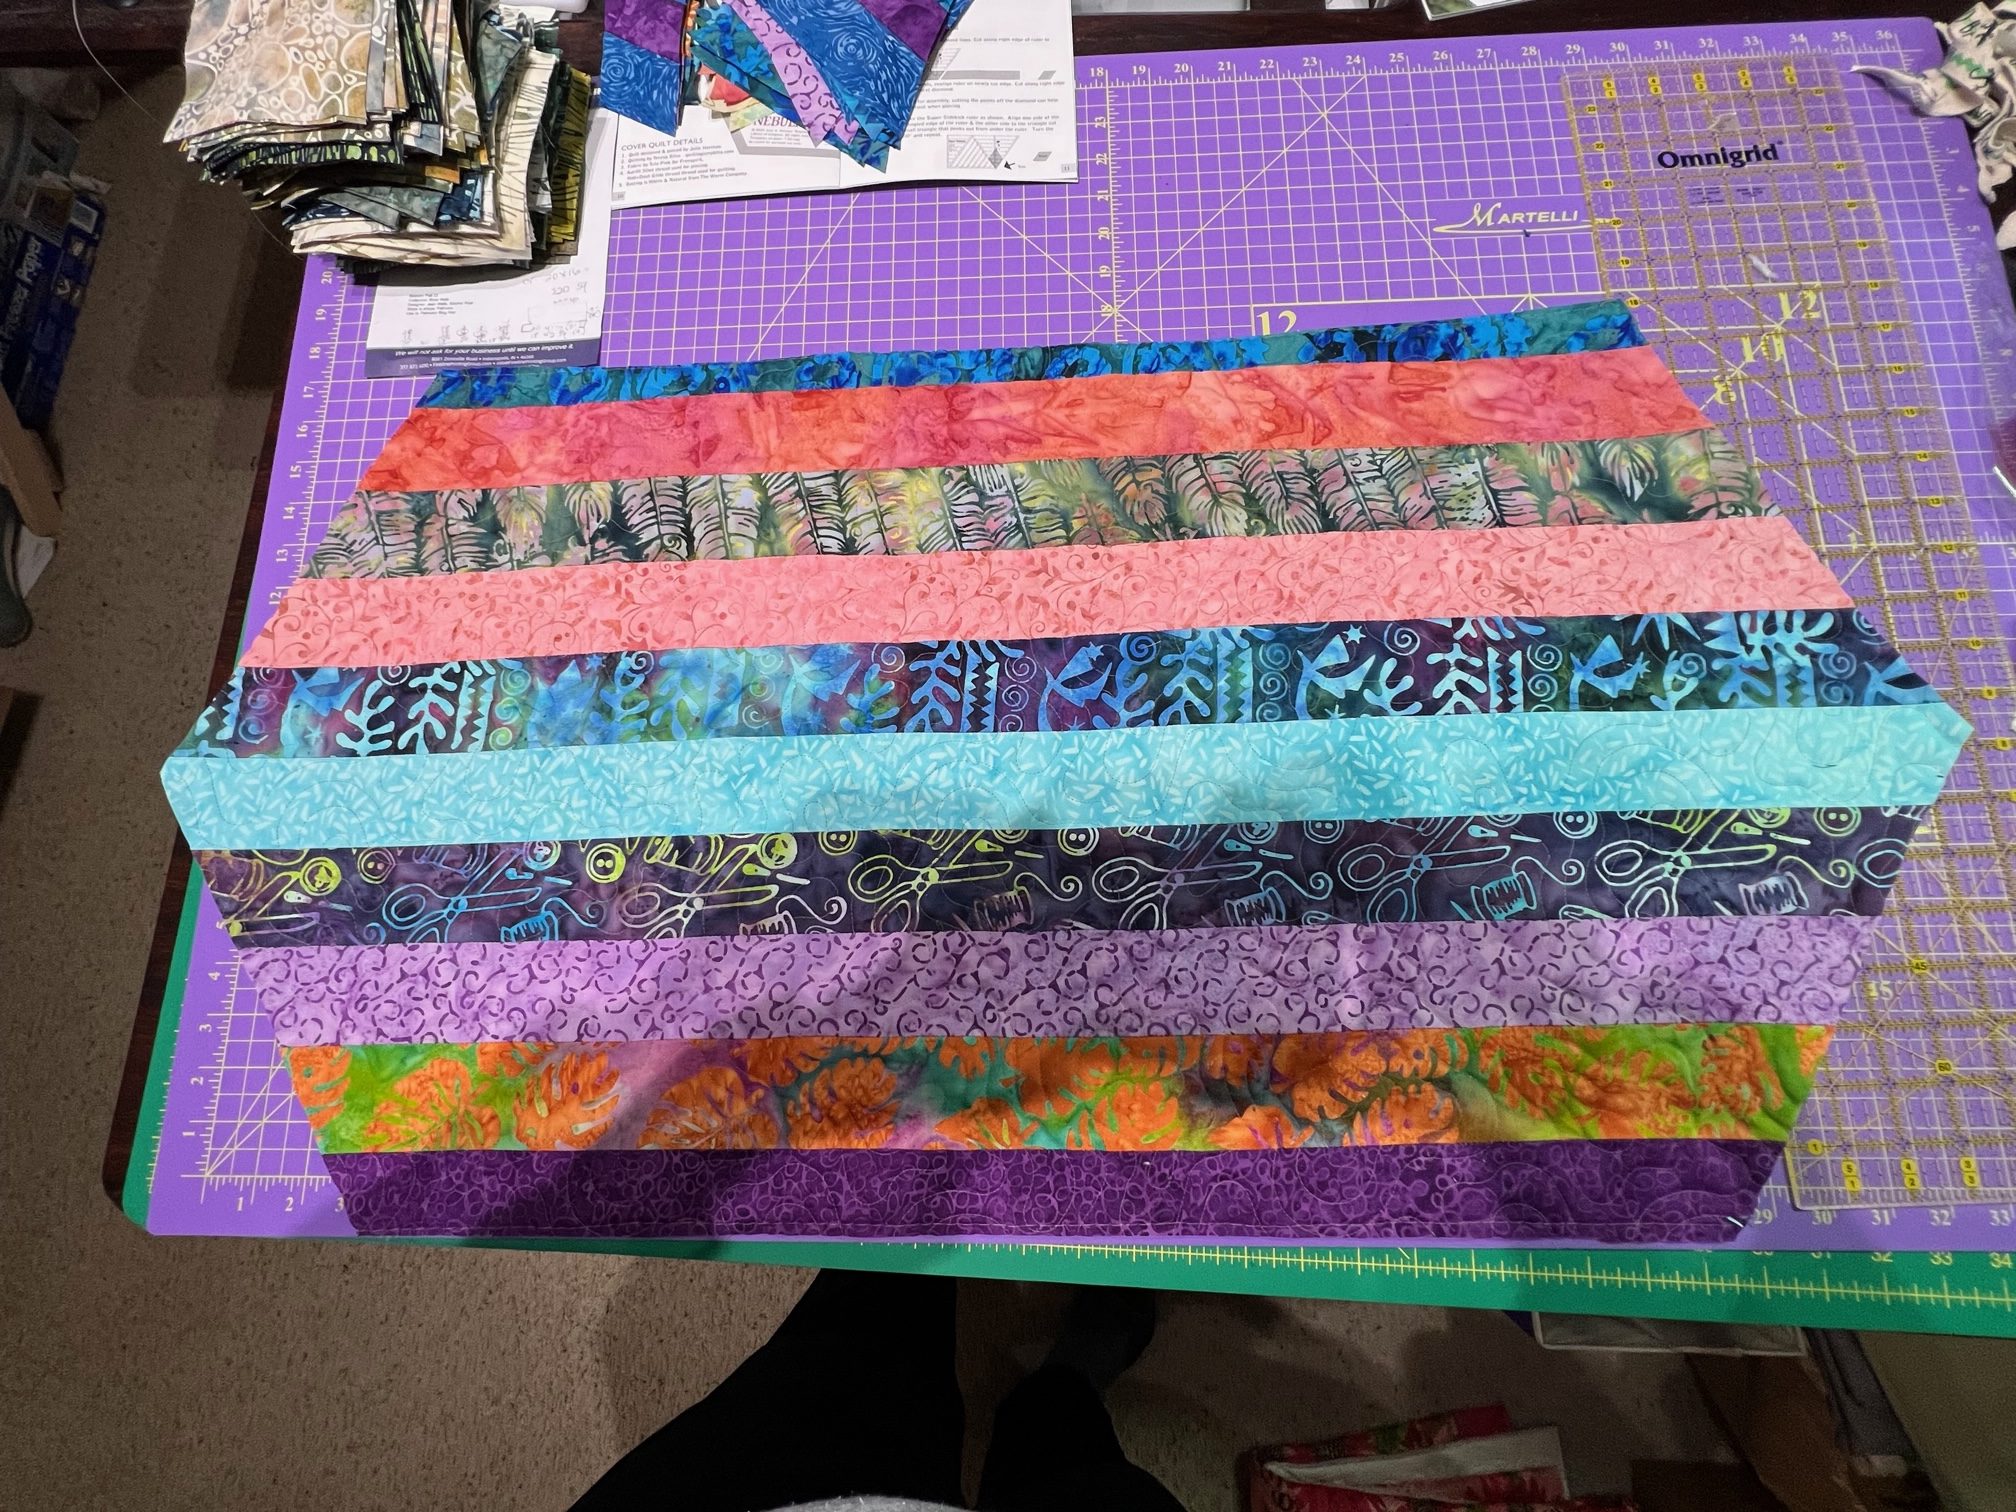
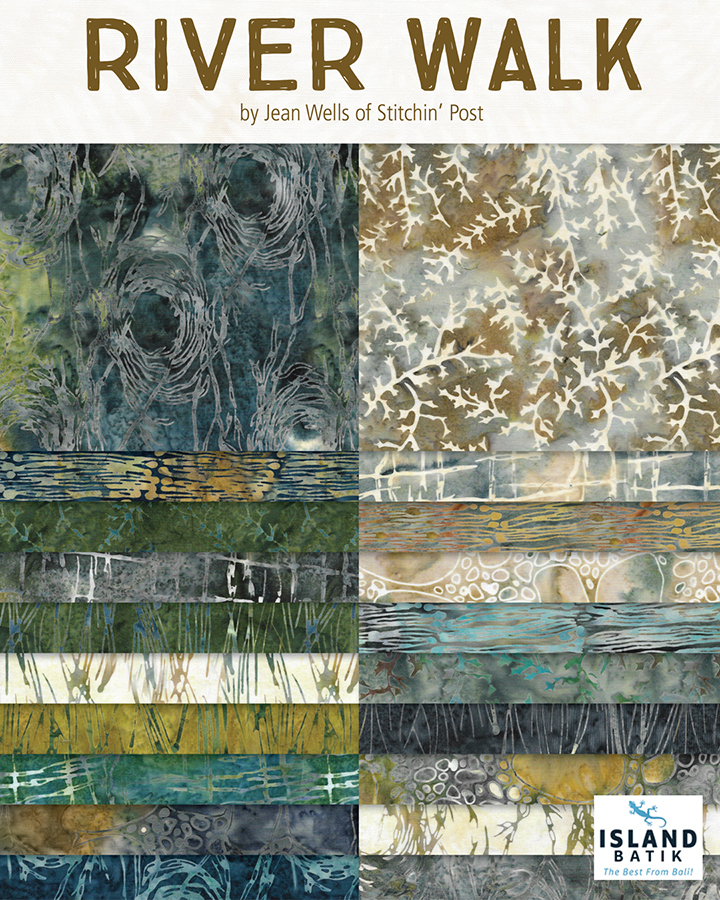
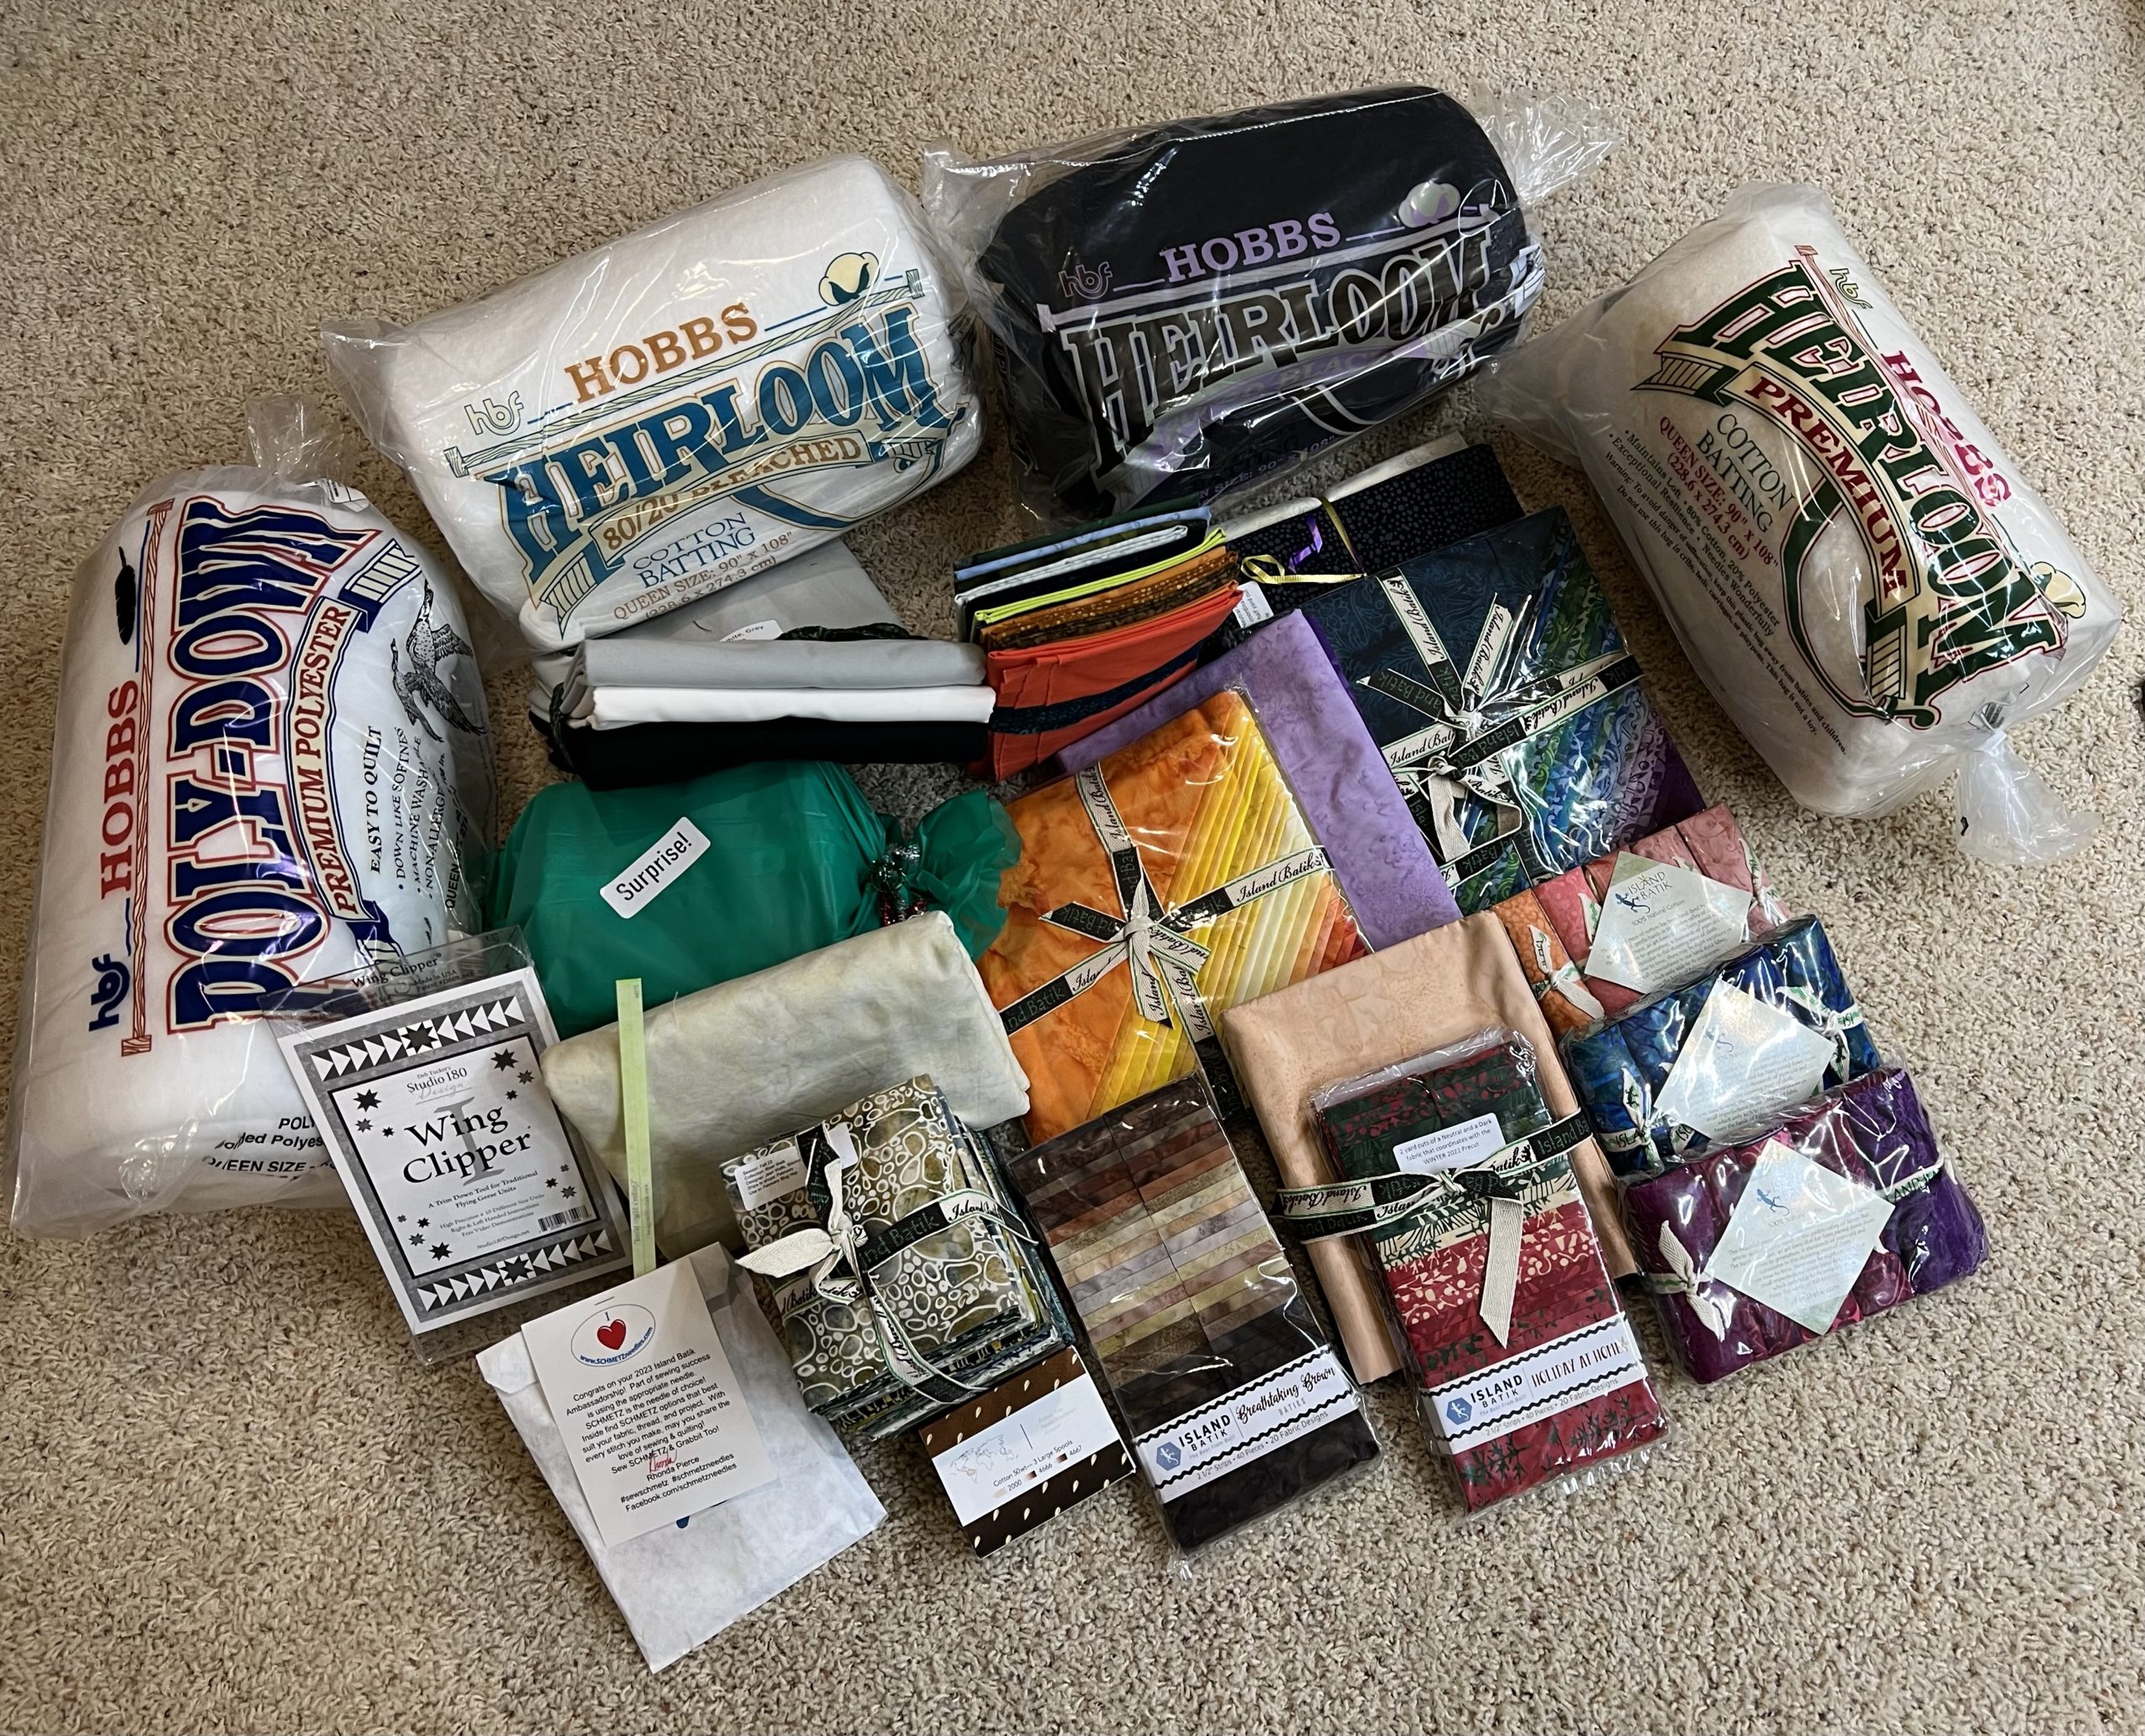
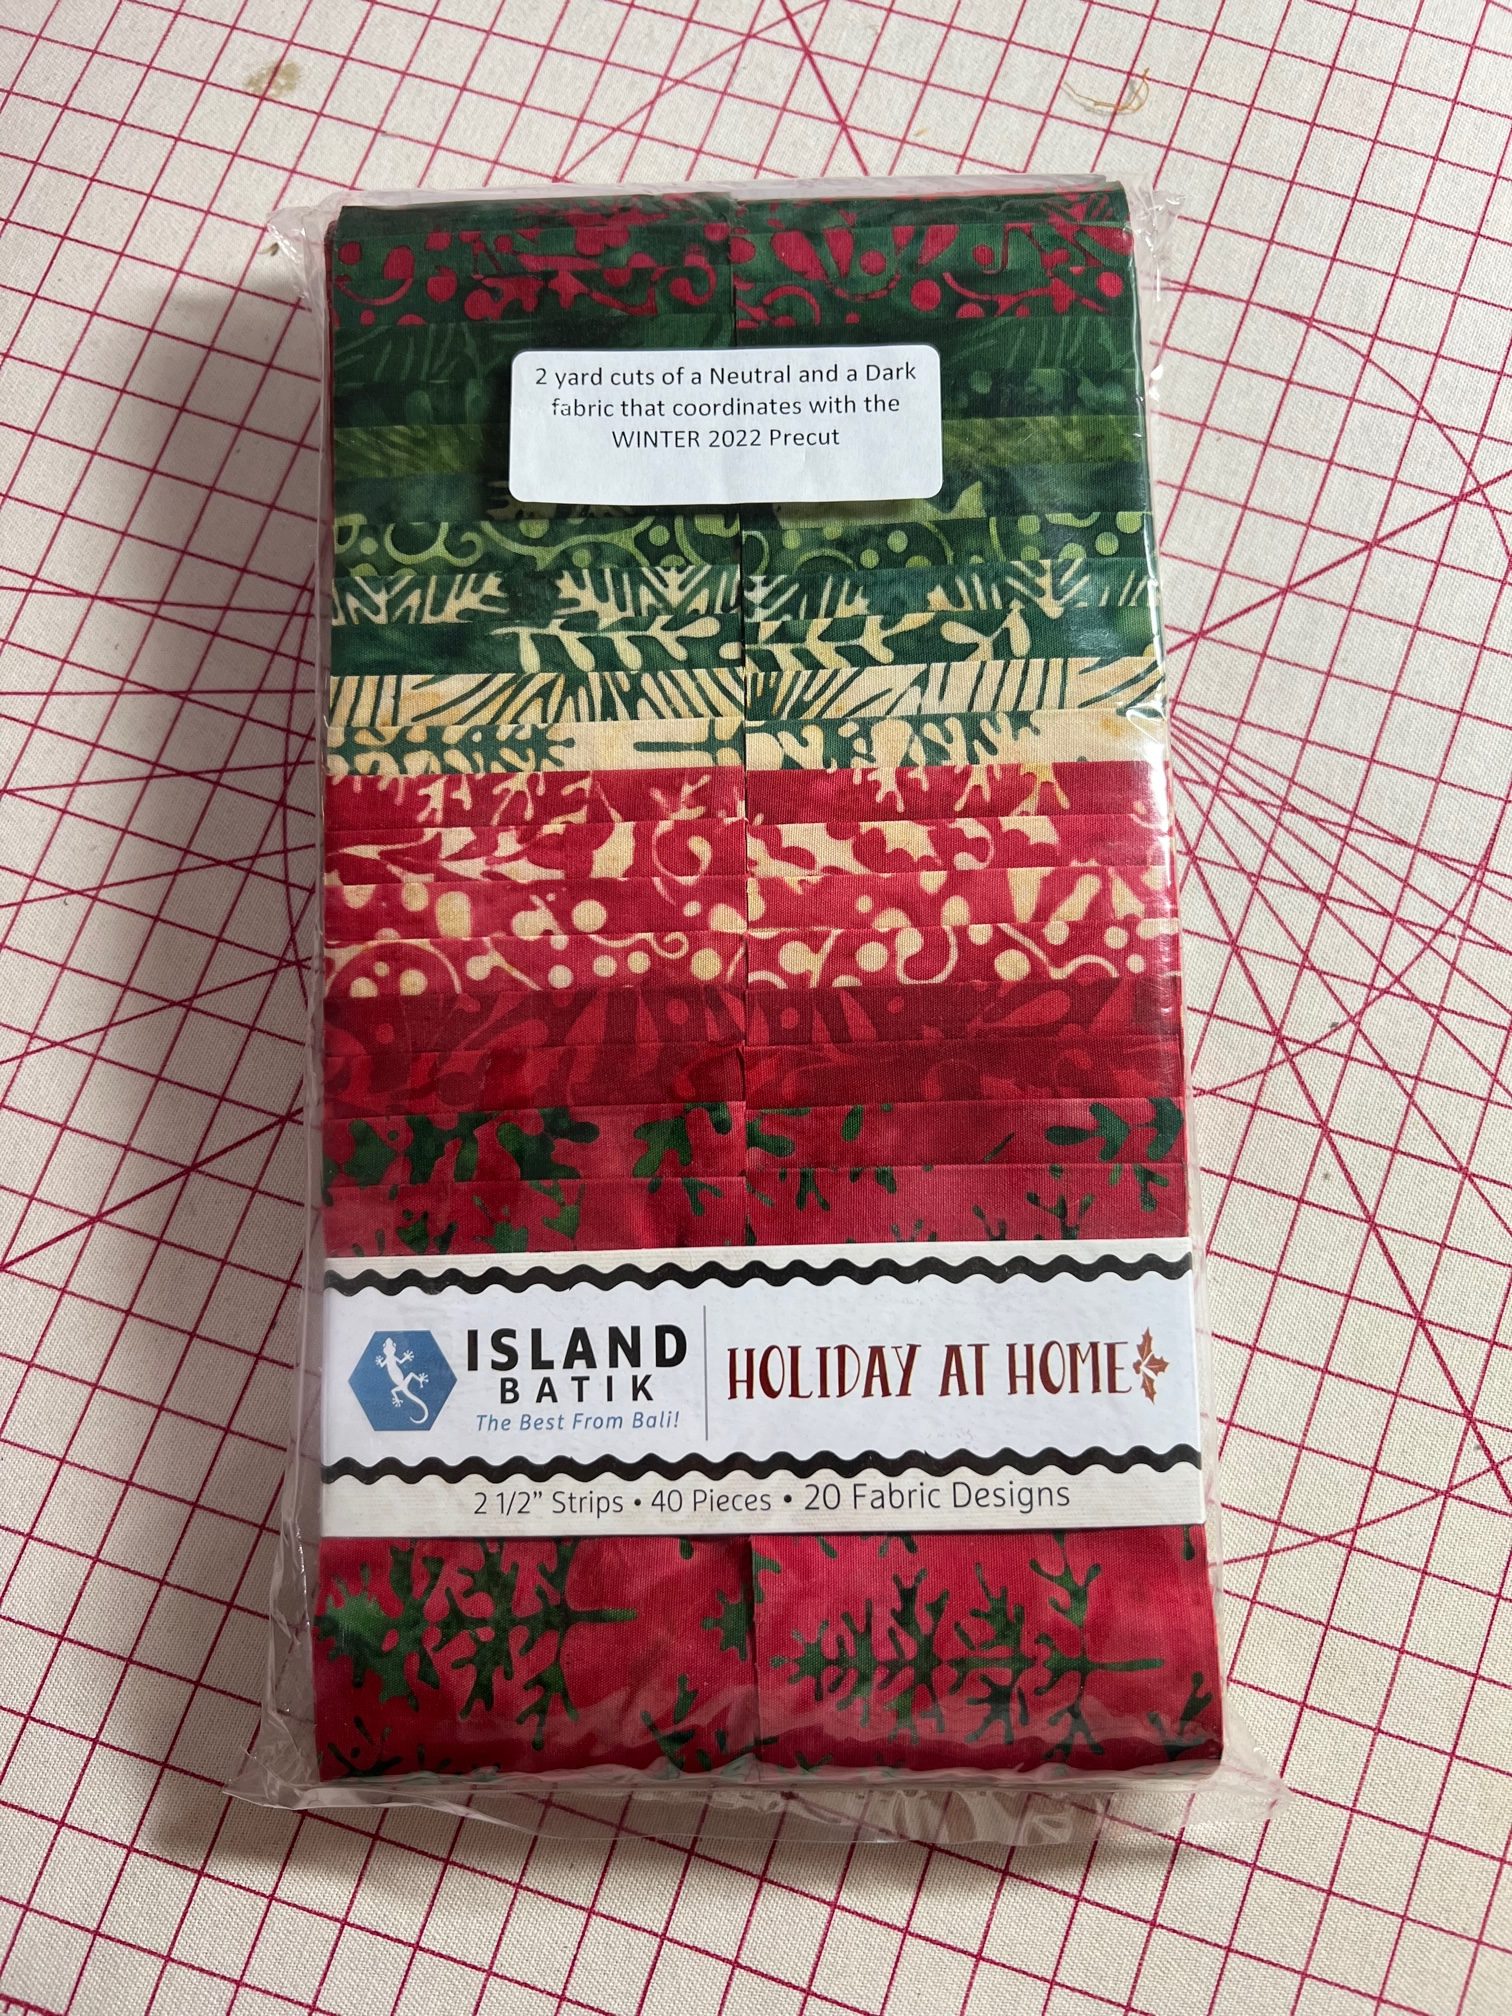
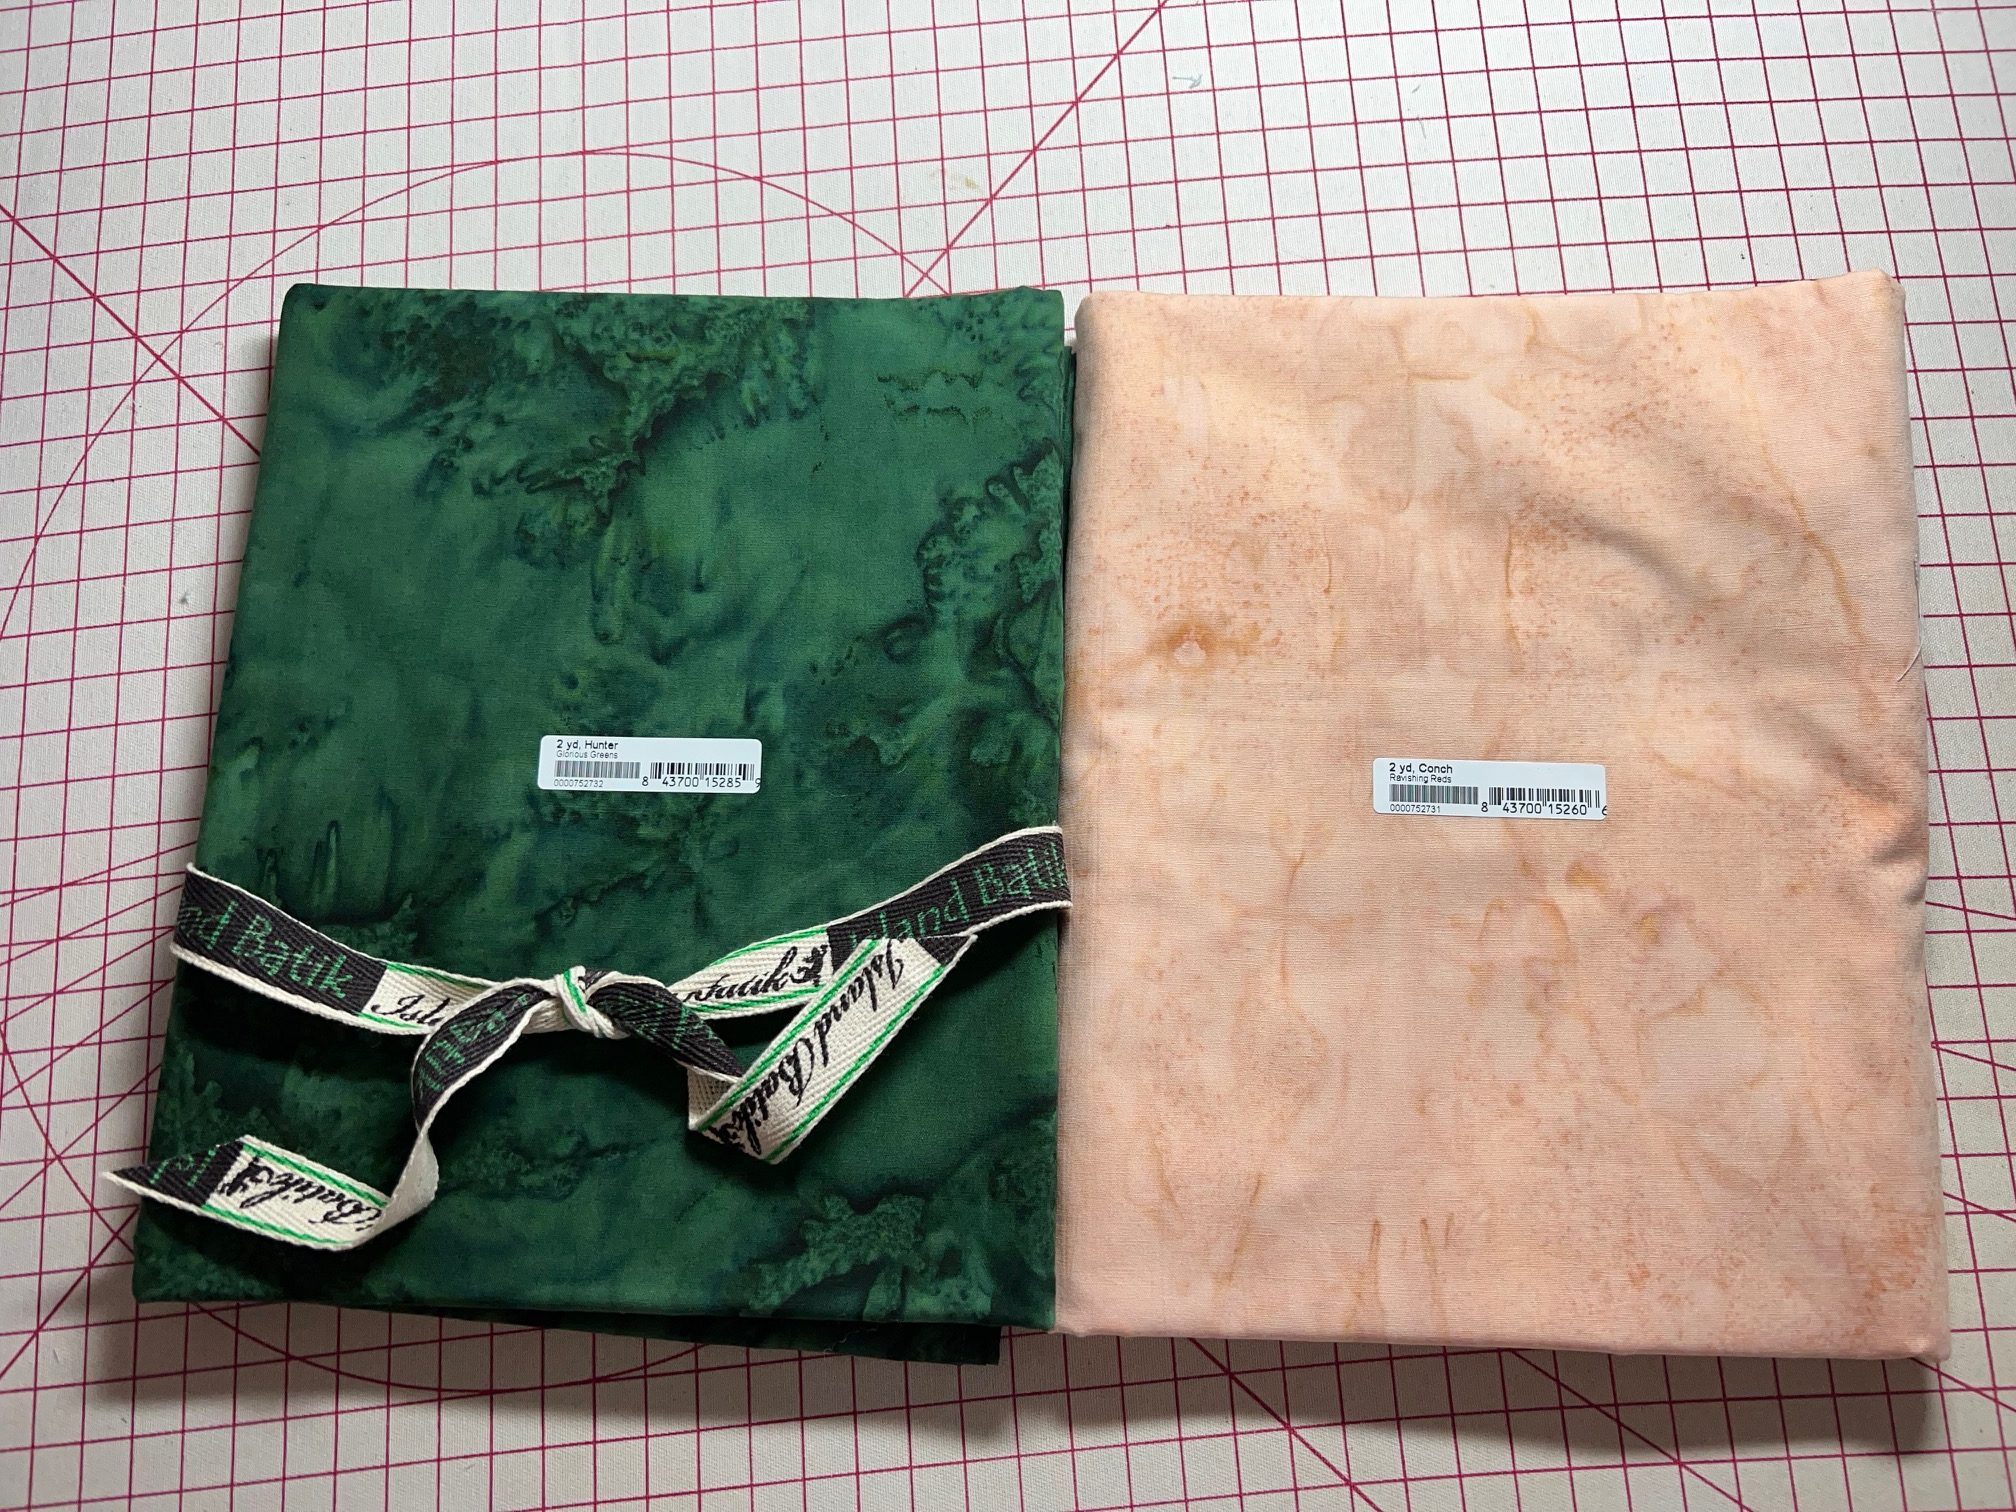
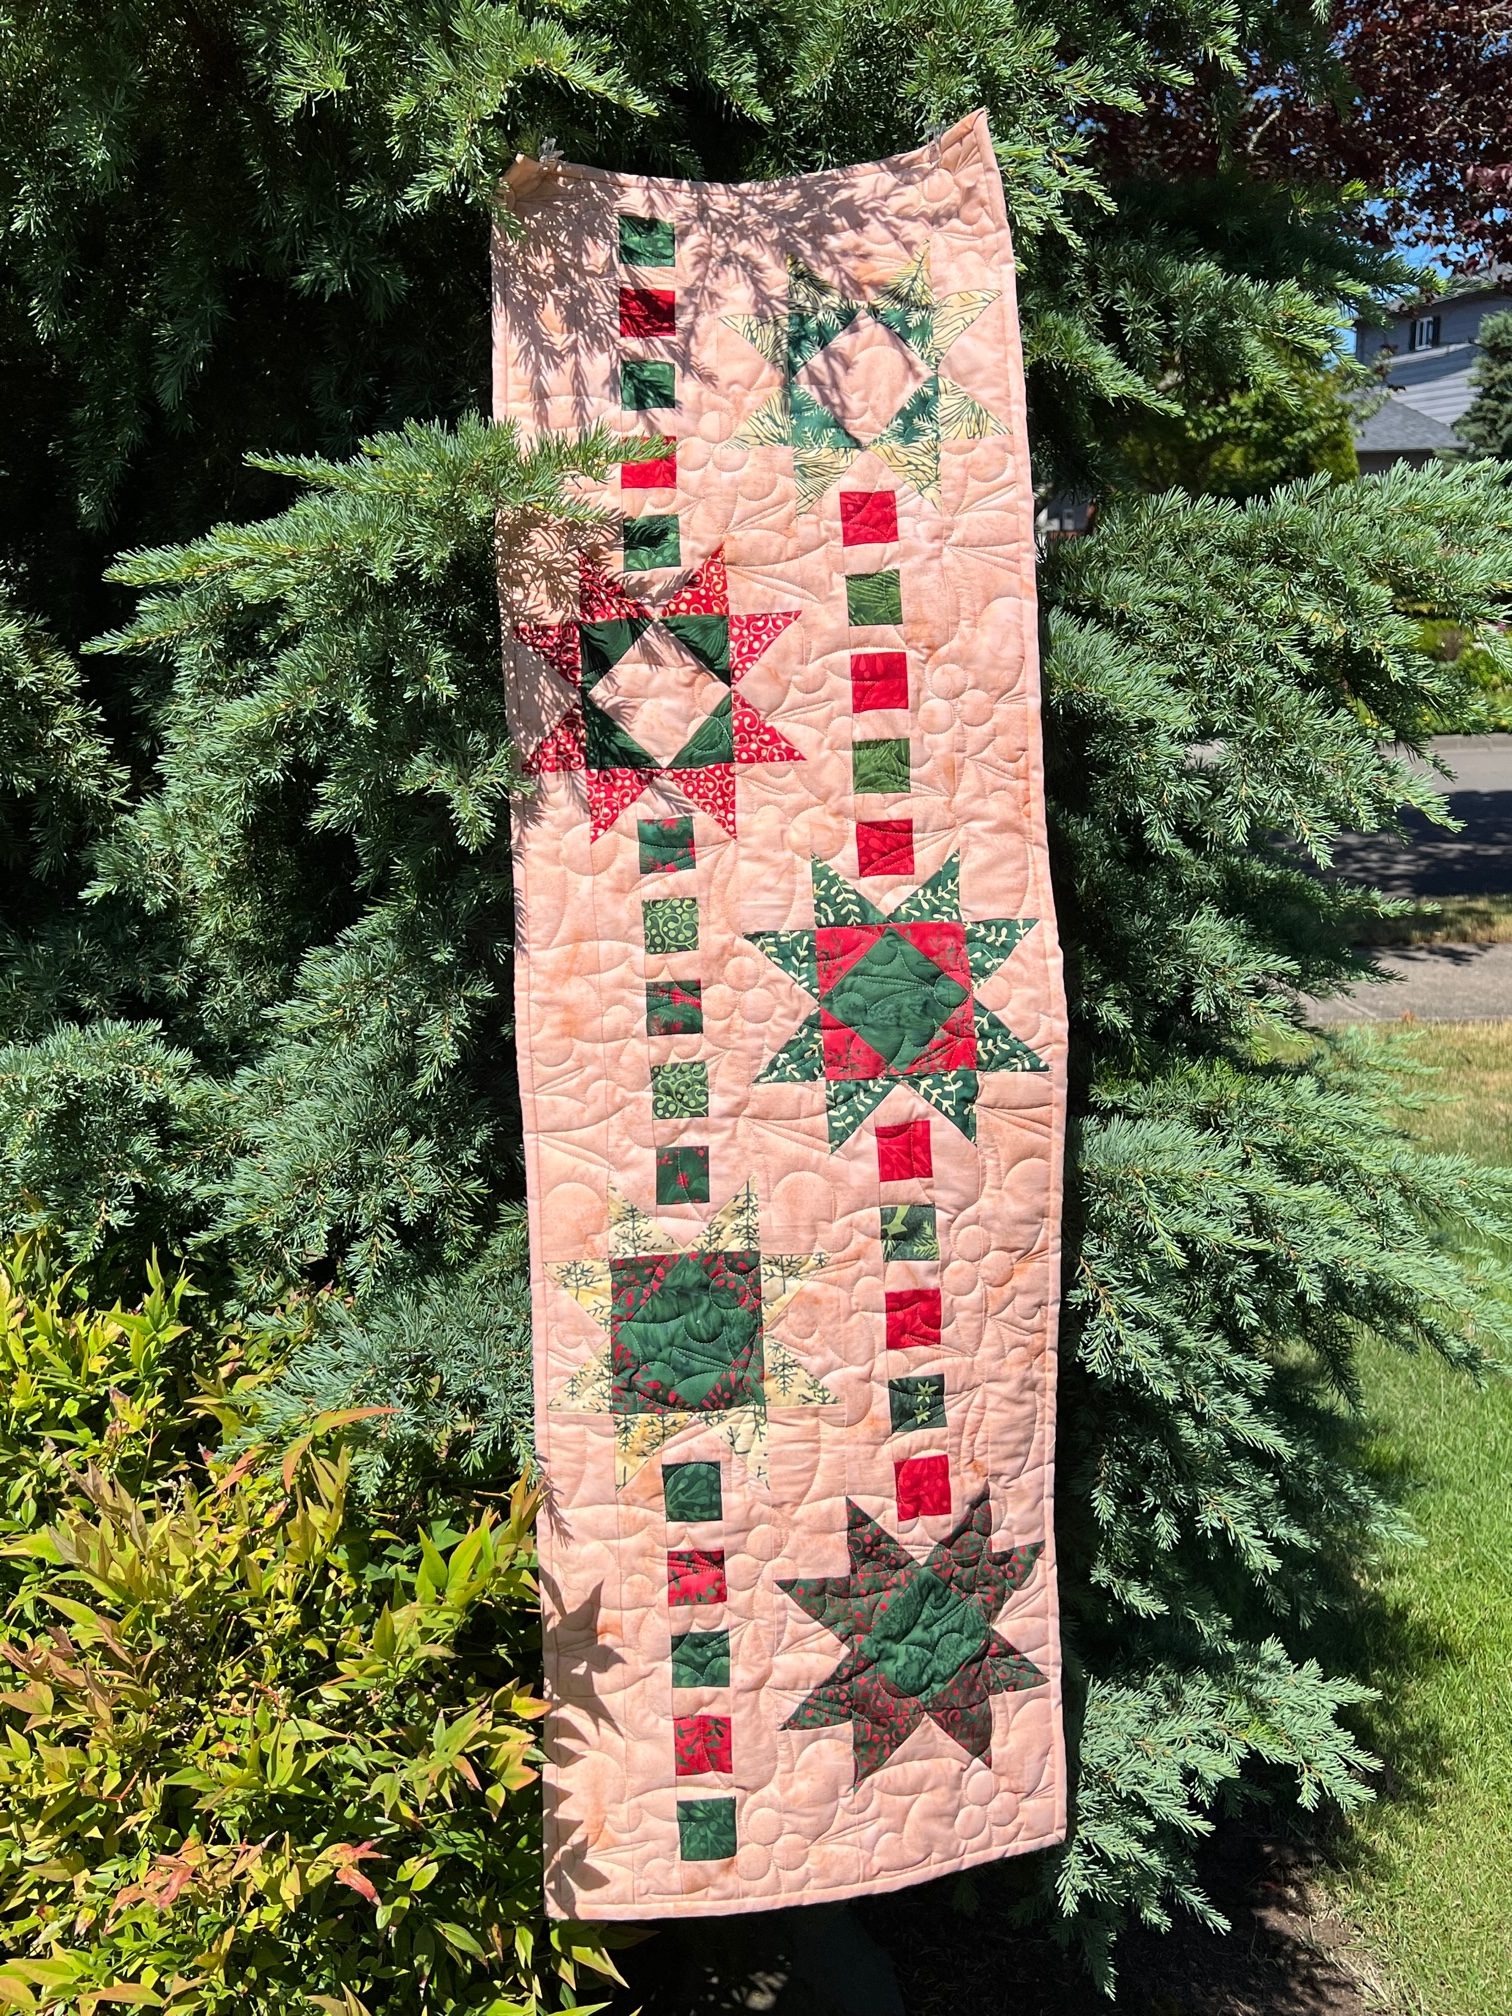
Our challenge this month was to make a quilt or table runner using Flying Geese blocks with the Fall or Winter 2022 bundle we received. I had been looking forward to using the Winter 2022 pre cut bundle I received, Holiday at Home, because I love how the peach (Conch) companion fabric brings out the subdued peach in the background of the fabrics. I was also given the Hunter fabric, but didn’t end up using that fabric for this project.
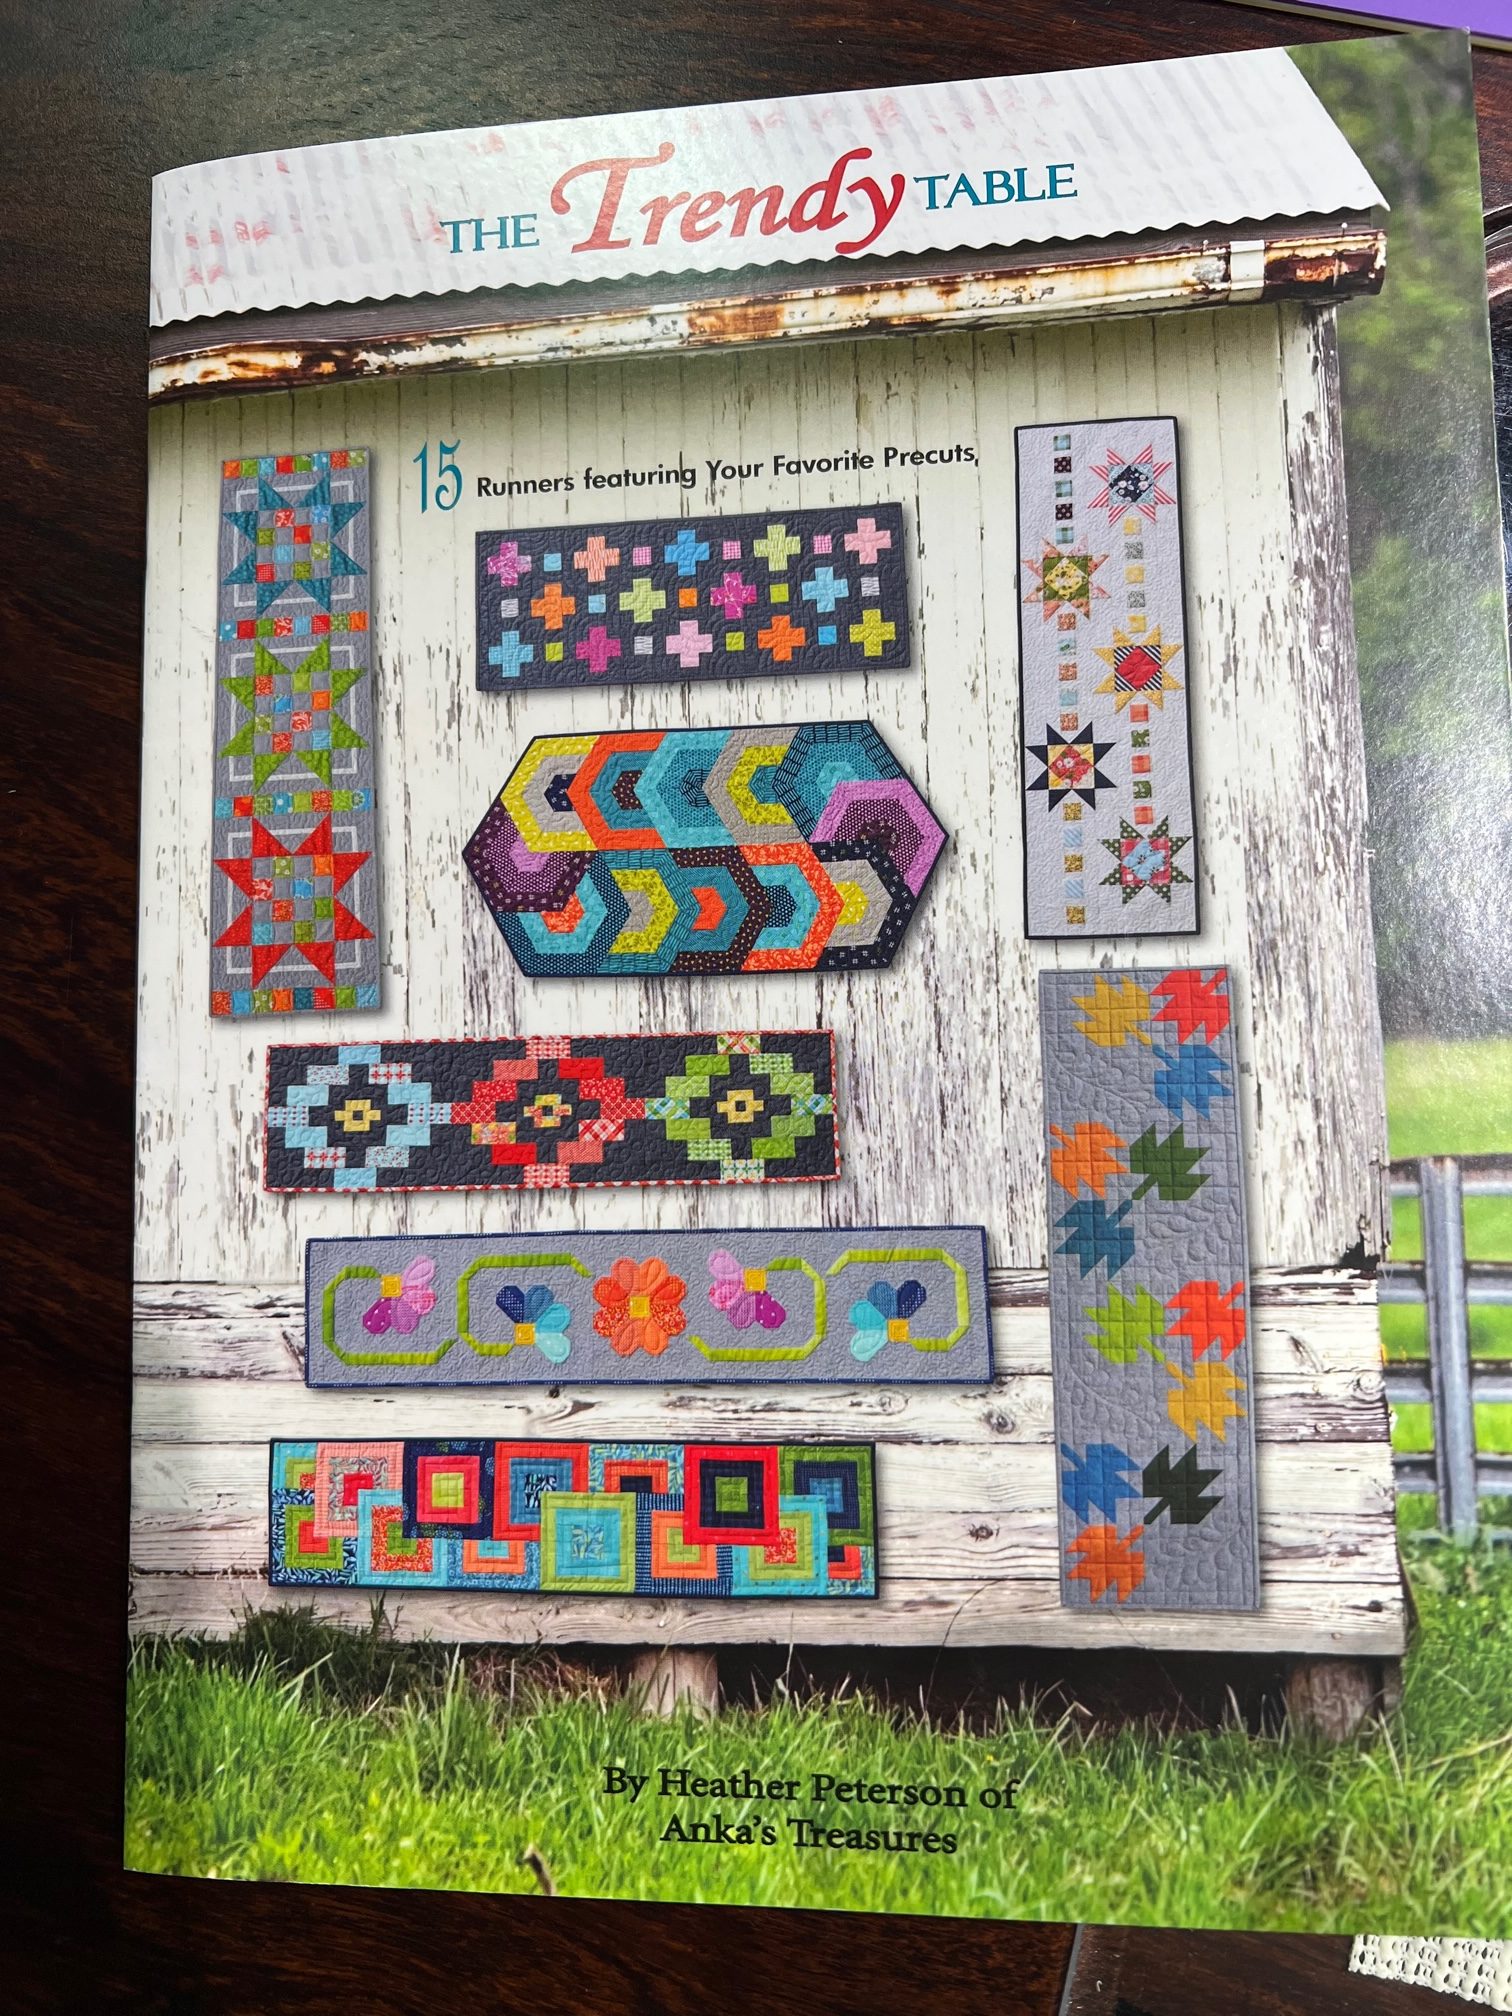
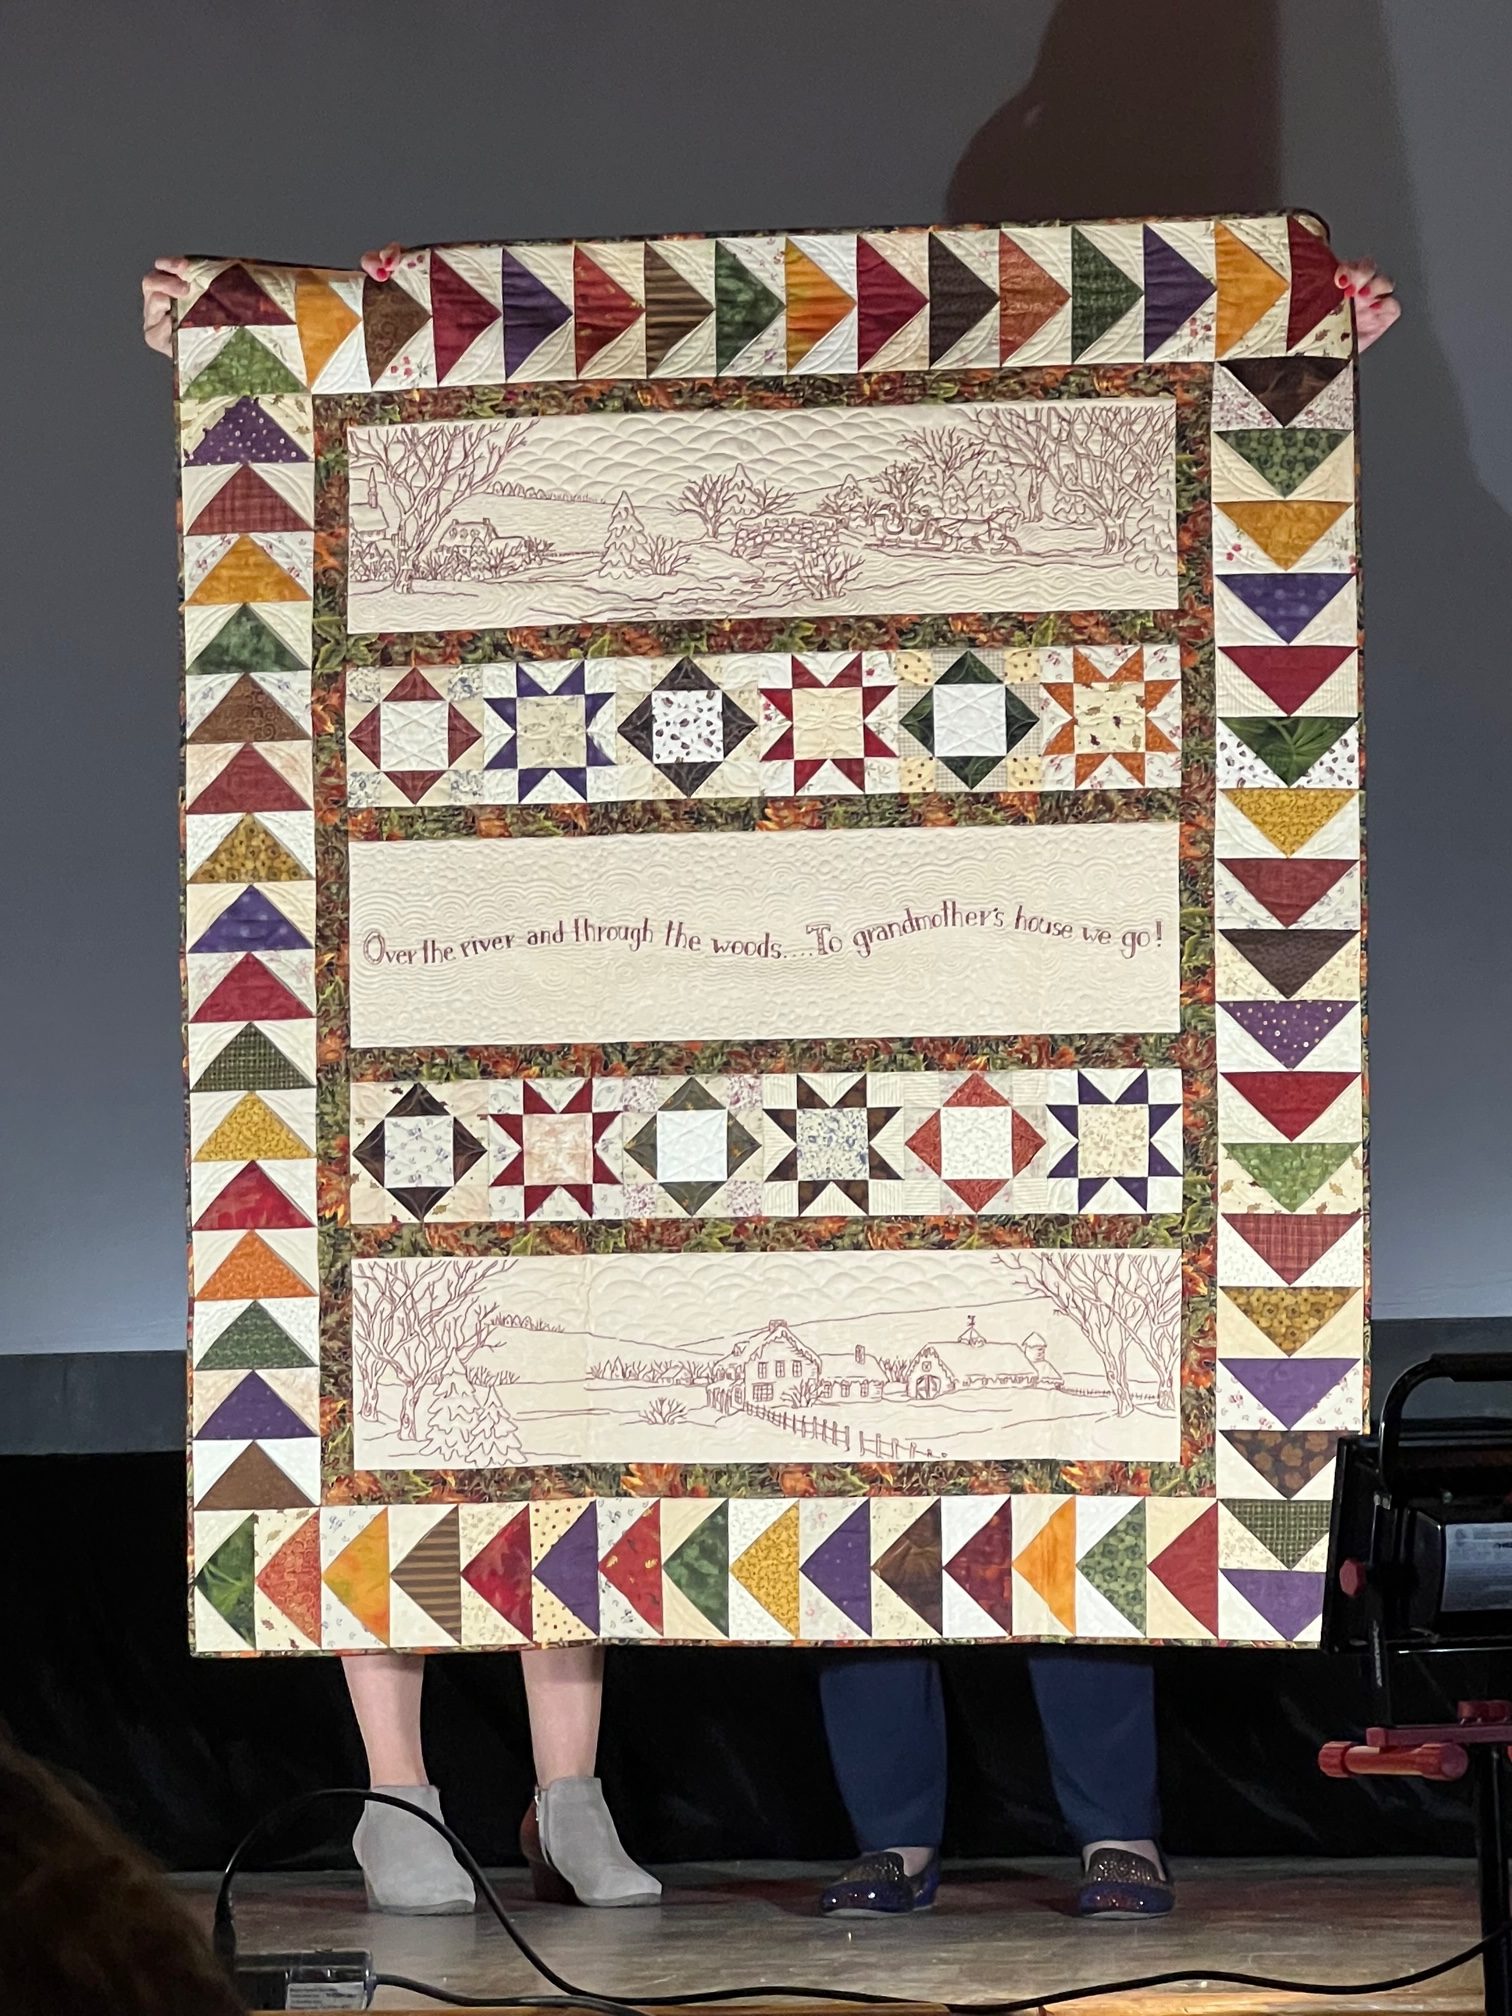
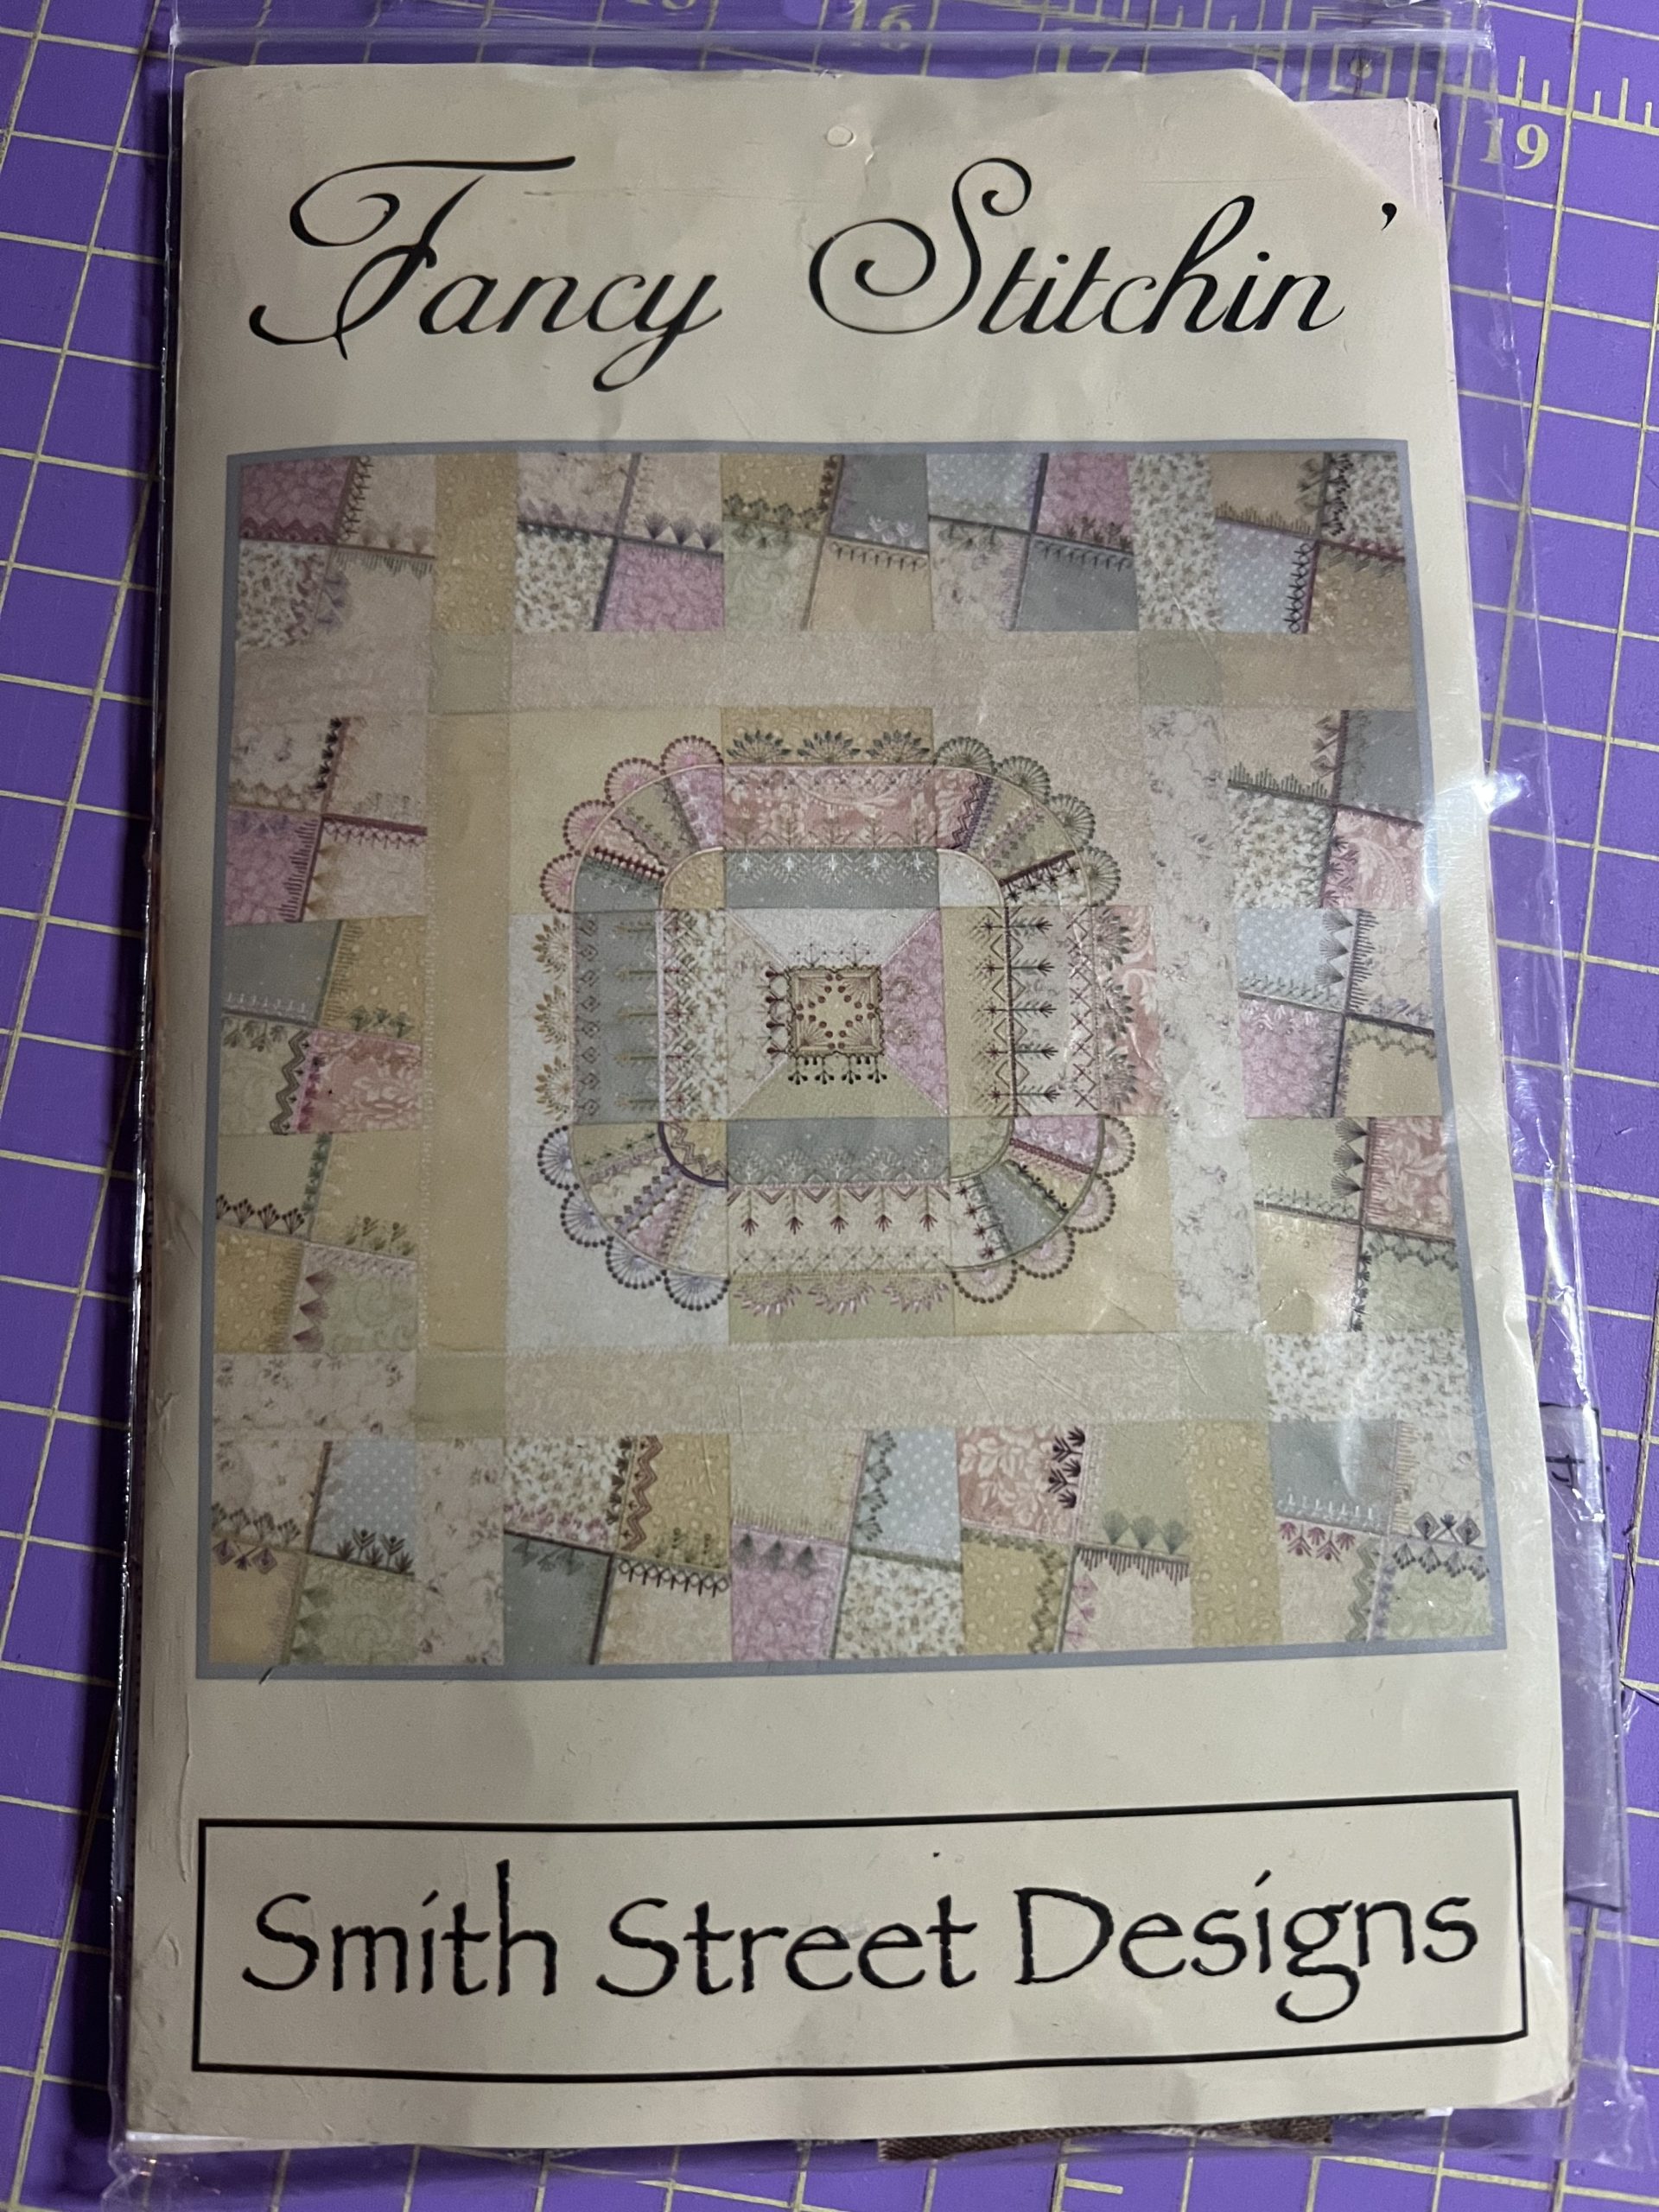
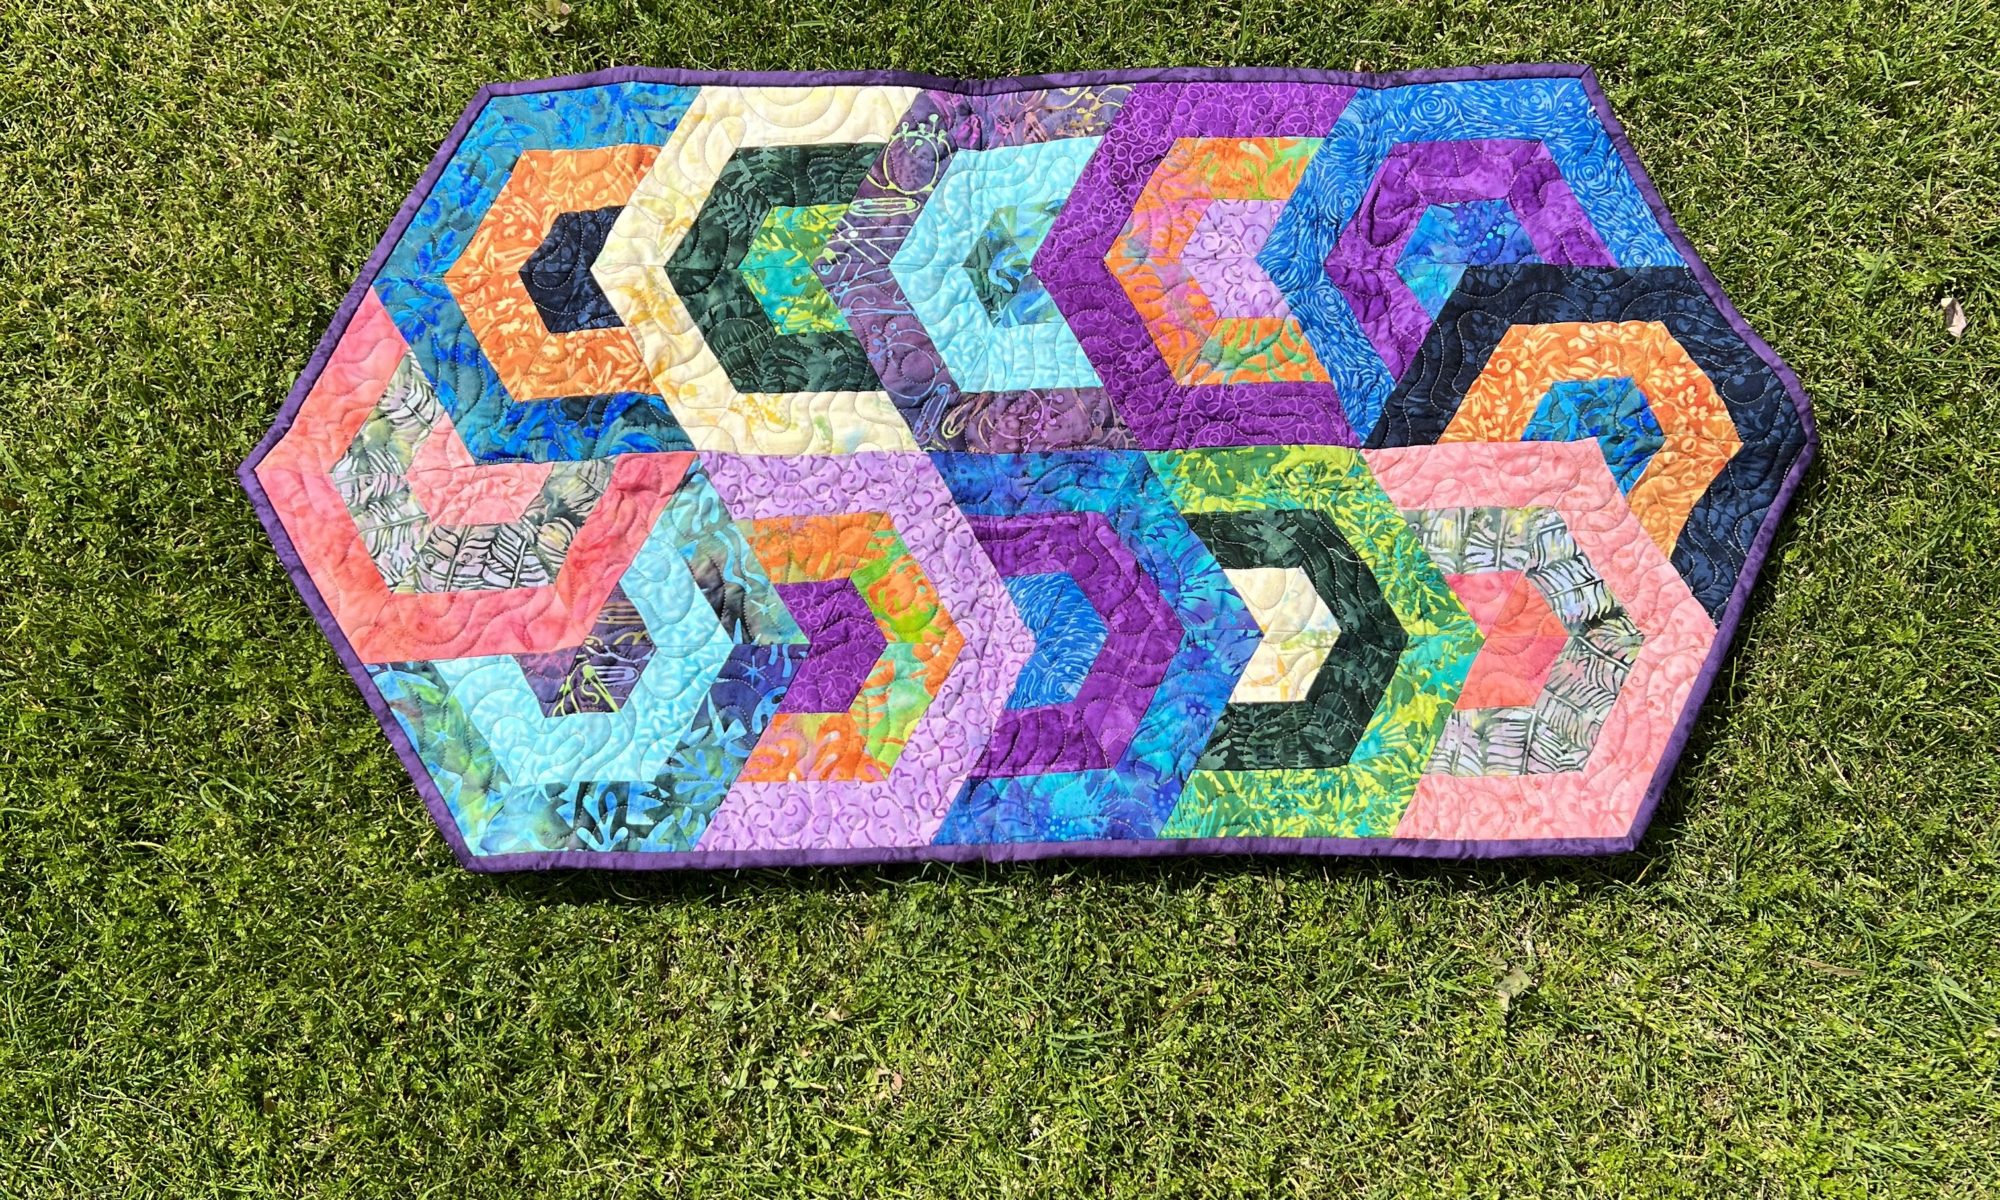
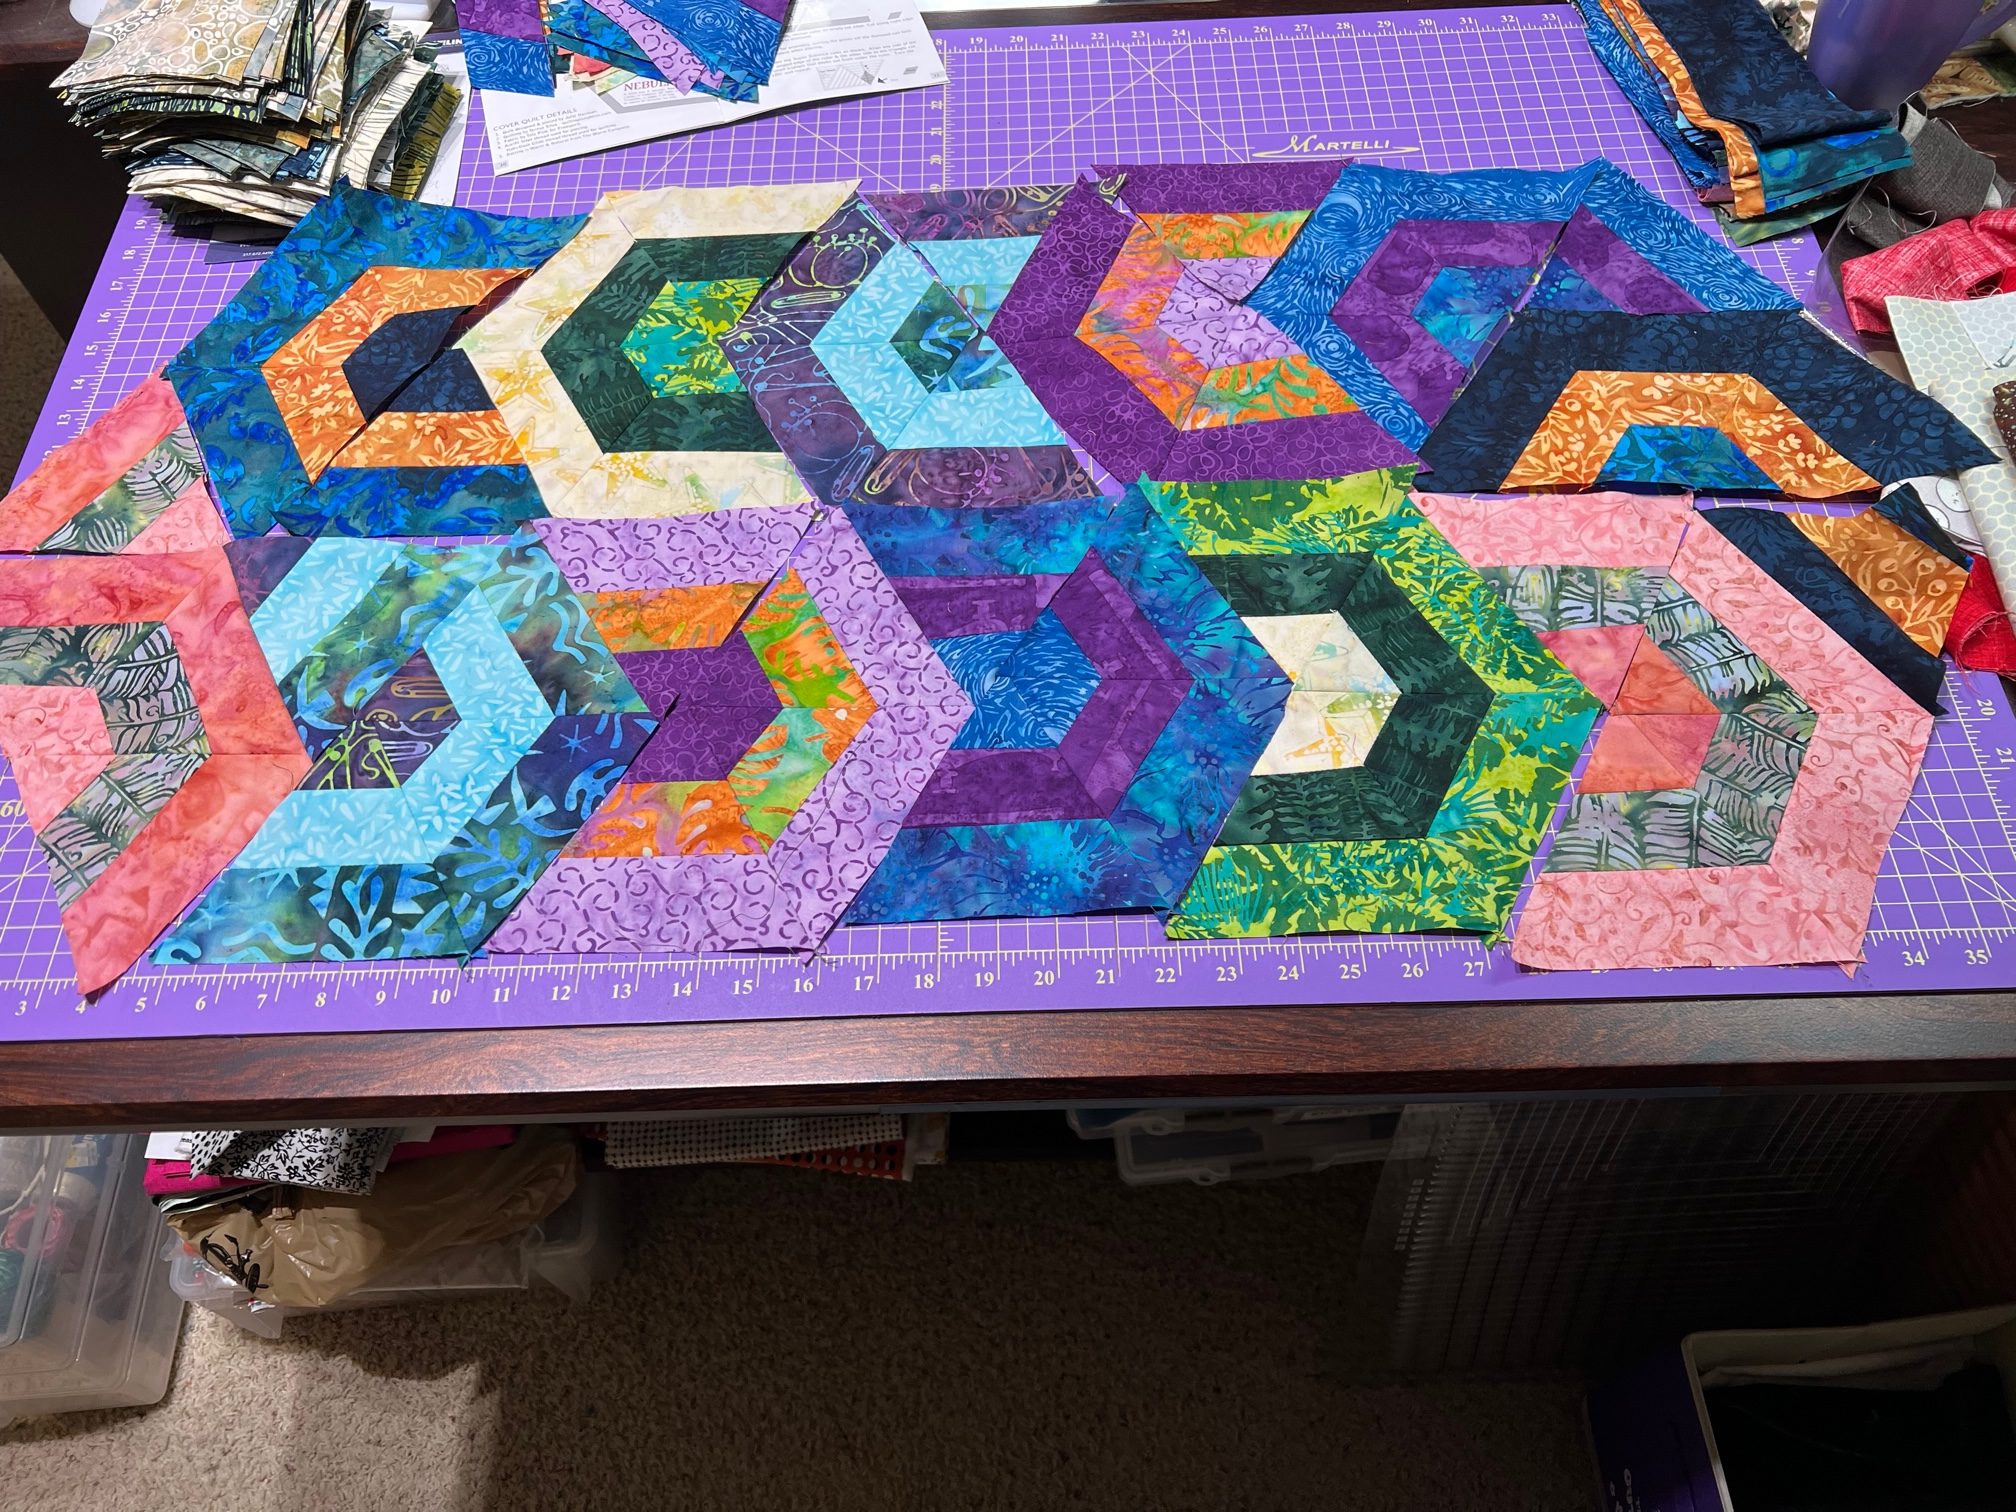
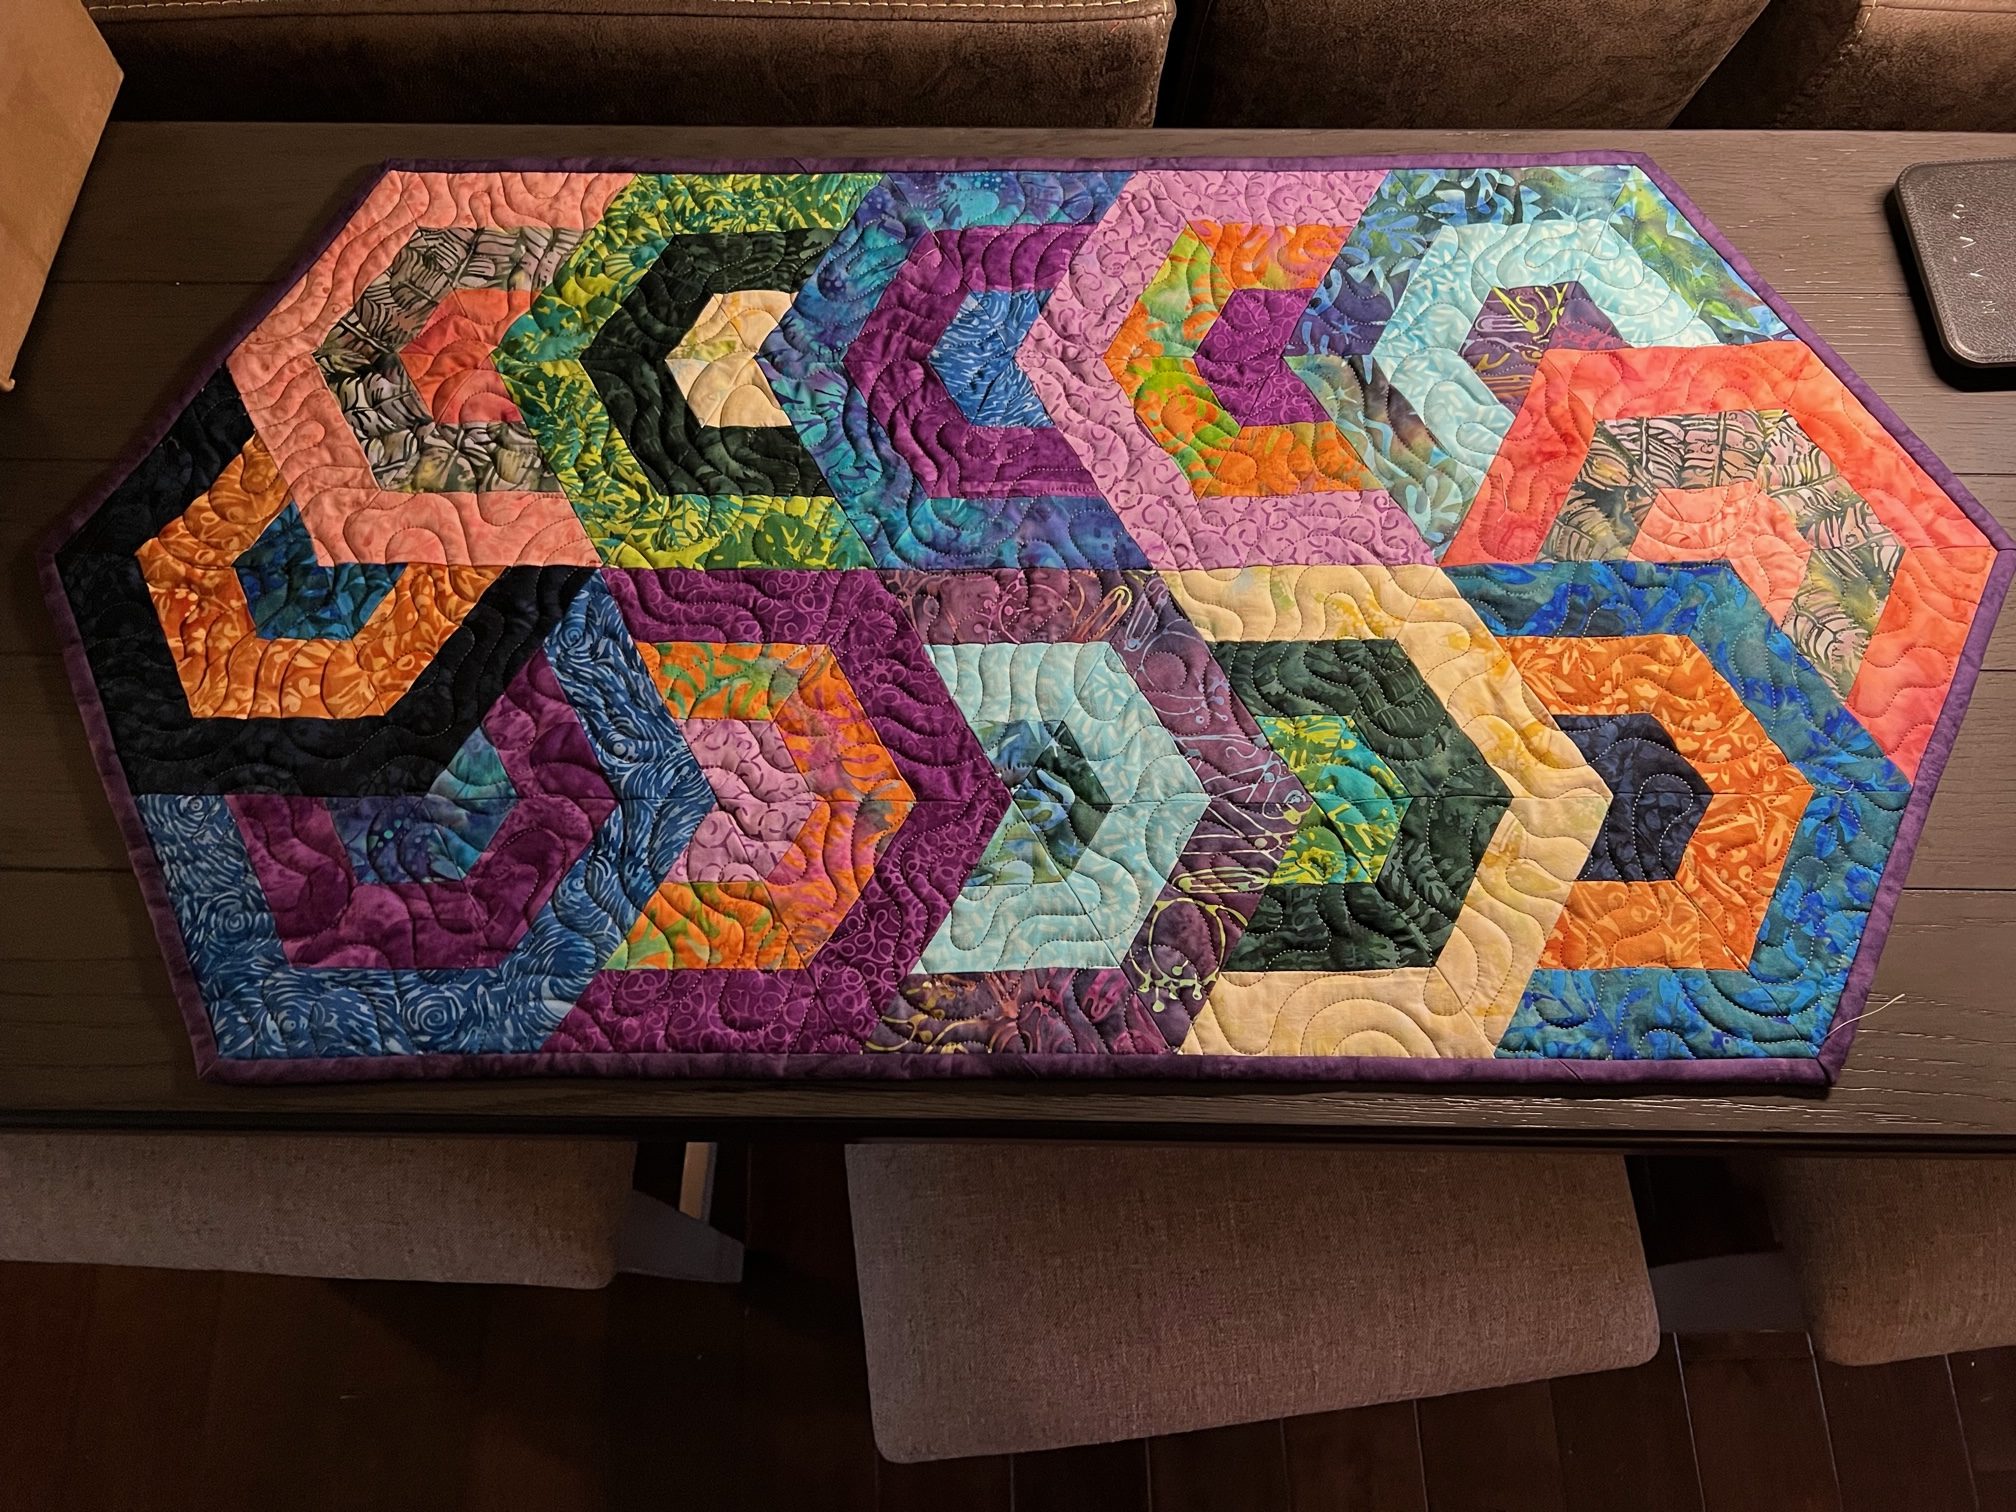
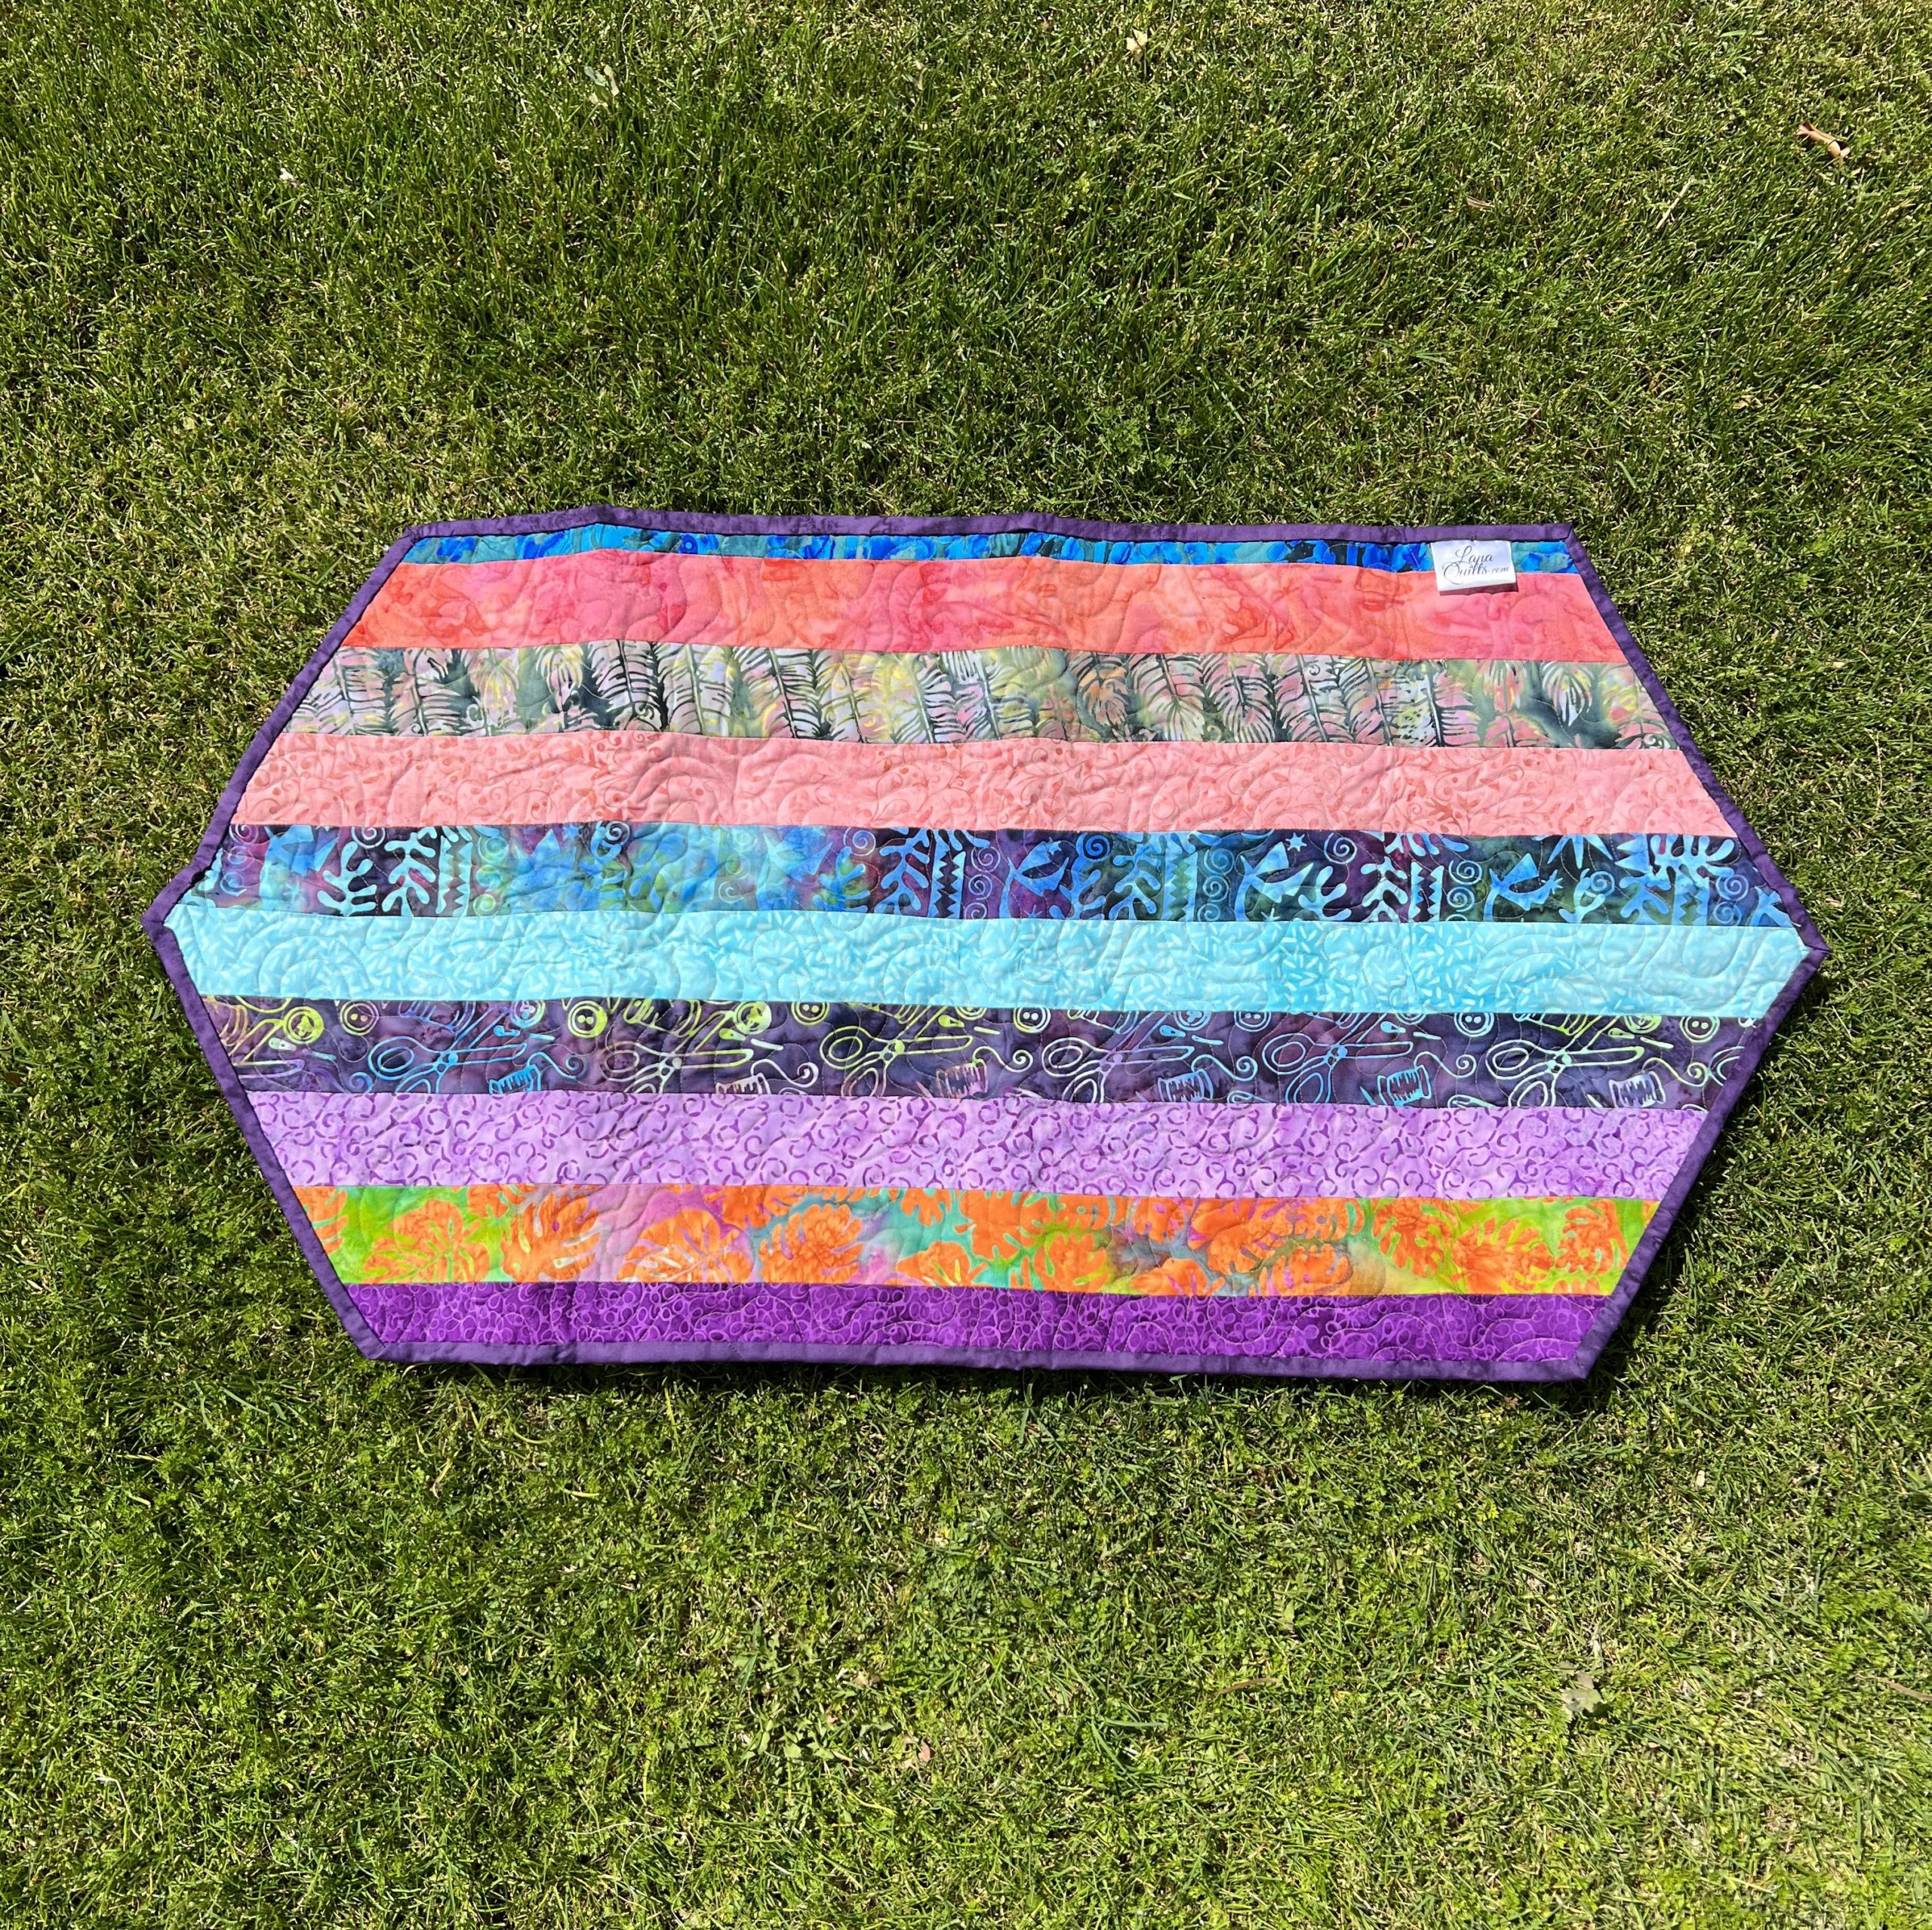
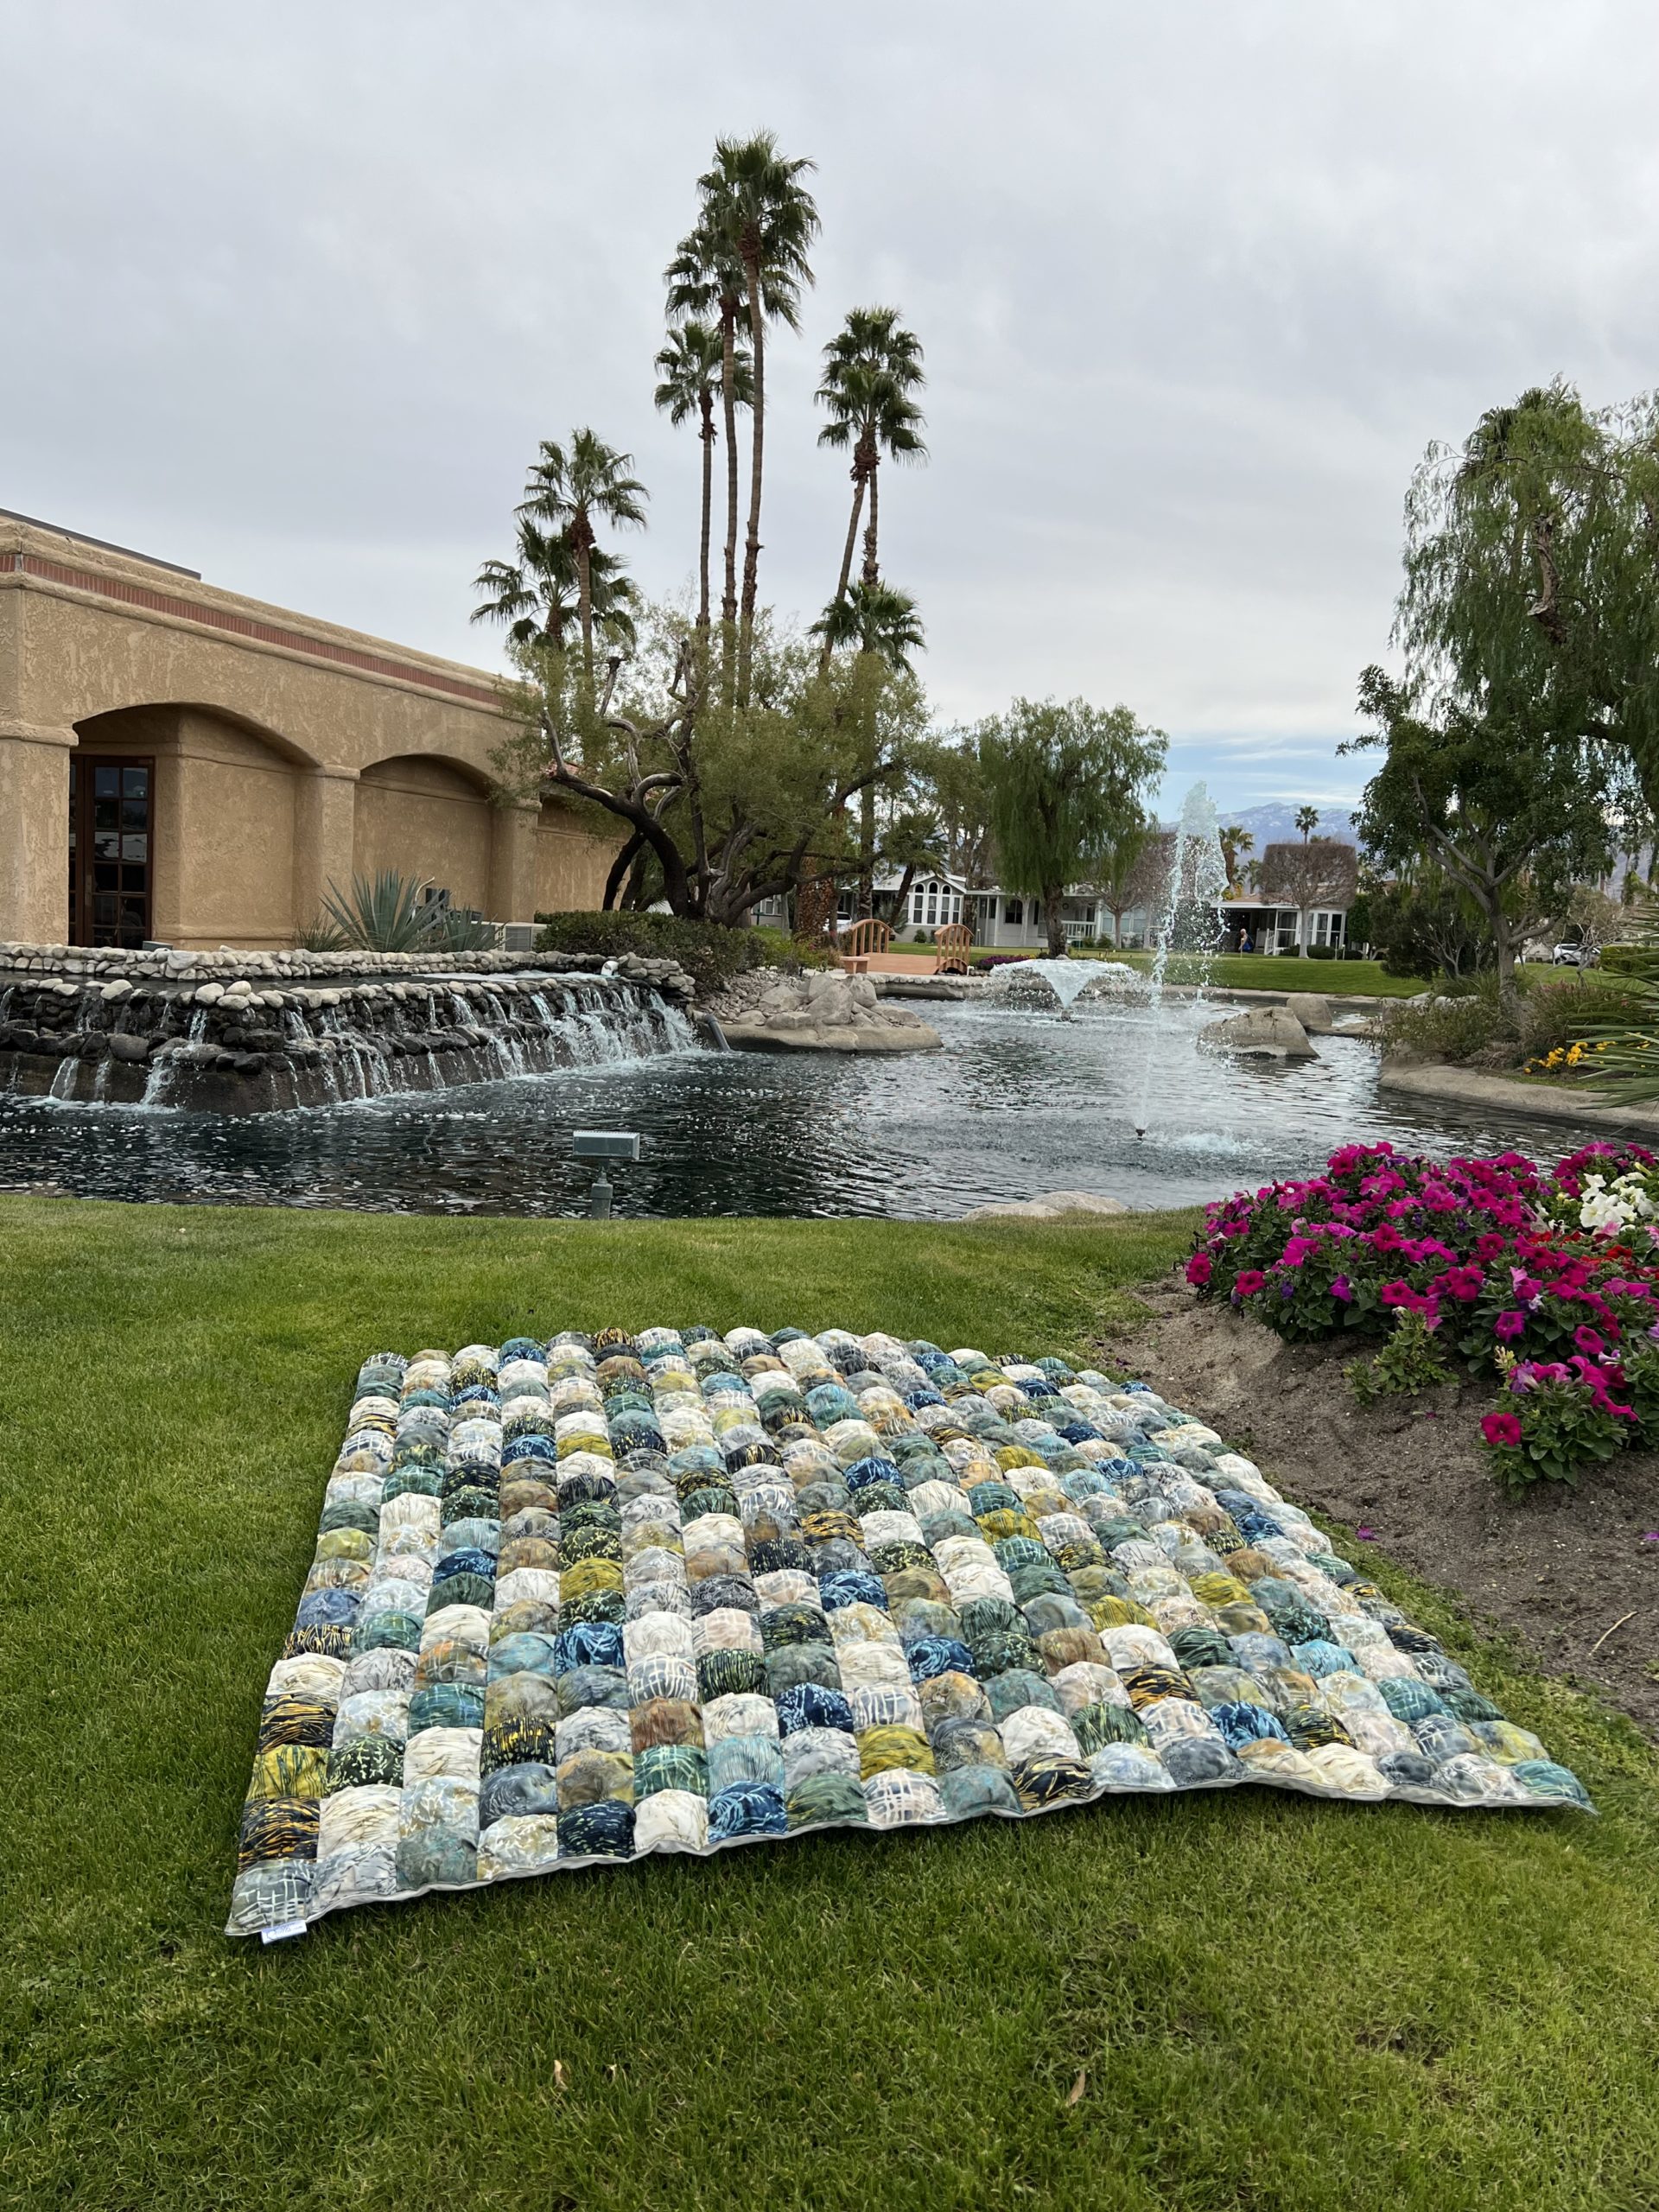
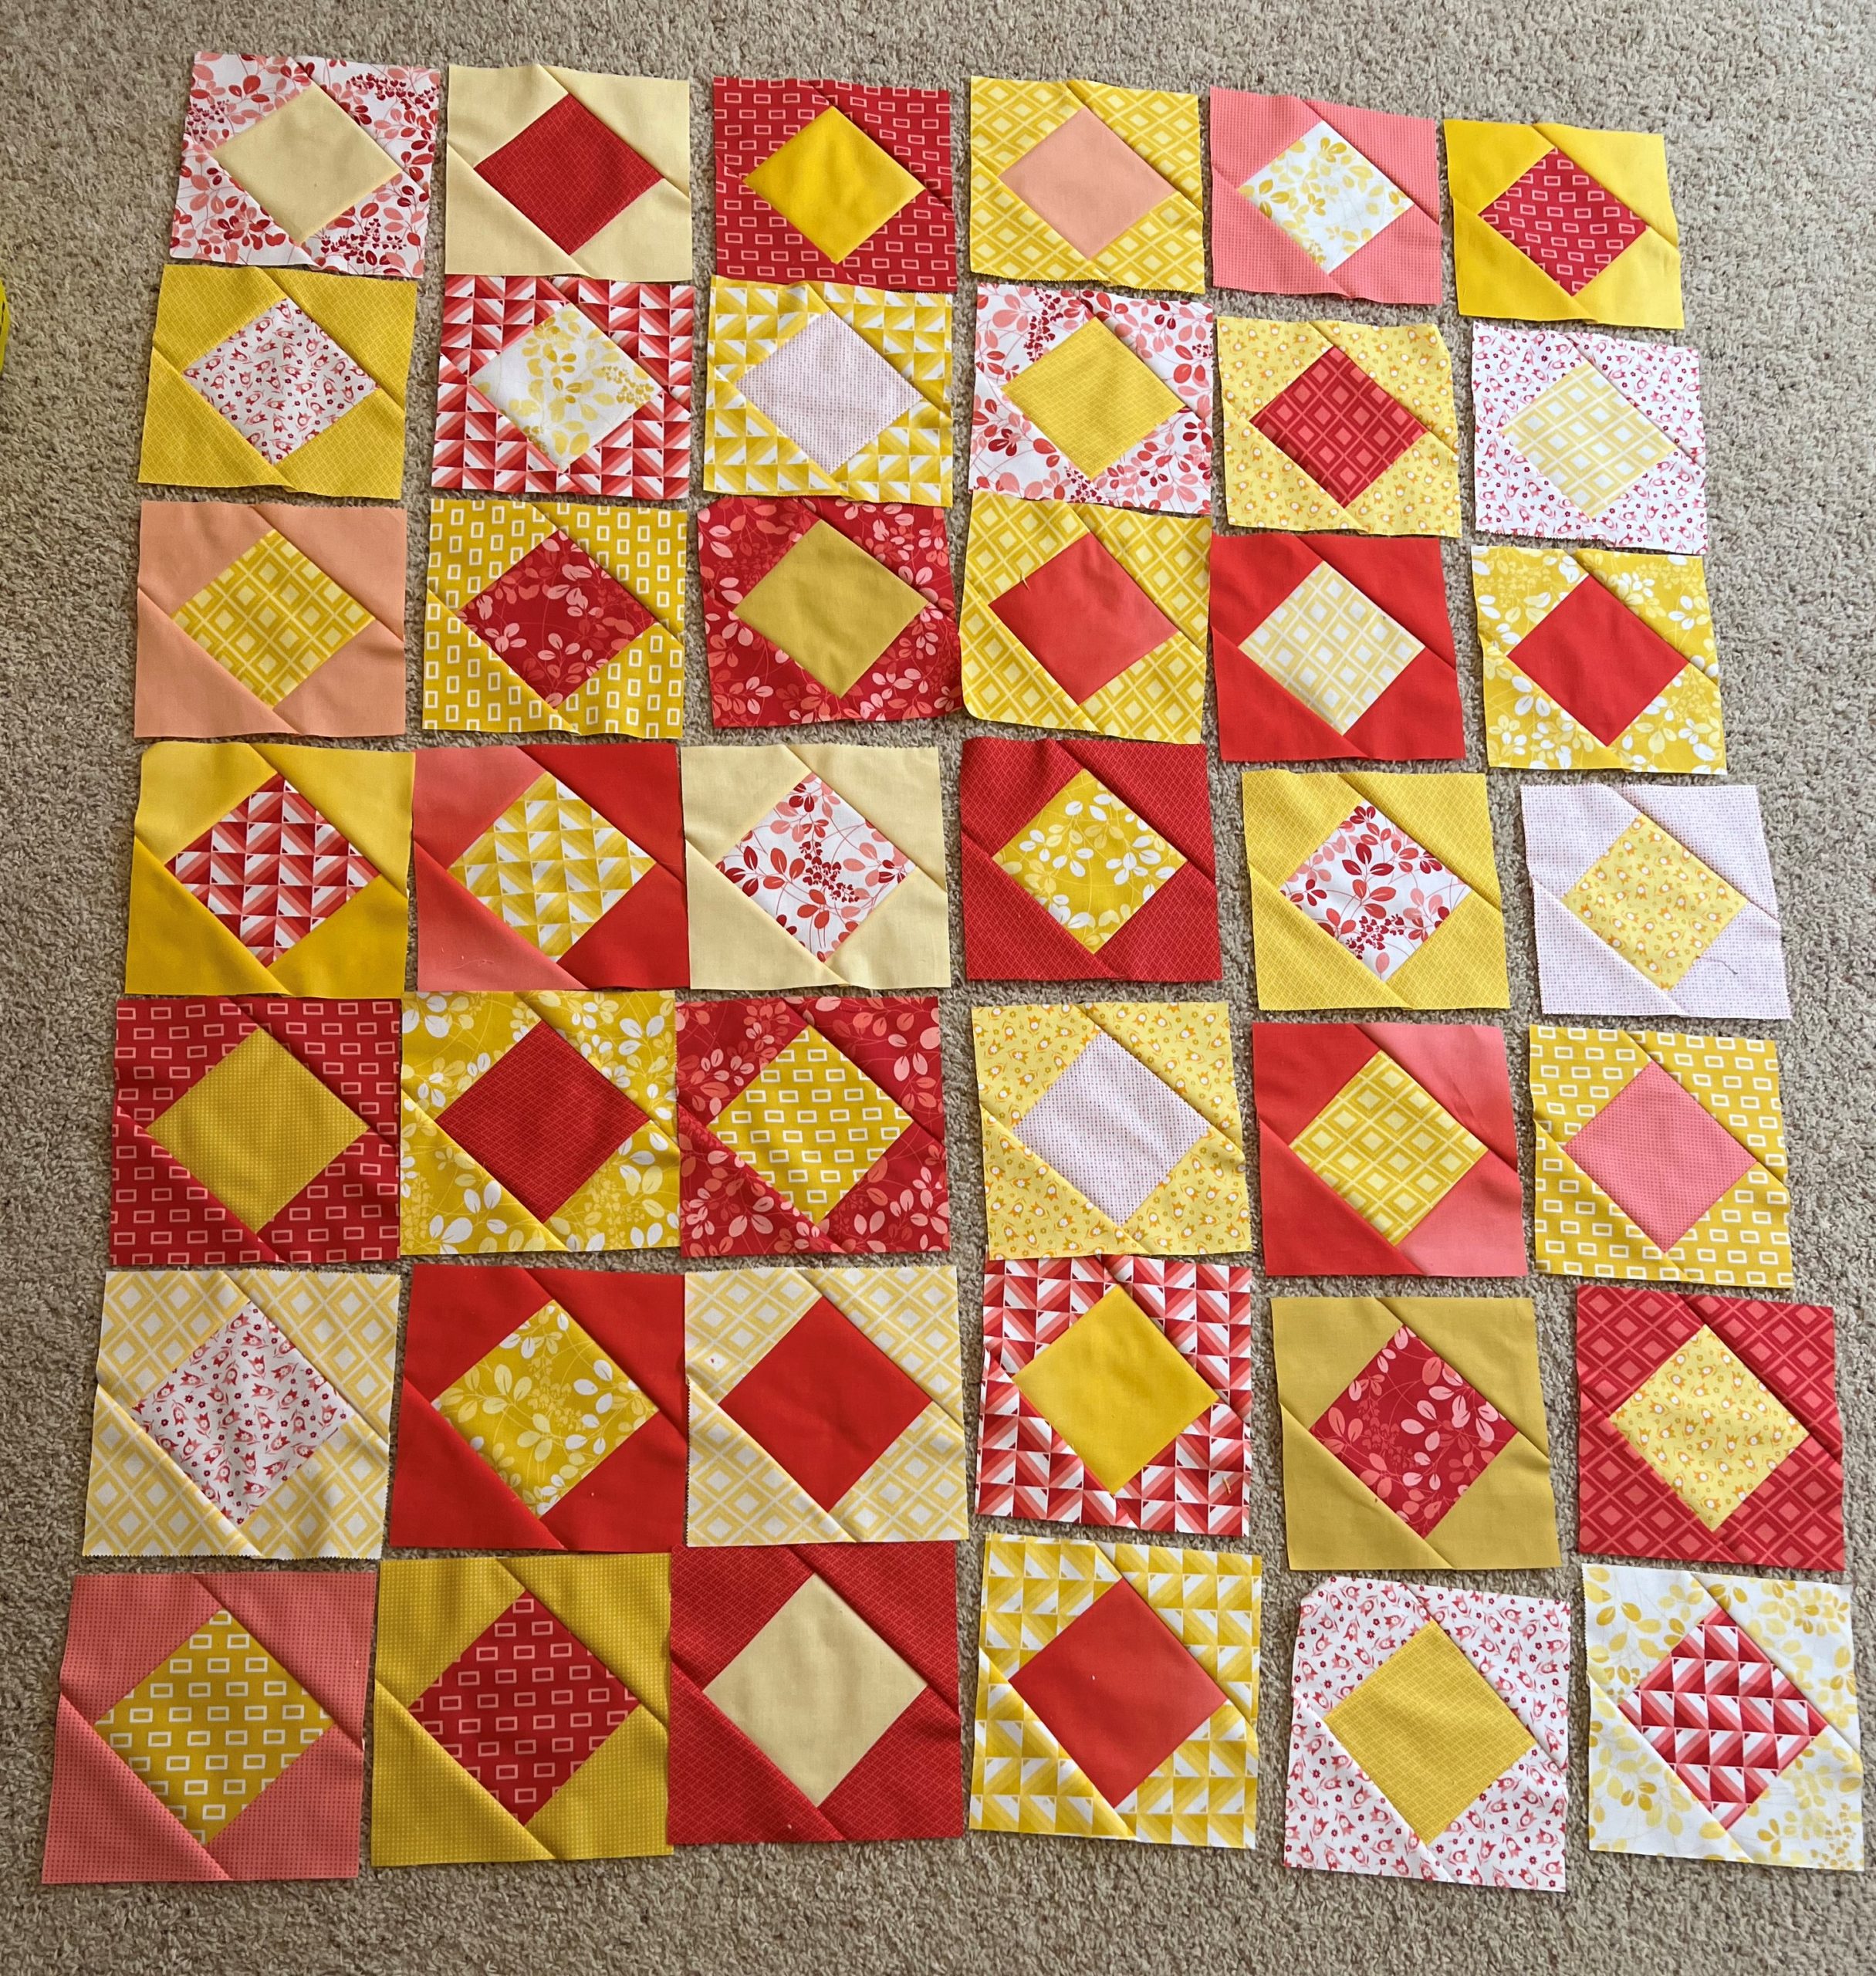
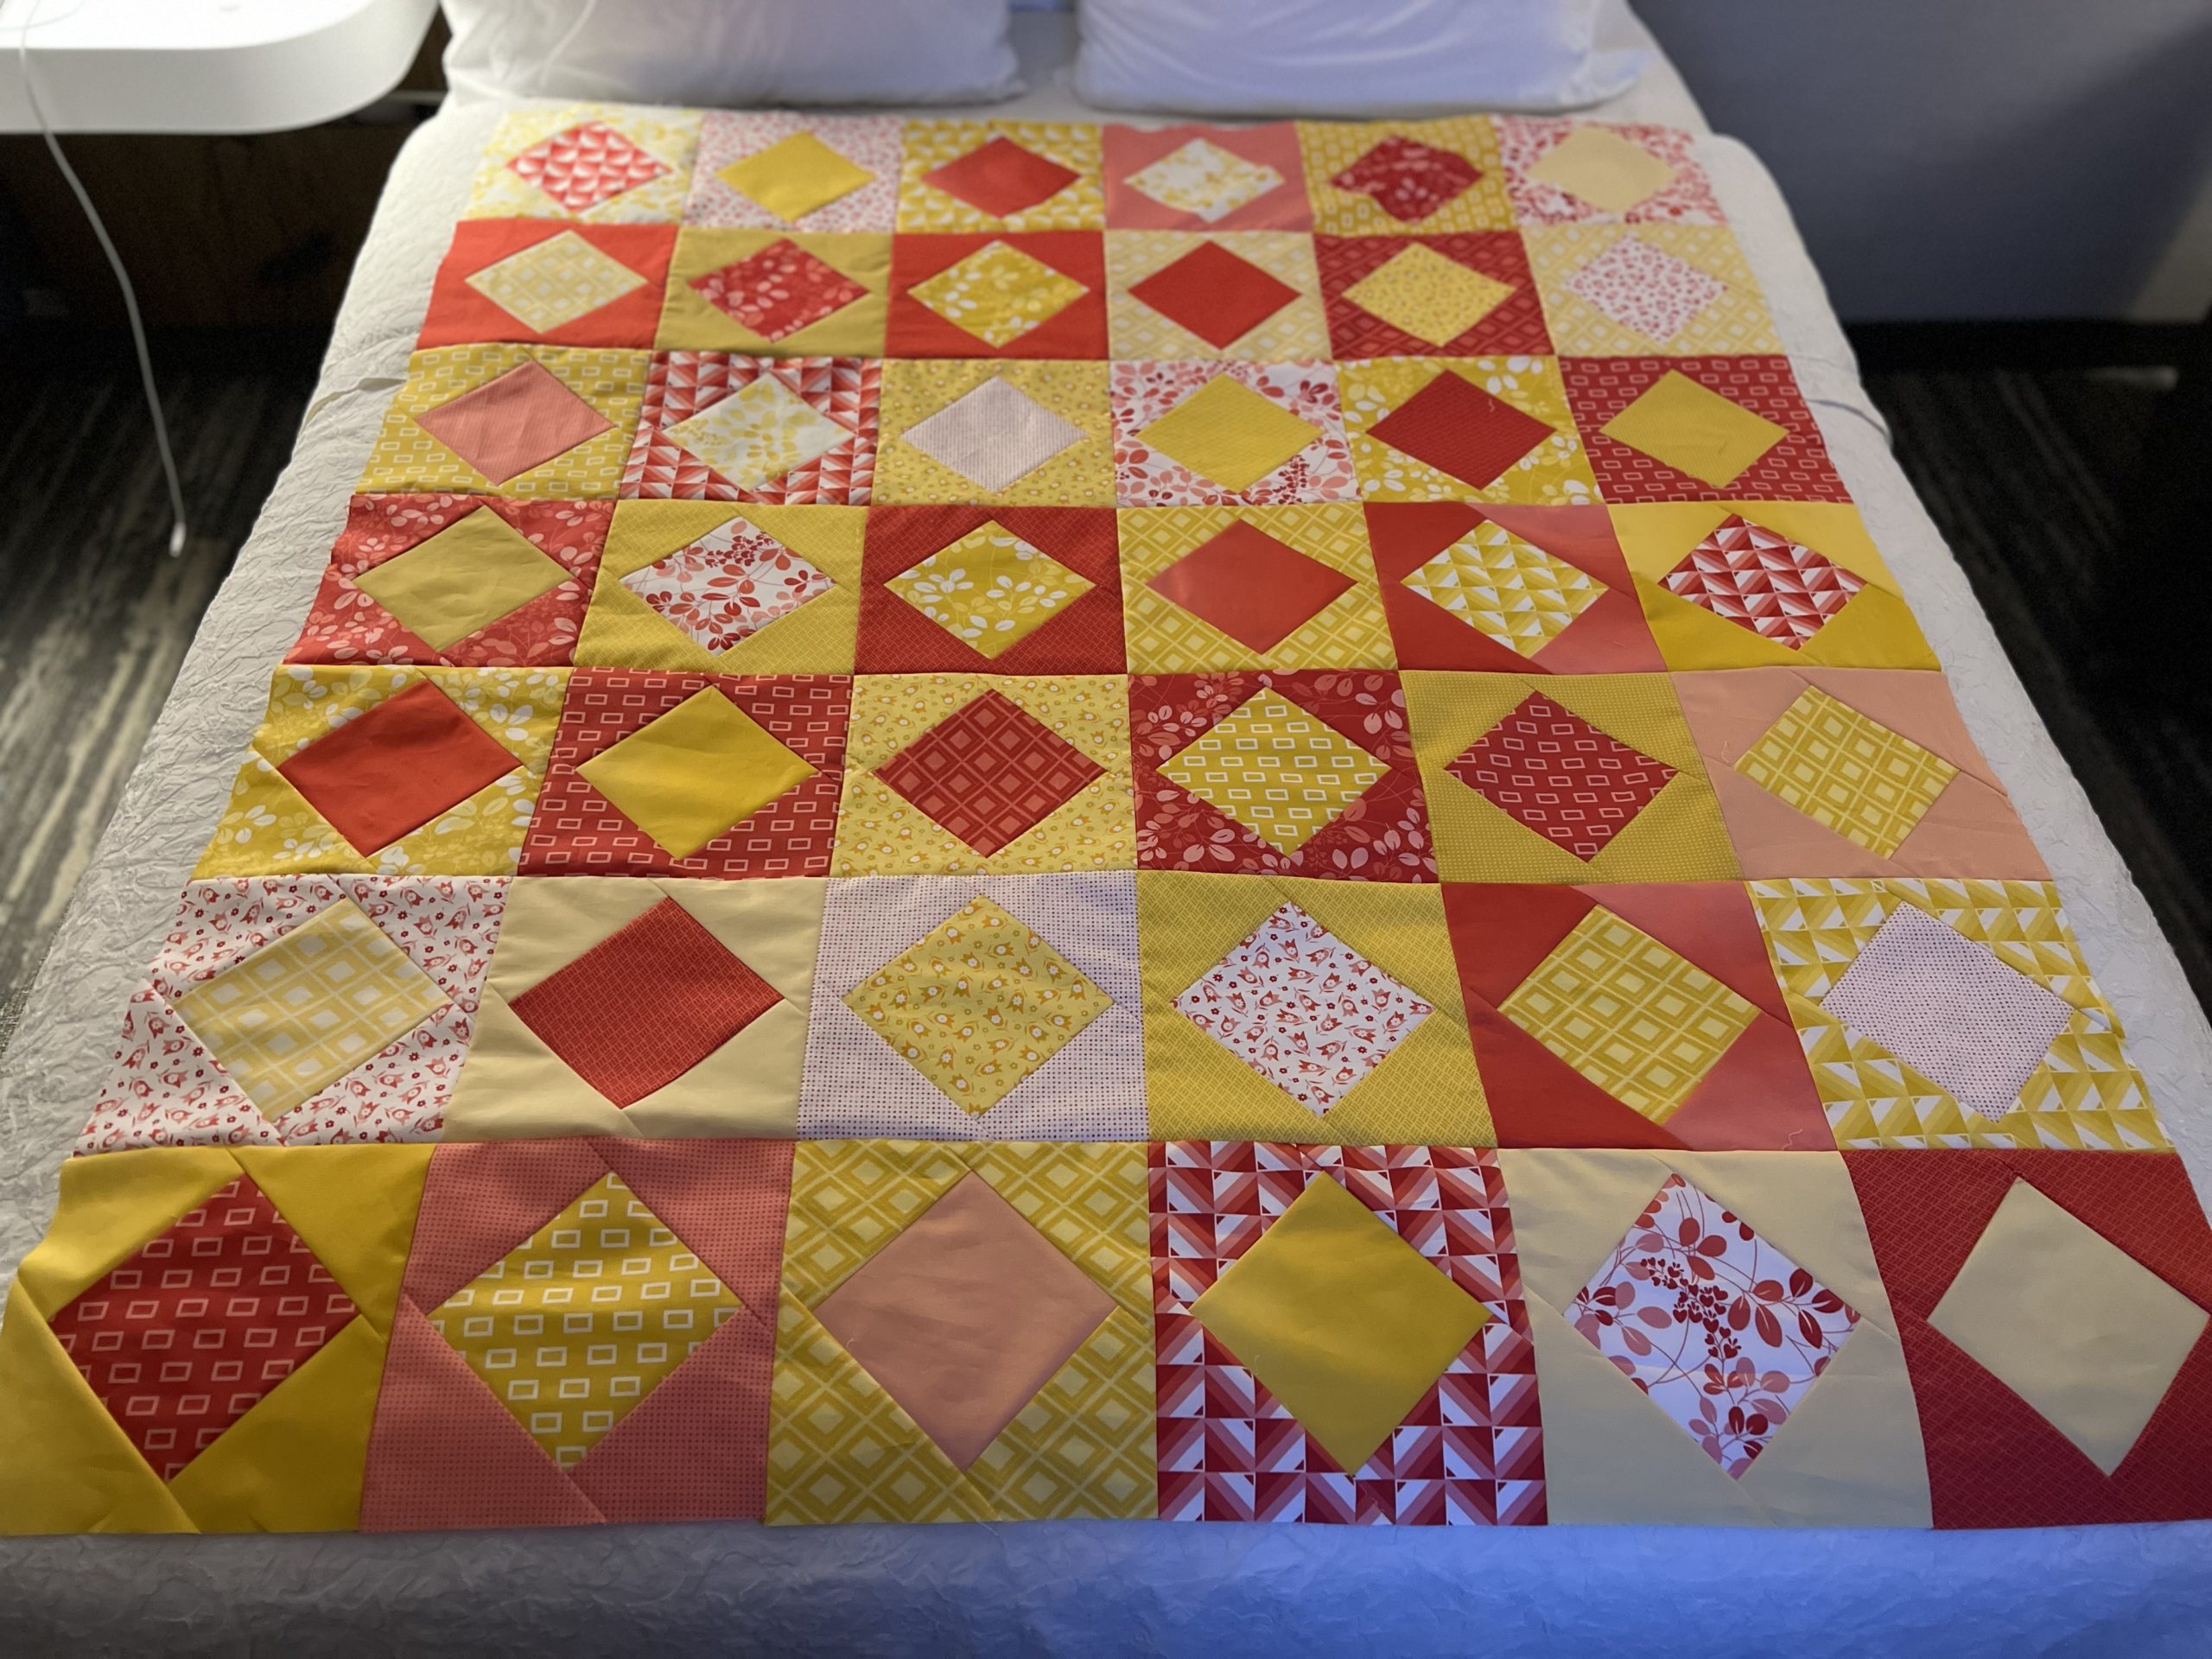
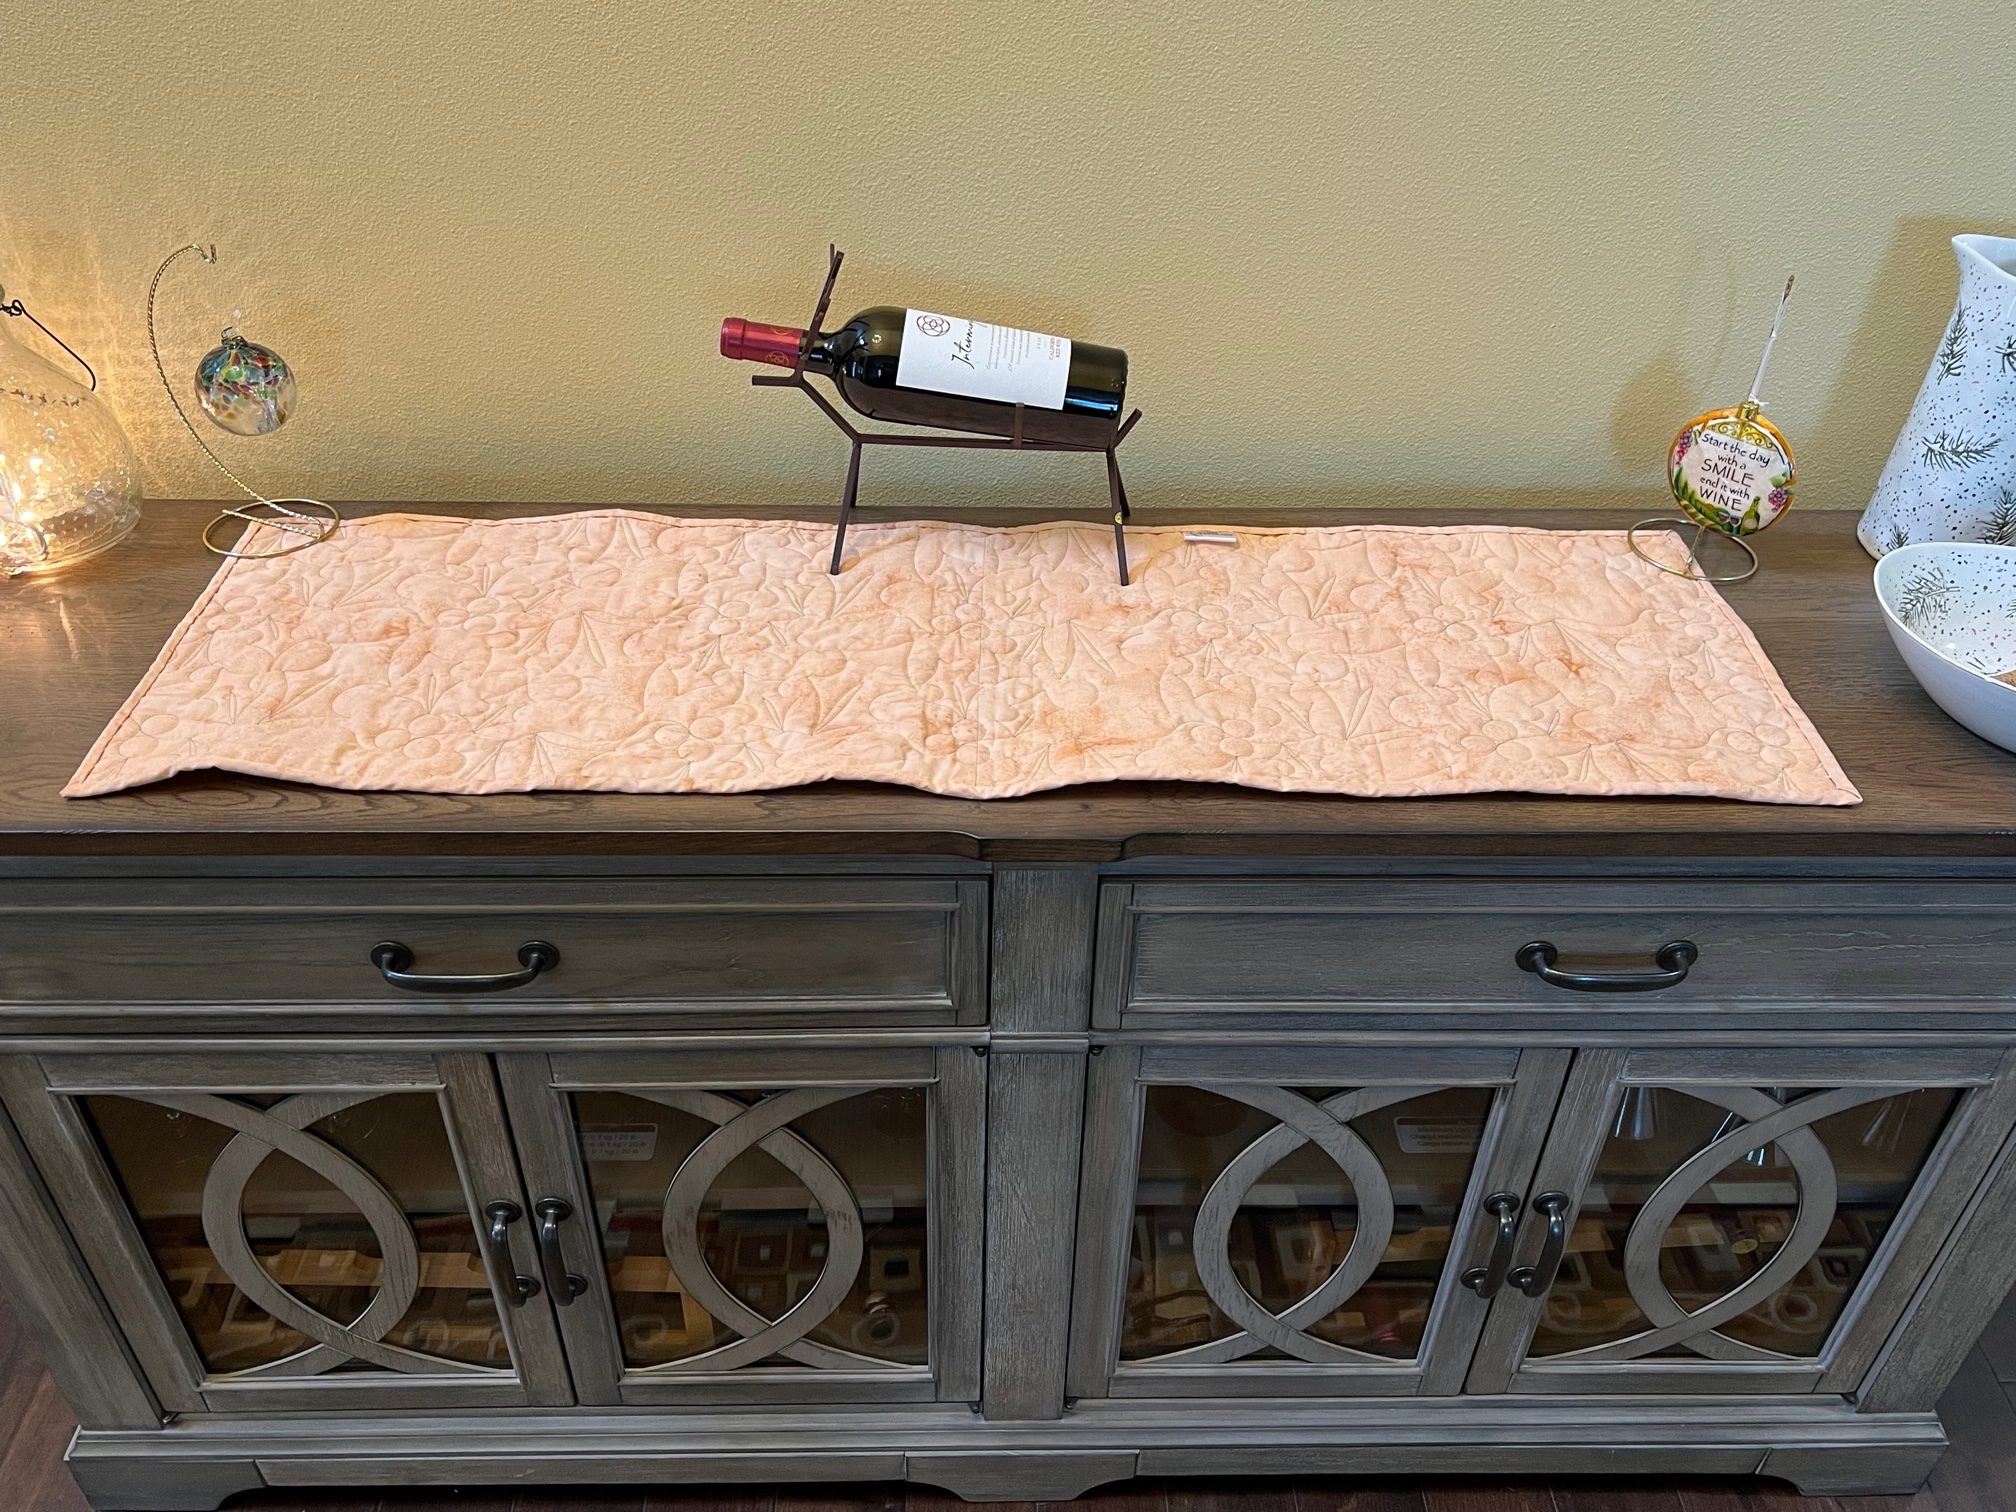
It was back to The Trendy Table for inspiration for my table runner. I’m a sucker for what I call Film Strip sashings or borders, the small squares repeated in a row, as in the runner in the top right of the front cover. So, that was my choice for this month.
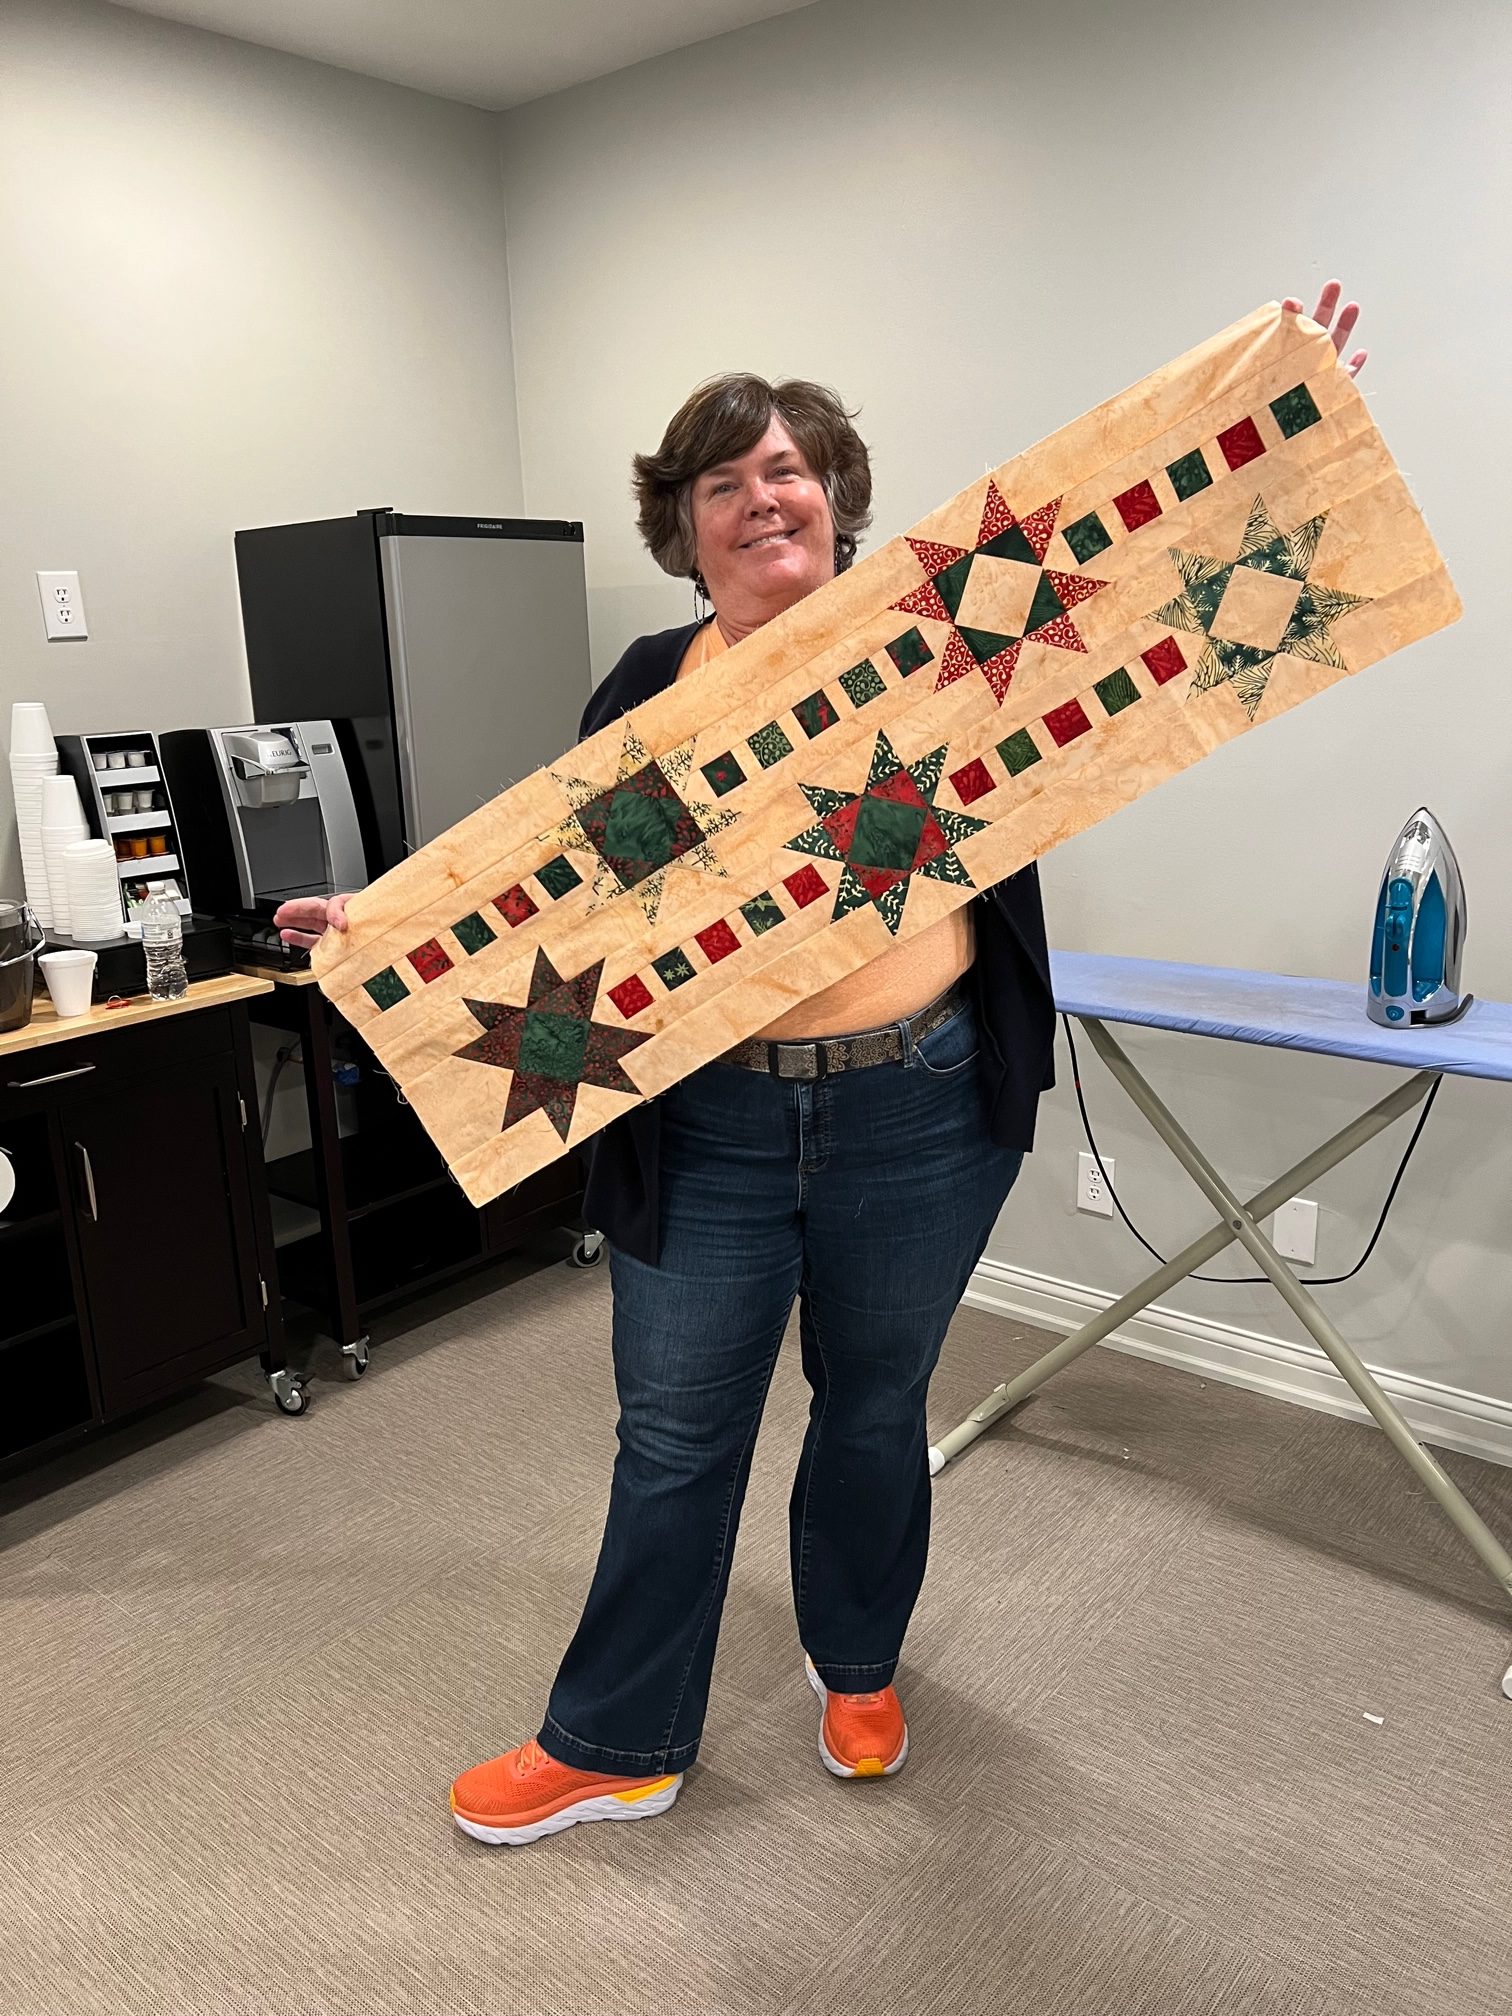
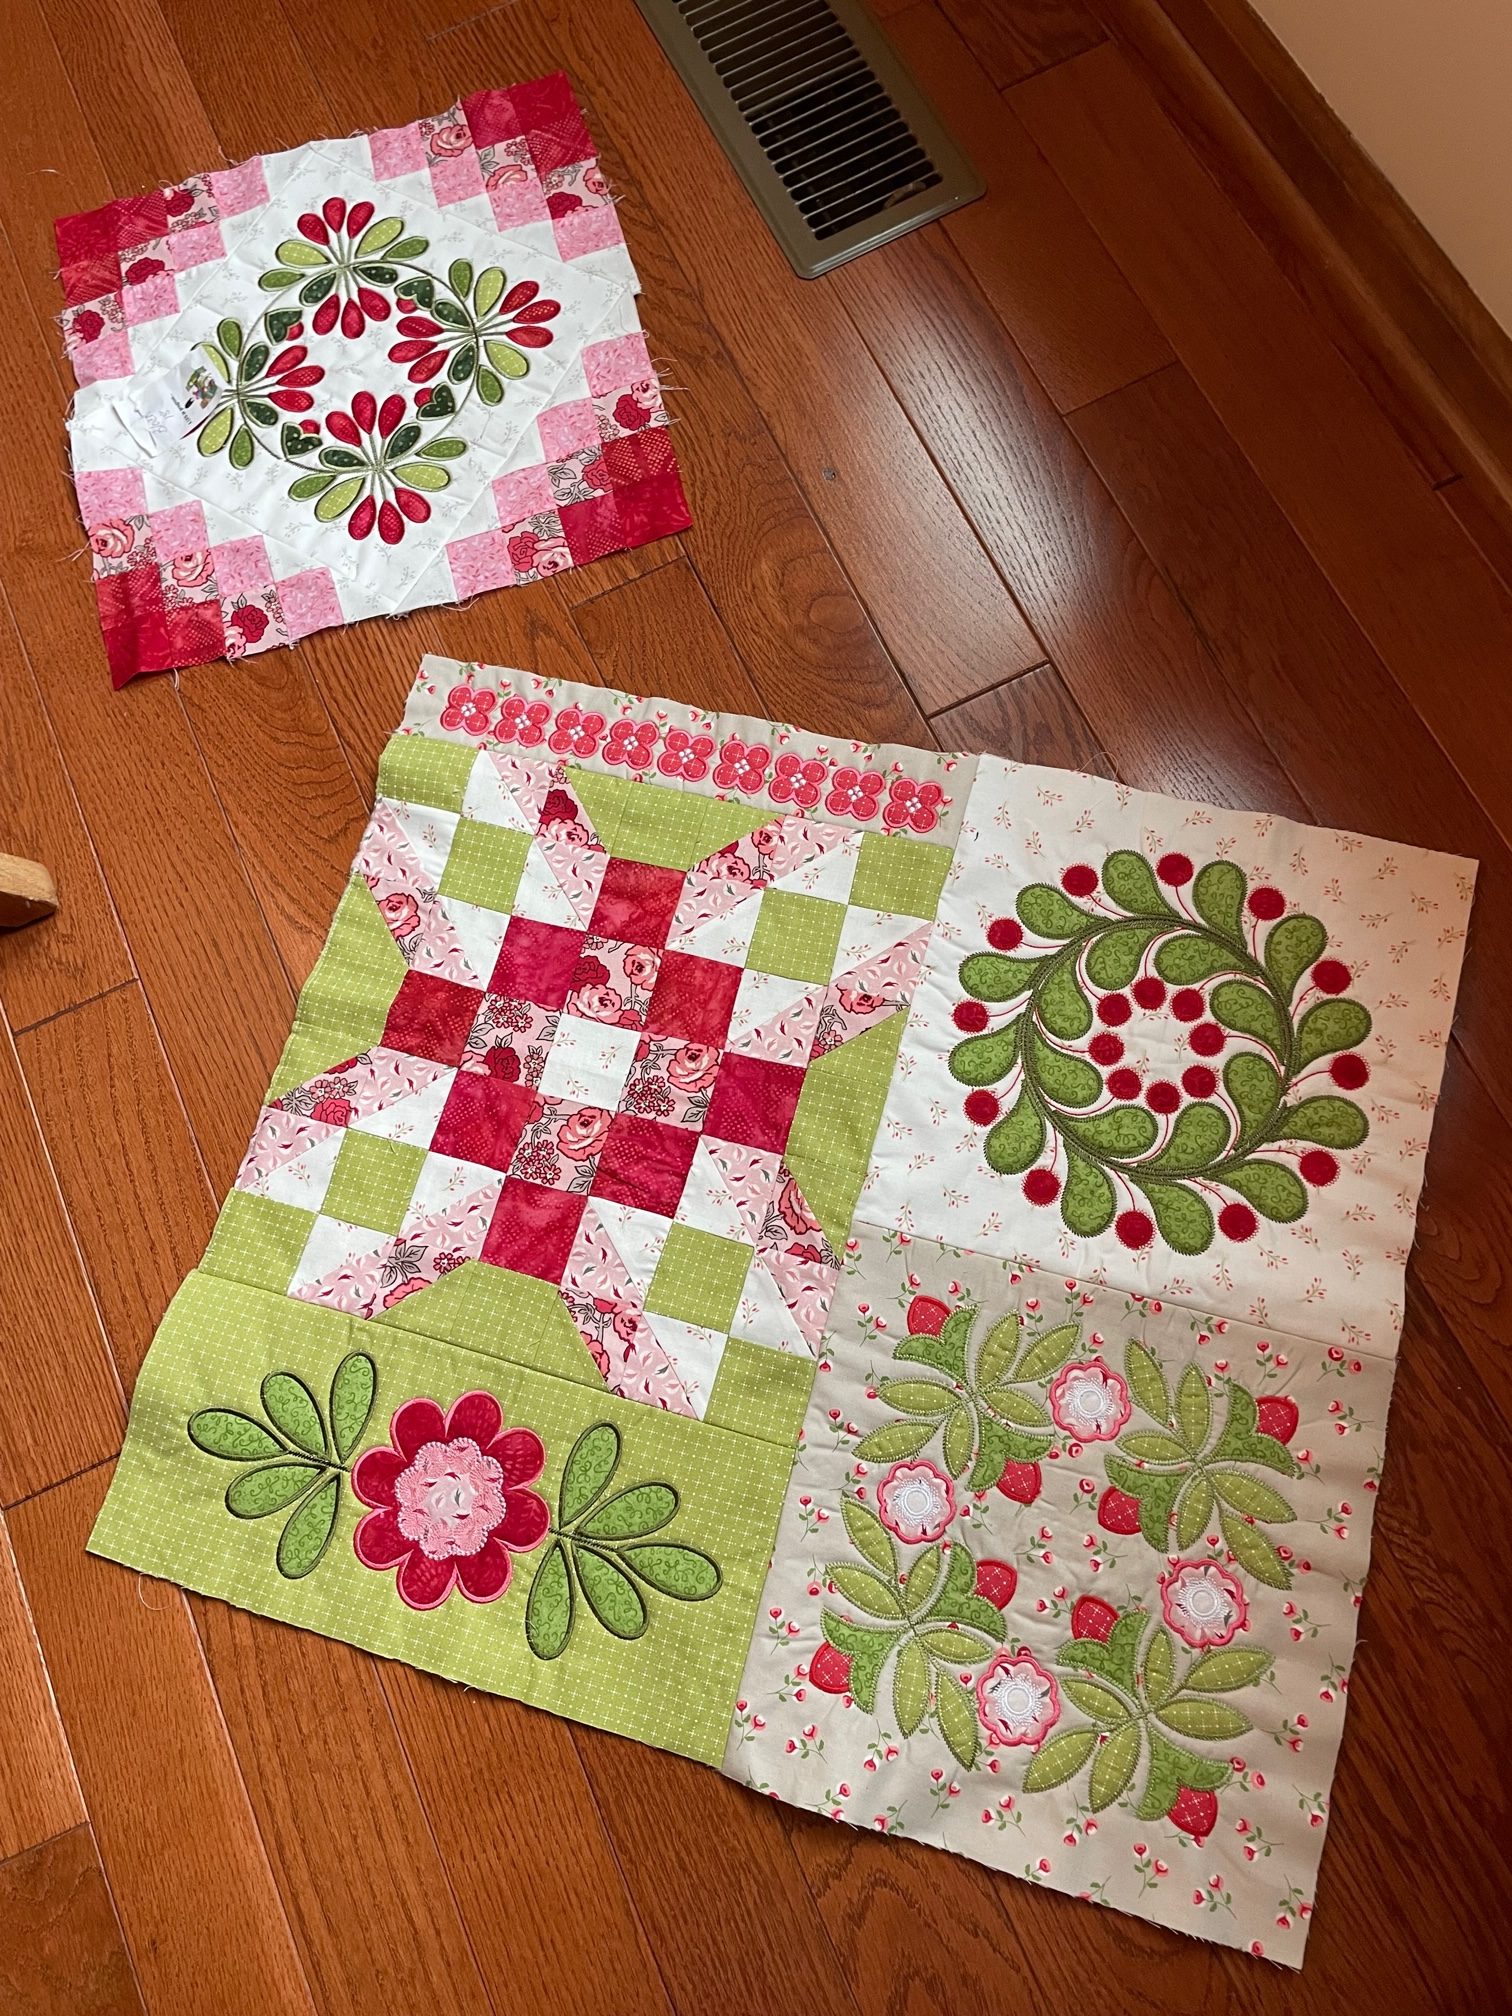
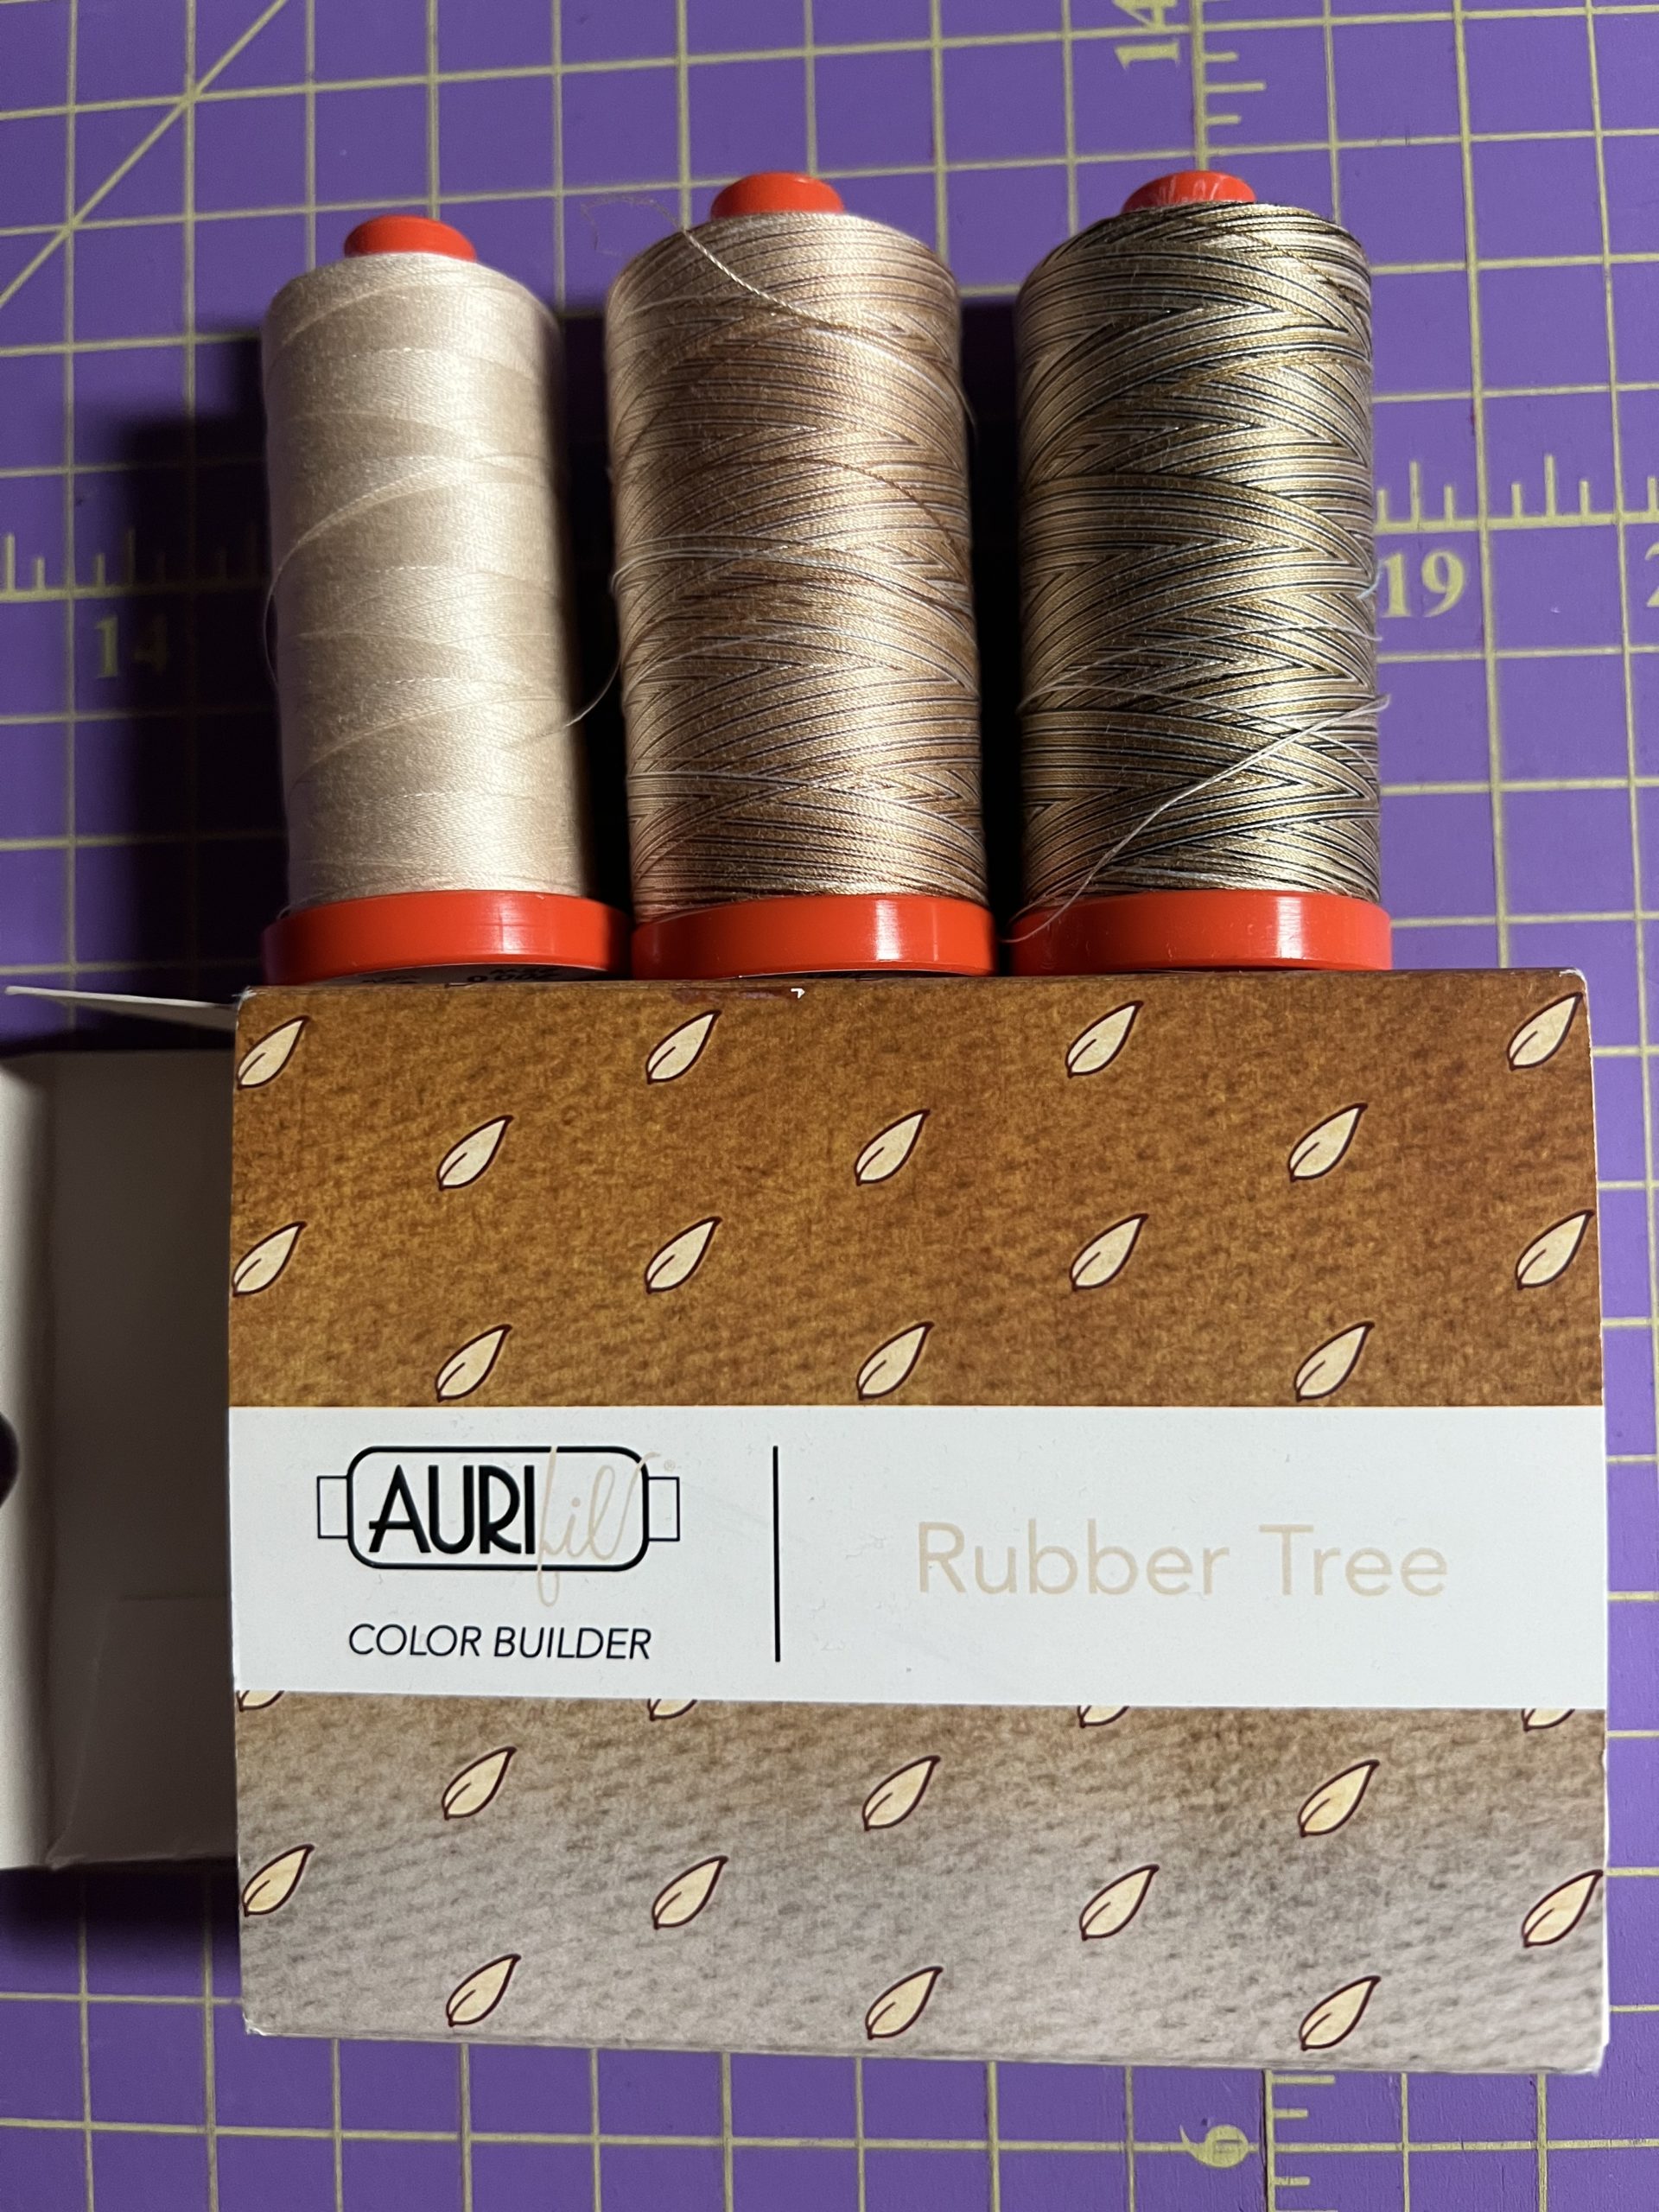
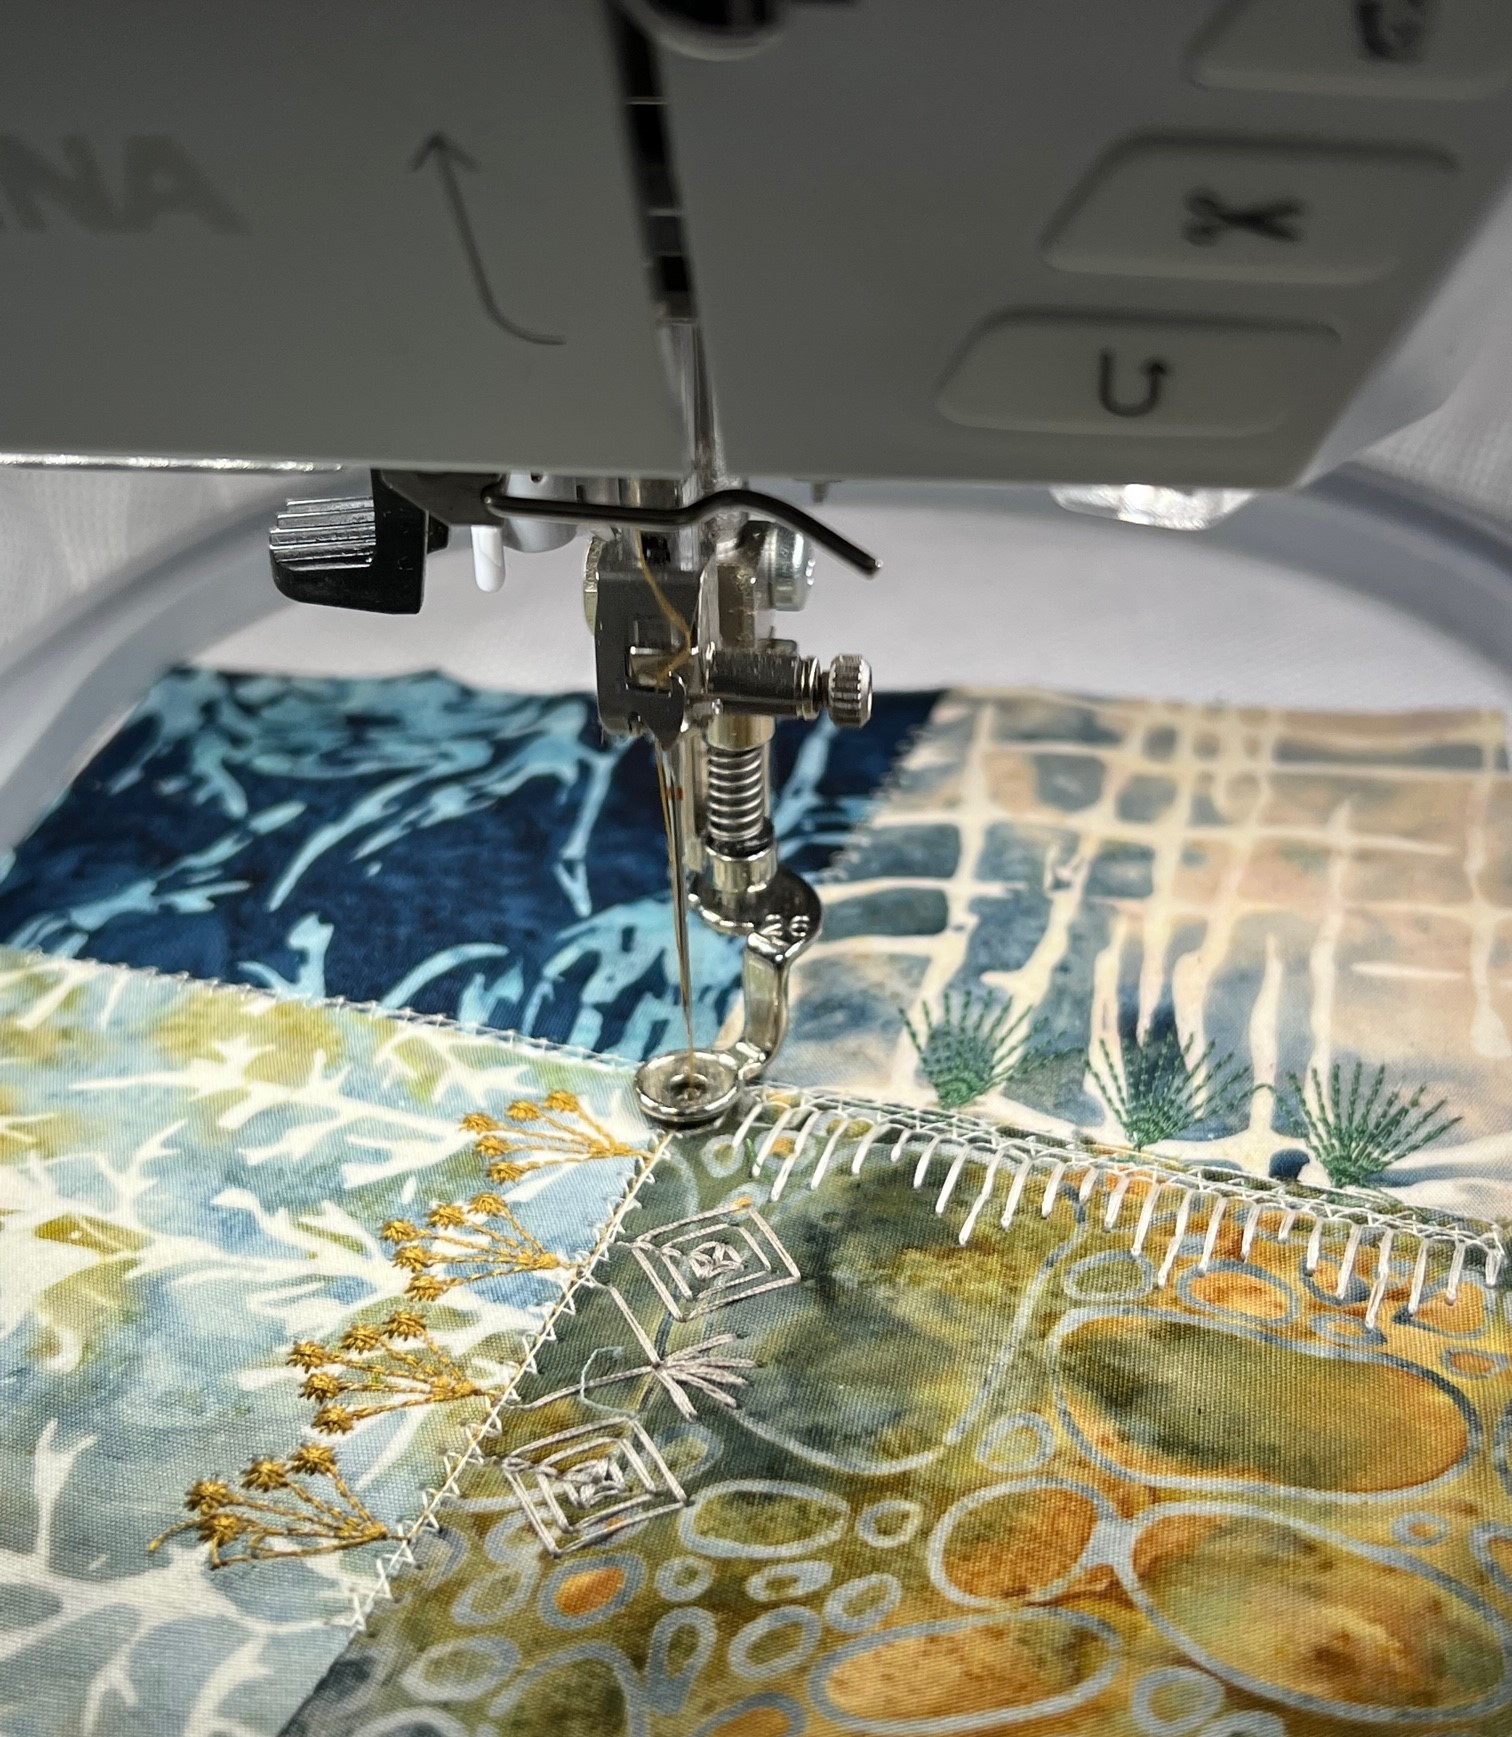
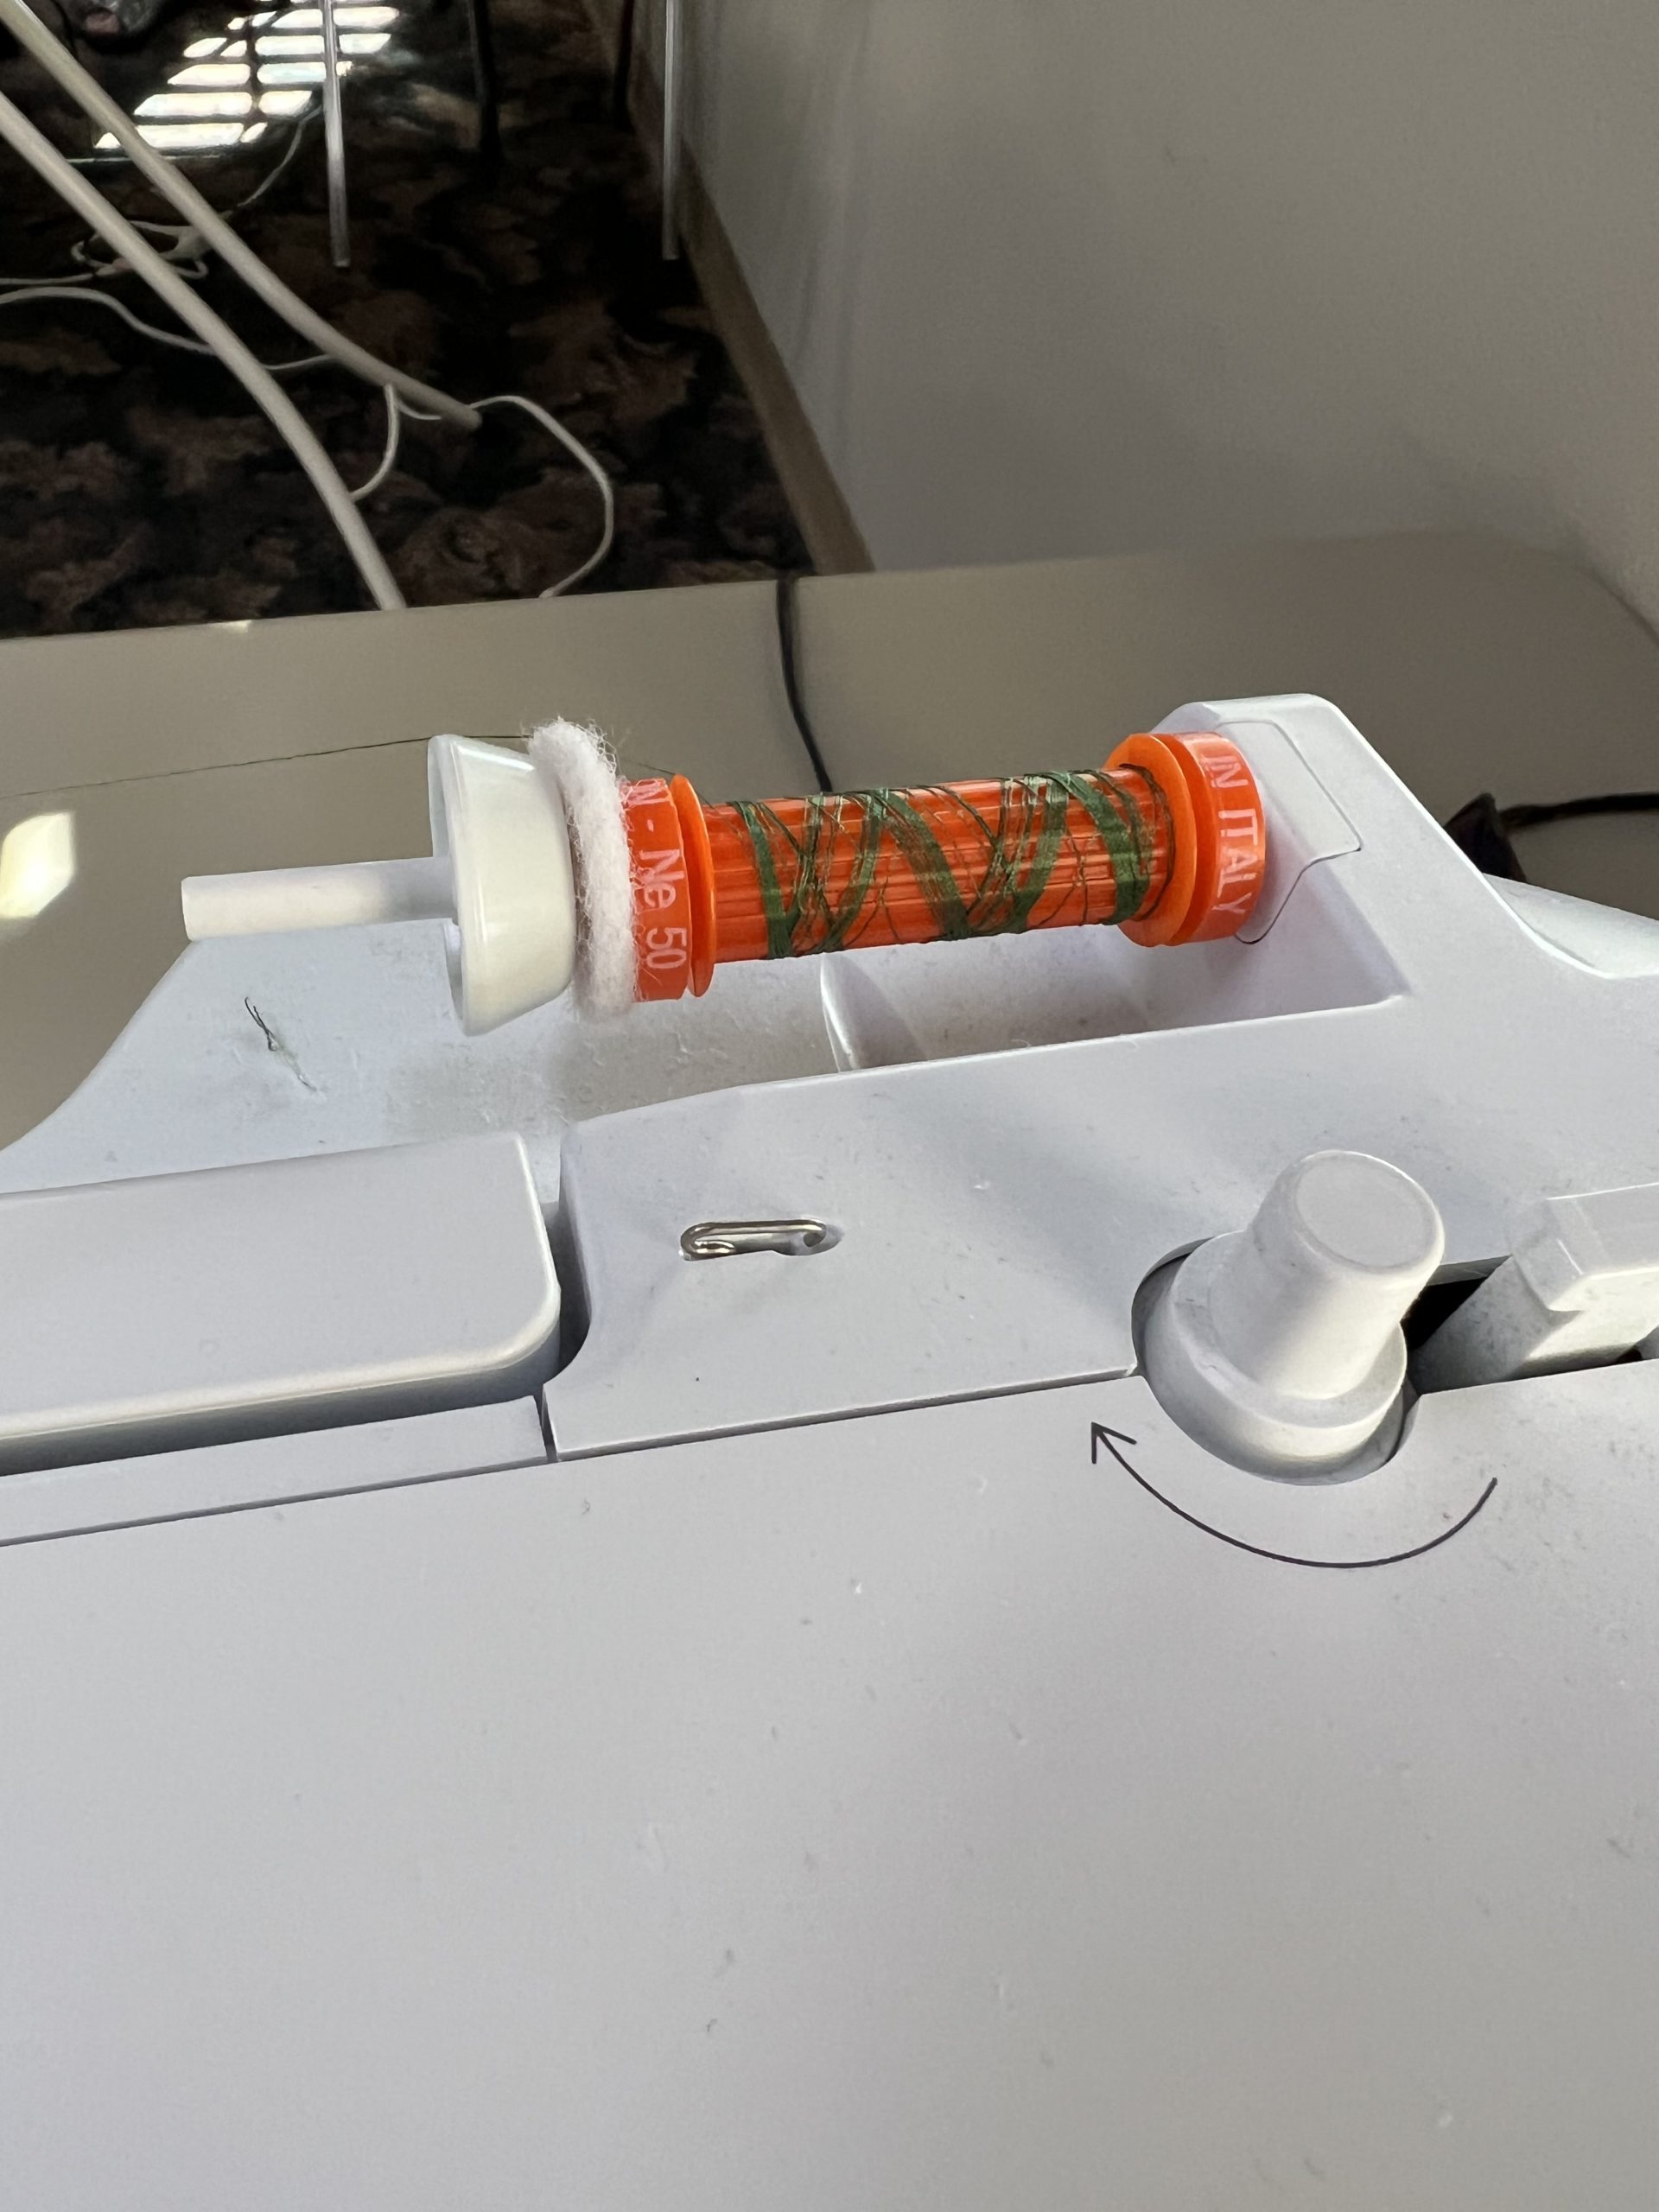
I made this at a quilt retreat in April and was so busy chatting with my friends, that I forgot to take progress pictures! I used Aurifil thread and a fresh Schmetz 80/20 needle in my machine. Every project deserves a new needle!
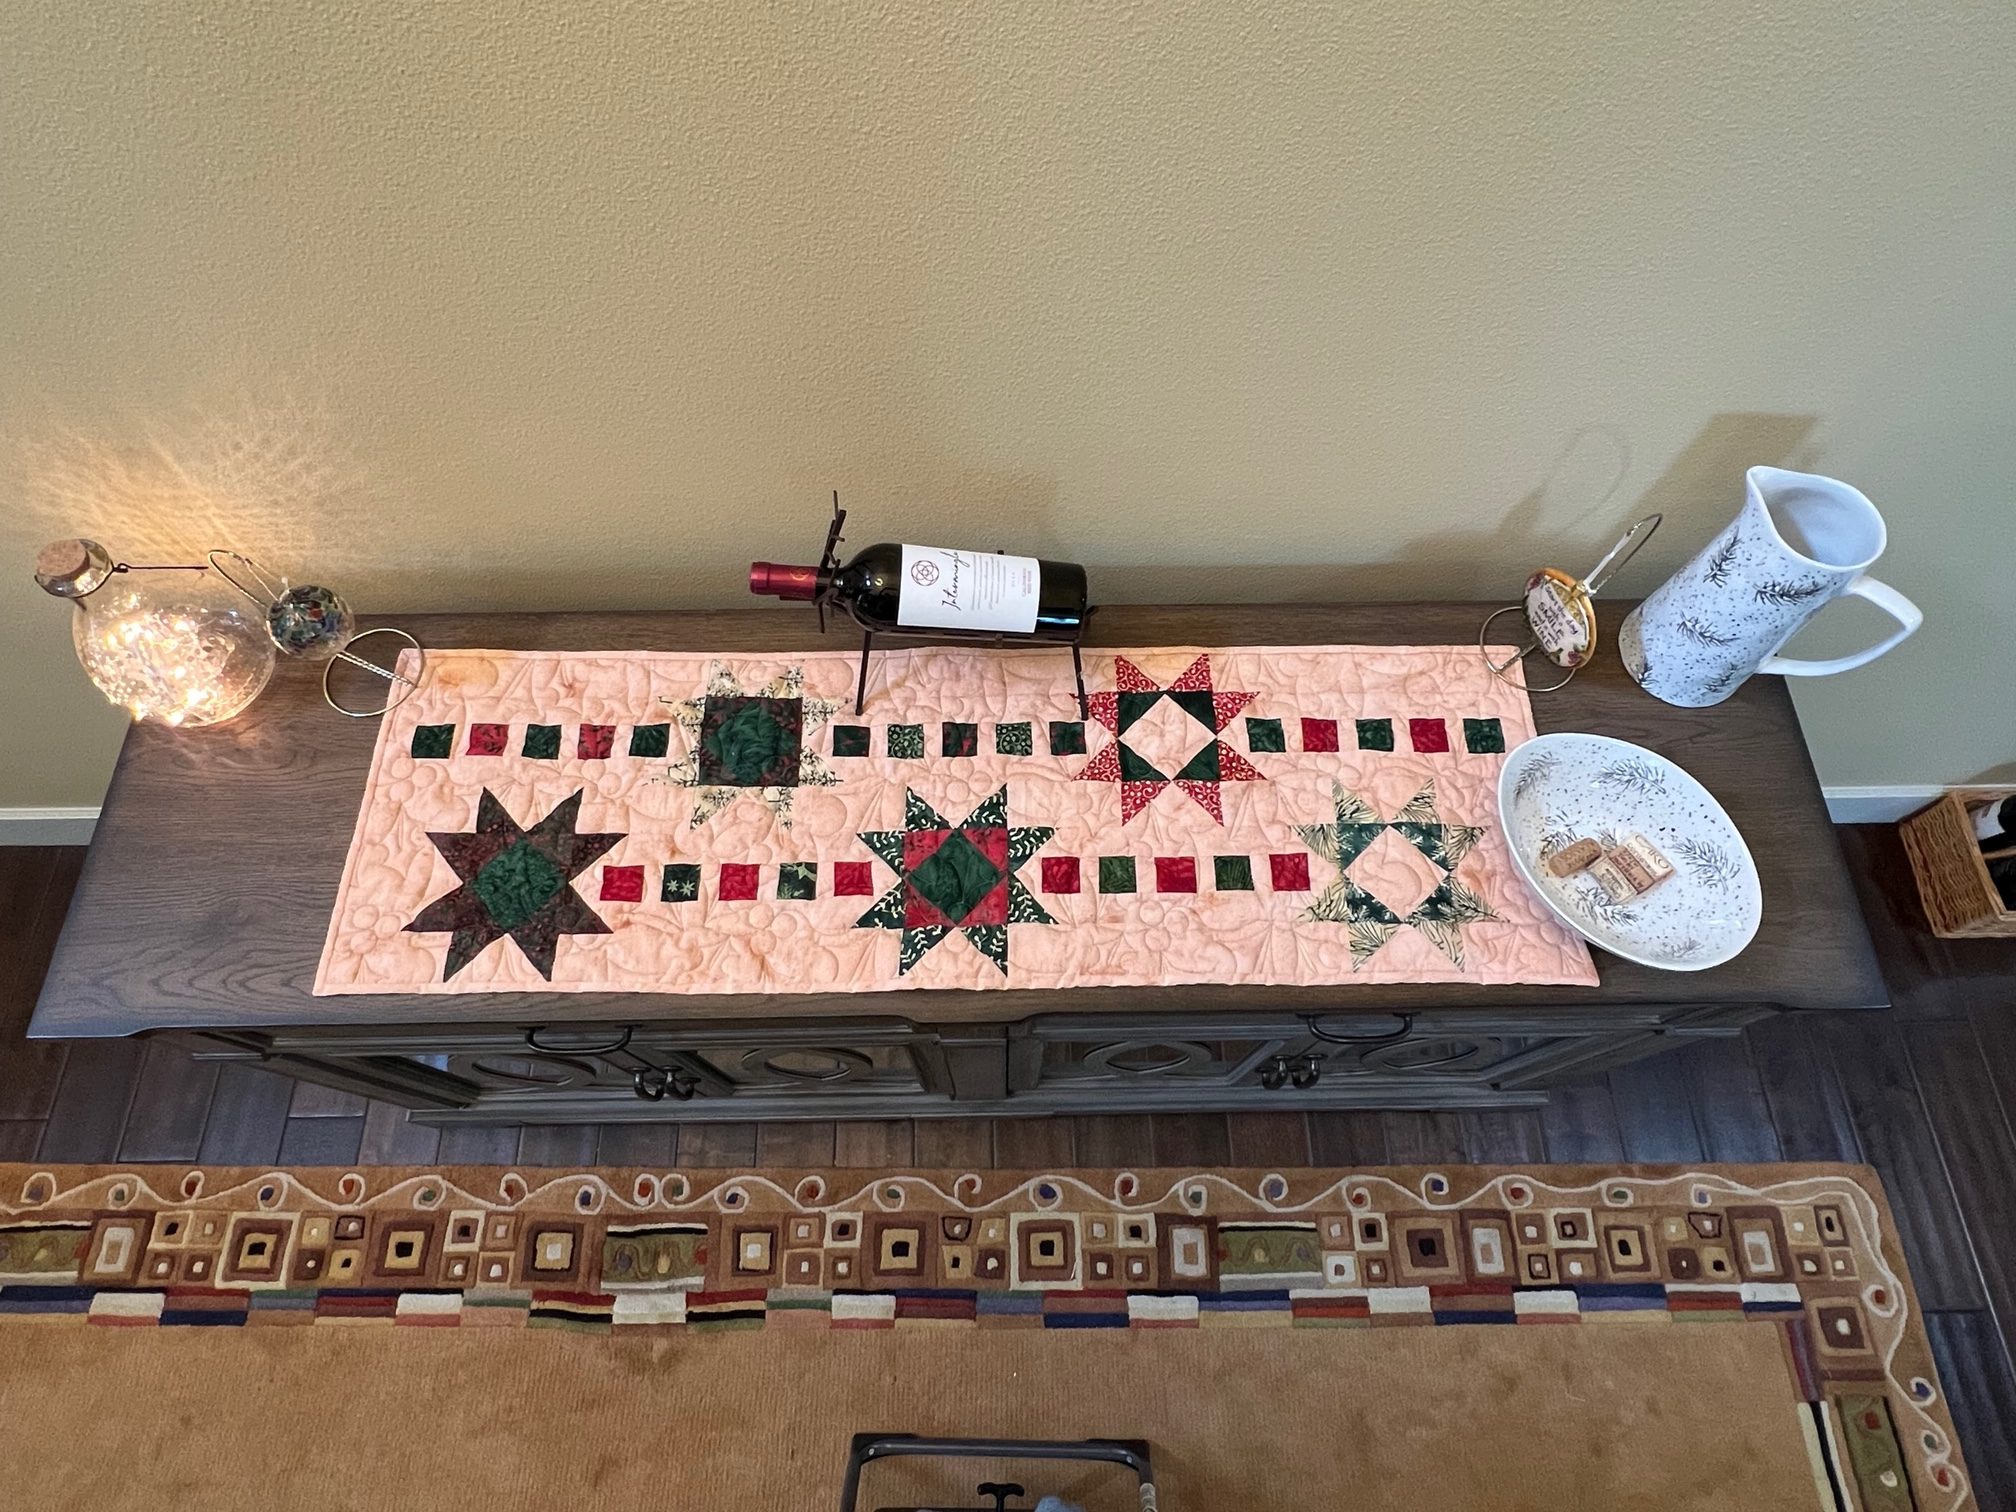
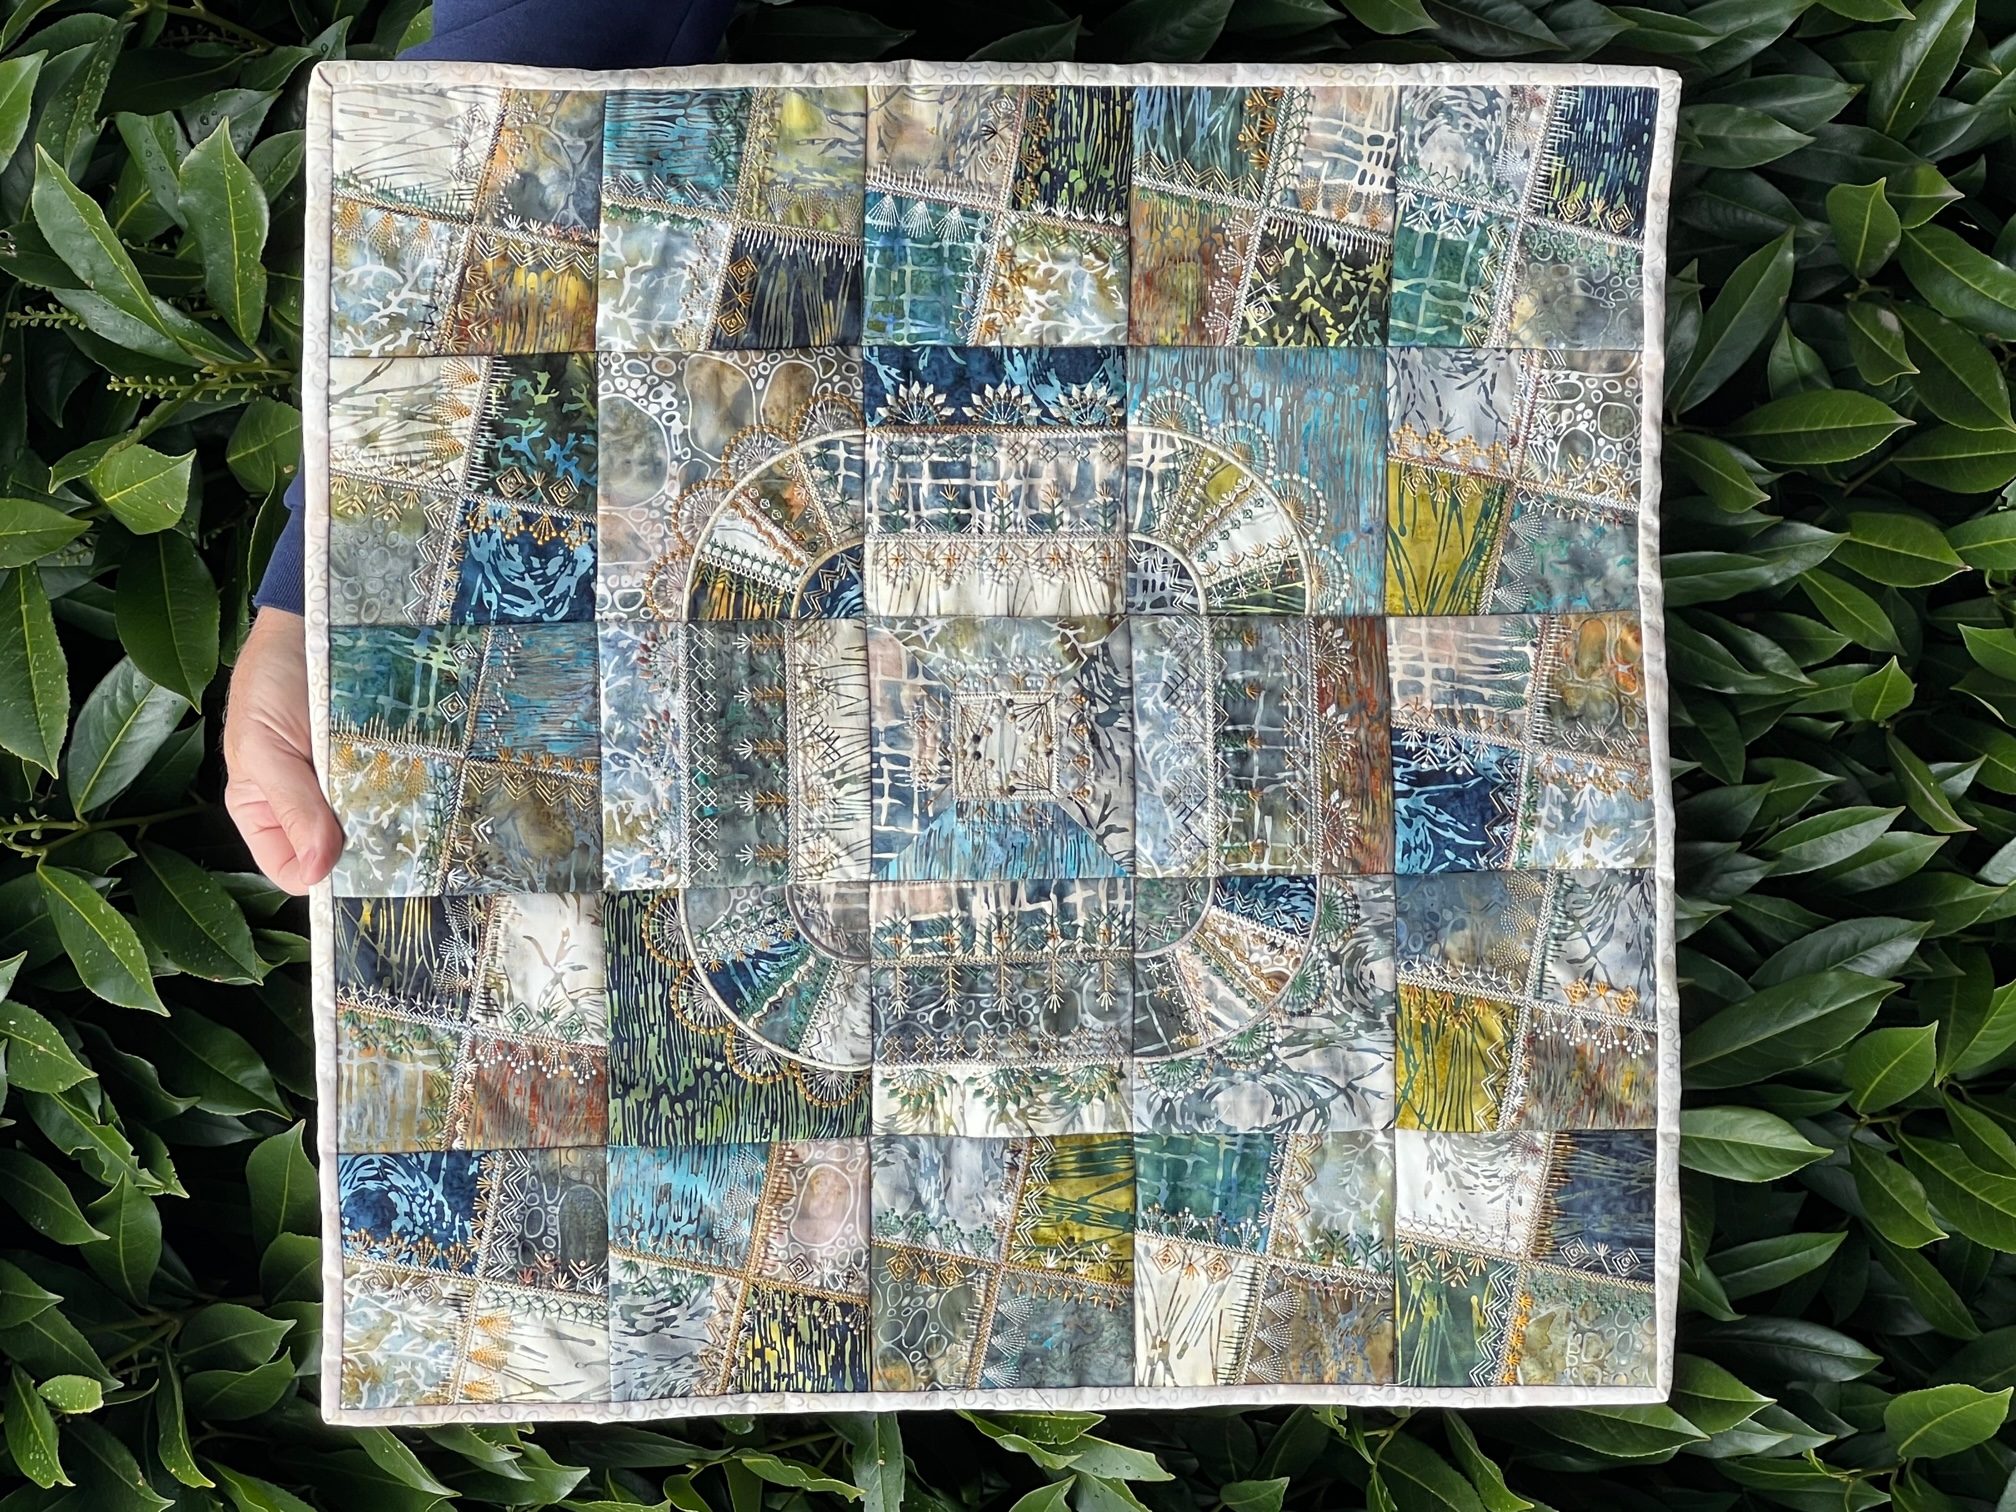
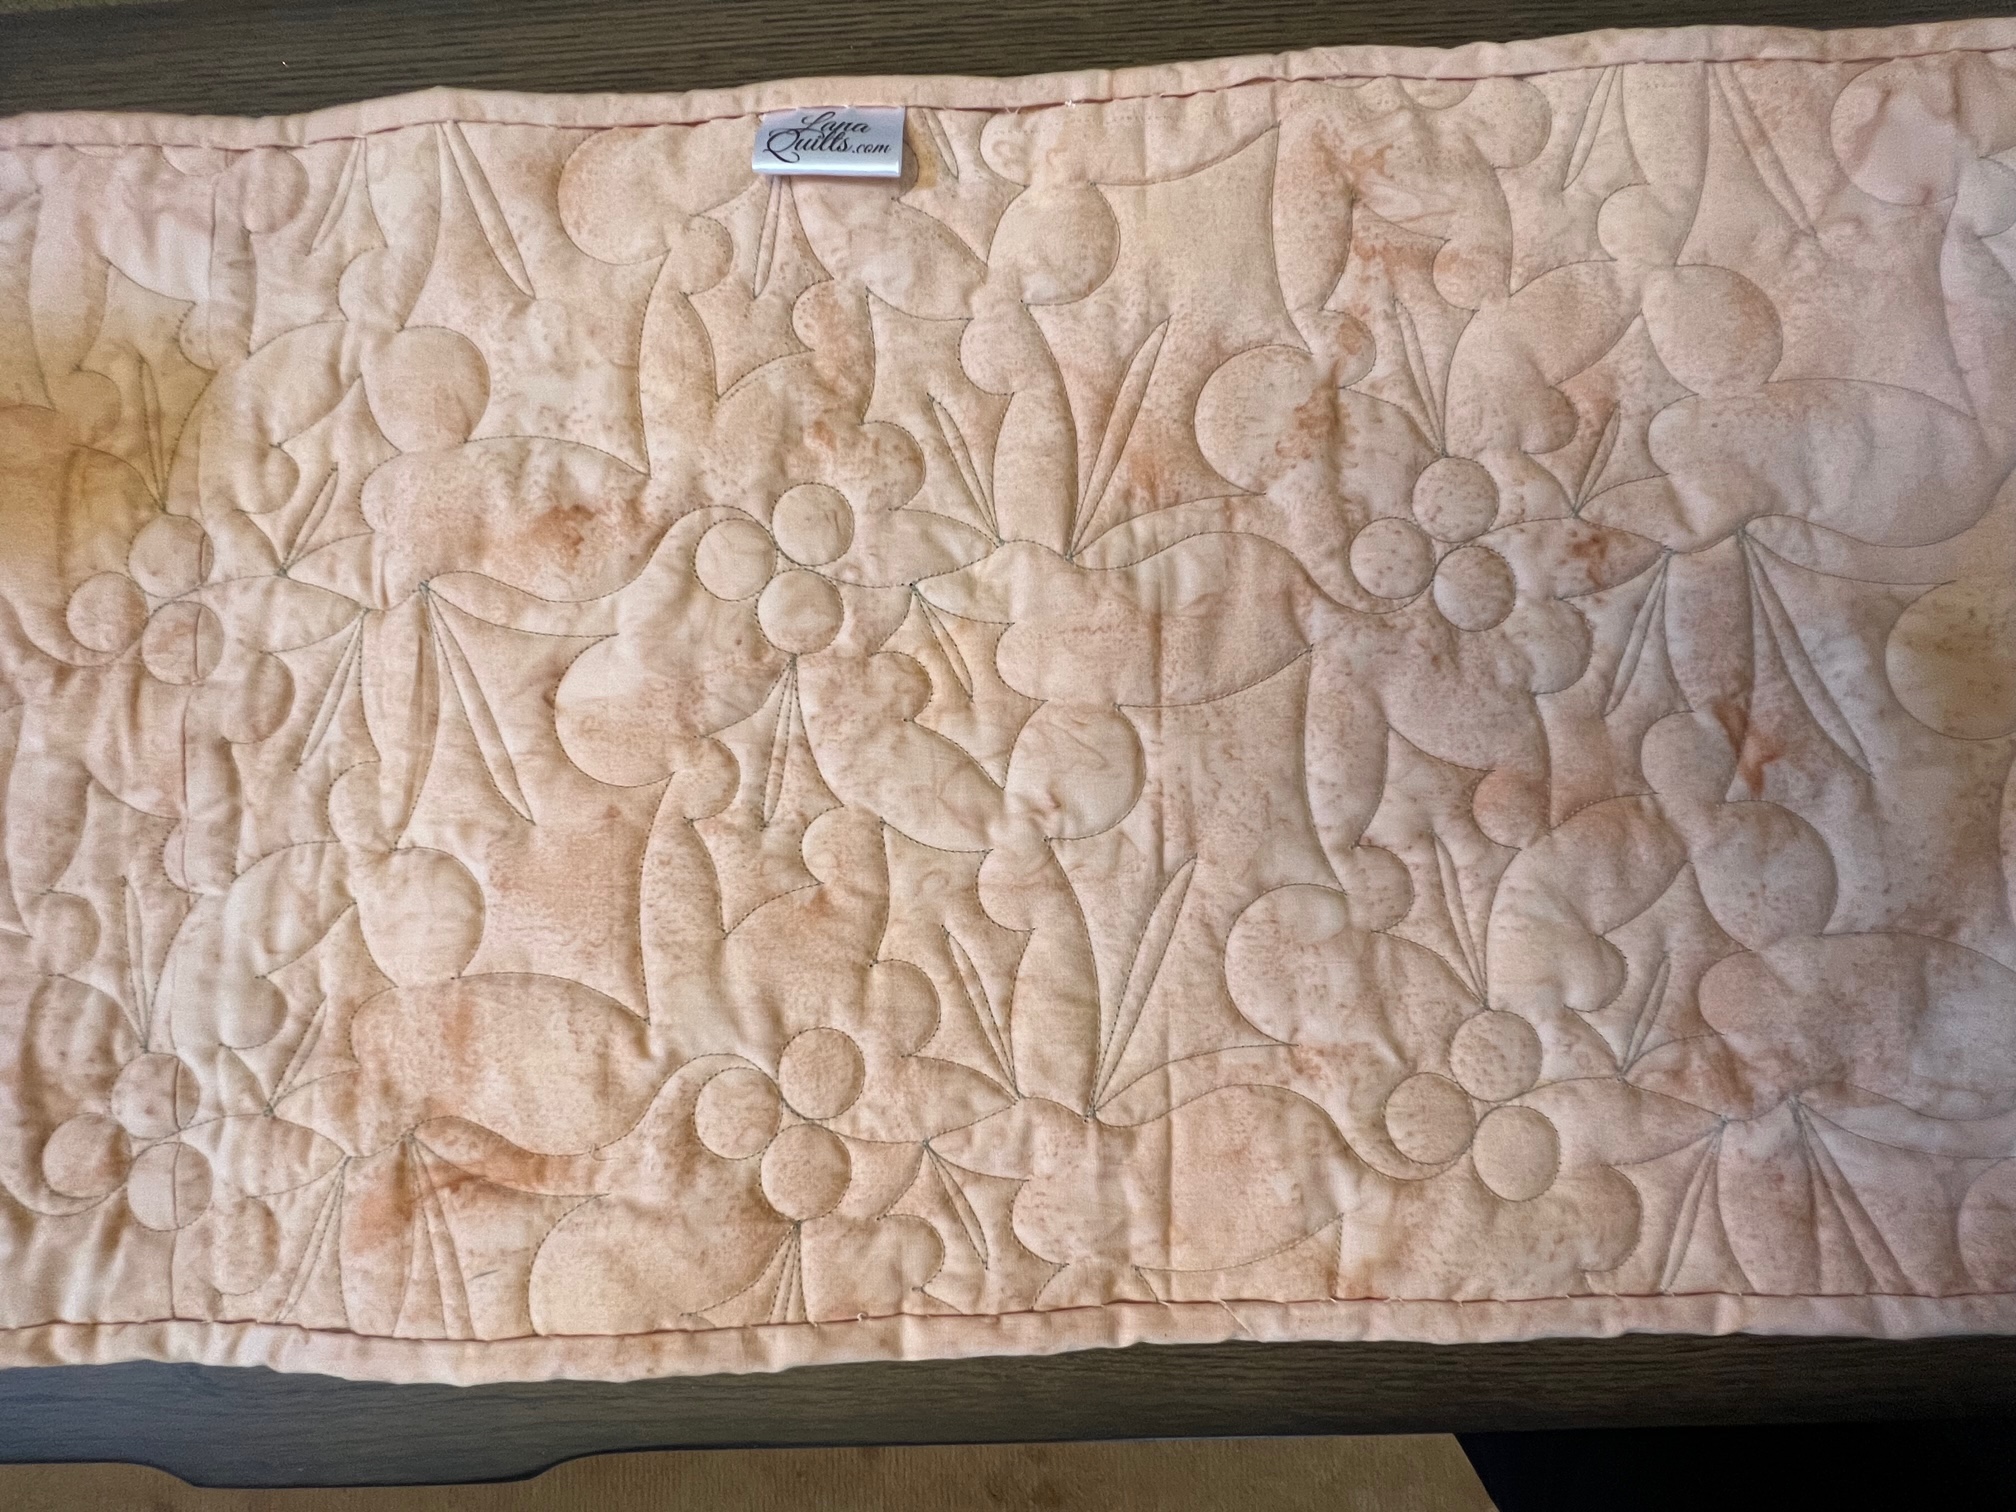
I quilted it using double batting, one layer of Hobbs 80/20 and one layer of Hobbs wool on the top to provide the loft I wanted. Hobbs has many varieties of batting for every need. The digital quilt design is used is Hollies and Berries from Pro-Stitcher Patterns quilted on my Handi Quilter Forte 24 (Handi Quilter Amara 24).

The Holiday at Home collection can be found at these shops:
| Compass Point Quilts | NH |
| Cotton Cupboard-ME | ME |
| Creekside Quilts-OR | OR |
| Hancocks of Paducah | KY |
| Missouri Star | MO |
| Nine Patch Fabrics | VA |
| Quilters Headquarters | SD |
| Sew What Fabrics/Batiks Etc. | VA |
Check out all the other Ambassadors to see how they handled the challenge:
Brenda Alburl ~ Songbird Designs
Renee Atkinson ~ Pink Tulip Quilting
Pamela Boatright ~ PamelaQuilts
Susan Deshensky ~ Lady Blue Quilts
Brittany Fisher ~ Bobbin with Brittany
Preeti Harris ~ Sew Preeti Quilts
Mania Hatziioannidi ~ Mania for quilts
Reed Johnson ~ Blue Bear Quilts
Victoria Johnson ~ Forever Quilting for You
Randi Jones ~ Randi’s Roost
Connie Kauffman ~ Kauffman Designs
Emily Leachman ~ The Darling Dogwood
Denise Looney ~ Quiltery – For The Love Of Geese
Leah Malasky ~ Quilted Delights
Maryellen McAuliffe ~ Mary Mack Made Mine
Anorina Morris ~ sameliasmum.com
Lisa Pickering ~ Lisa’s Quilting Passion
Sarah Pitcher ~ Pitcher’s Boutique
Claudia Porter ~ Create with Claudia
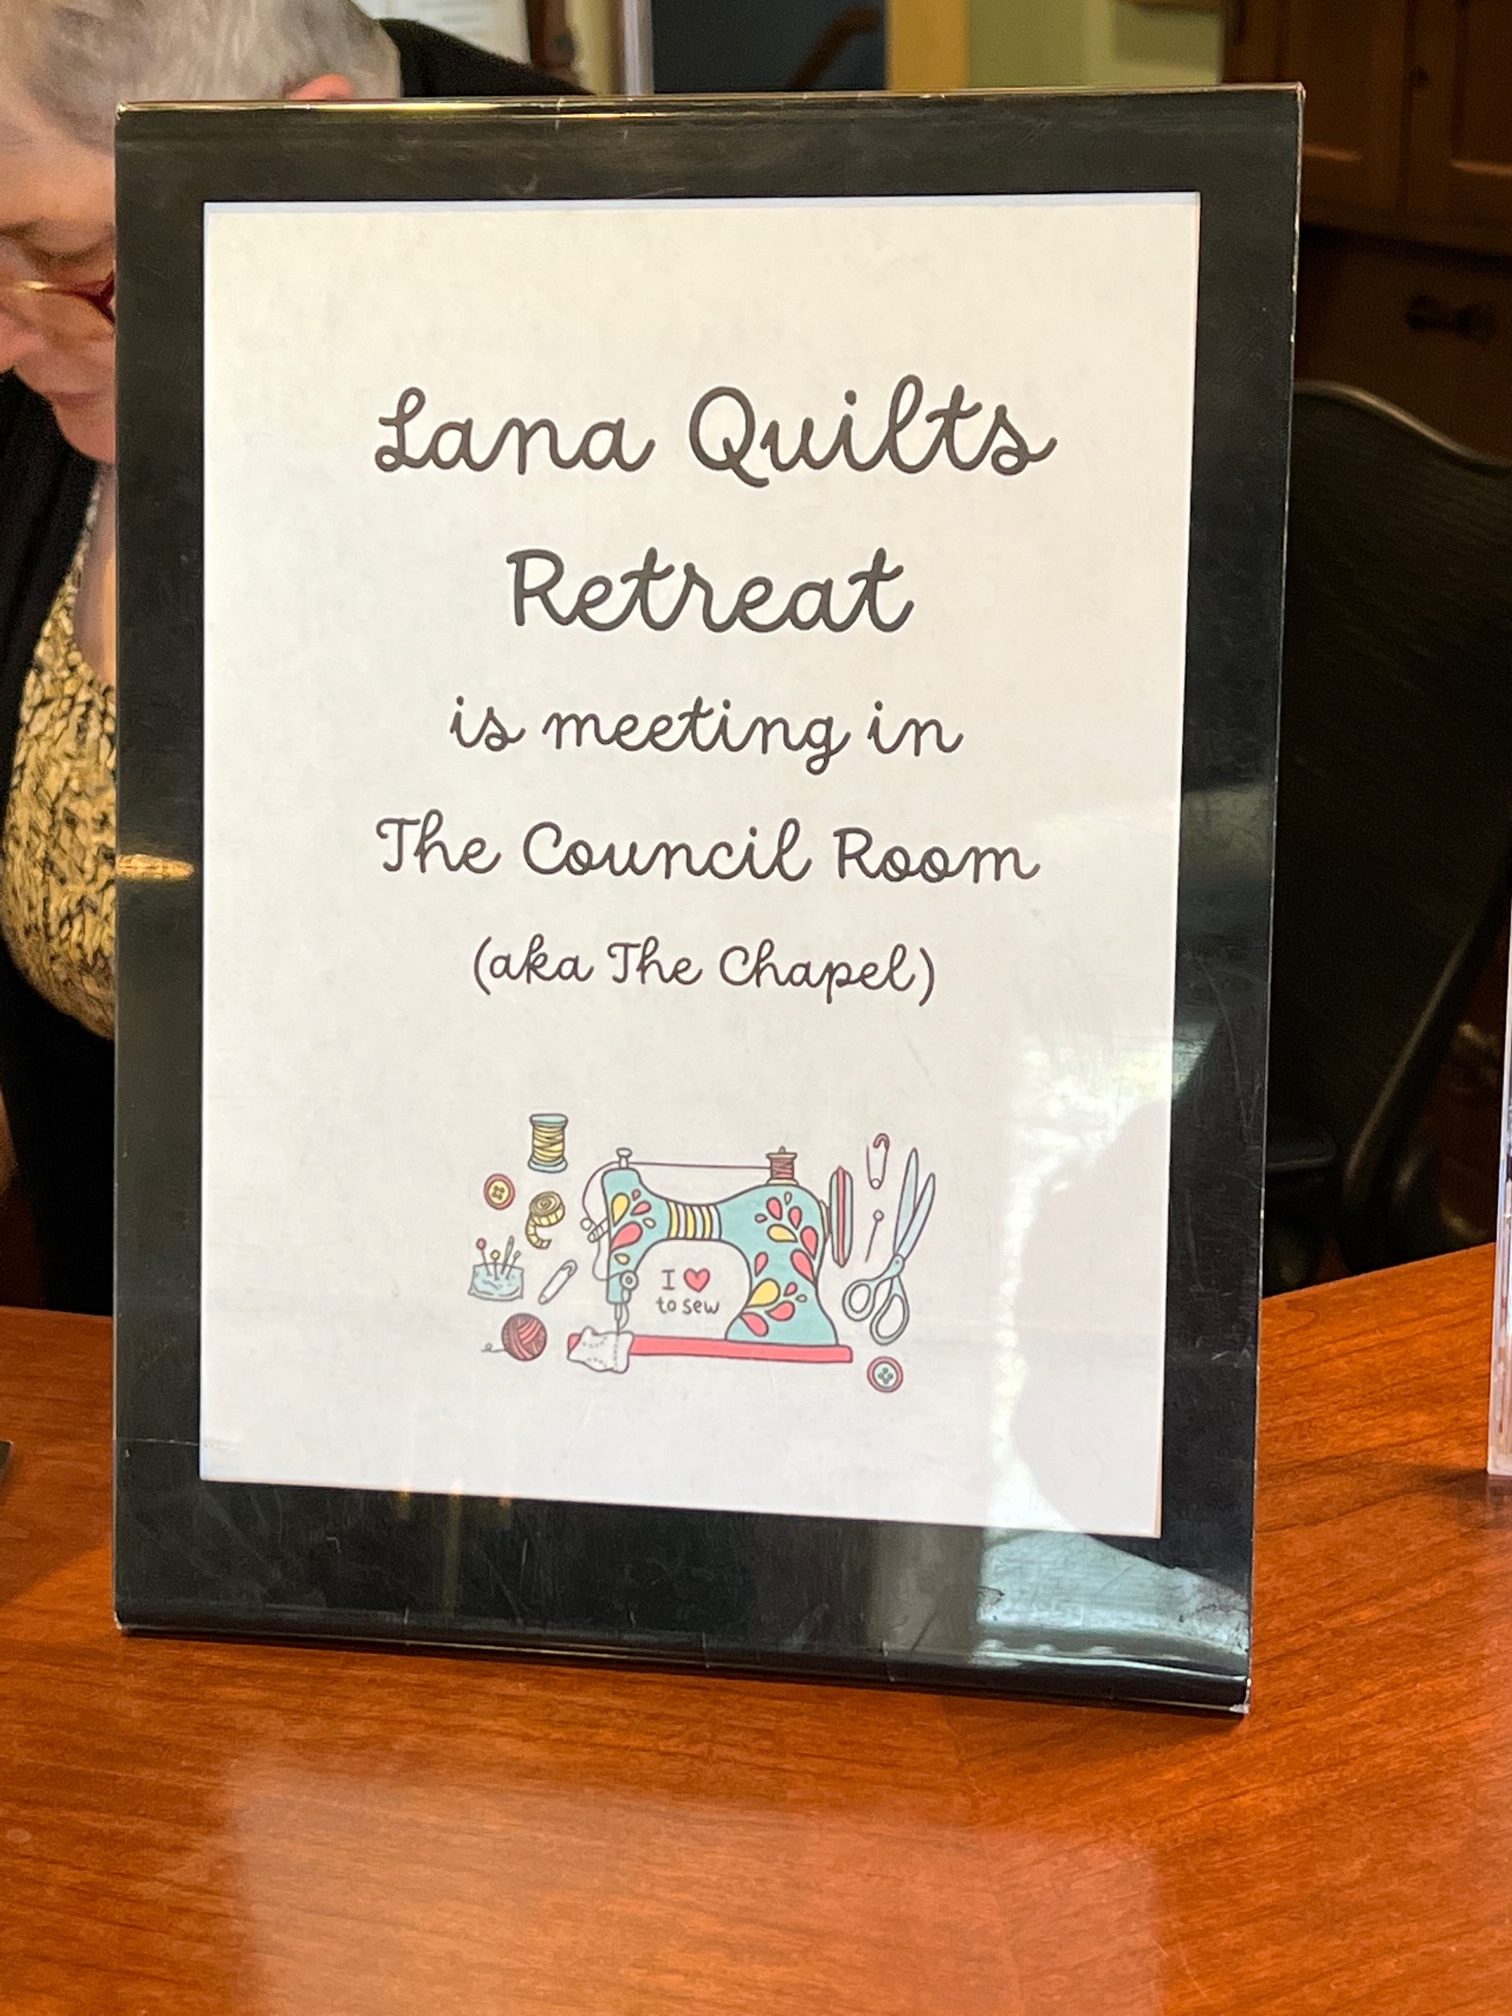
Lana Russel ~ Lana Quilts
Elita Sharpe ~ Busy Needle
Gail Sheppard ~ Quilting Gail
Sandra Starley ~ Textile Time Travels
Jennifer Thomas ~ Curlicue Creations
Suzy Webster ~ Websterquilt