Dresden Plate Blog Hop
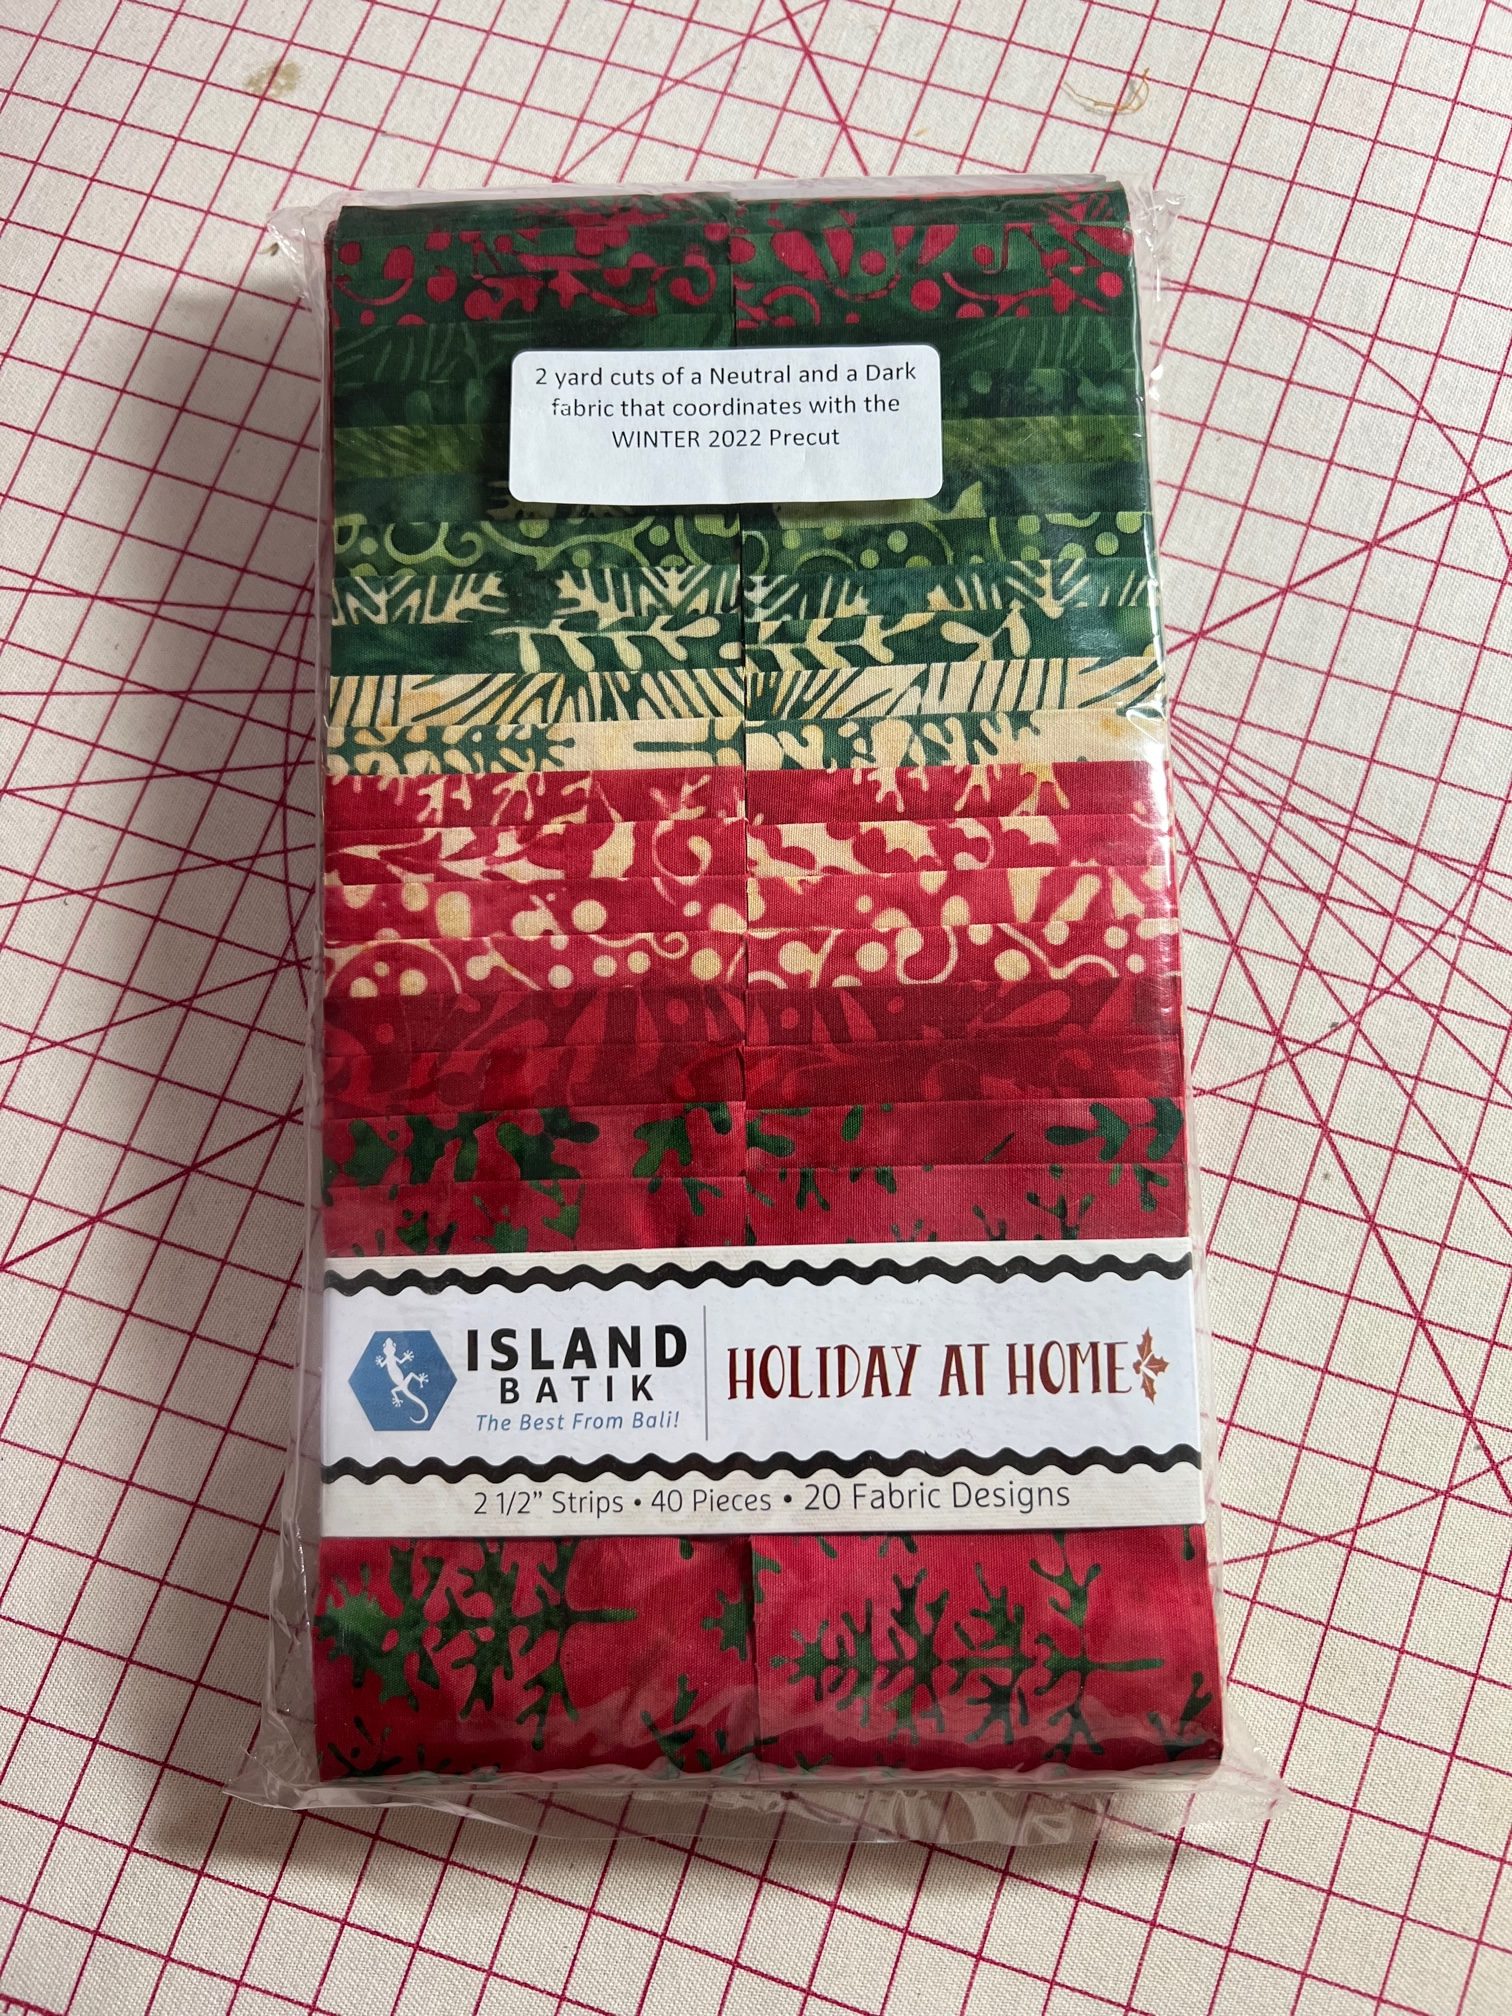
This month’s challenge was to make a Dresden quilt lap size or larger using the Surprise Bundle we received from Island Batik.
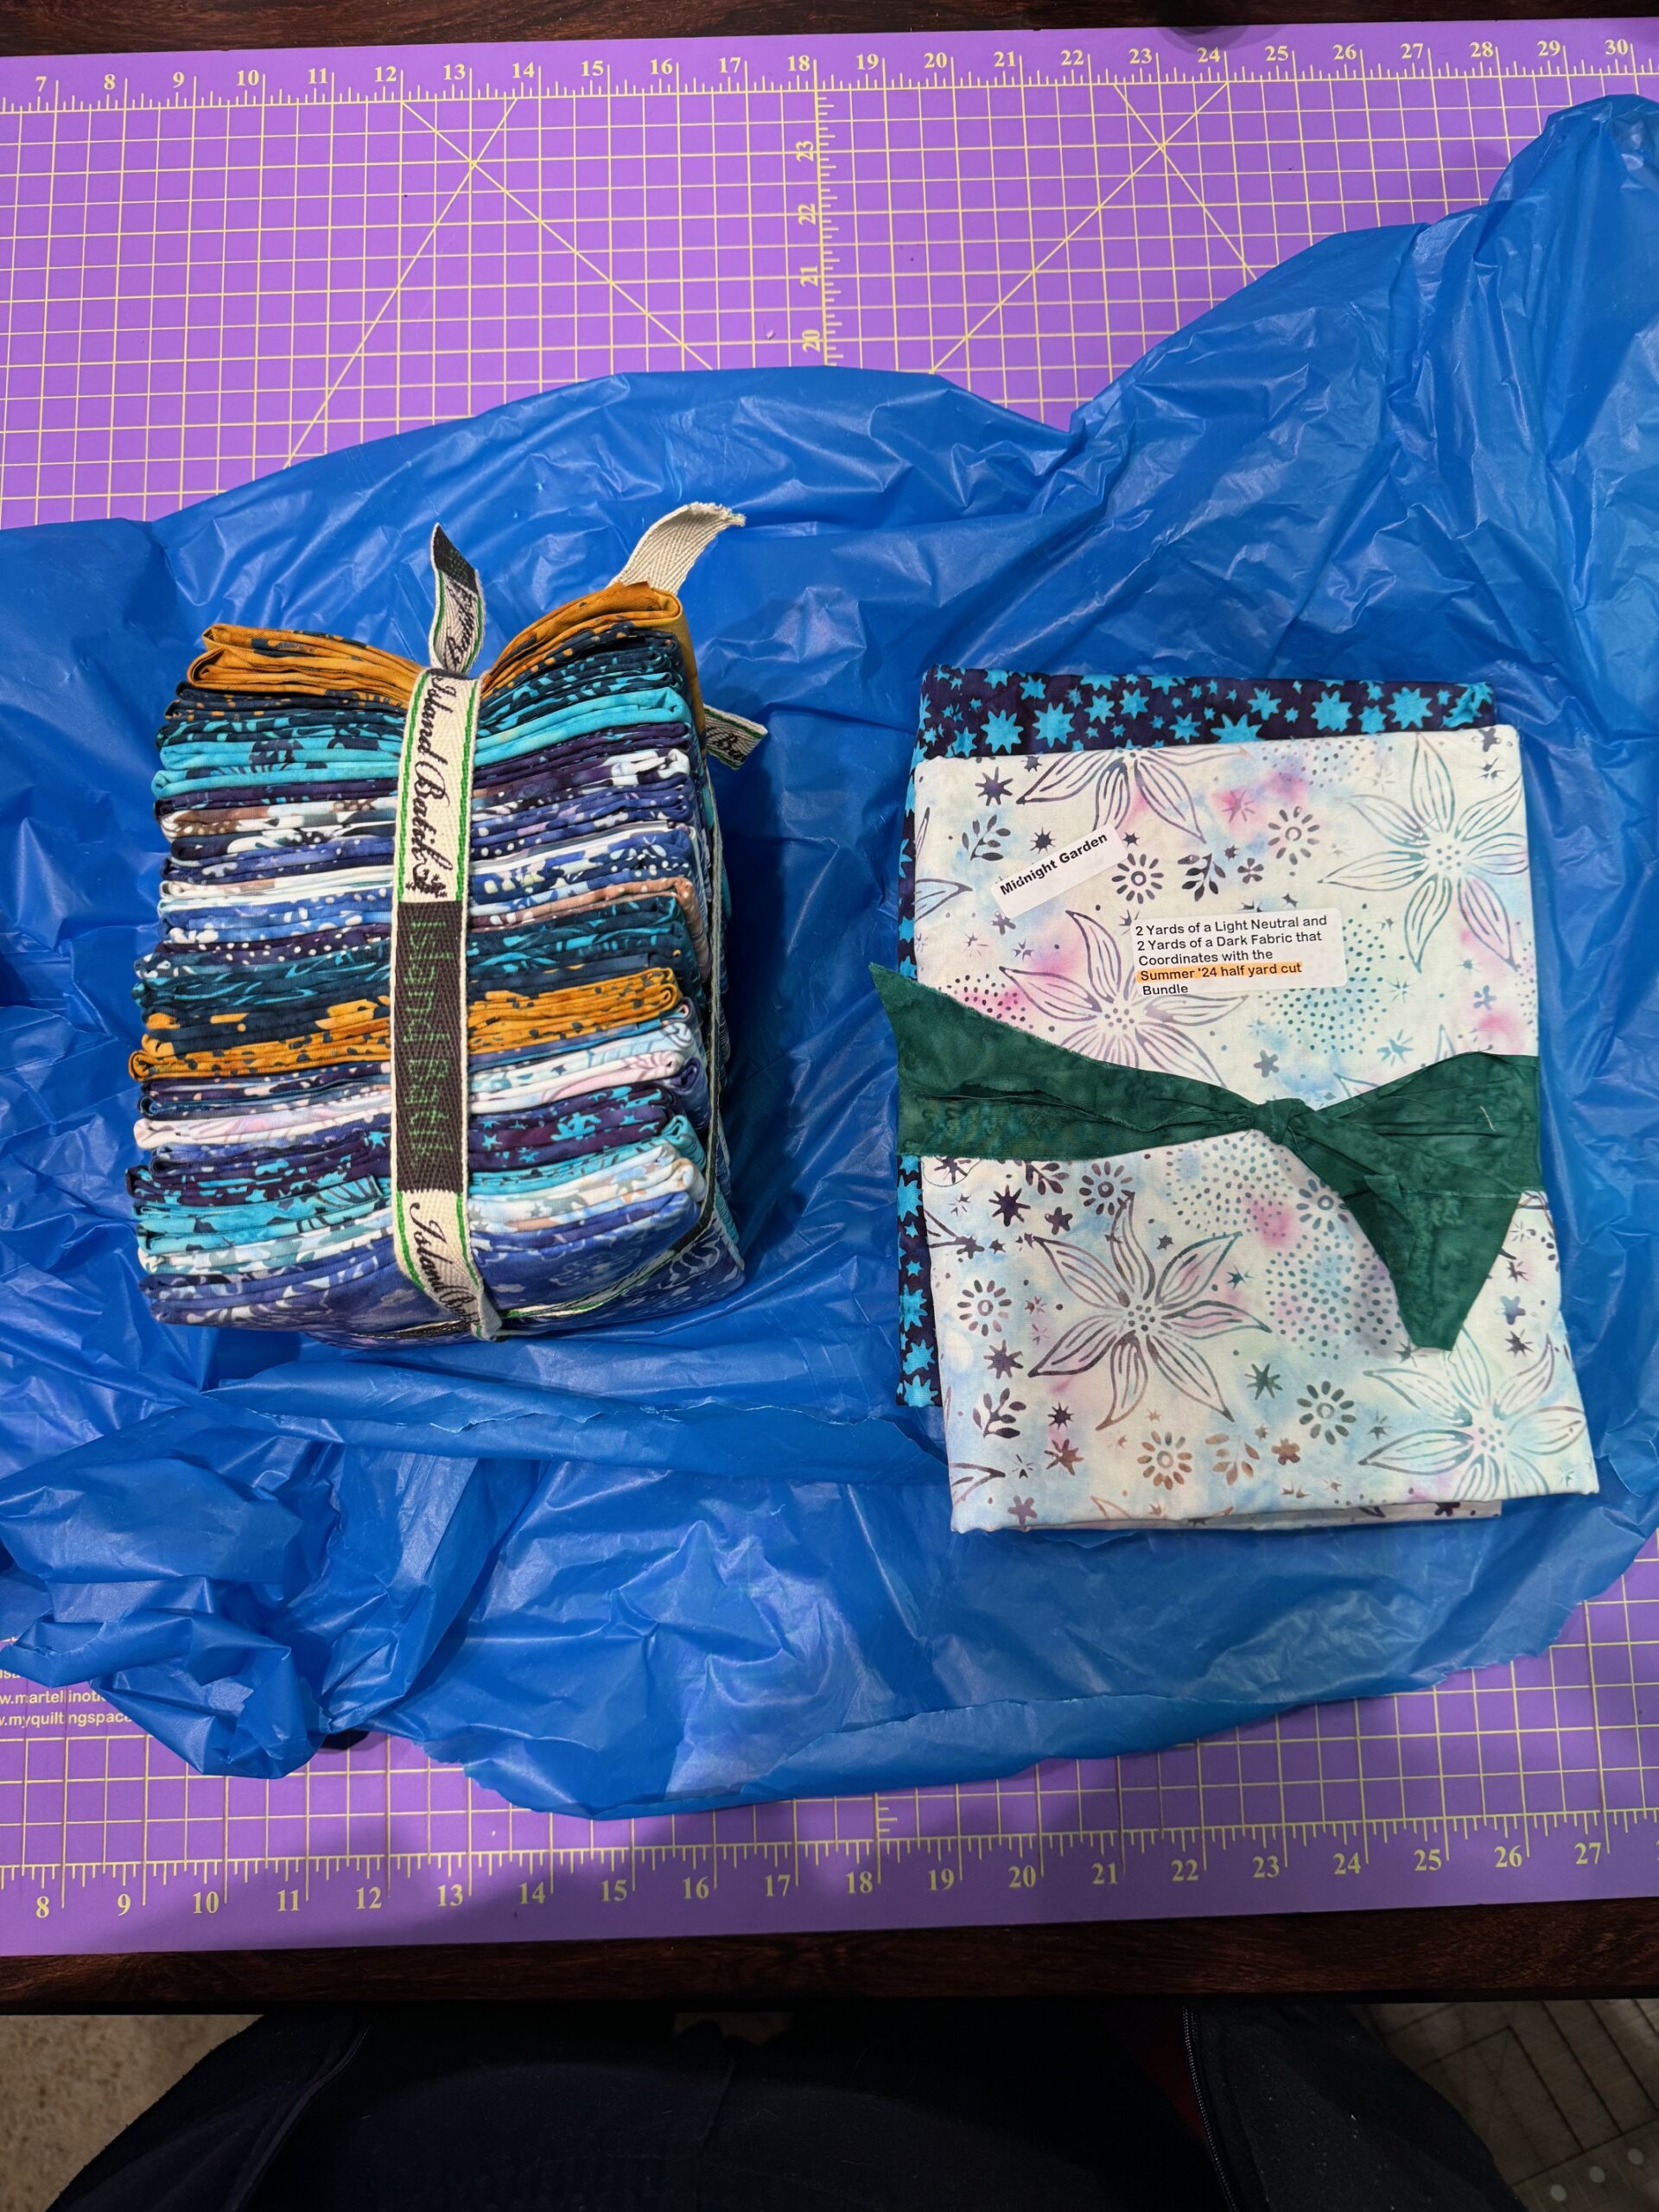
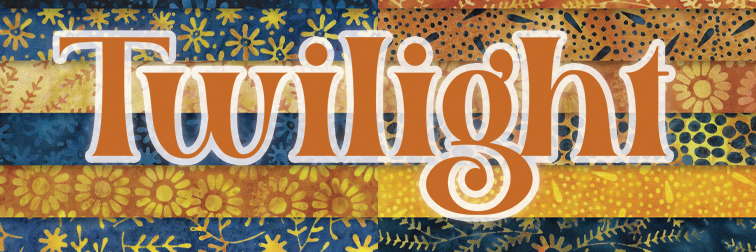
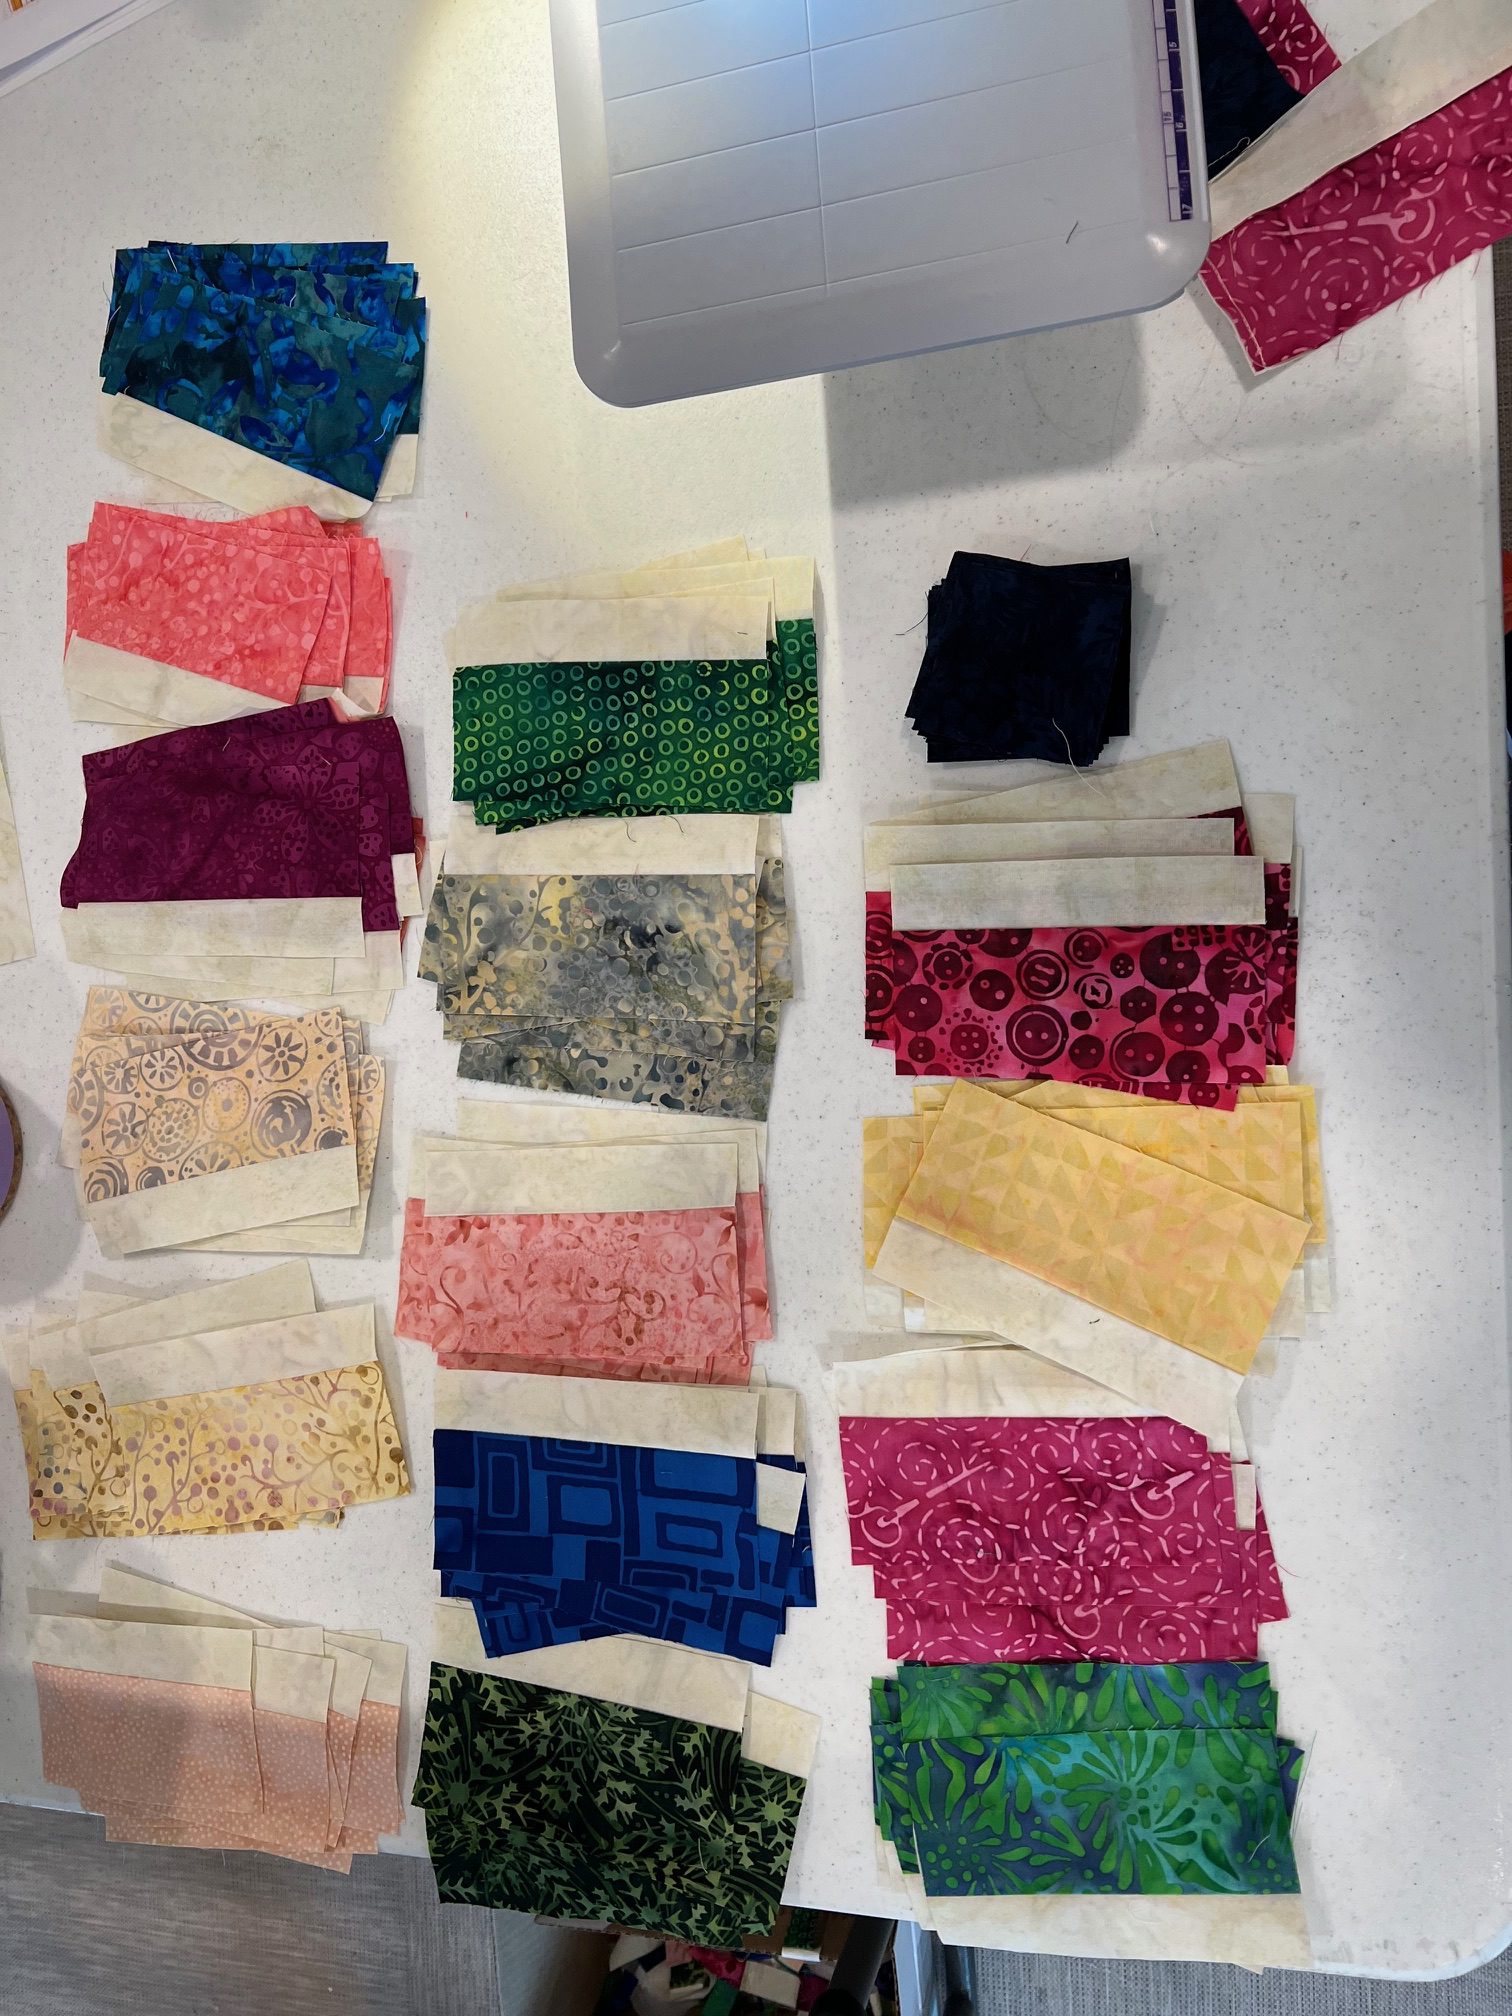
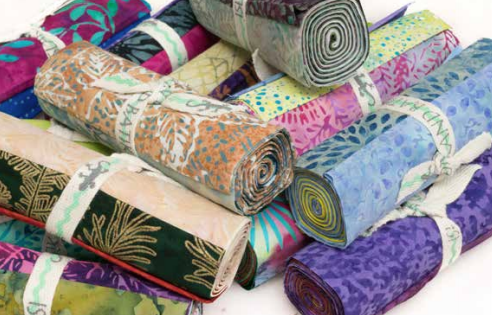
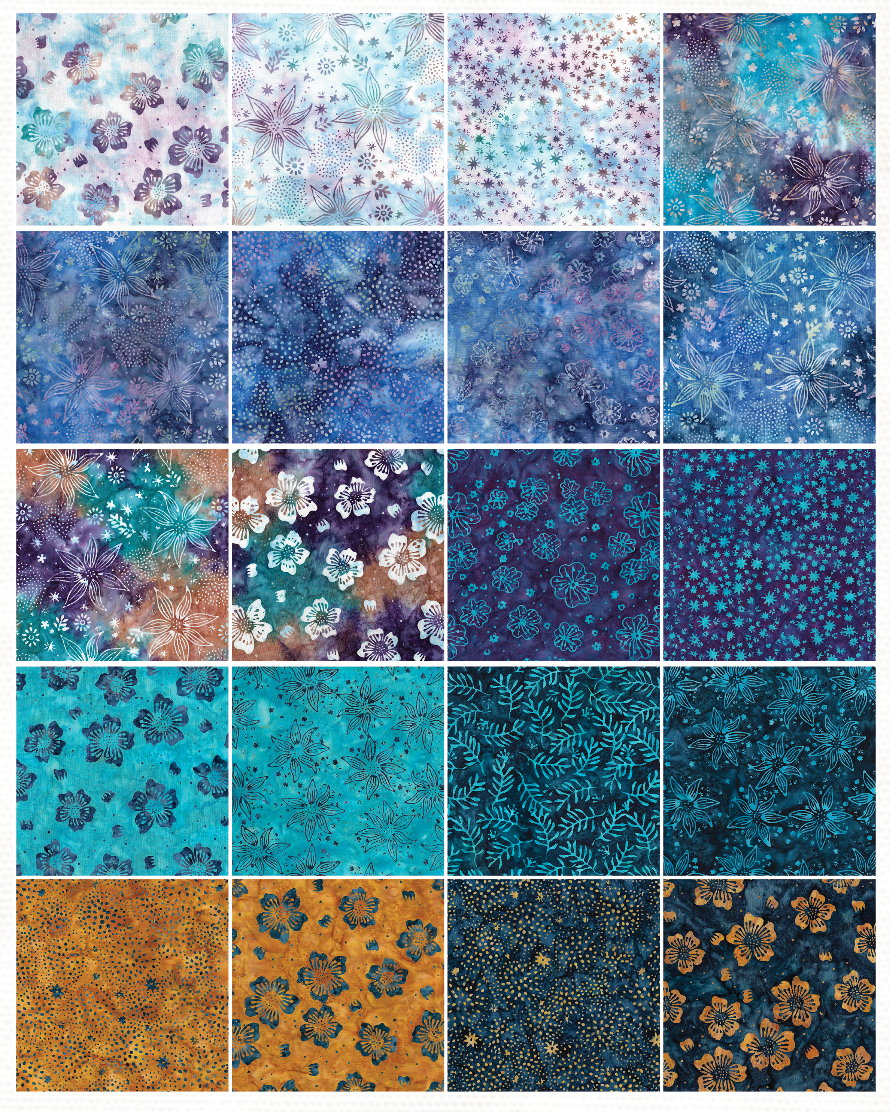
My Surprise Bundle was Midnight Garden, a beautiful collection of blues, purples, and a bit of gold. This was designed by Jerry Khiev as a Spring/ Summer collection and will be shipping to shops beginning next month. Ask for it at your local quilt shop.
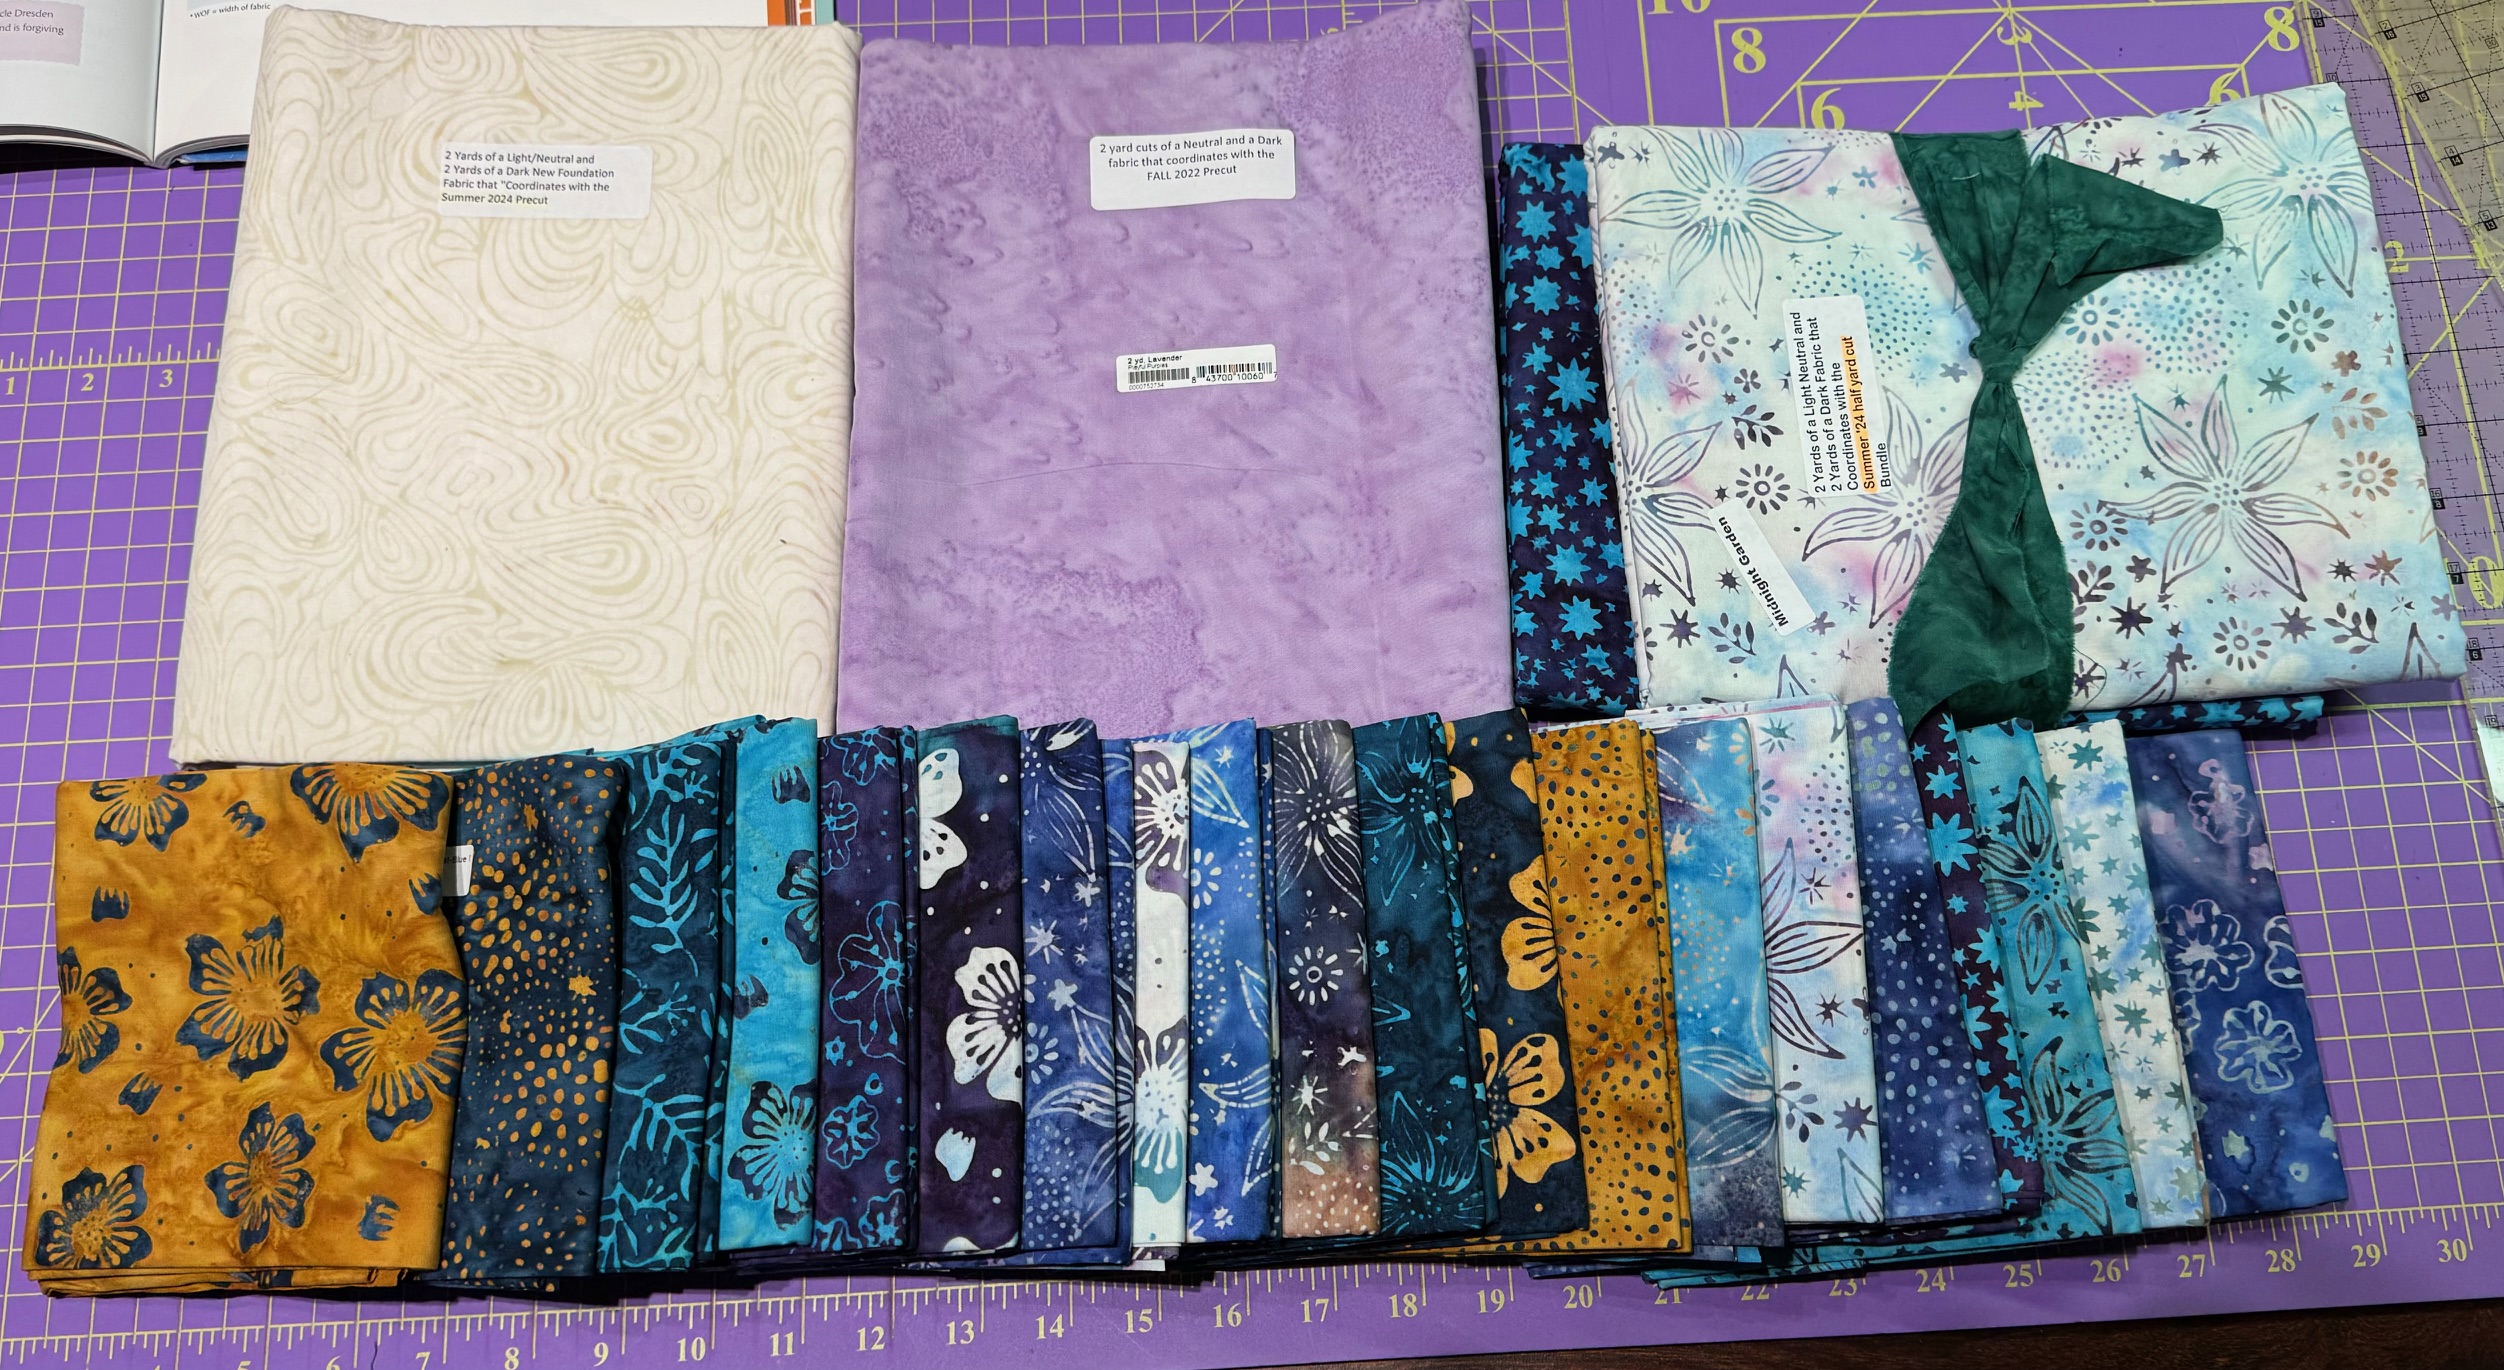
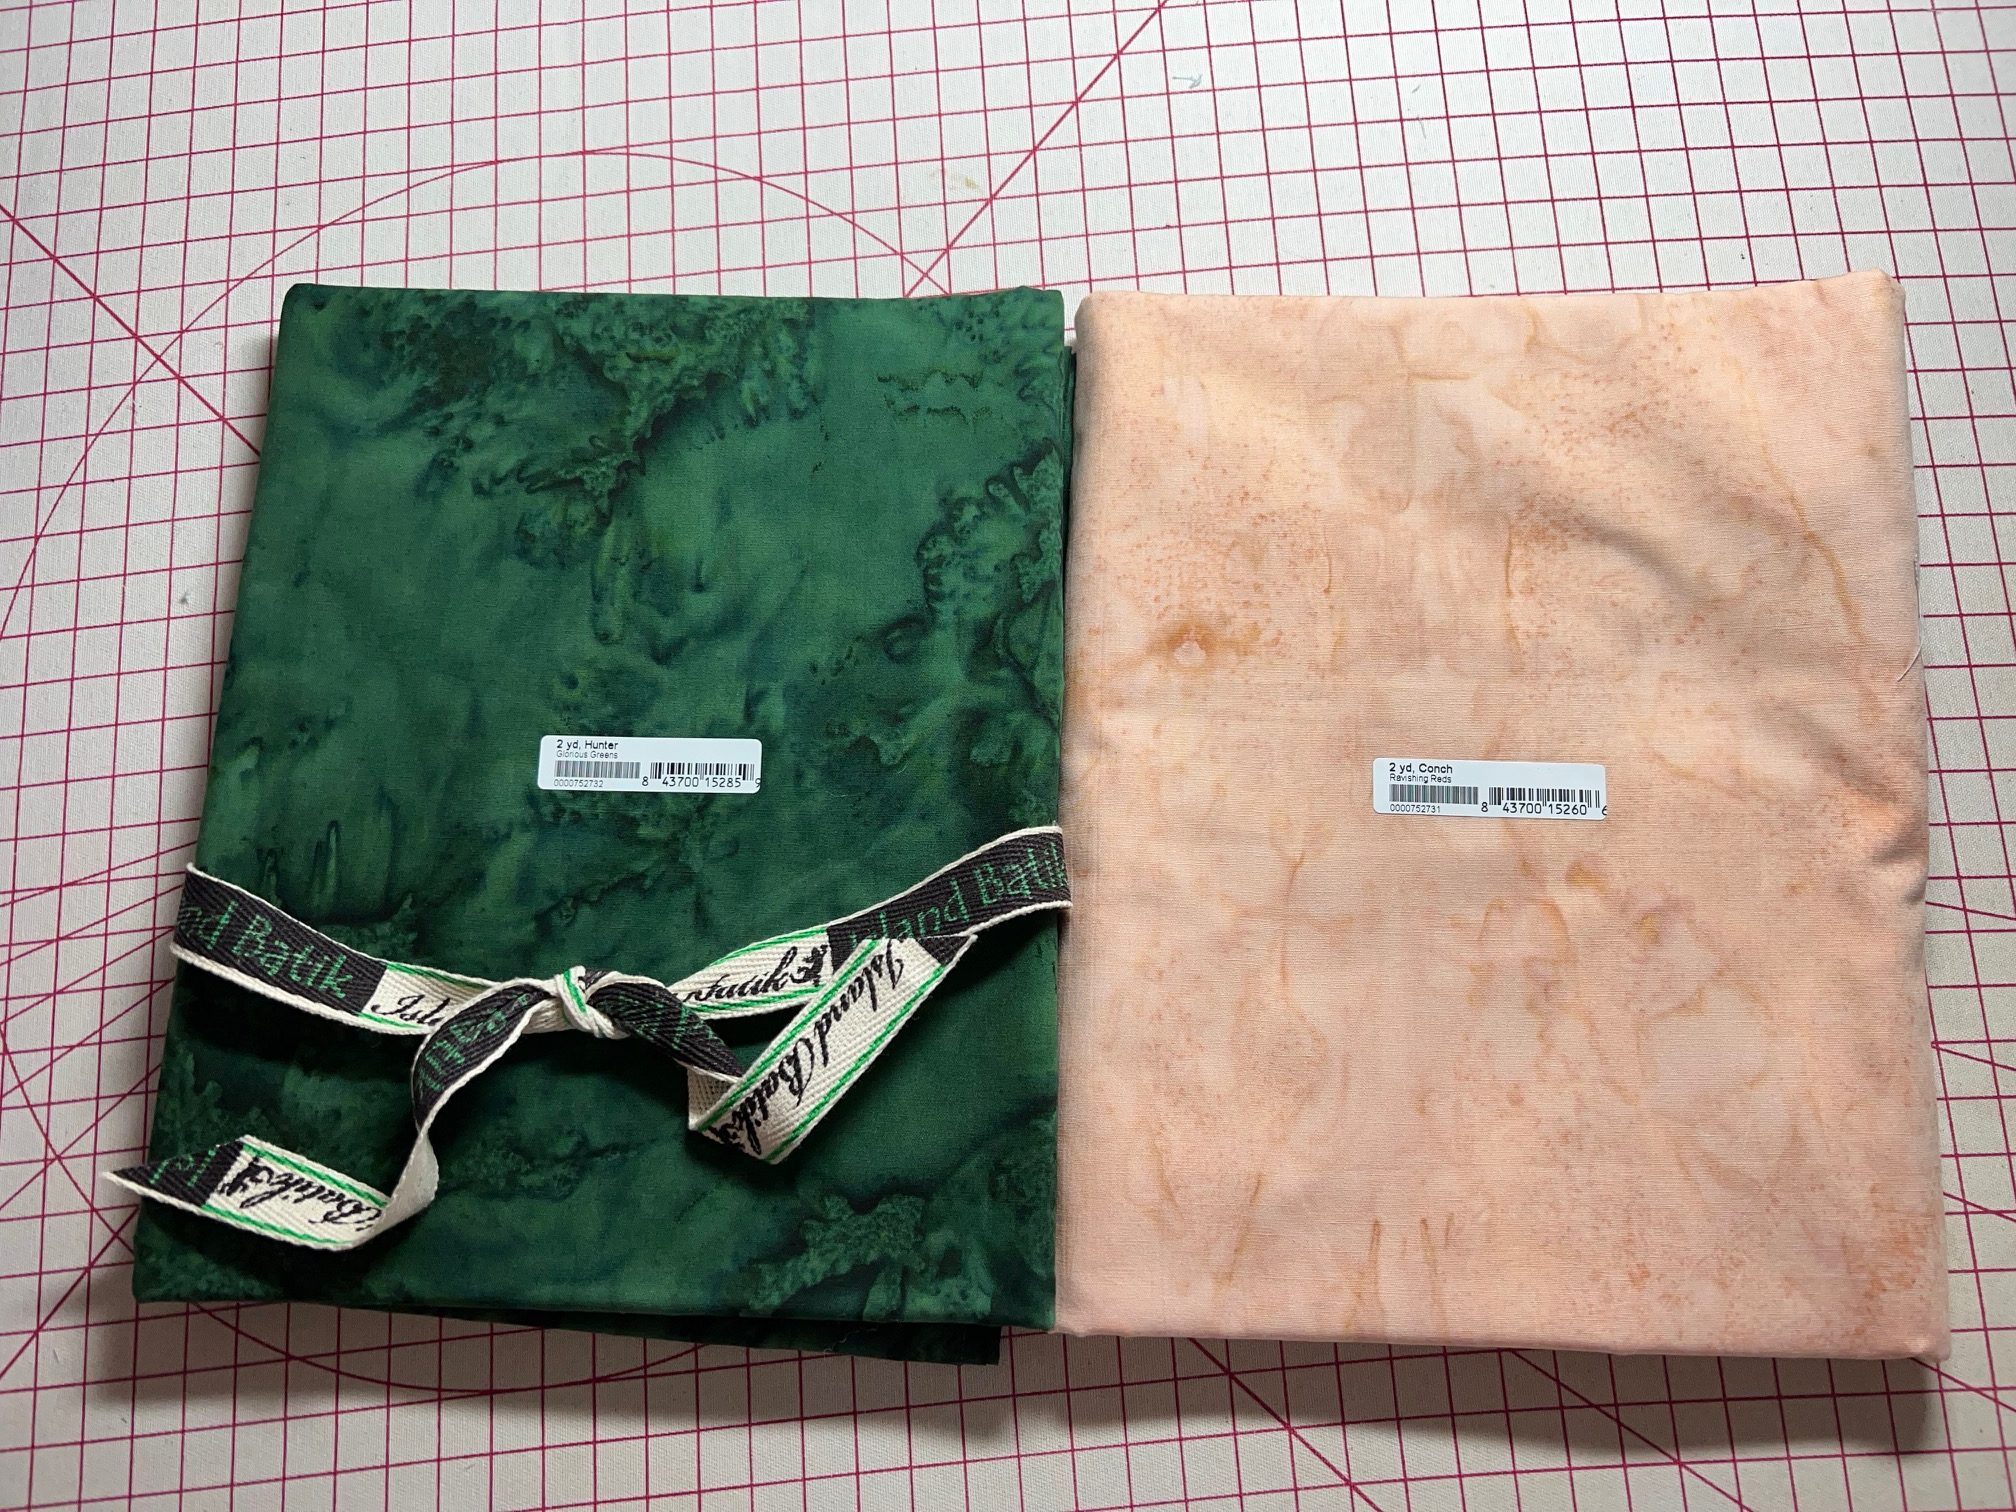
Here is my 1/2 yard bundle along with 2 yards each of two coordinating fabrics, a light and a dark shown in the upper right. I added two background fabrics previously supplied by Island Batik.
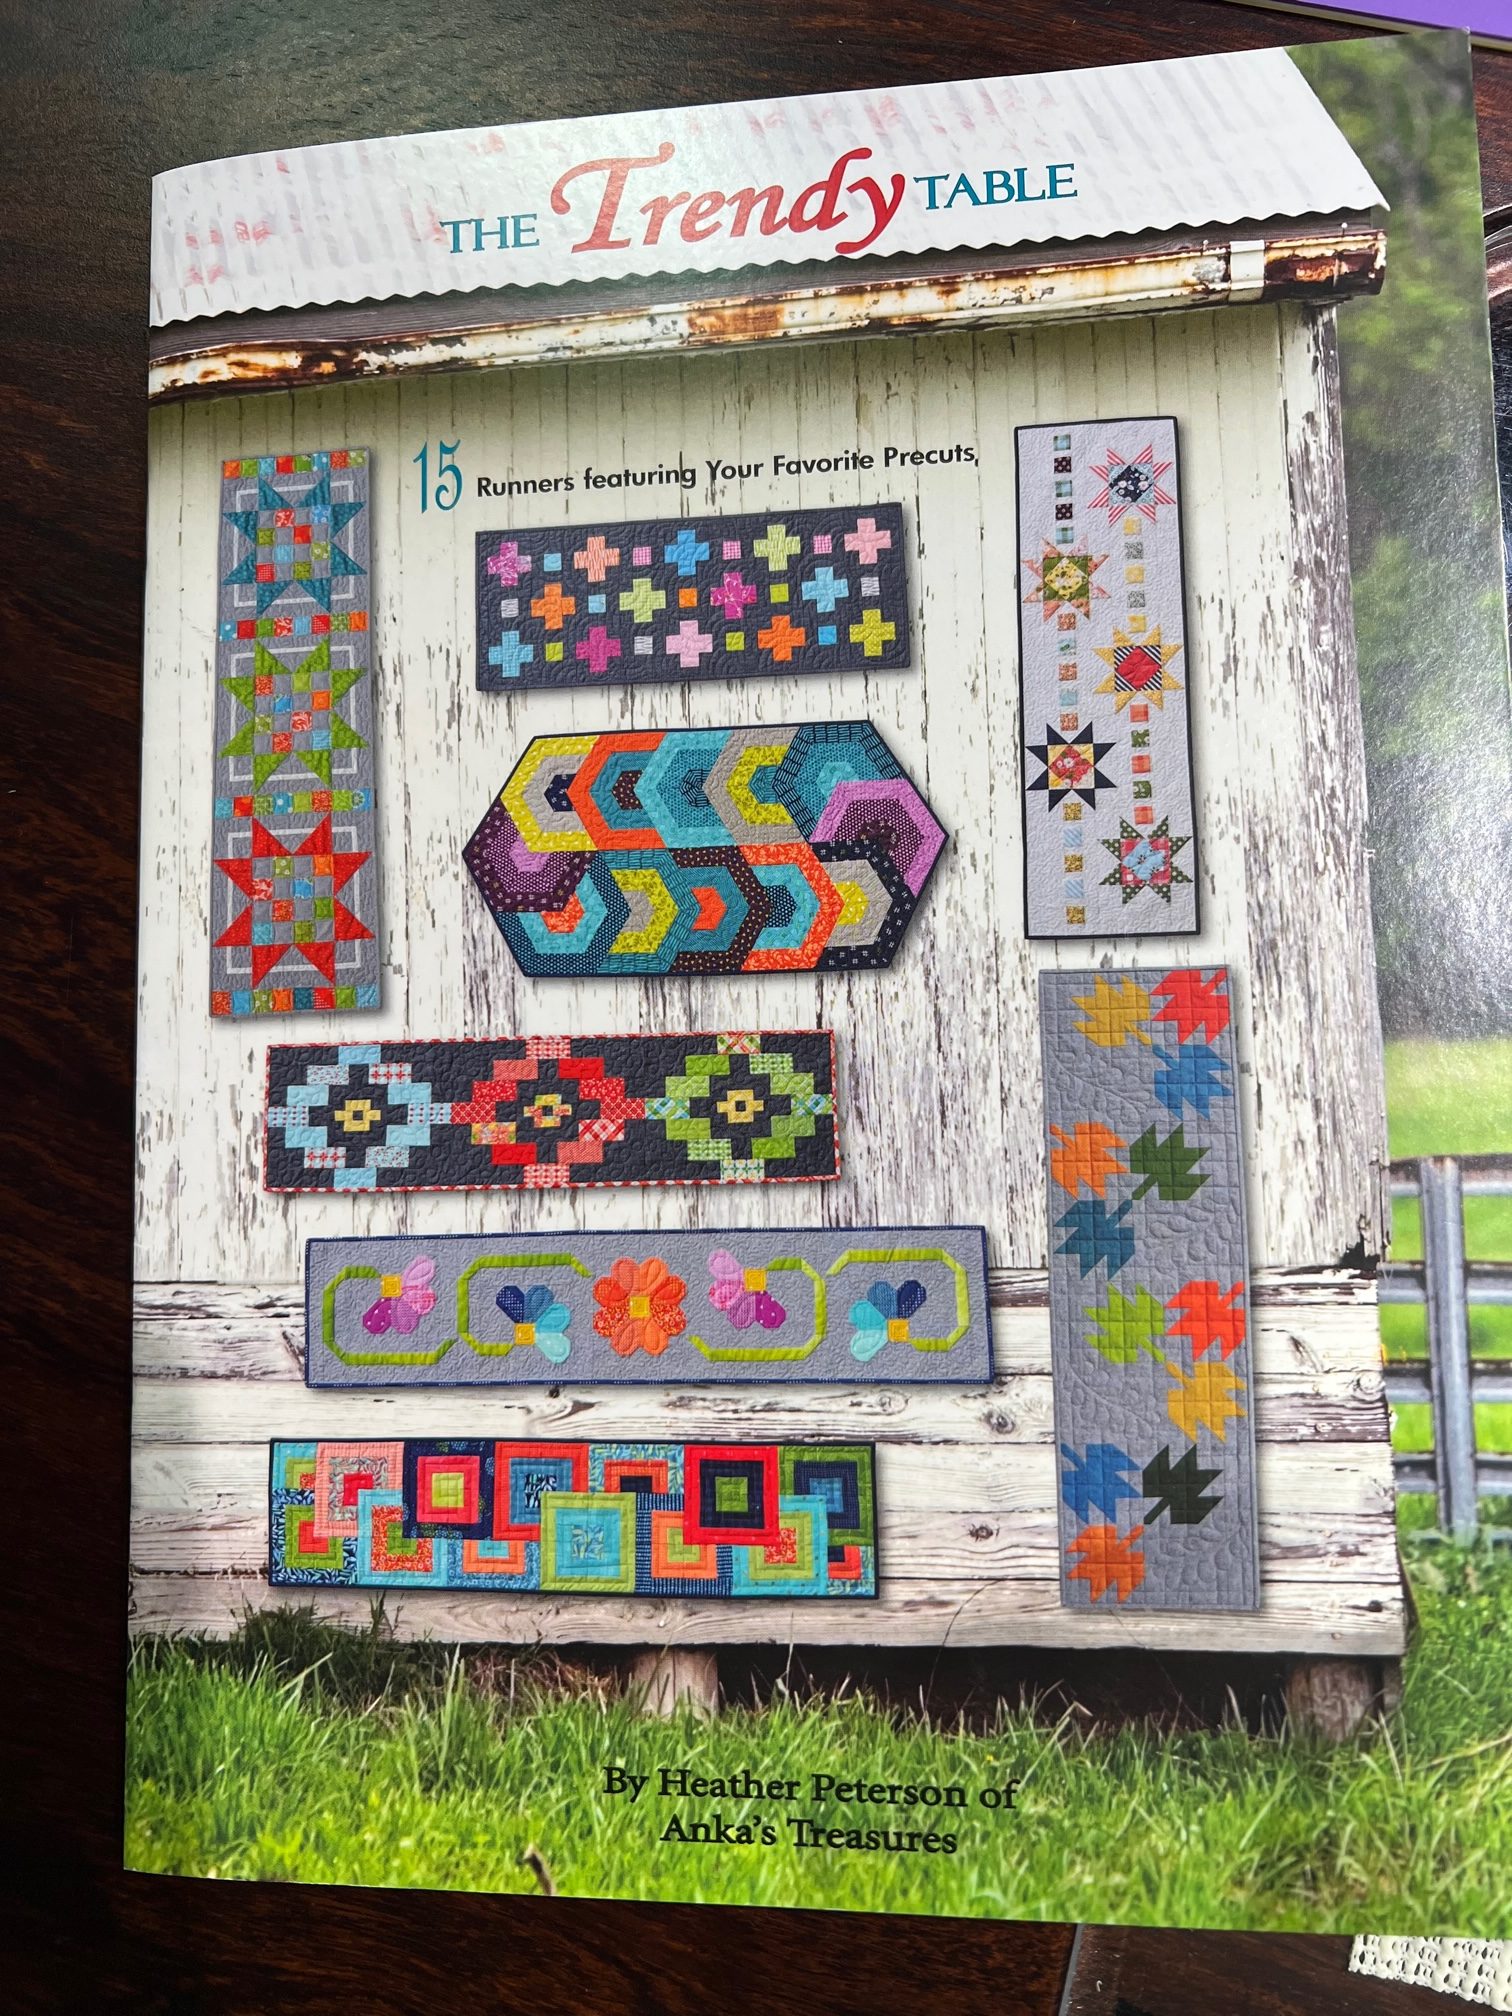
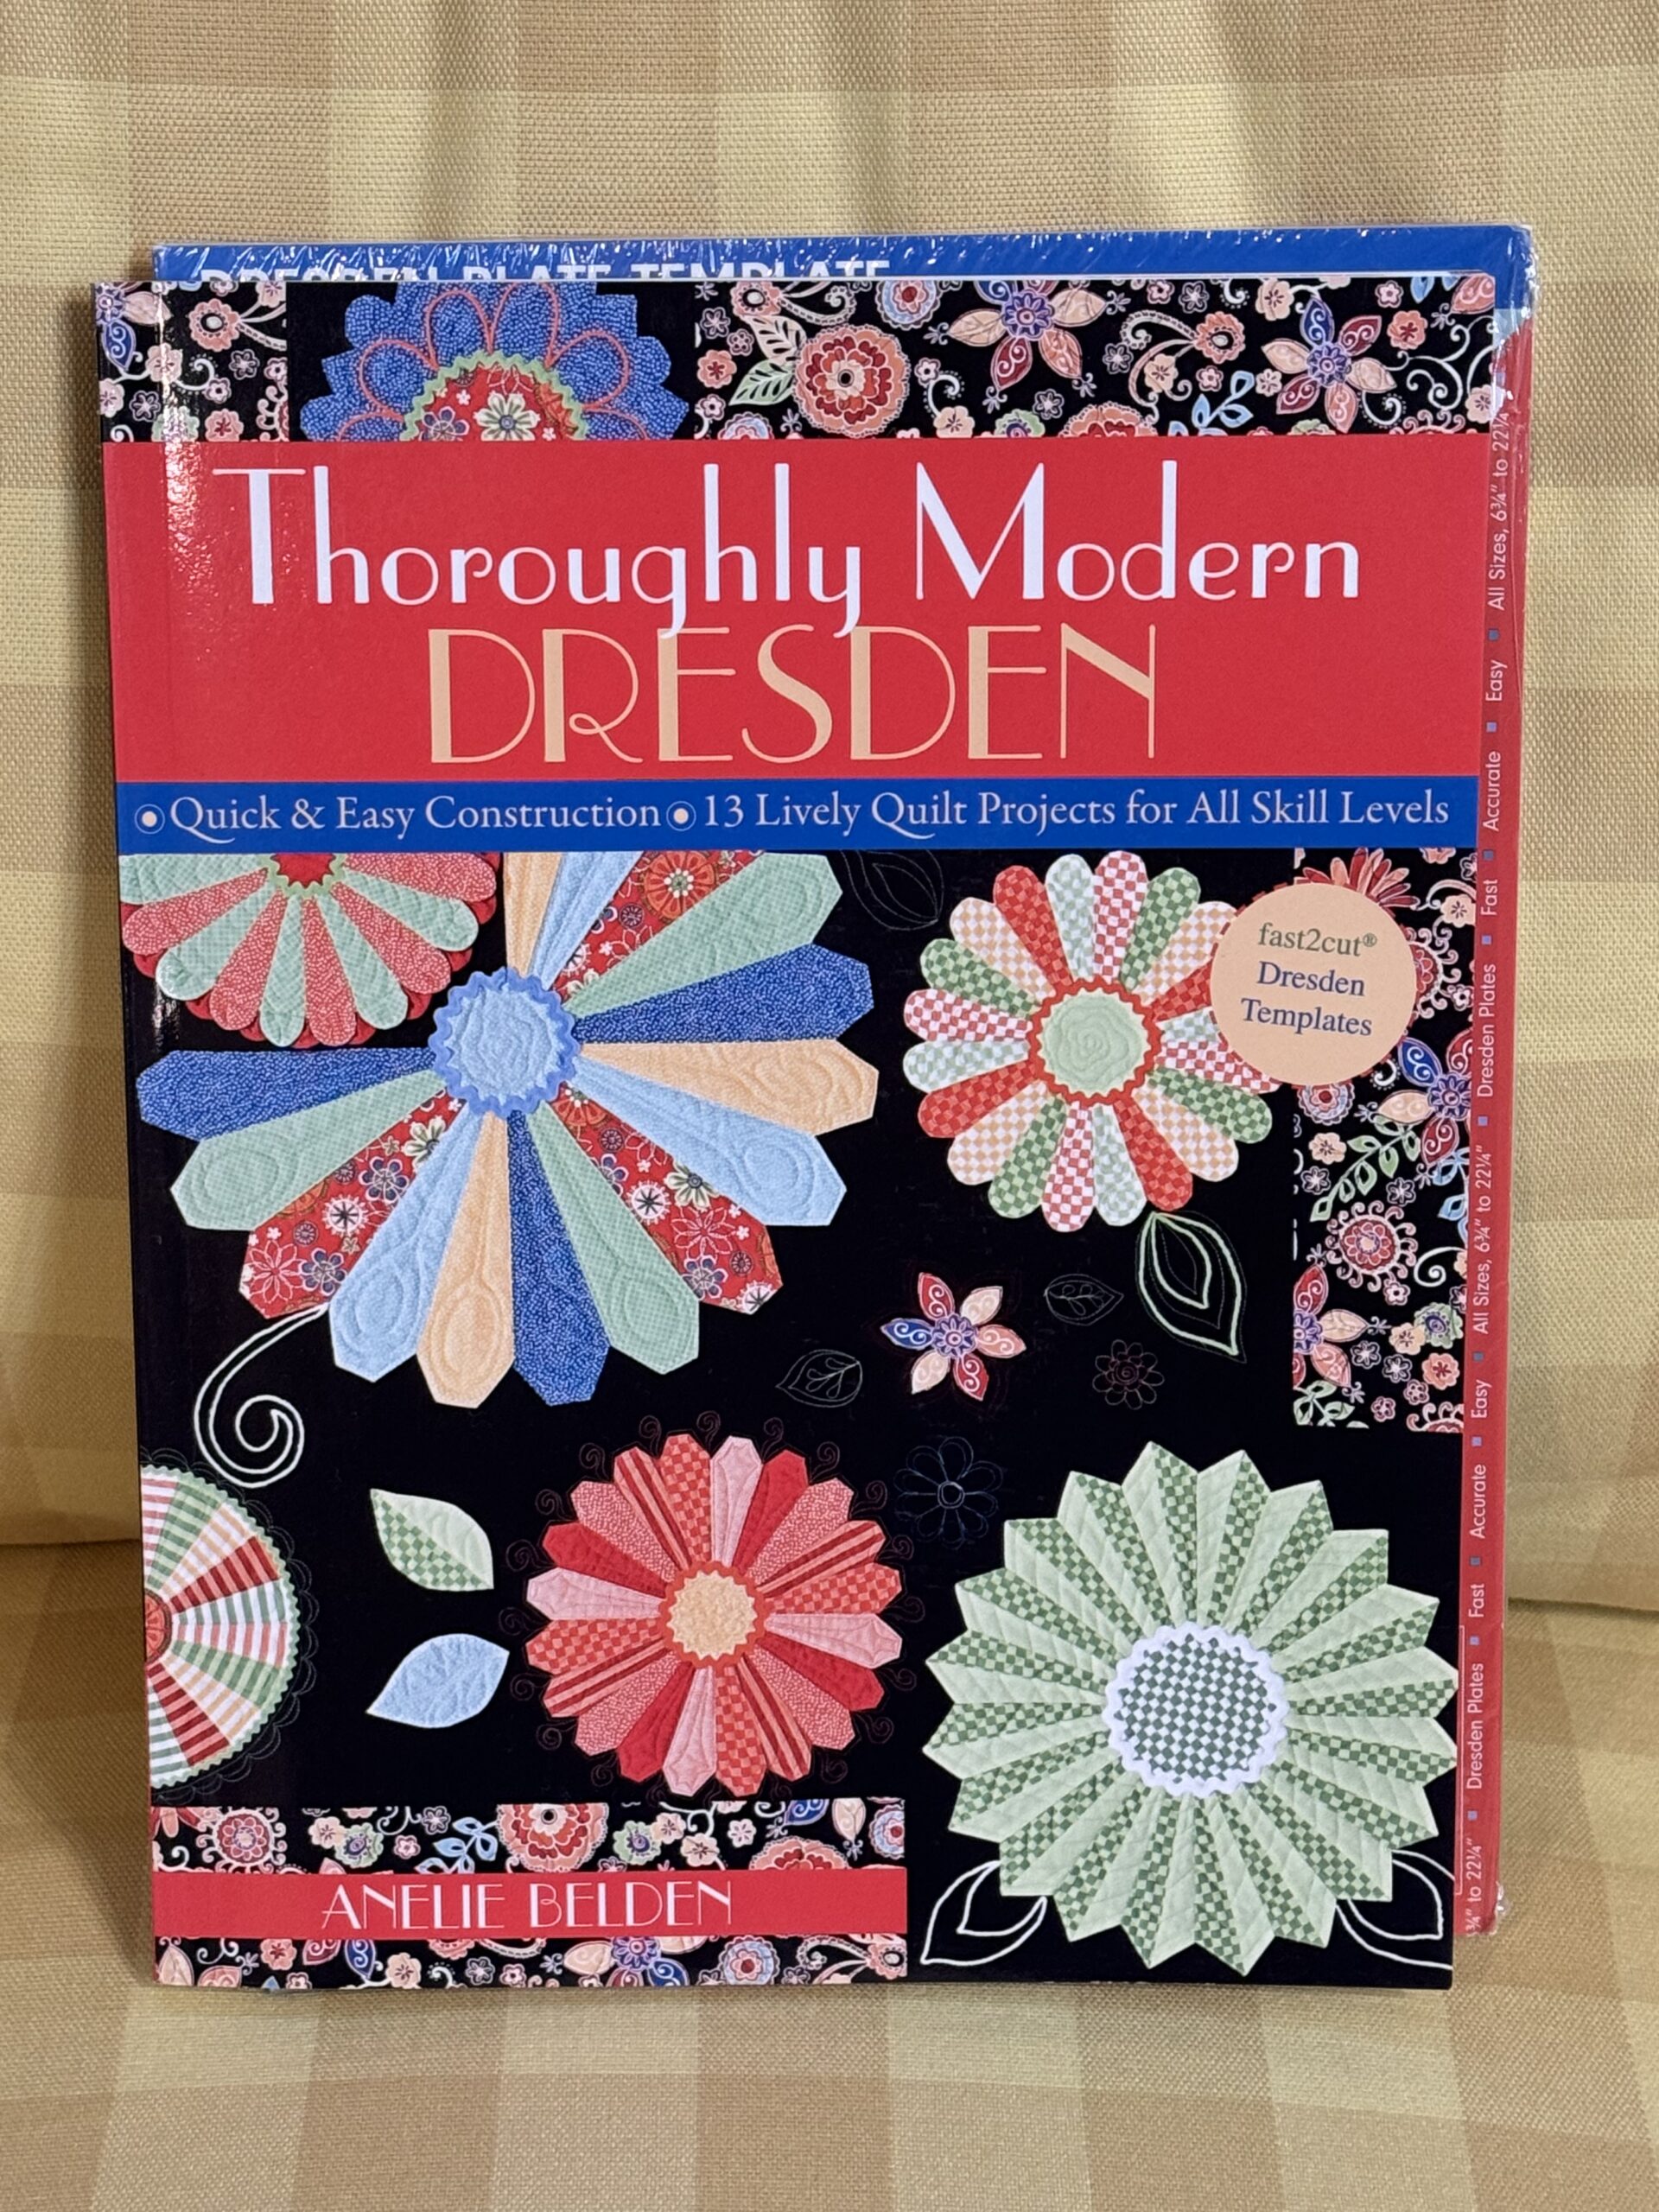
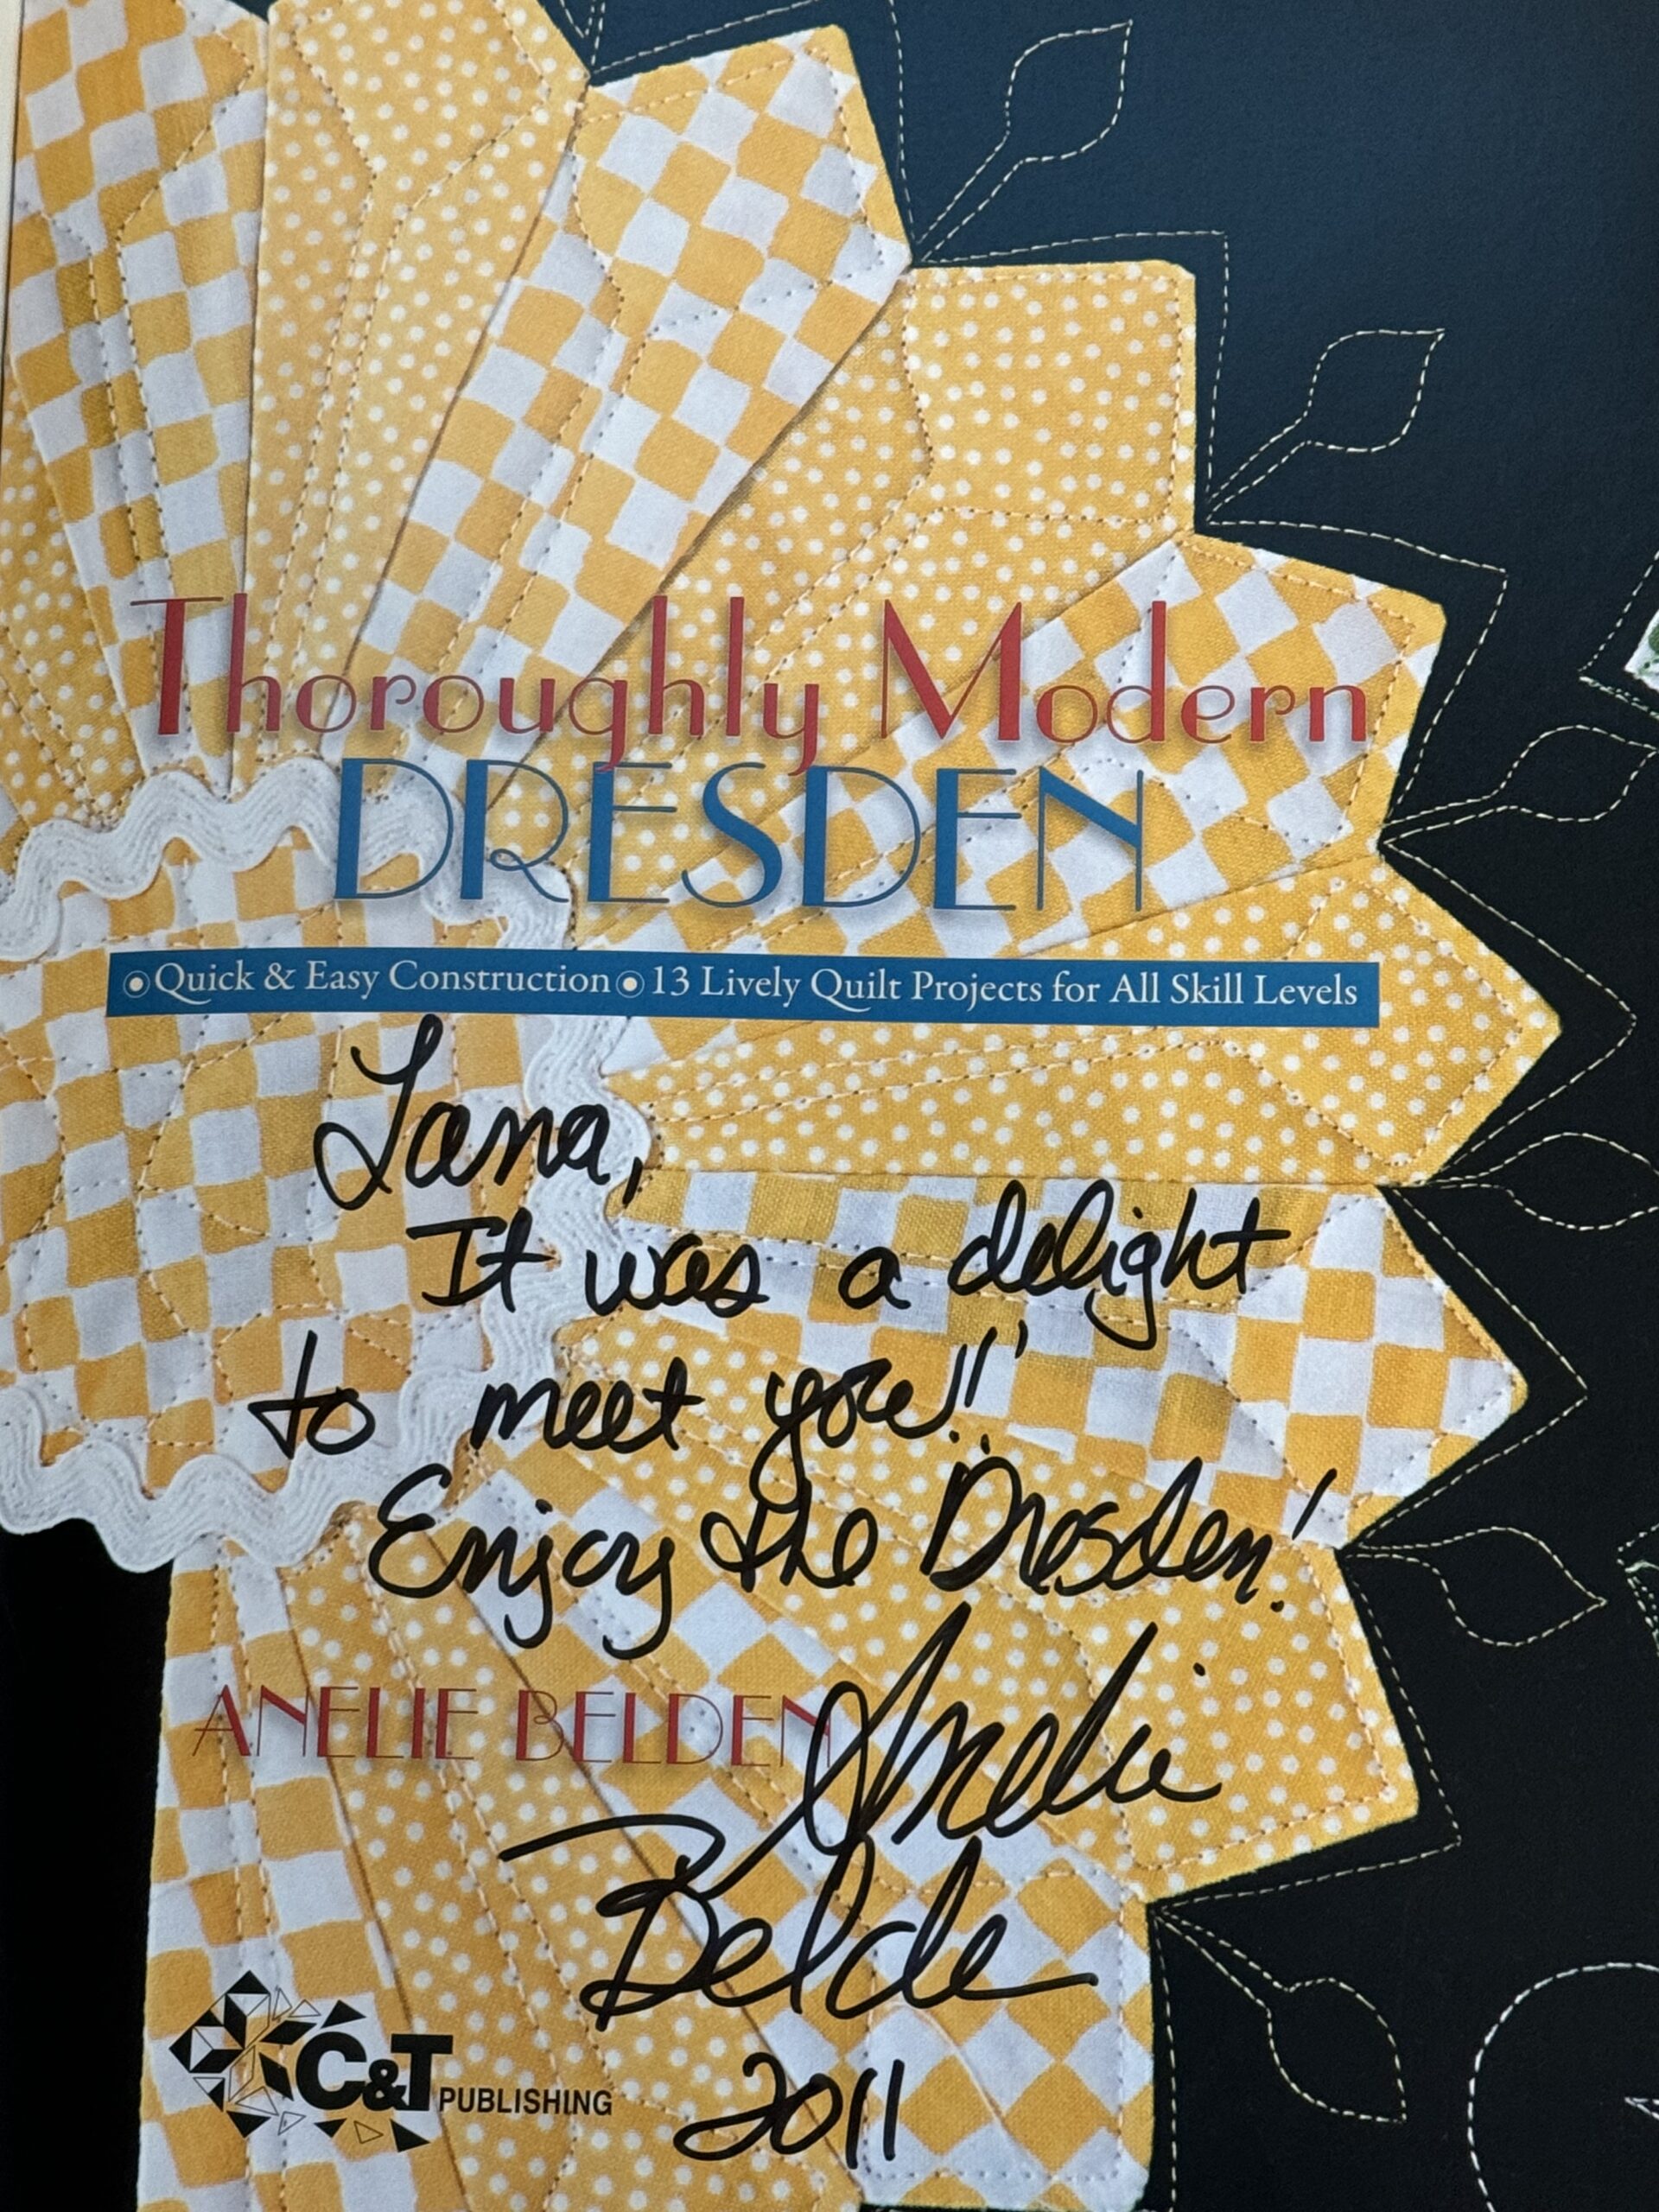
I had never made a Dresden Quilt before, but remembered I met a girl the first time I attended the Empty Spools Seminar who had written a book with patterns for Dresden Quilts. I purchased the book and template from her, Amalie Belden, so I perused through the book and chose a pattern that appealed to me. I preferred the pointed top blade, so I made that change.
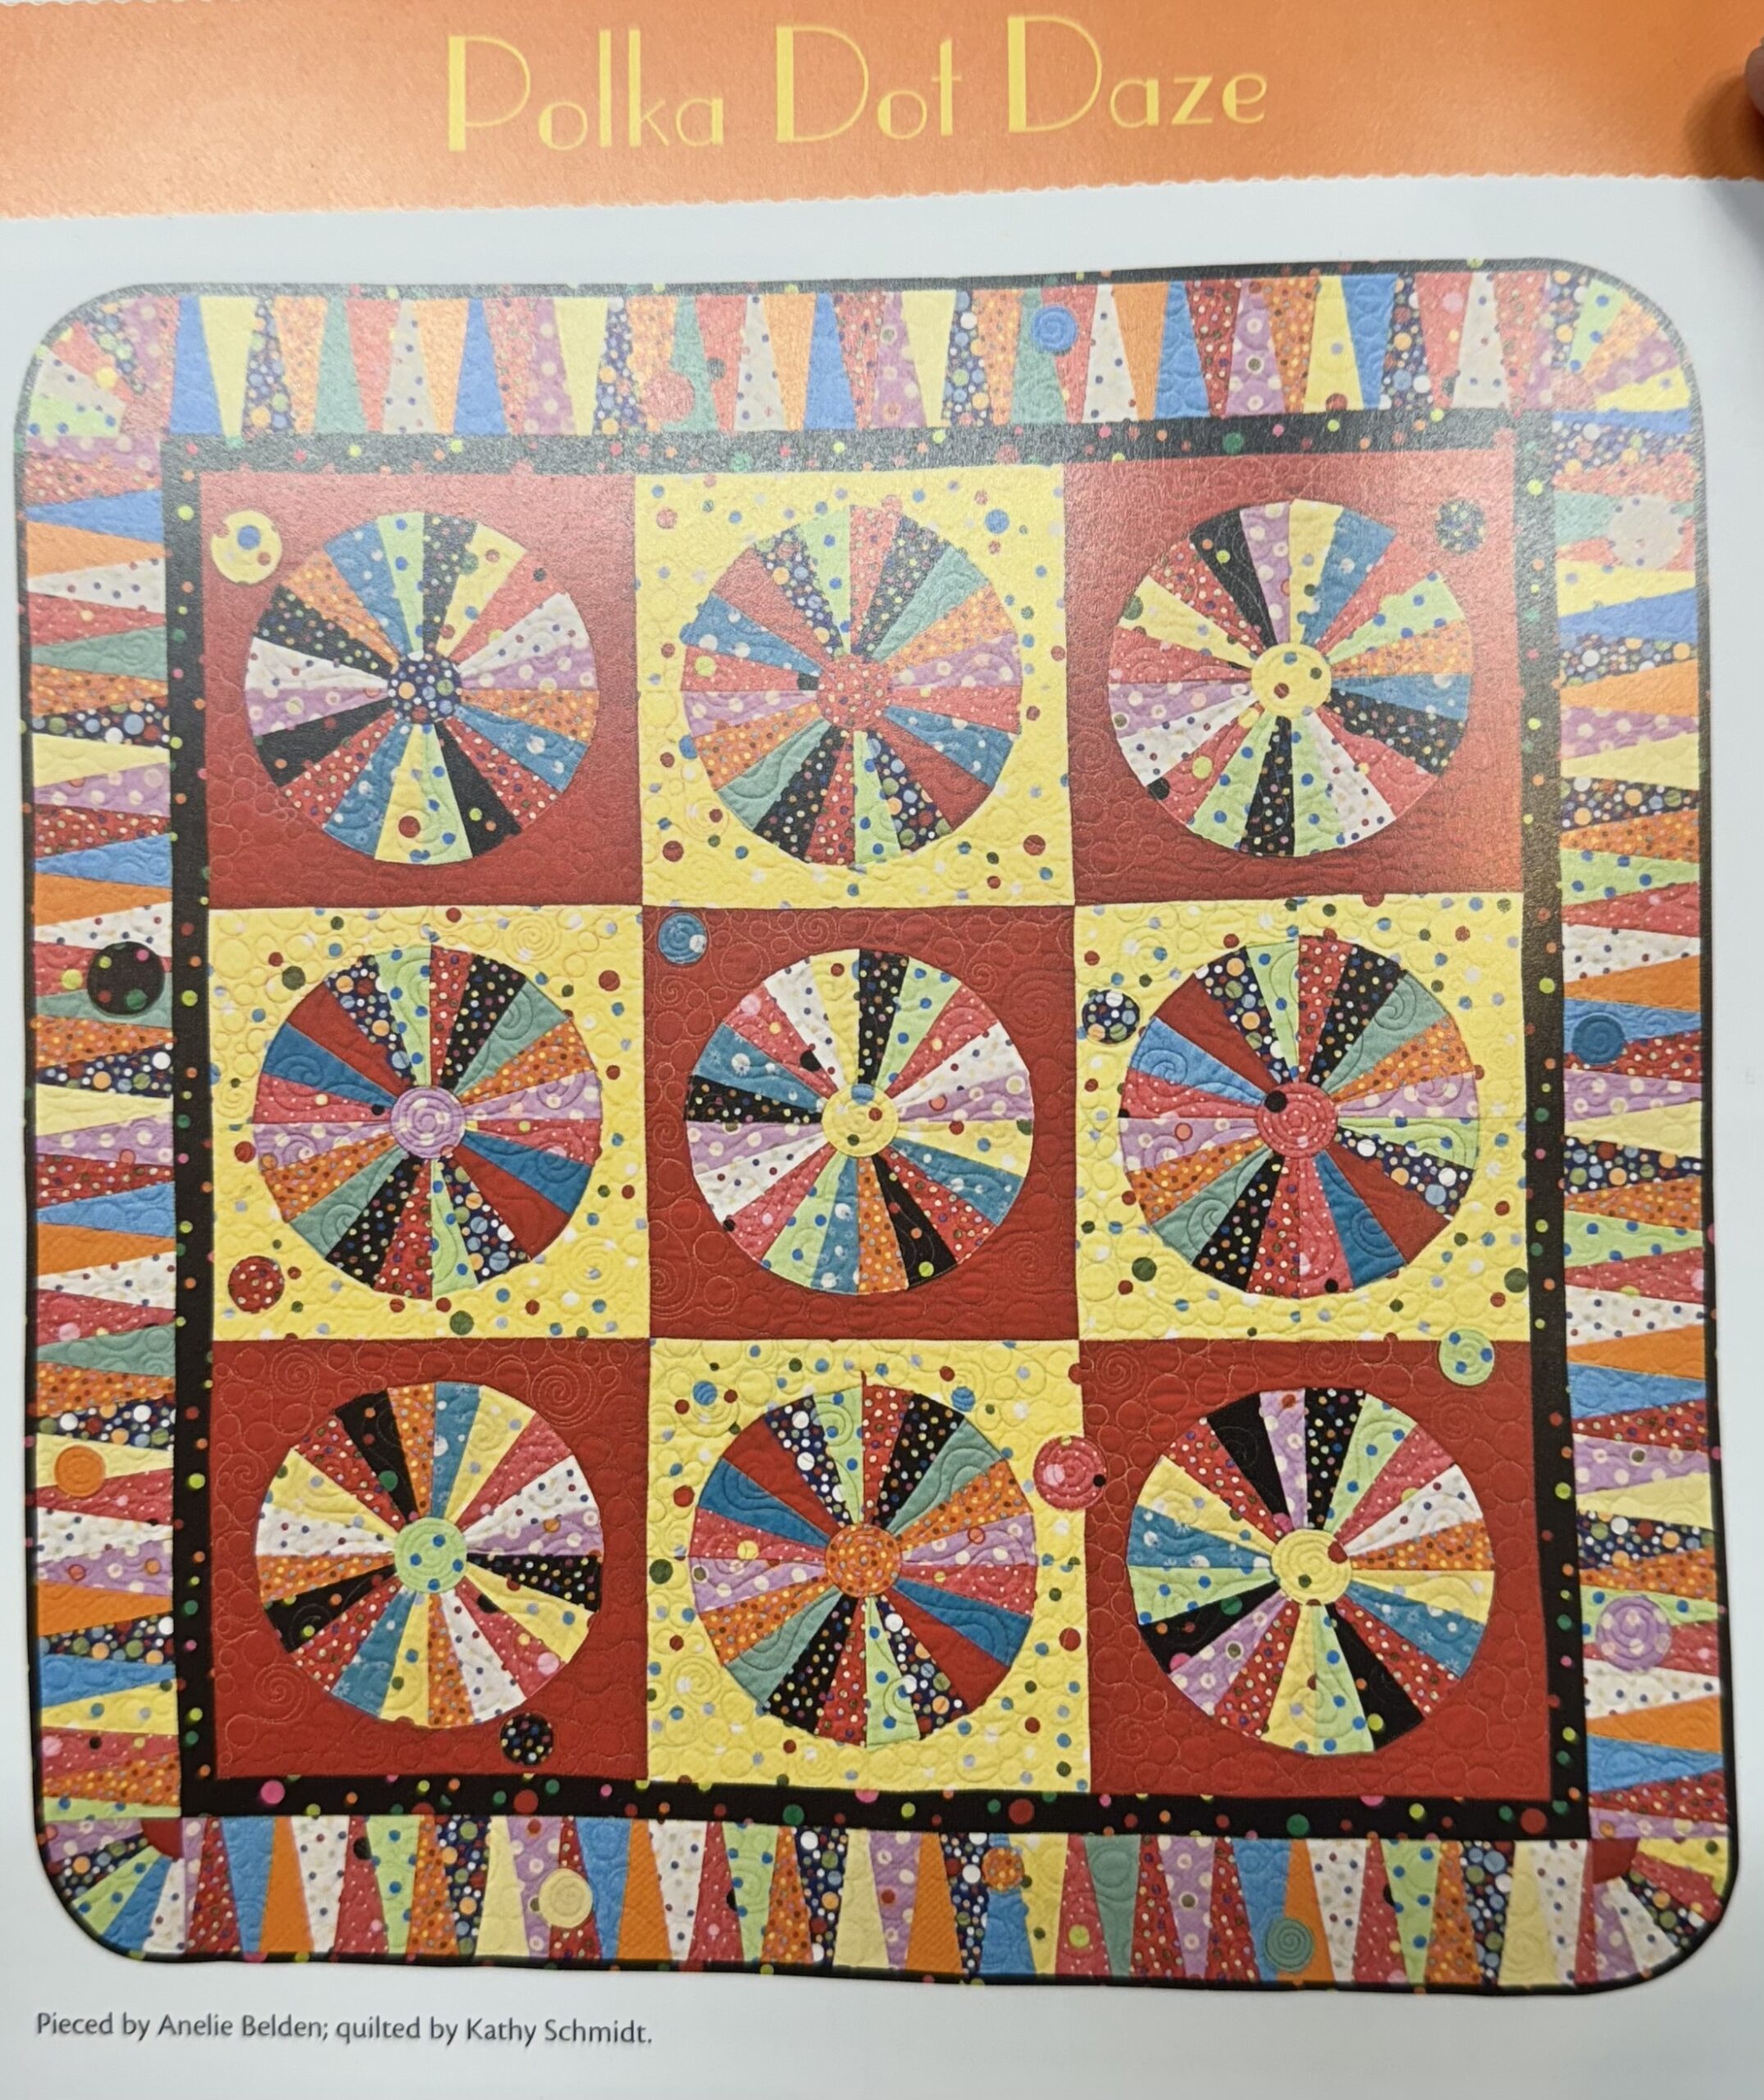
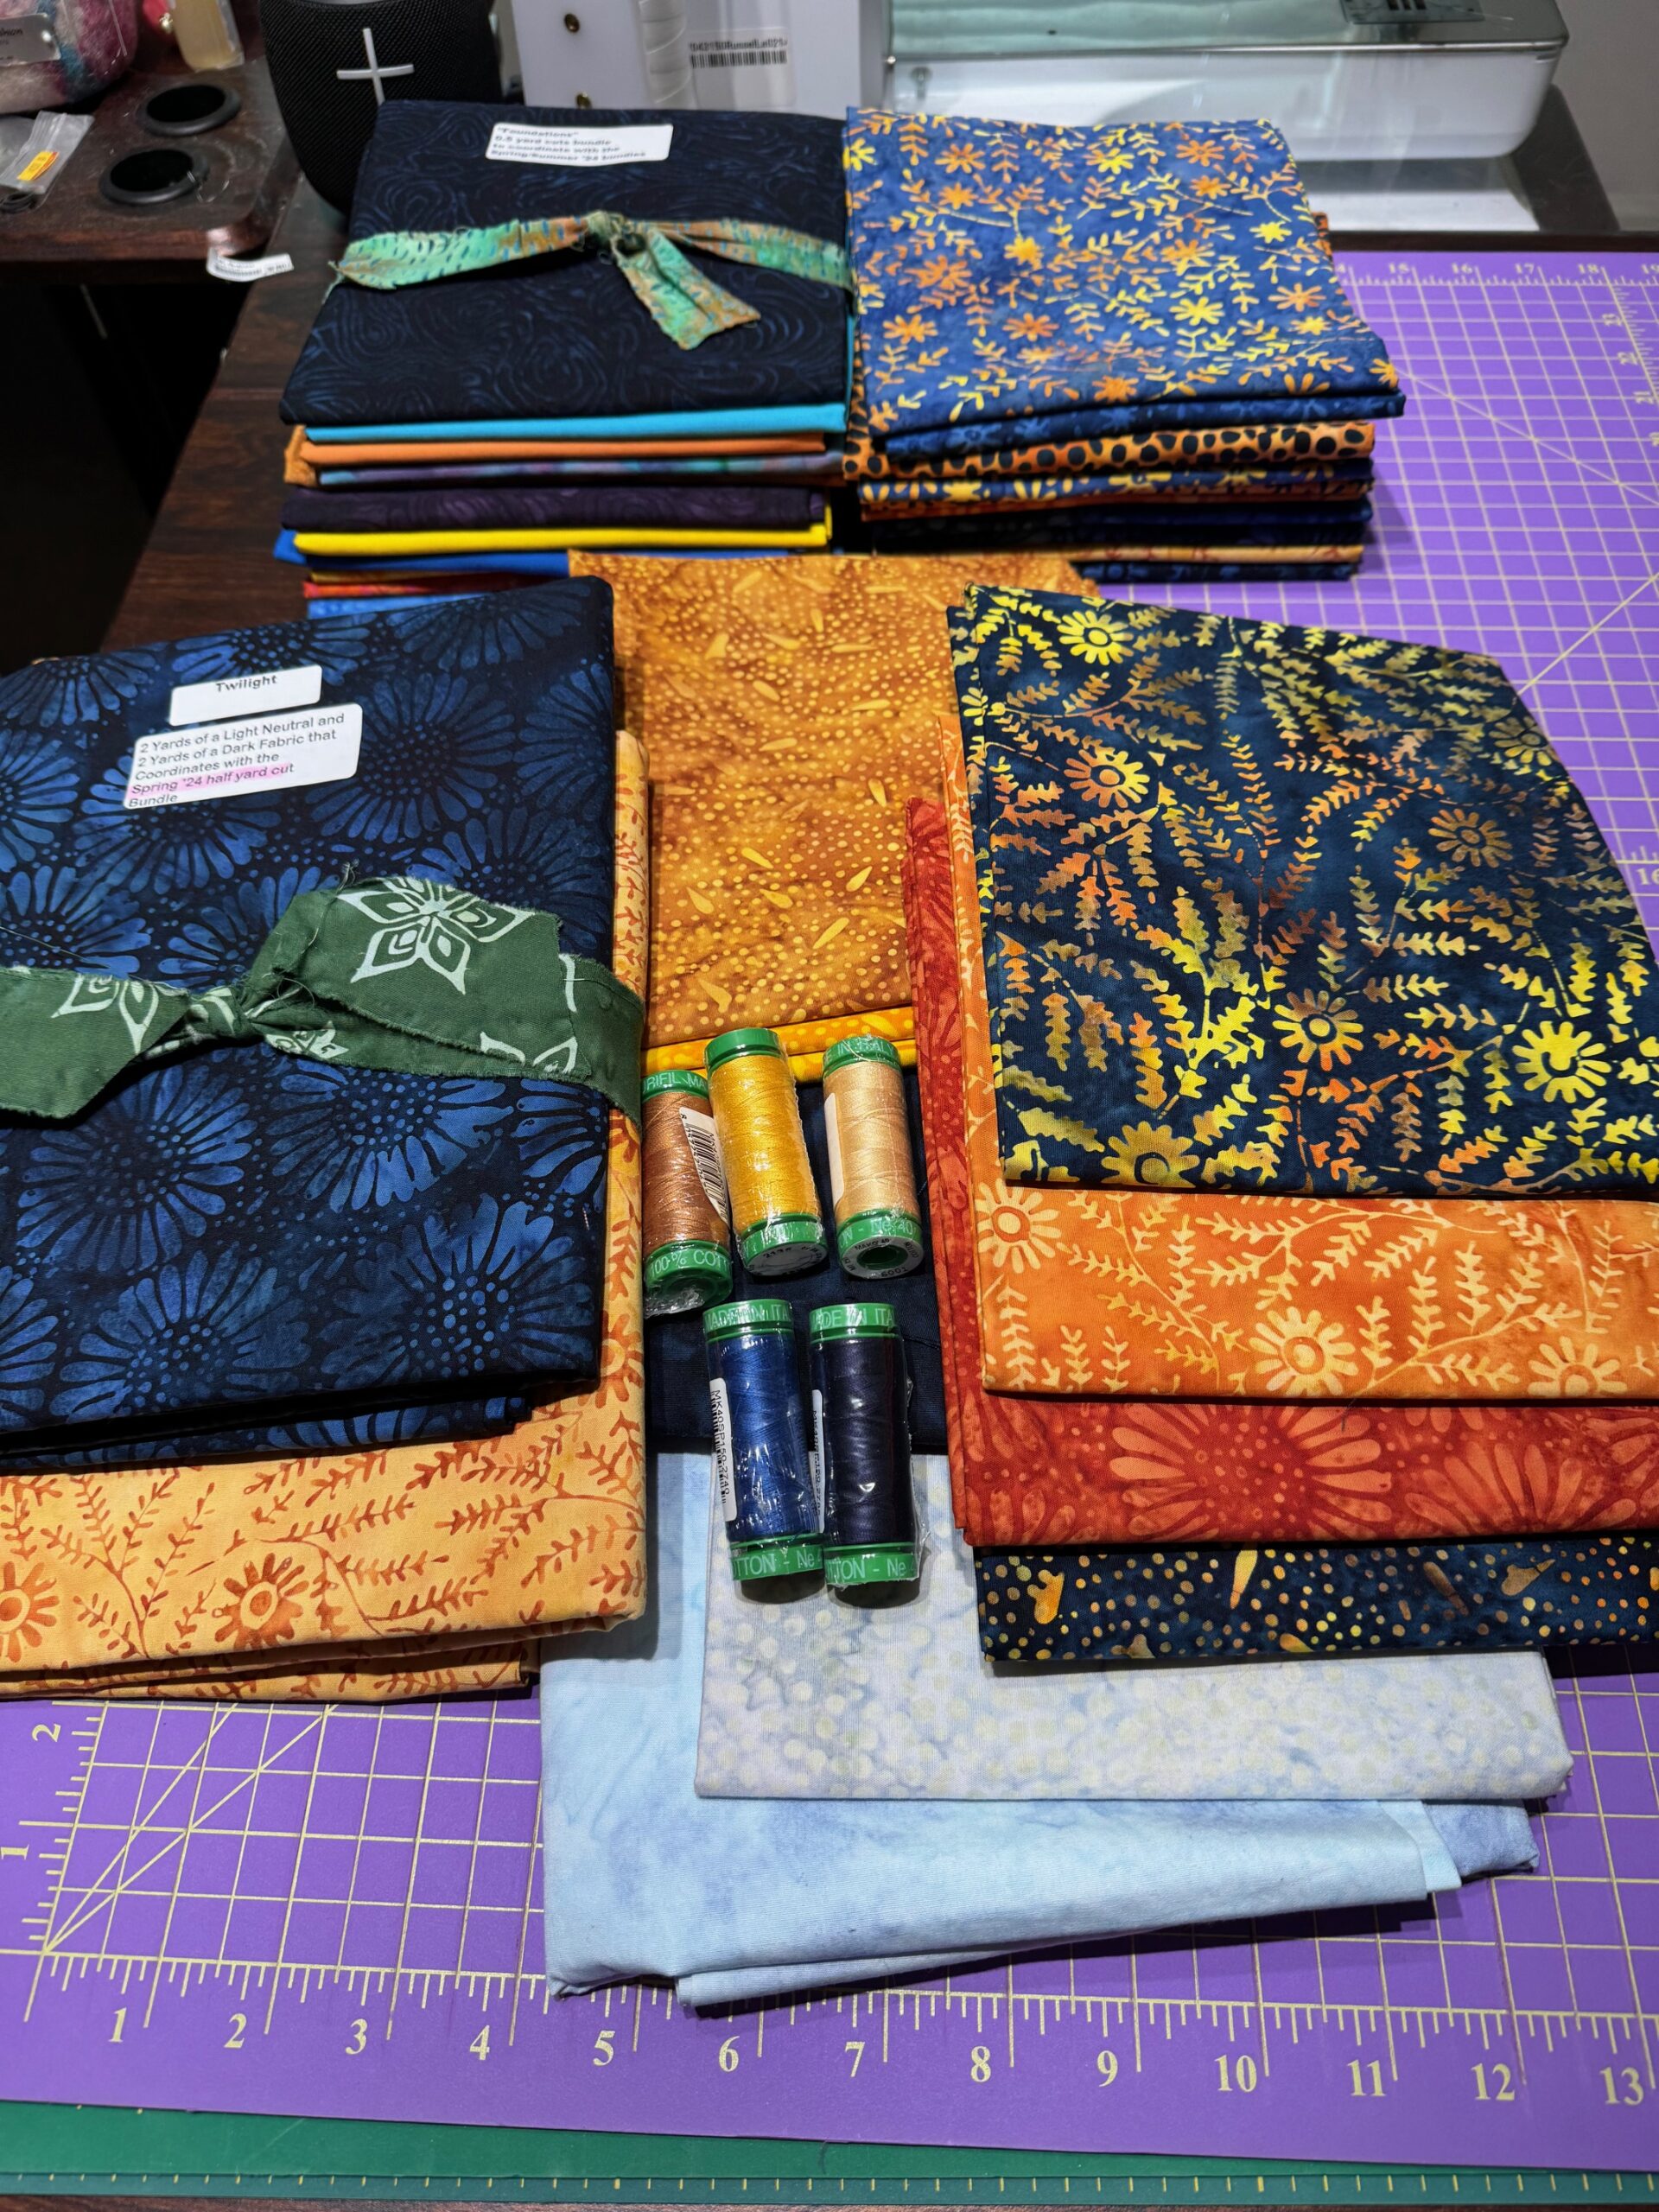
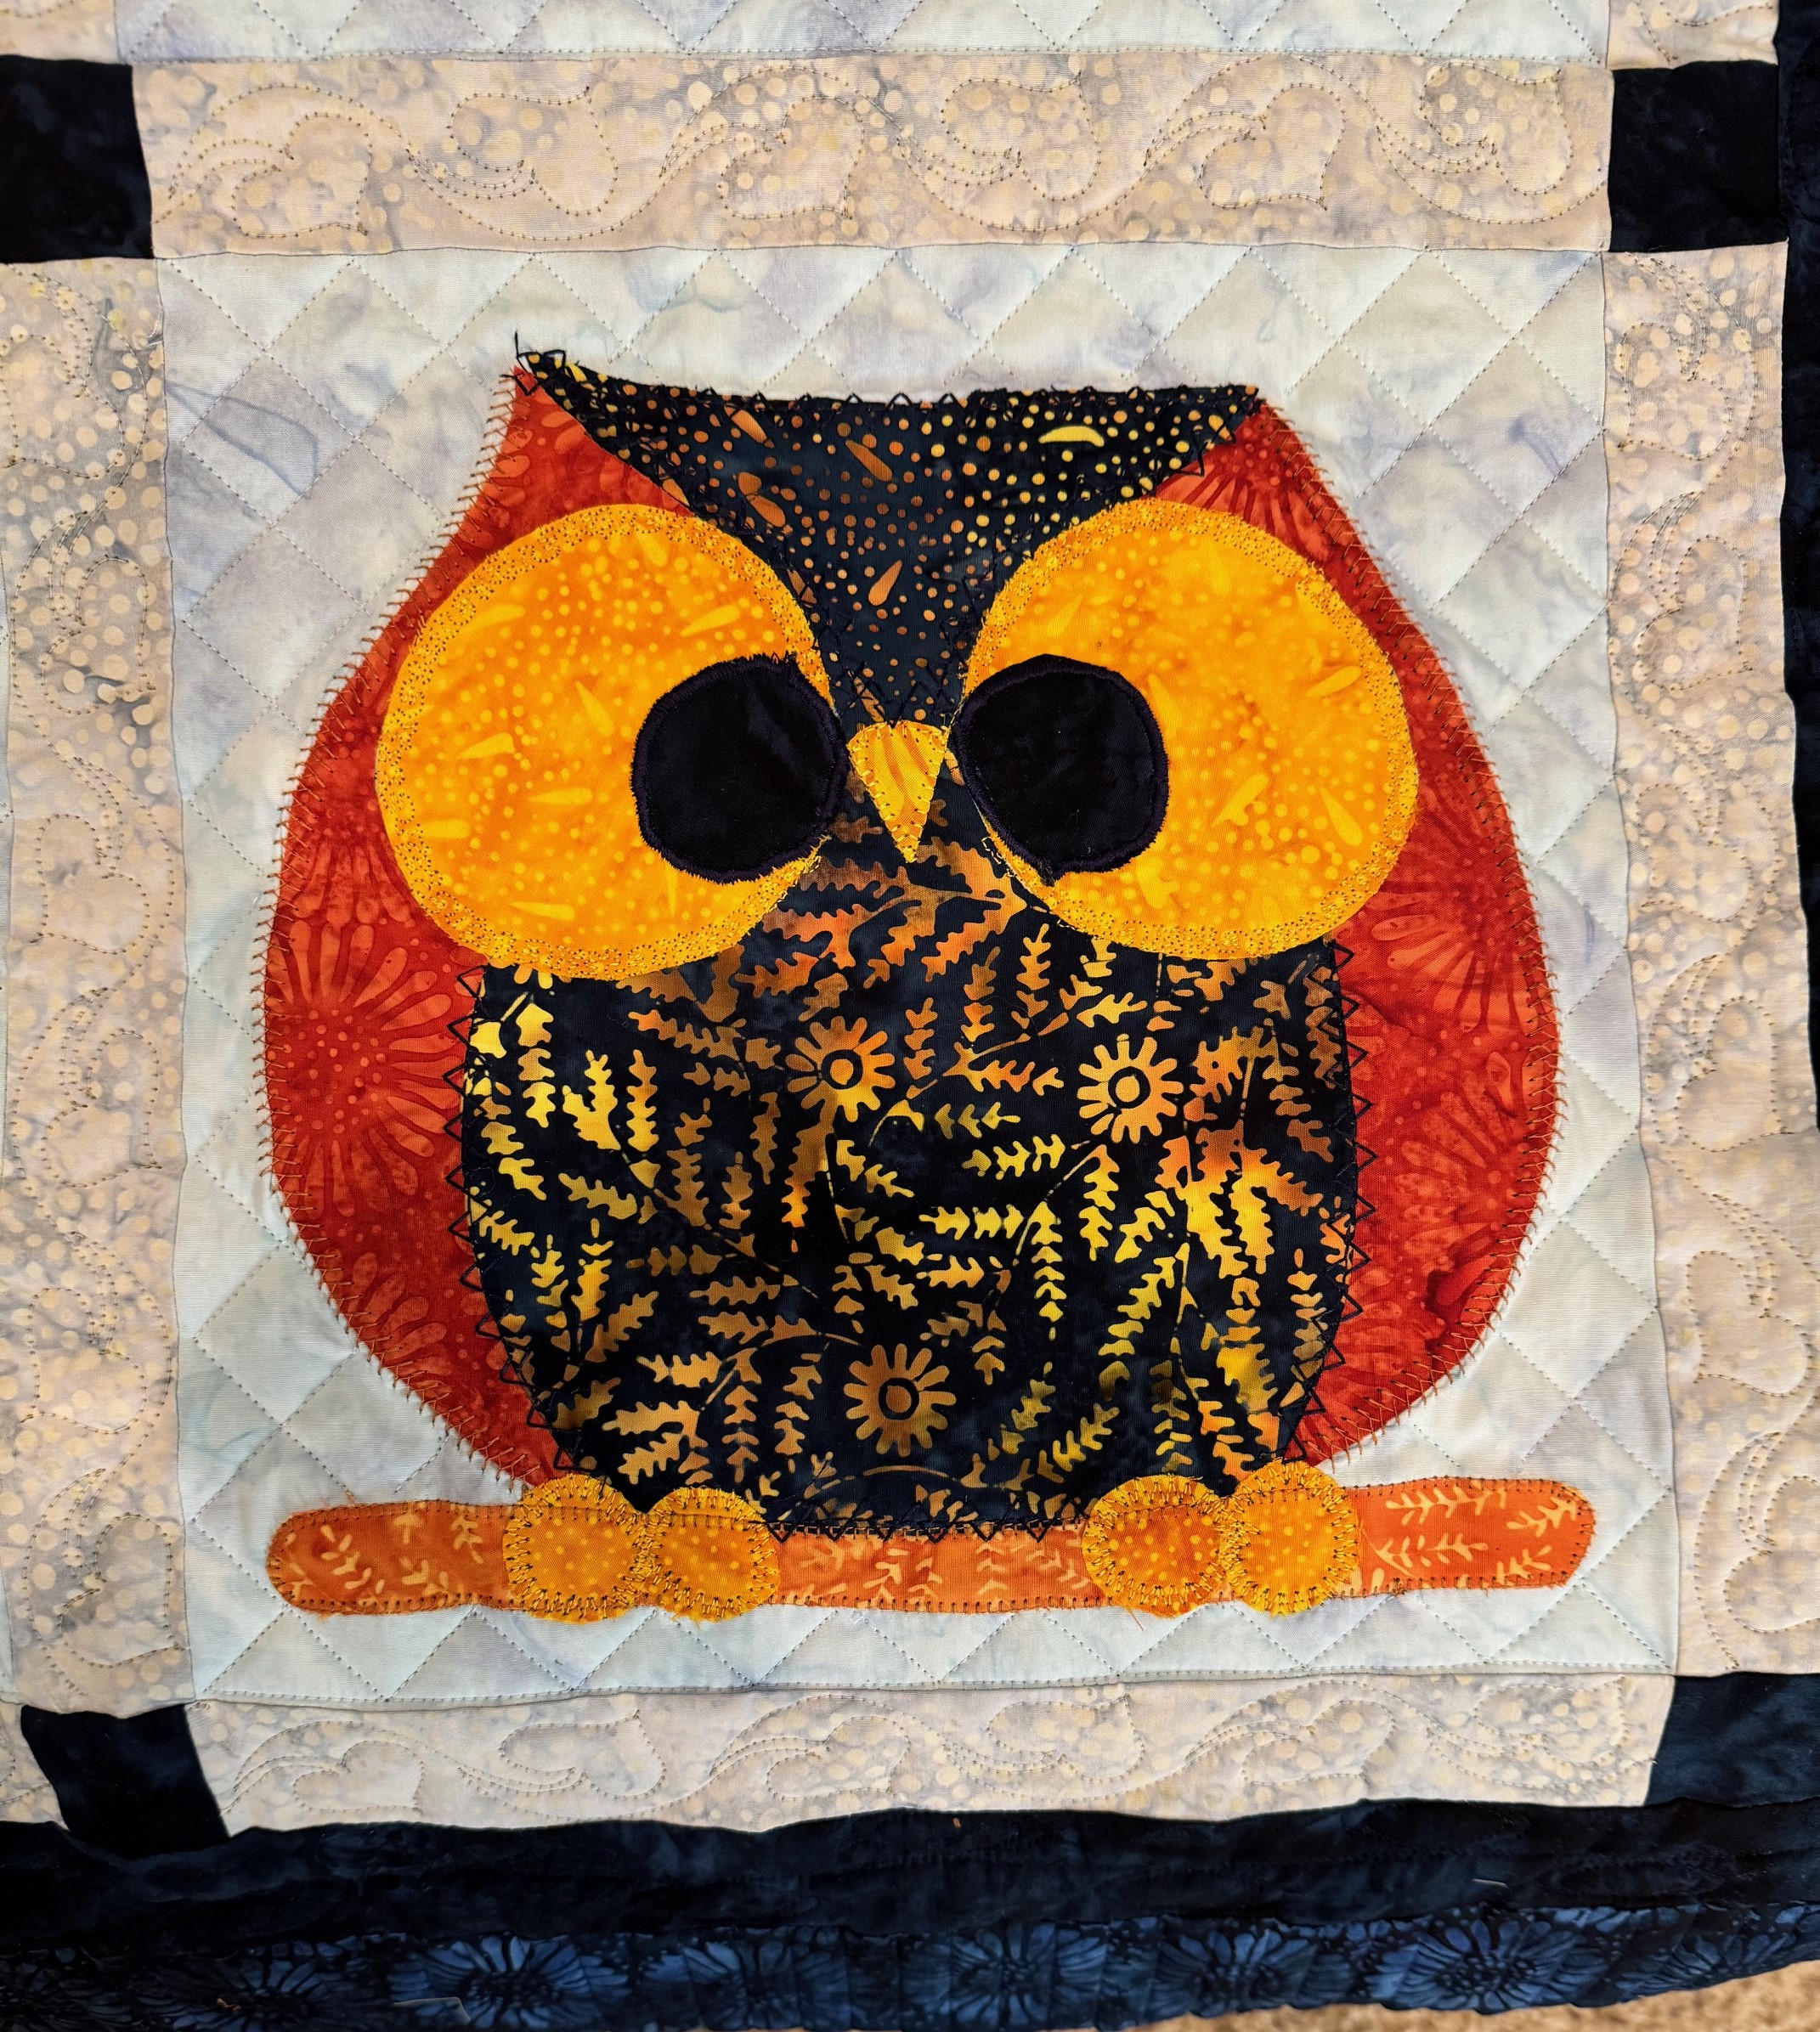
I thought this was adorable. Of course, I’m a sucker for polka dots. But I did change the blades to a pointed top instead of the flat top.

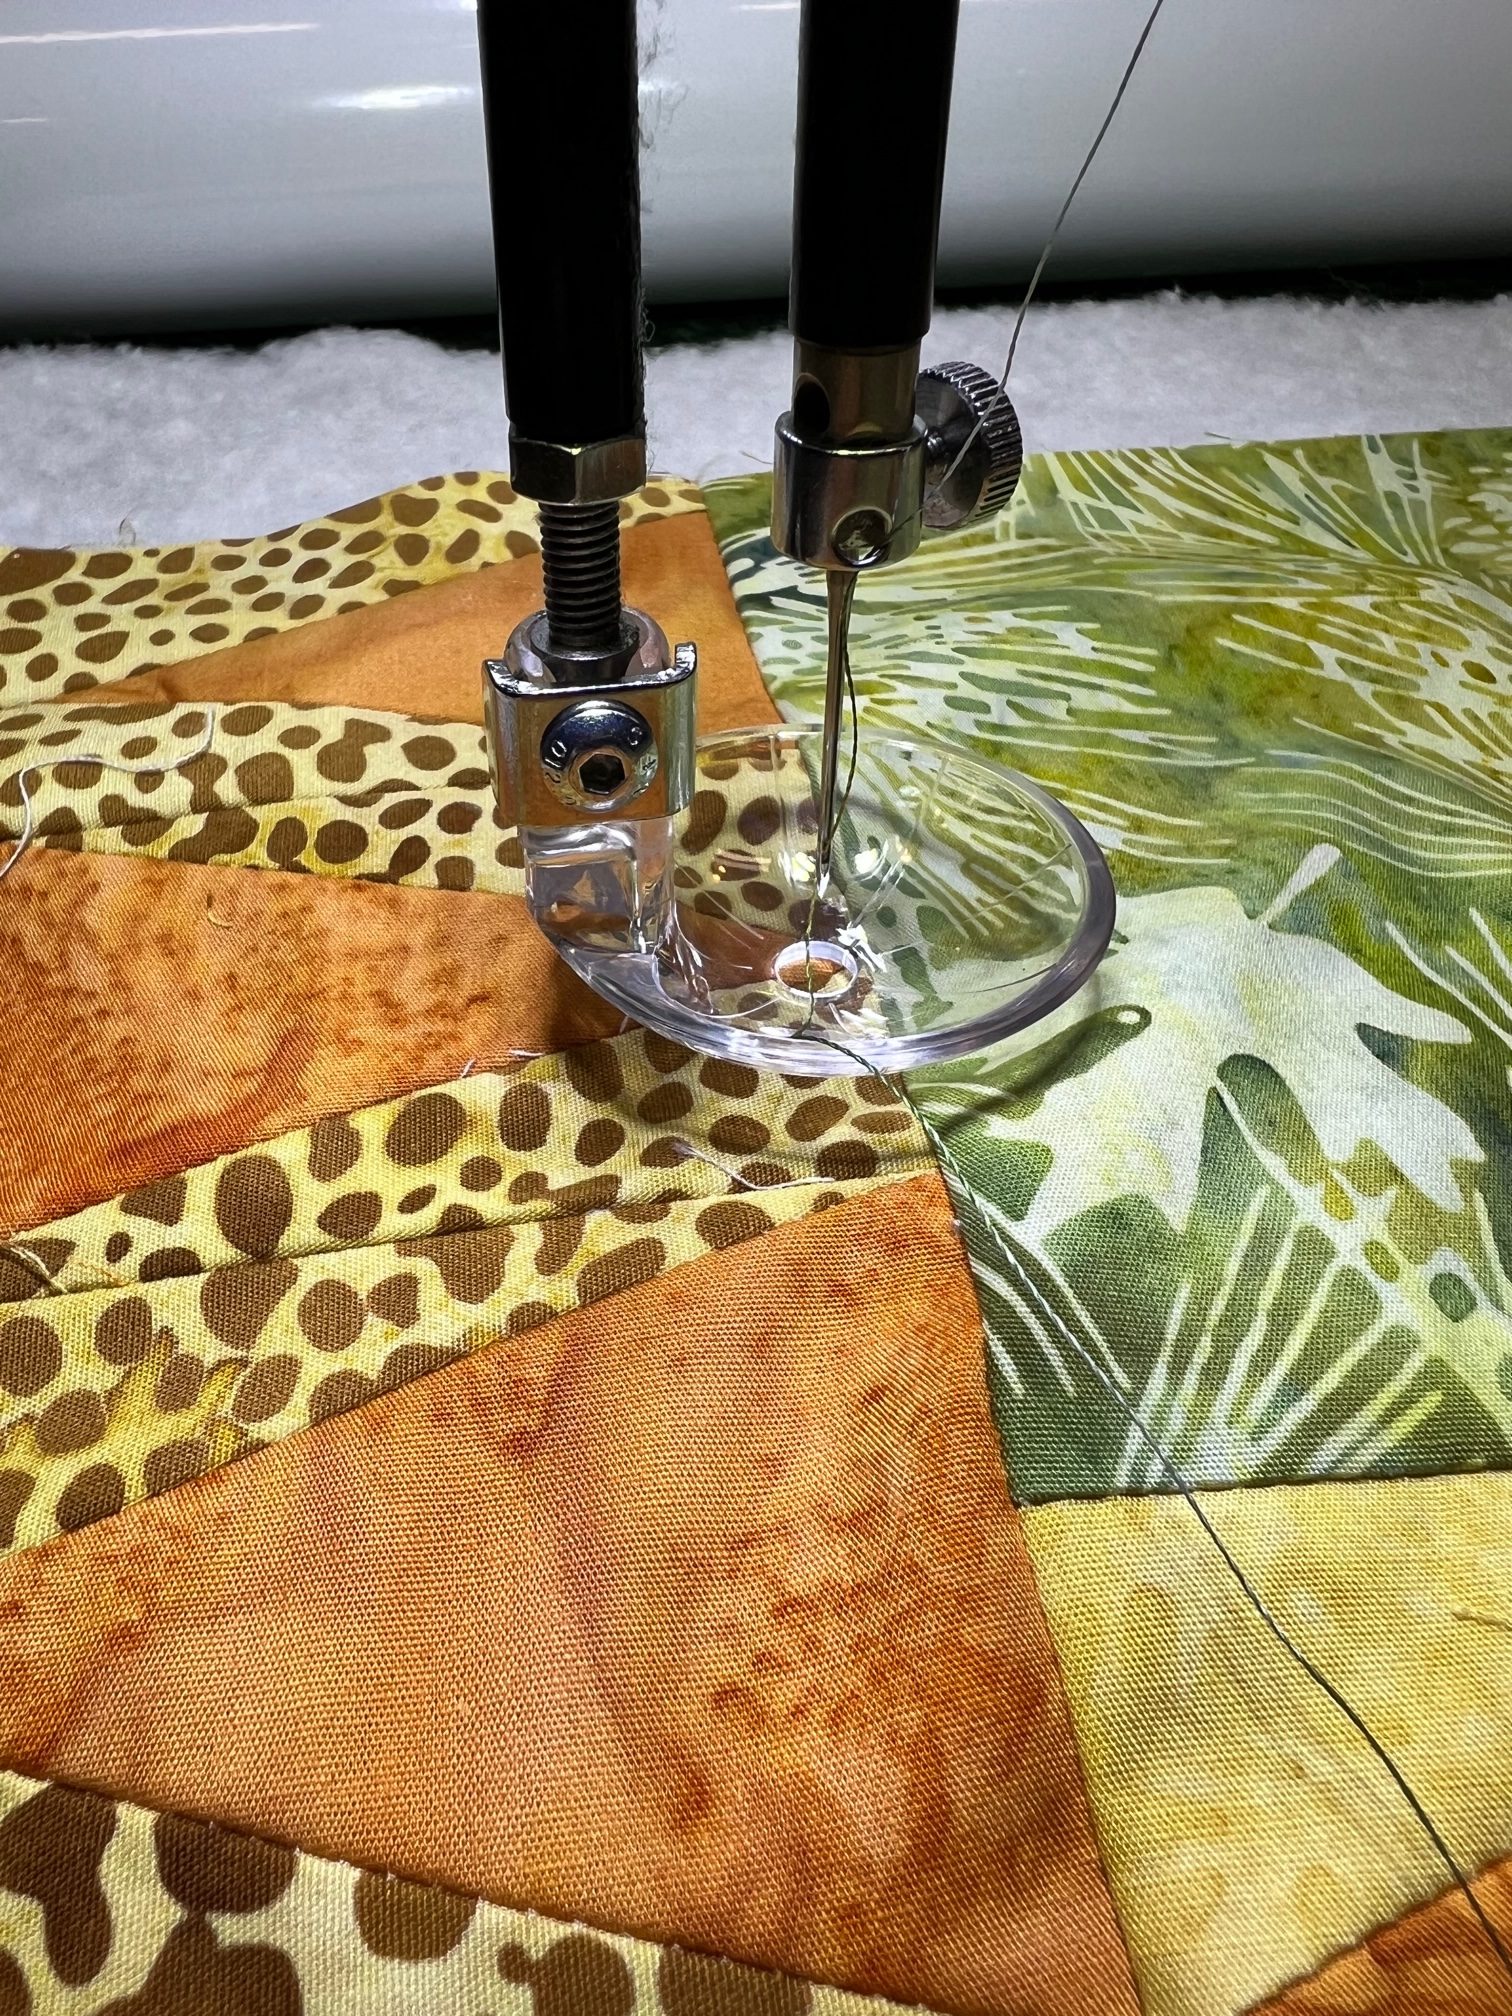
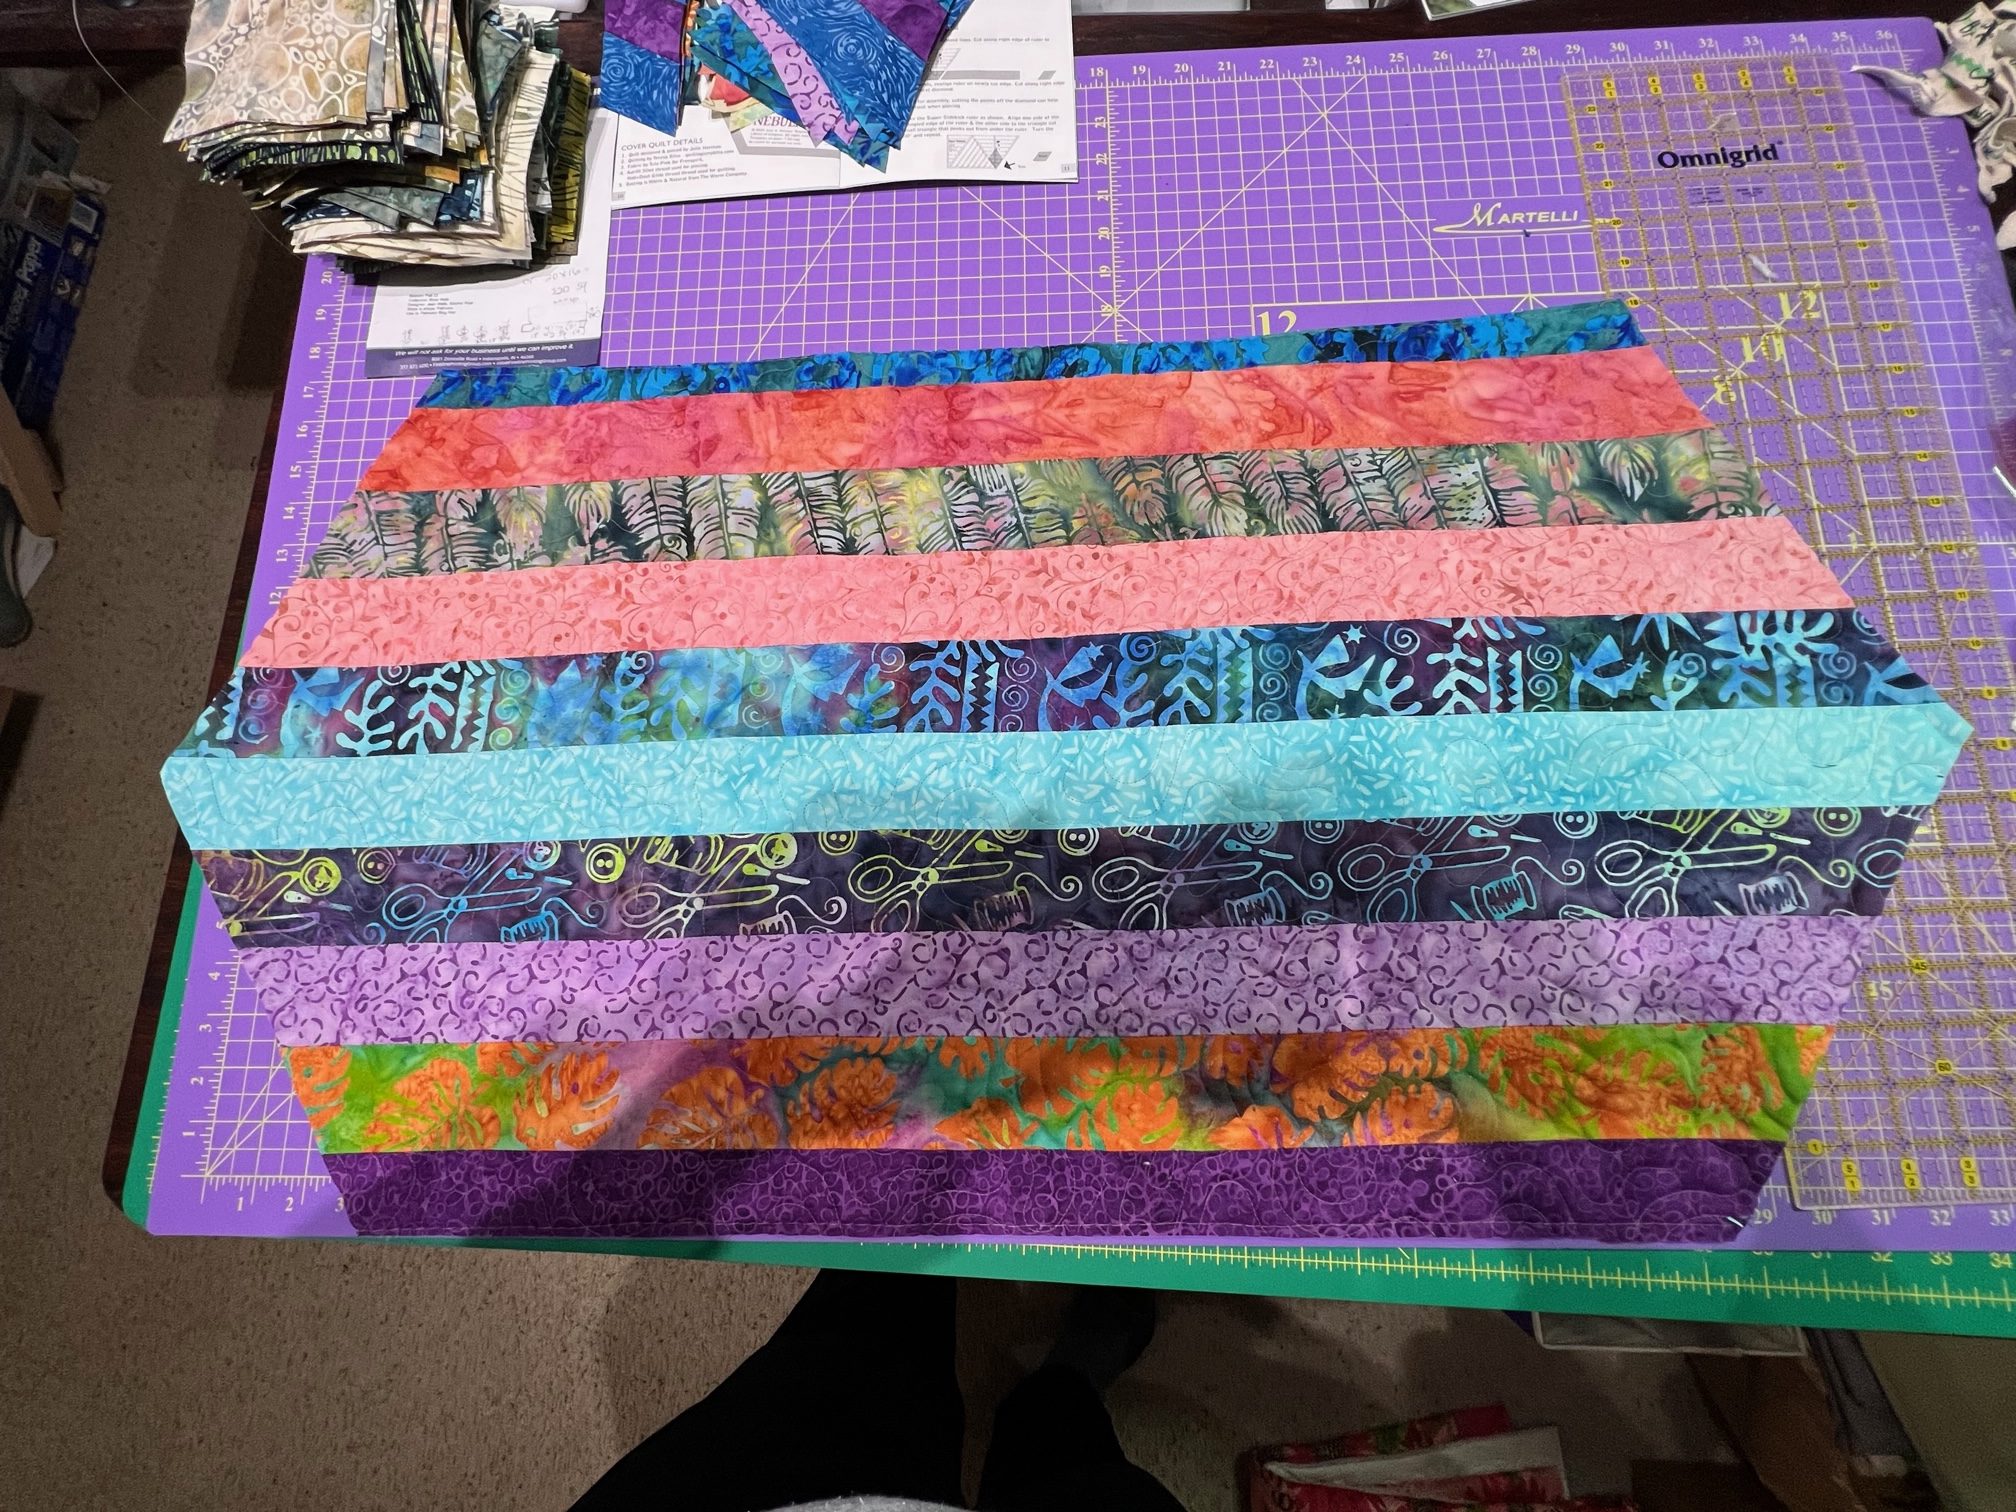
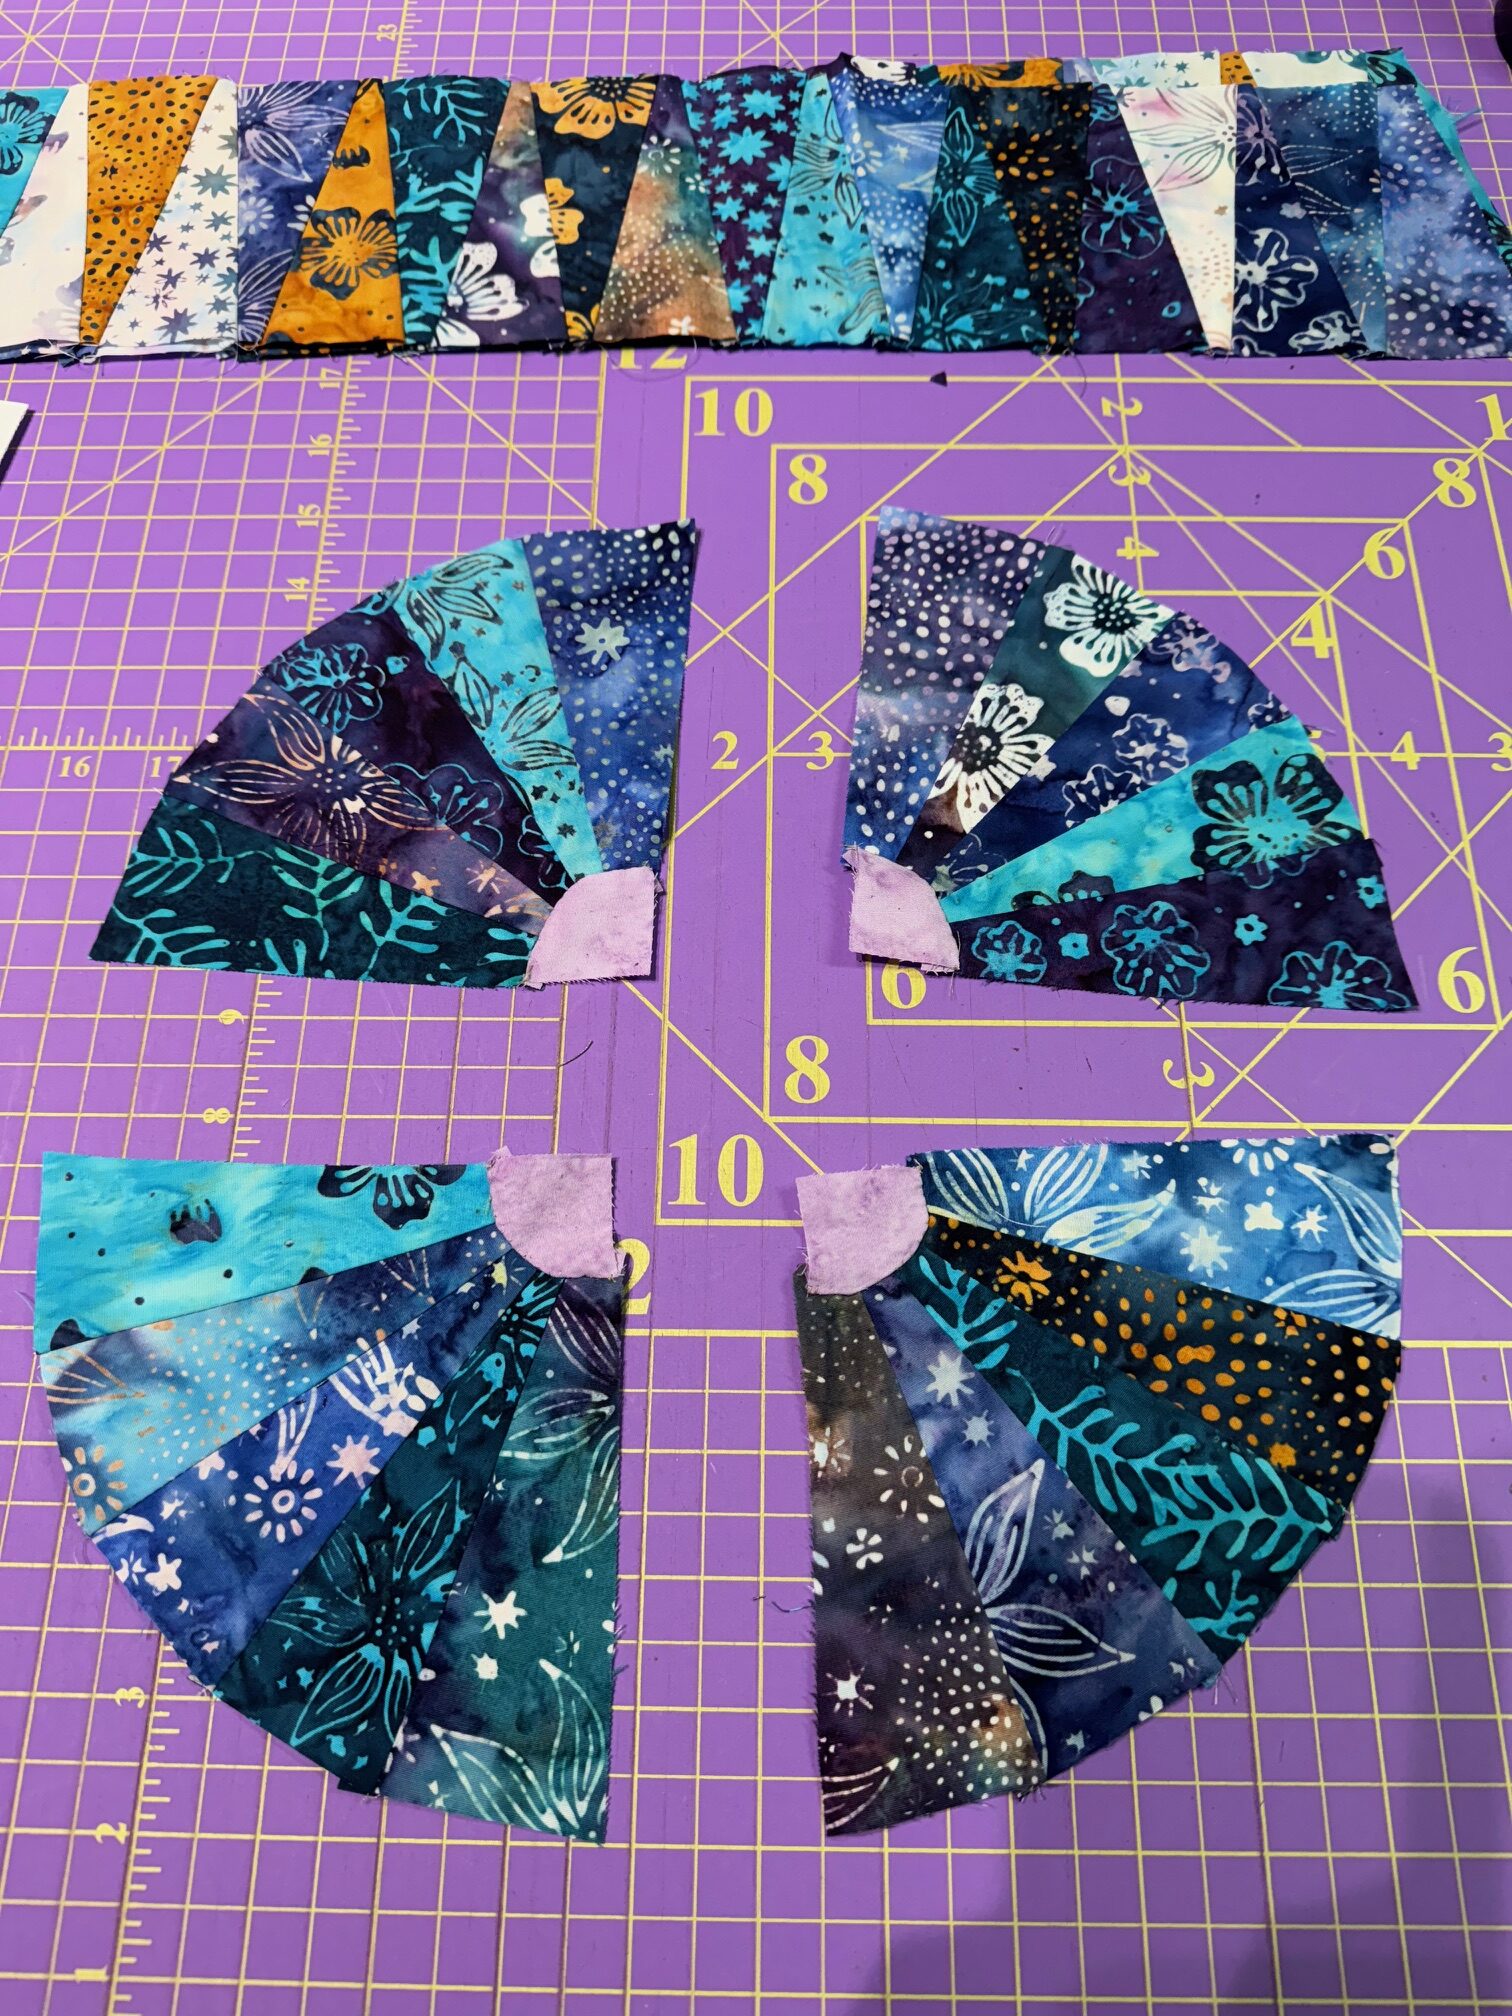
I took this project with me to a quilt retreat. Here I’m just getting started making 180 Dresden blades! Yum, those colors! I used Aurifil 50 weight for piecing.

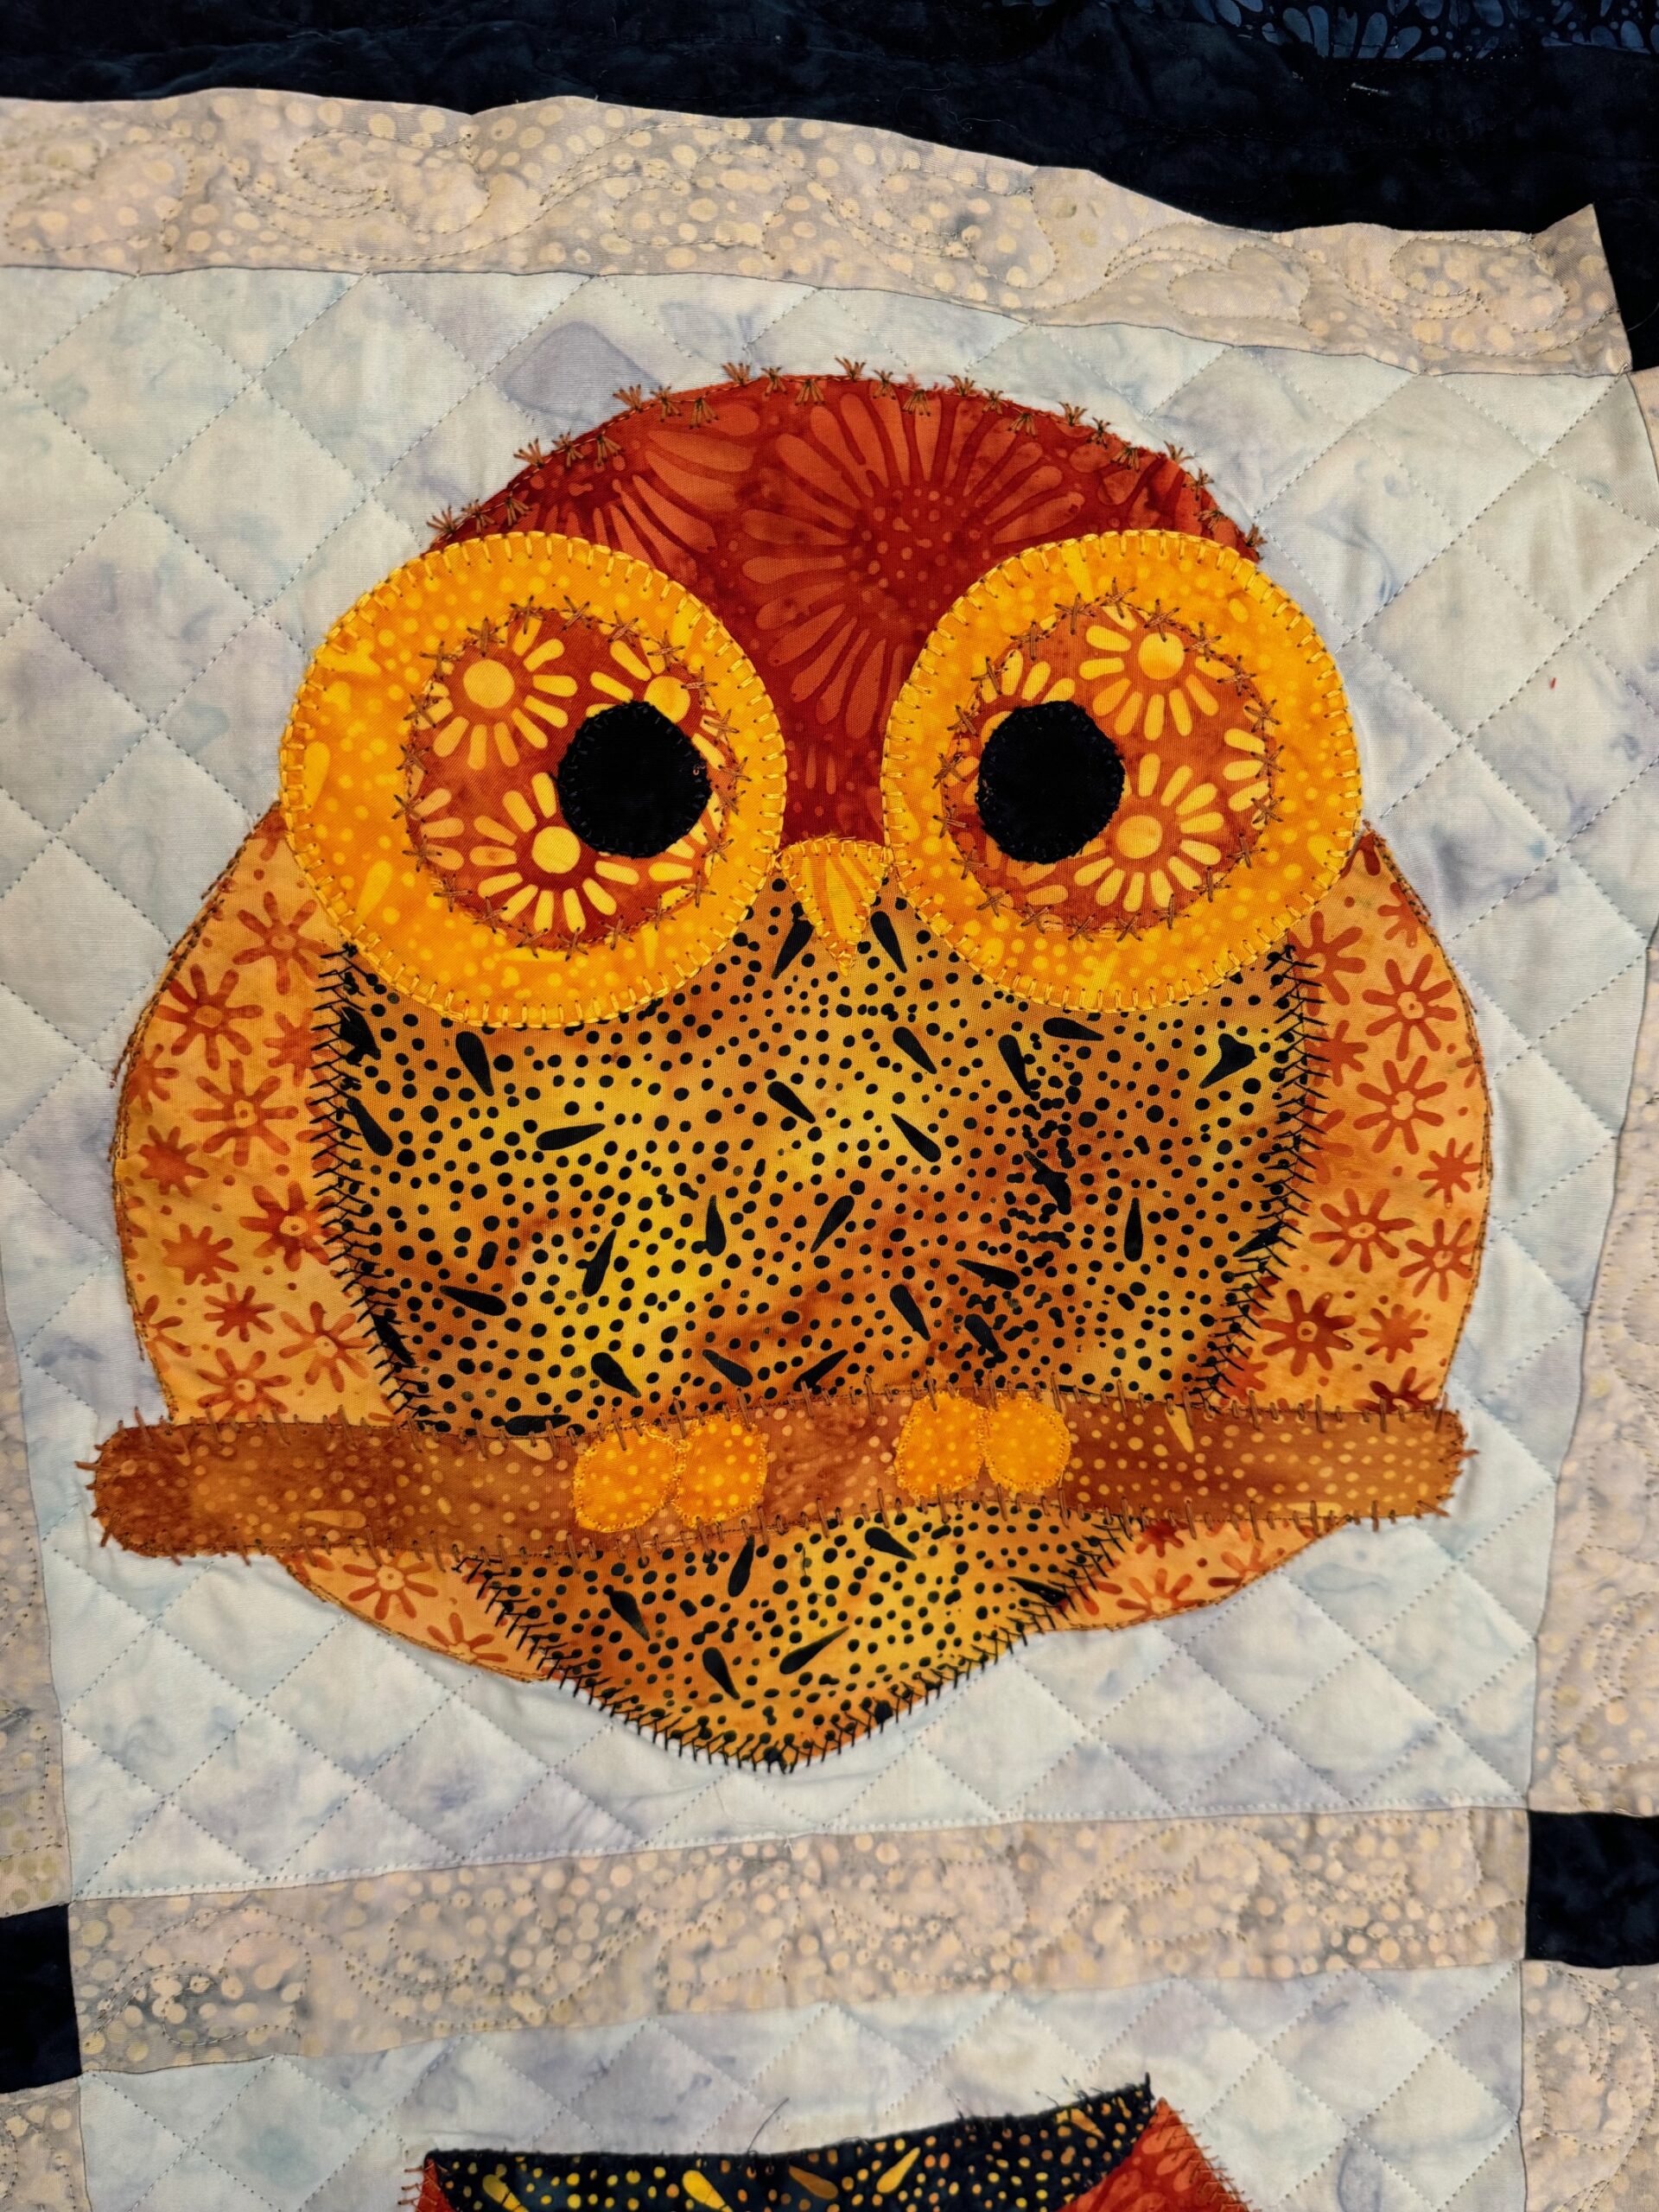
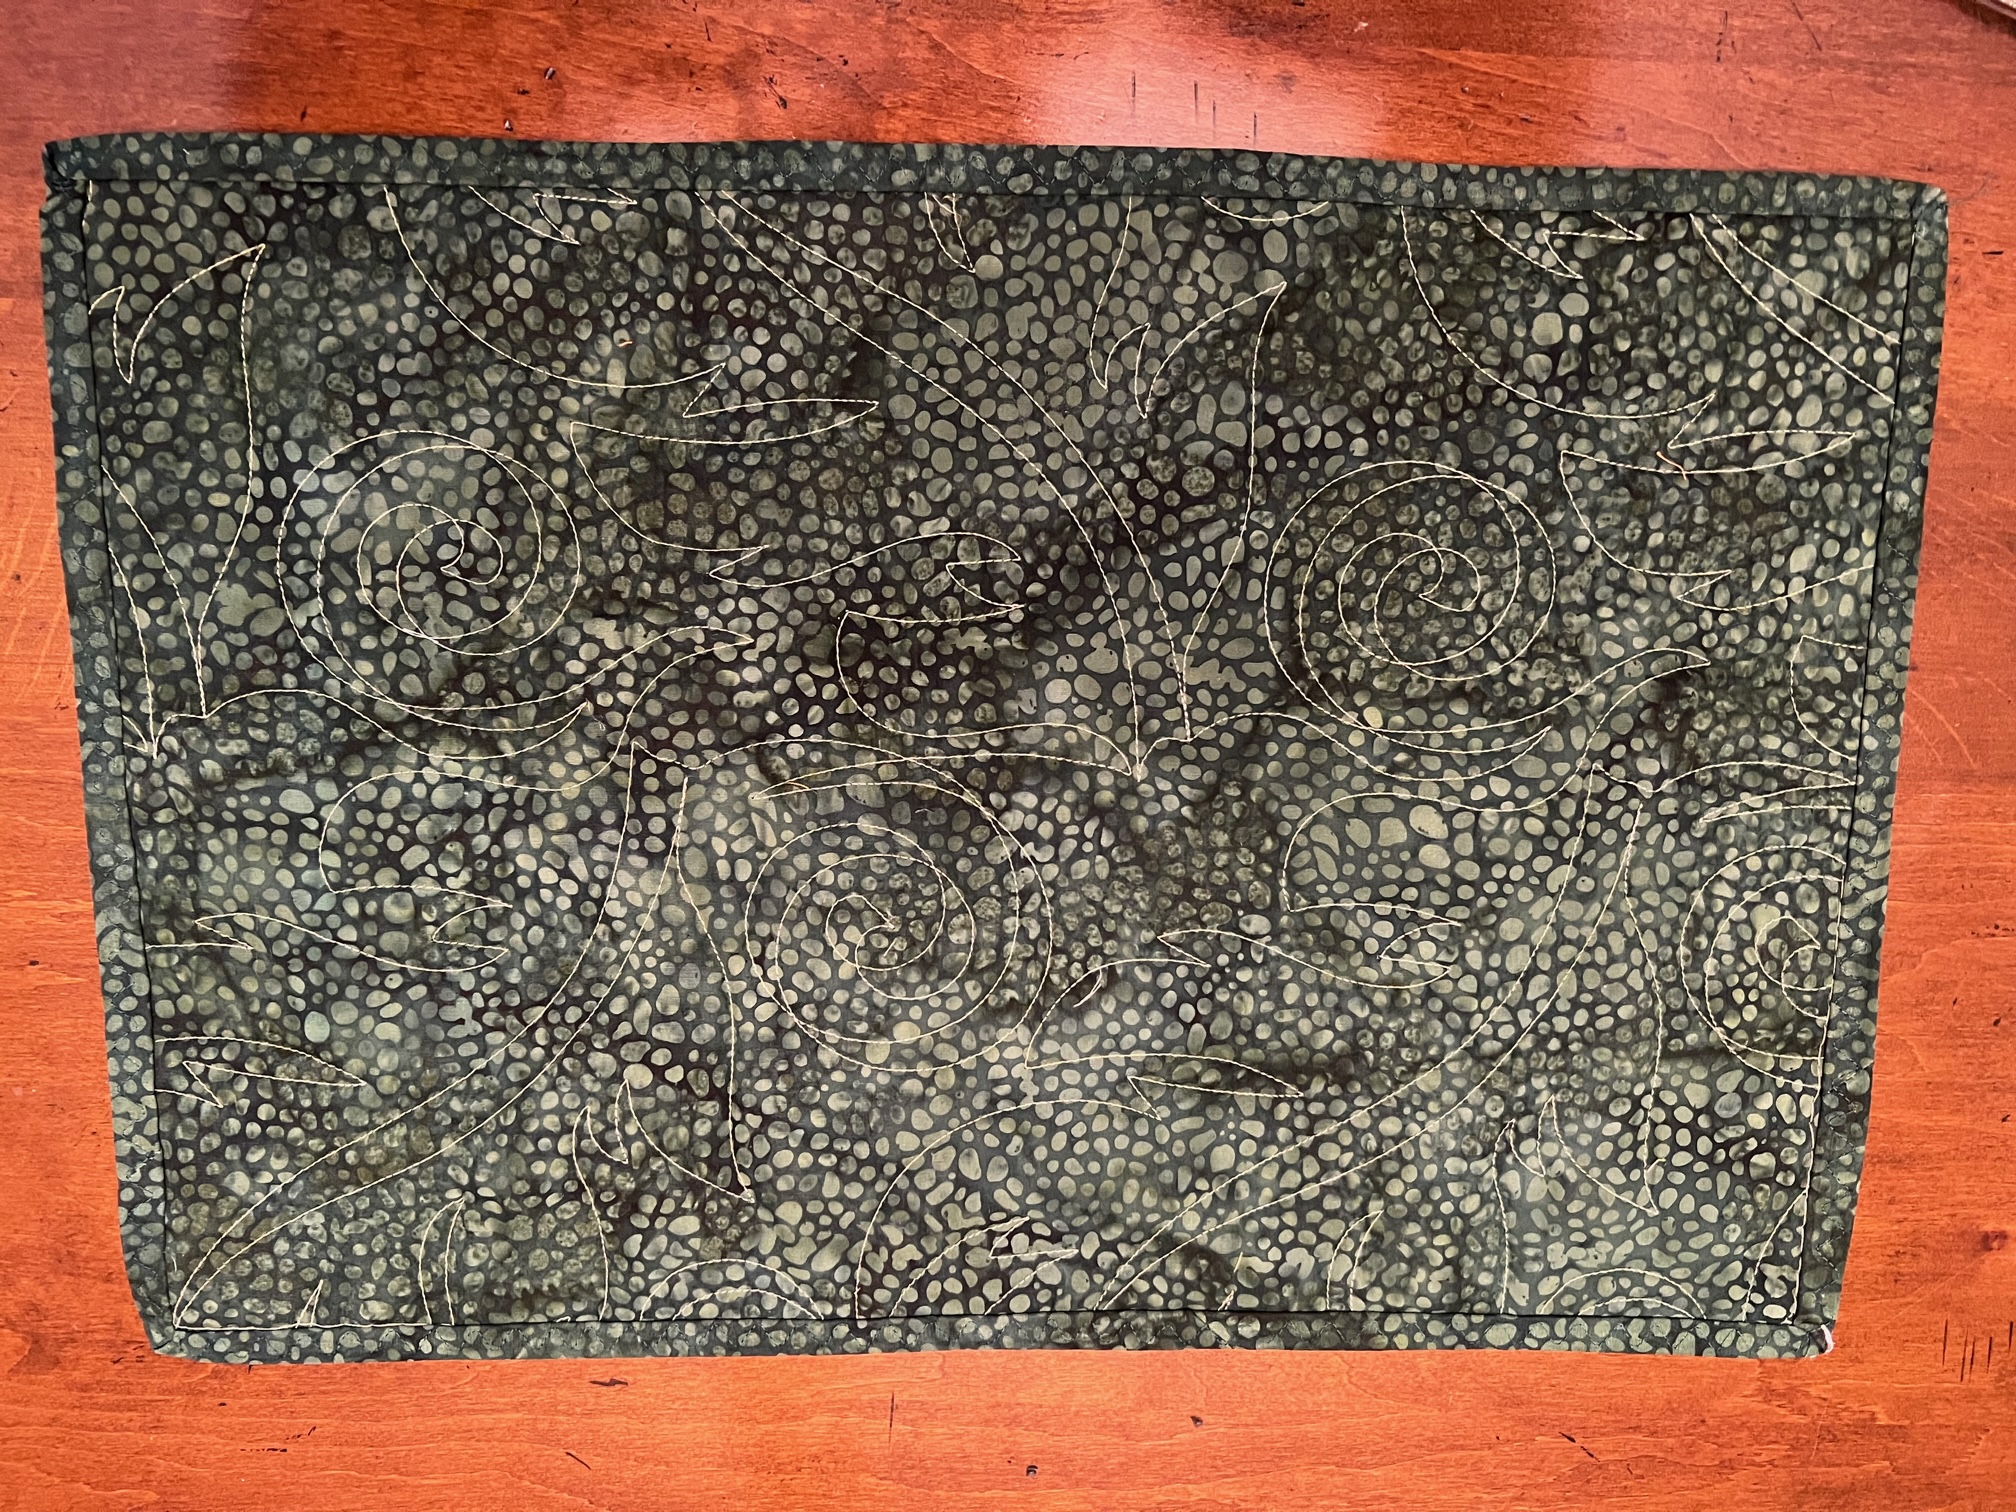
I like the movement this background fabric provides! It’s Moo Milk!
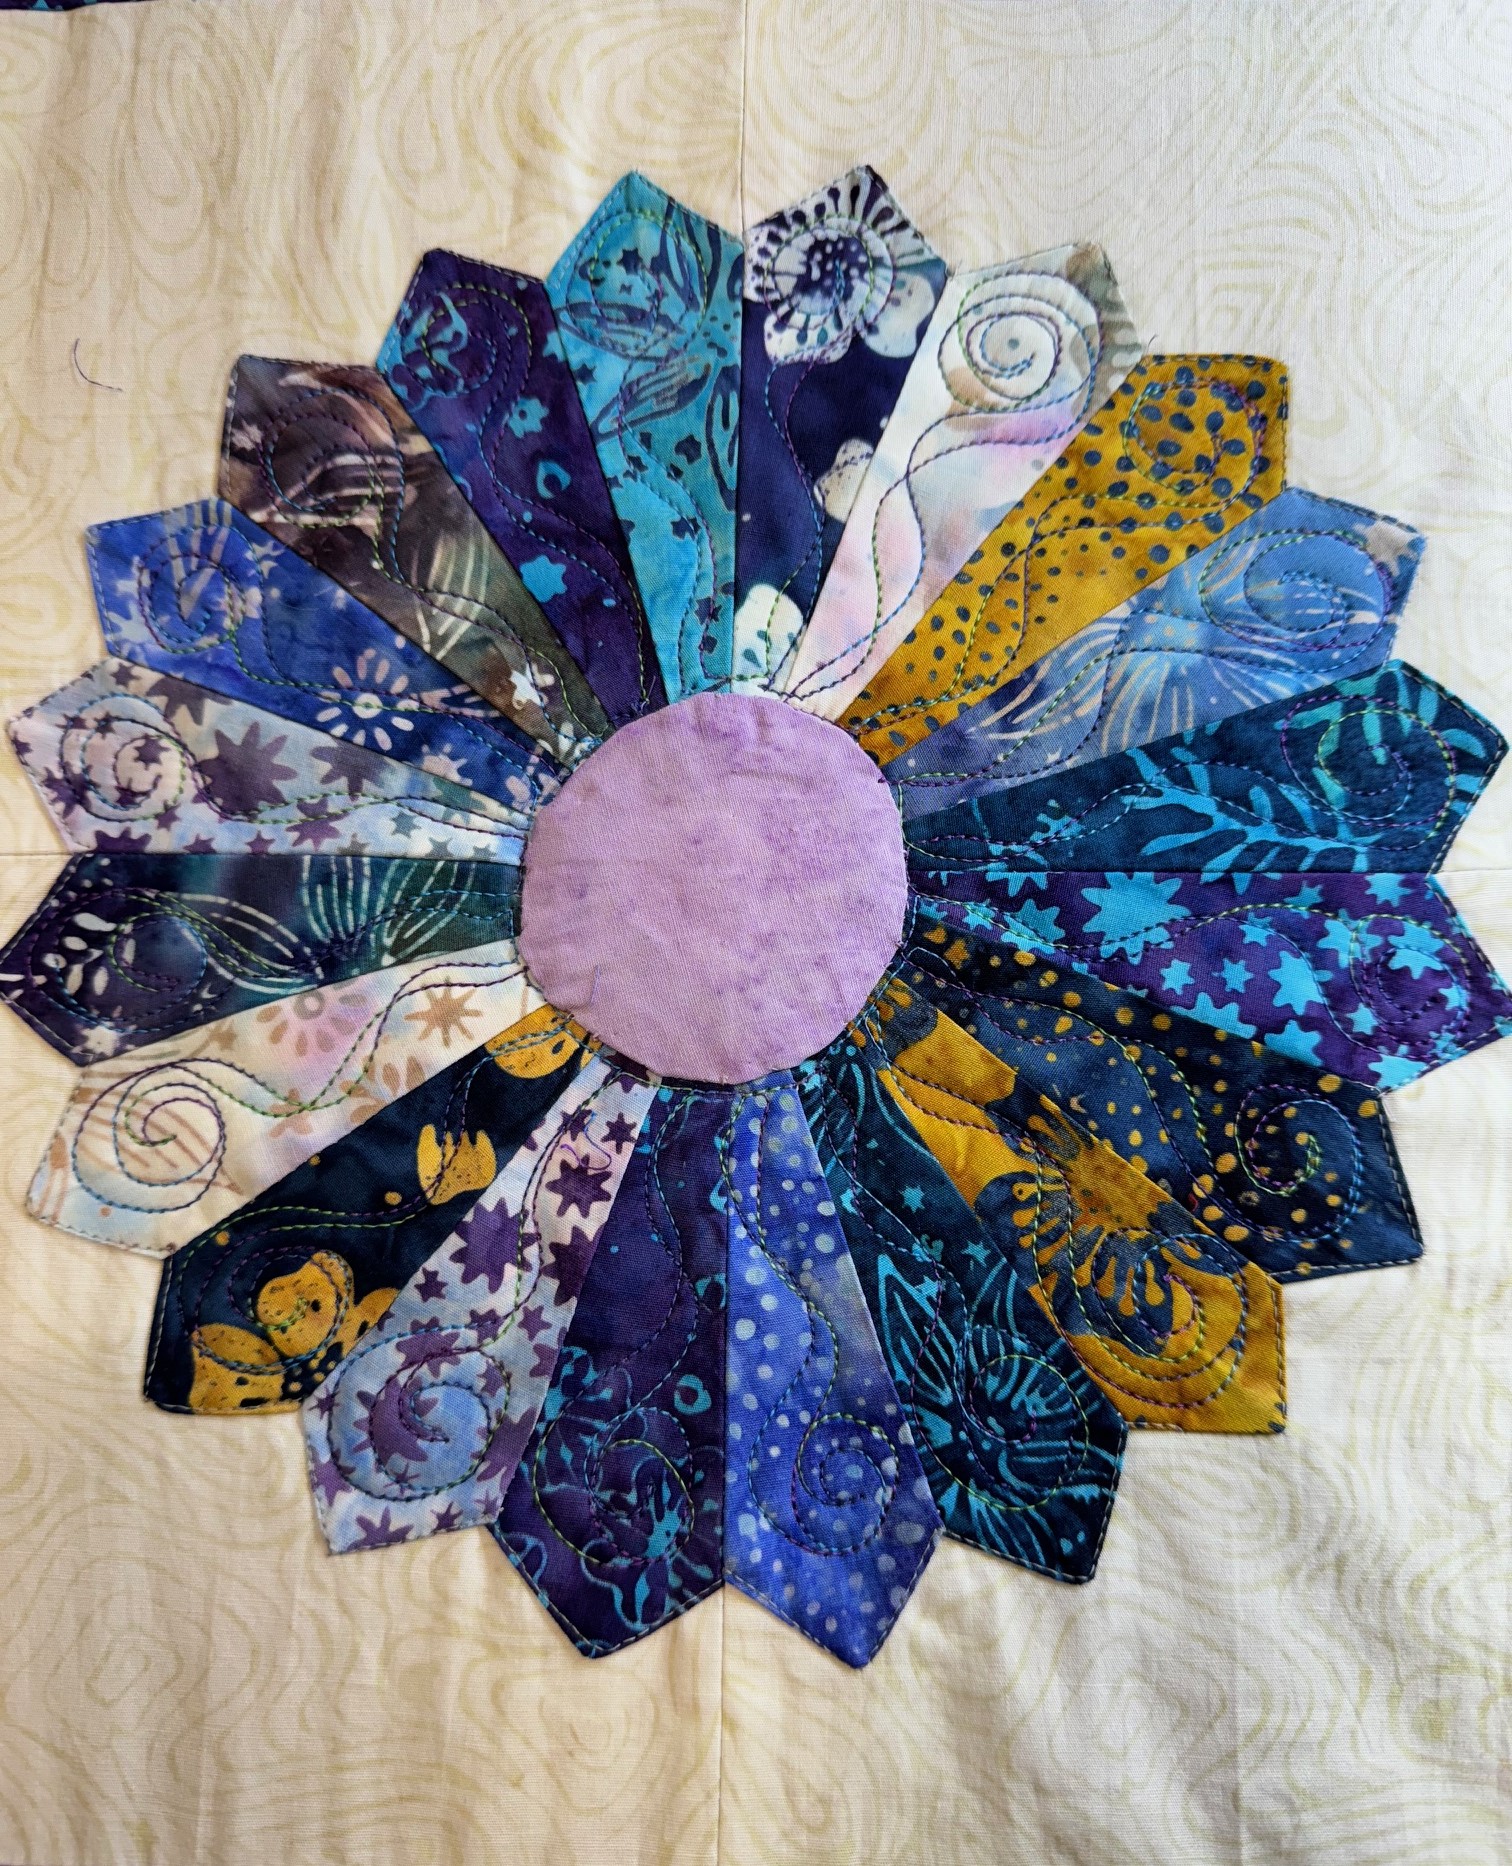
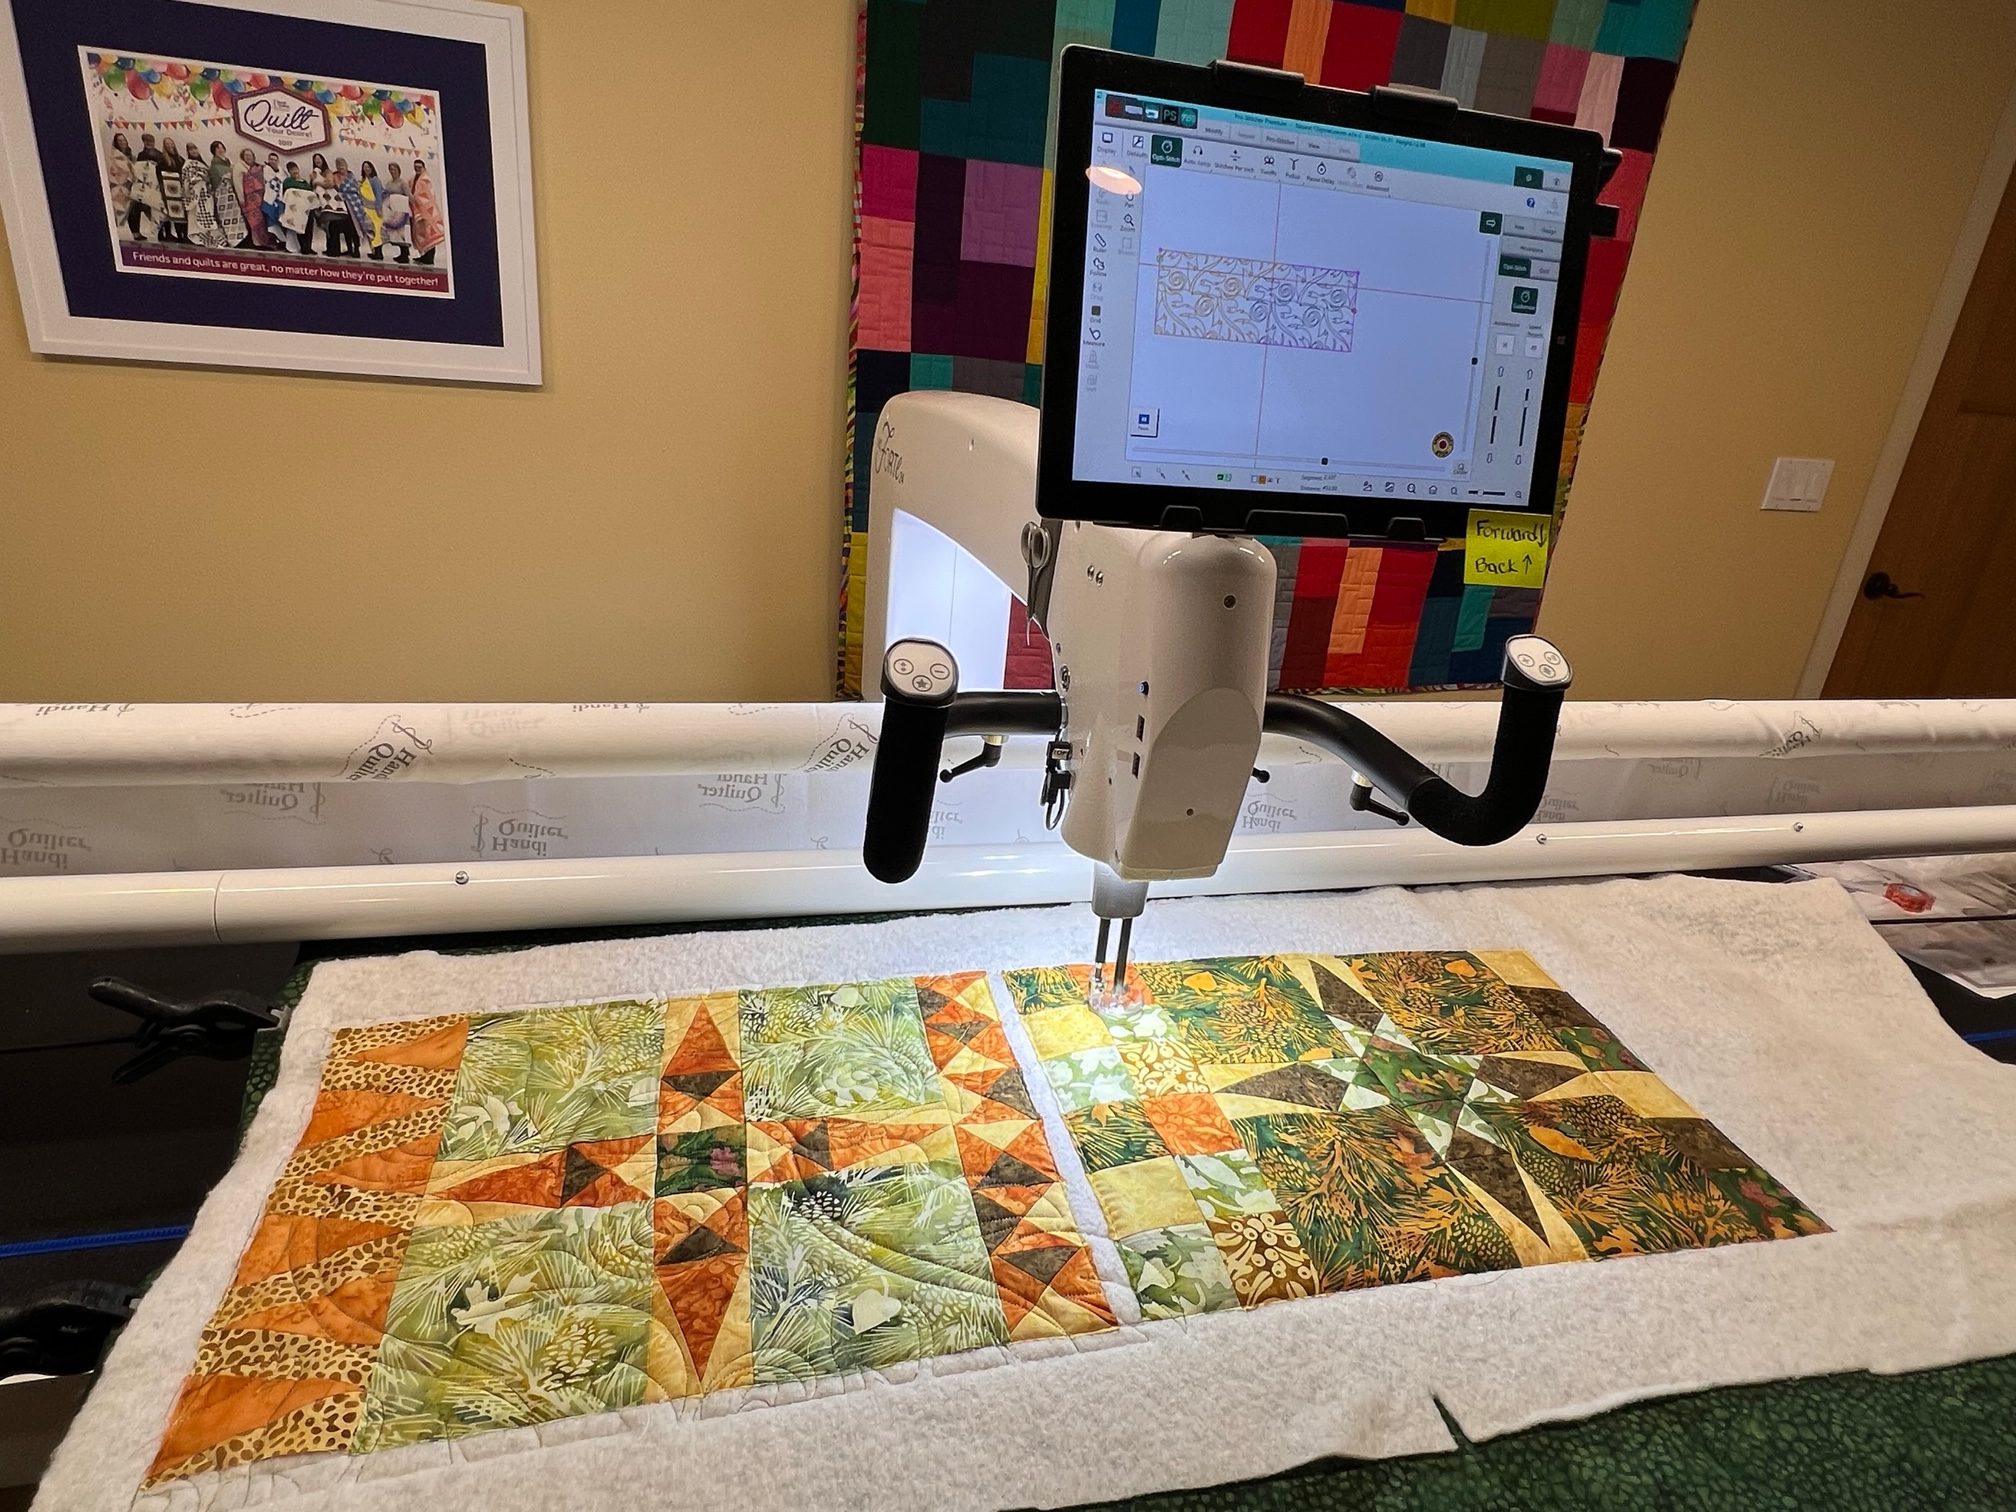
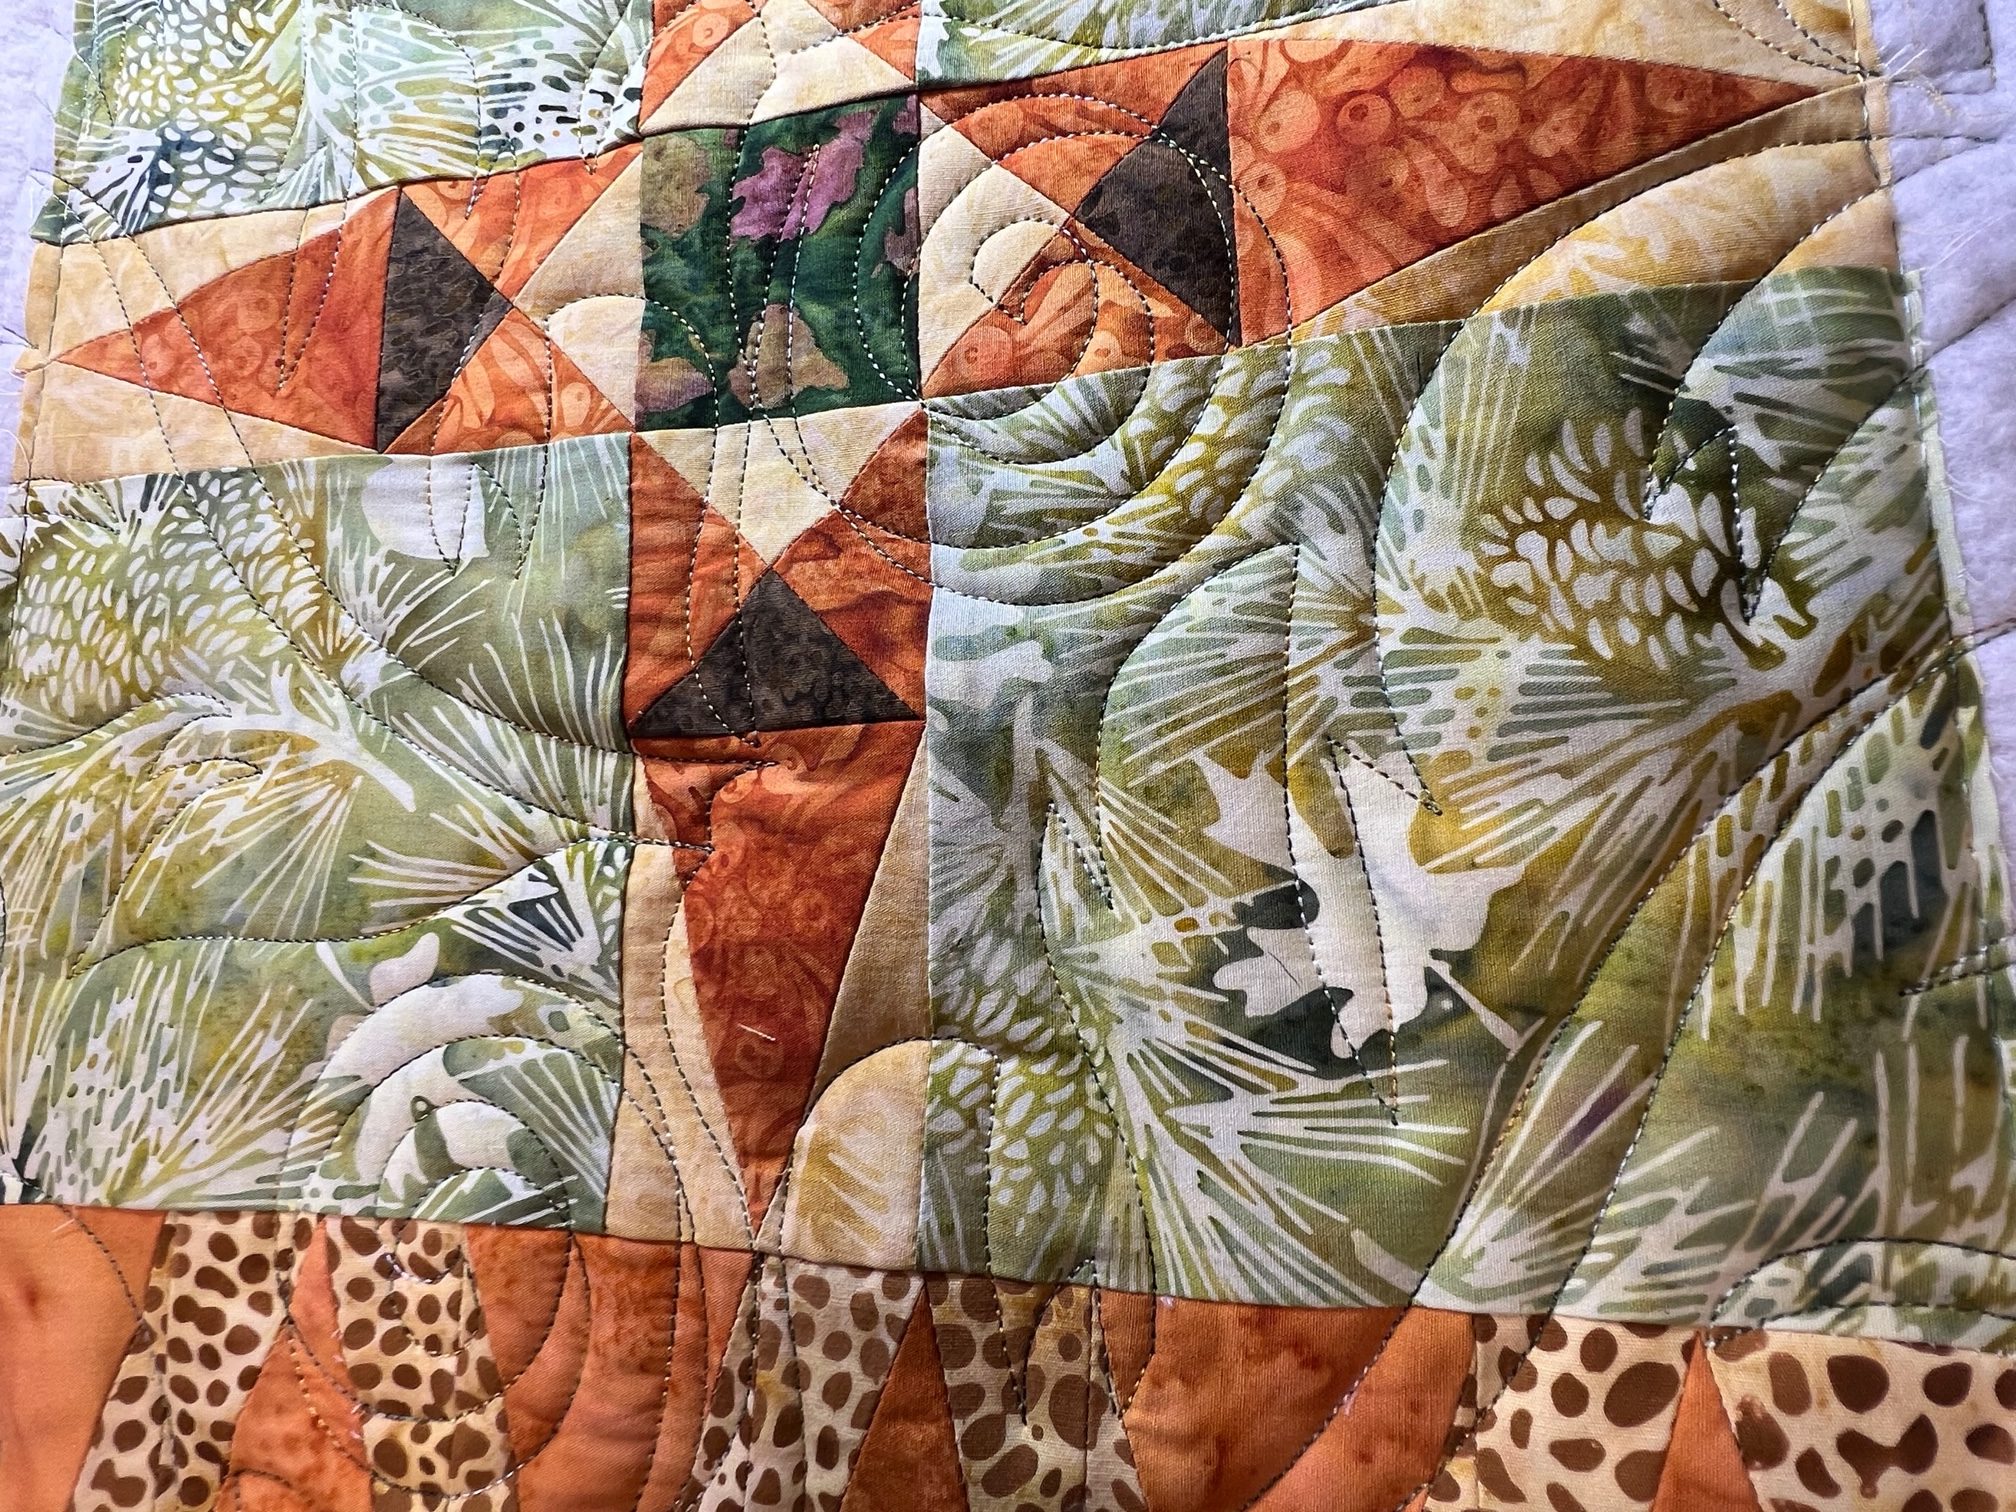
I so enjoyed quilting the blades by freemotioning the swirls on my Handi Quilter Forte 24. Too fun!
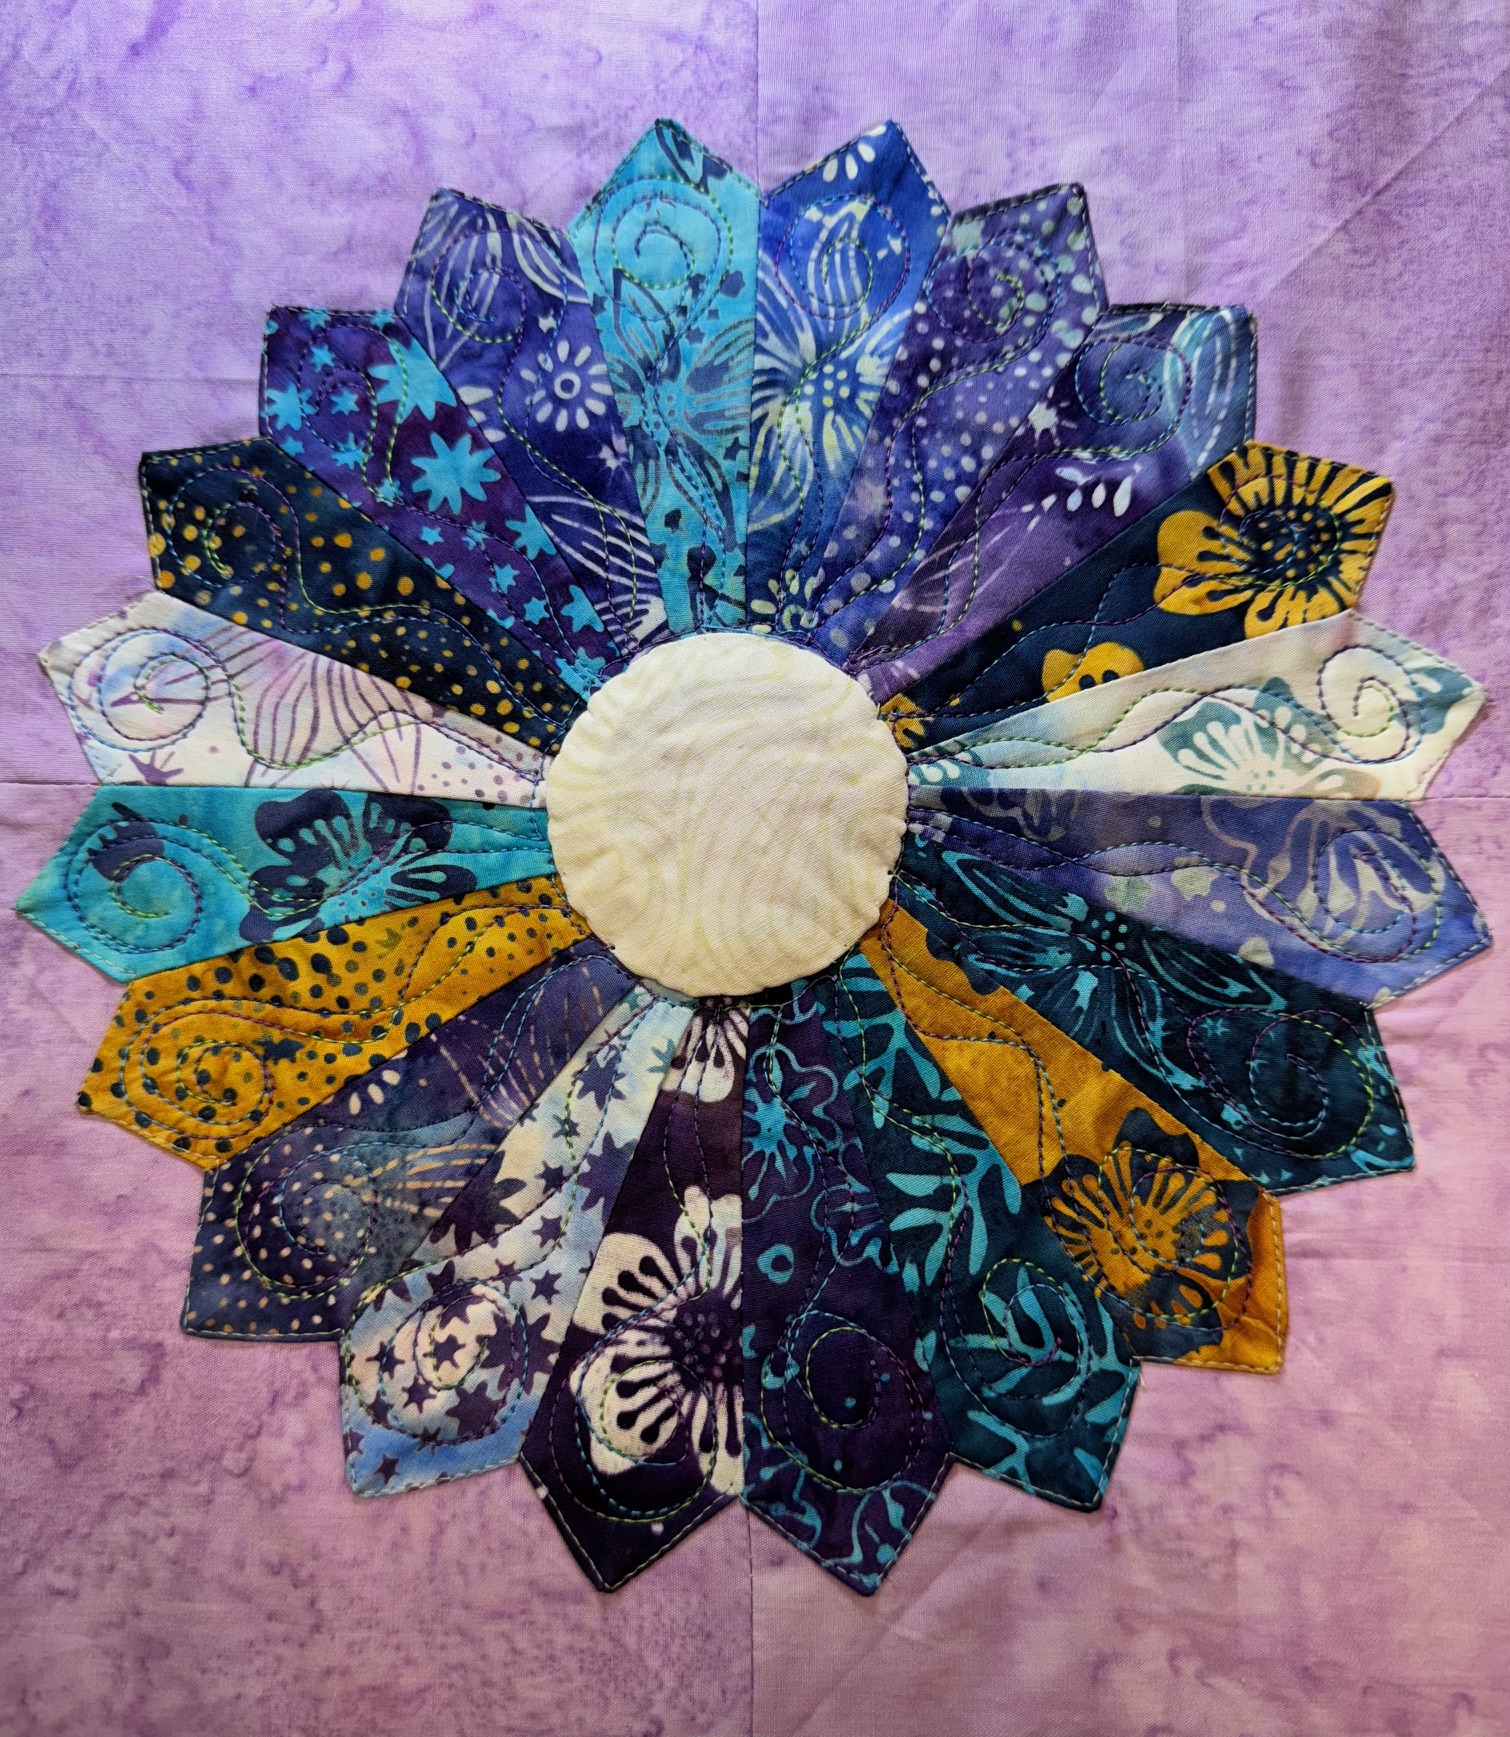
This background is lavender and I love how it brings out the purples.
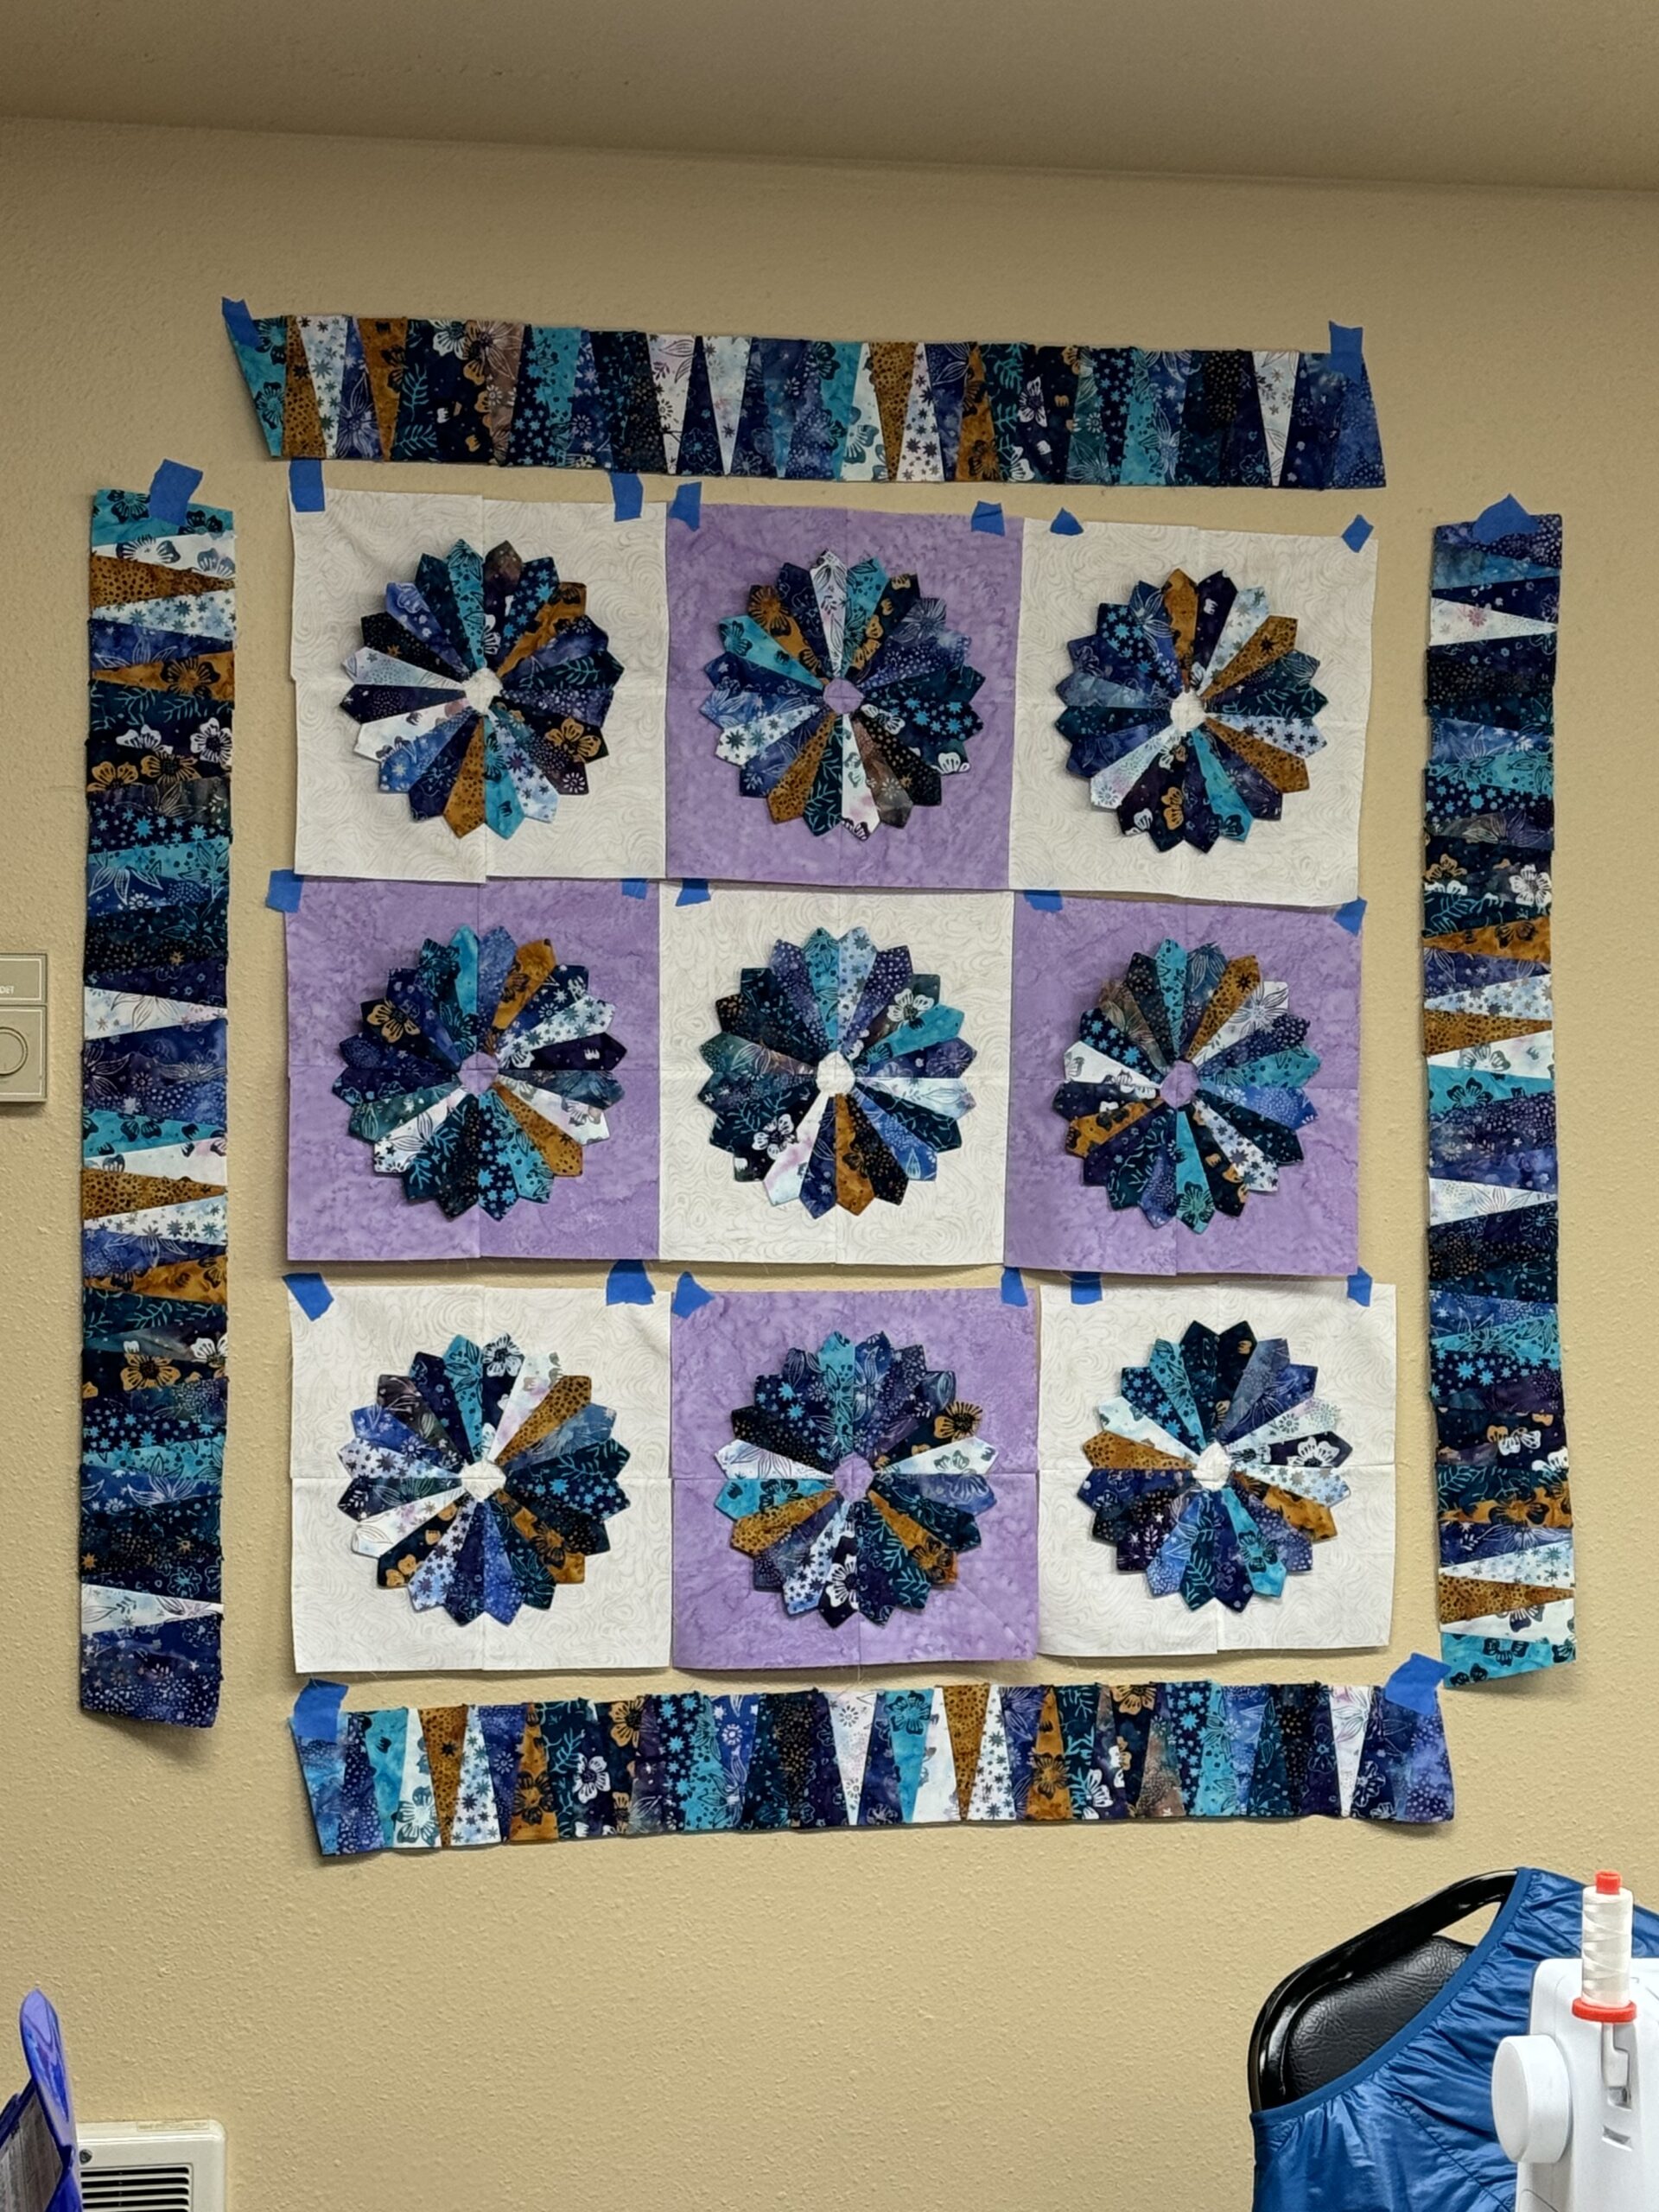
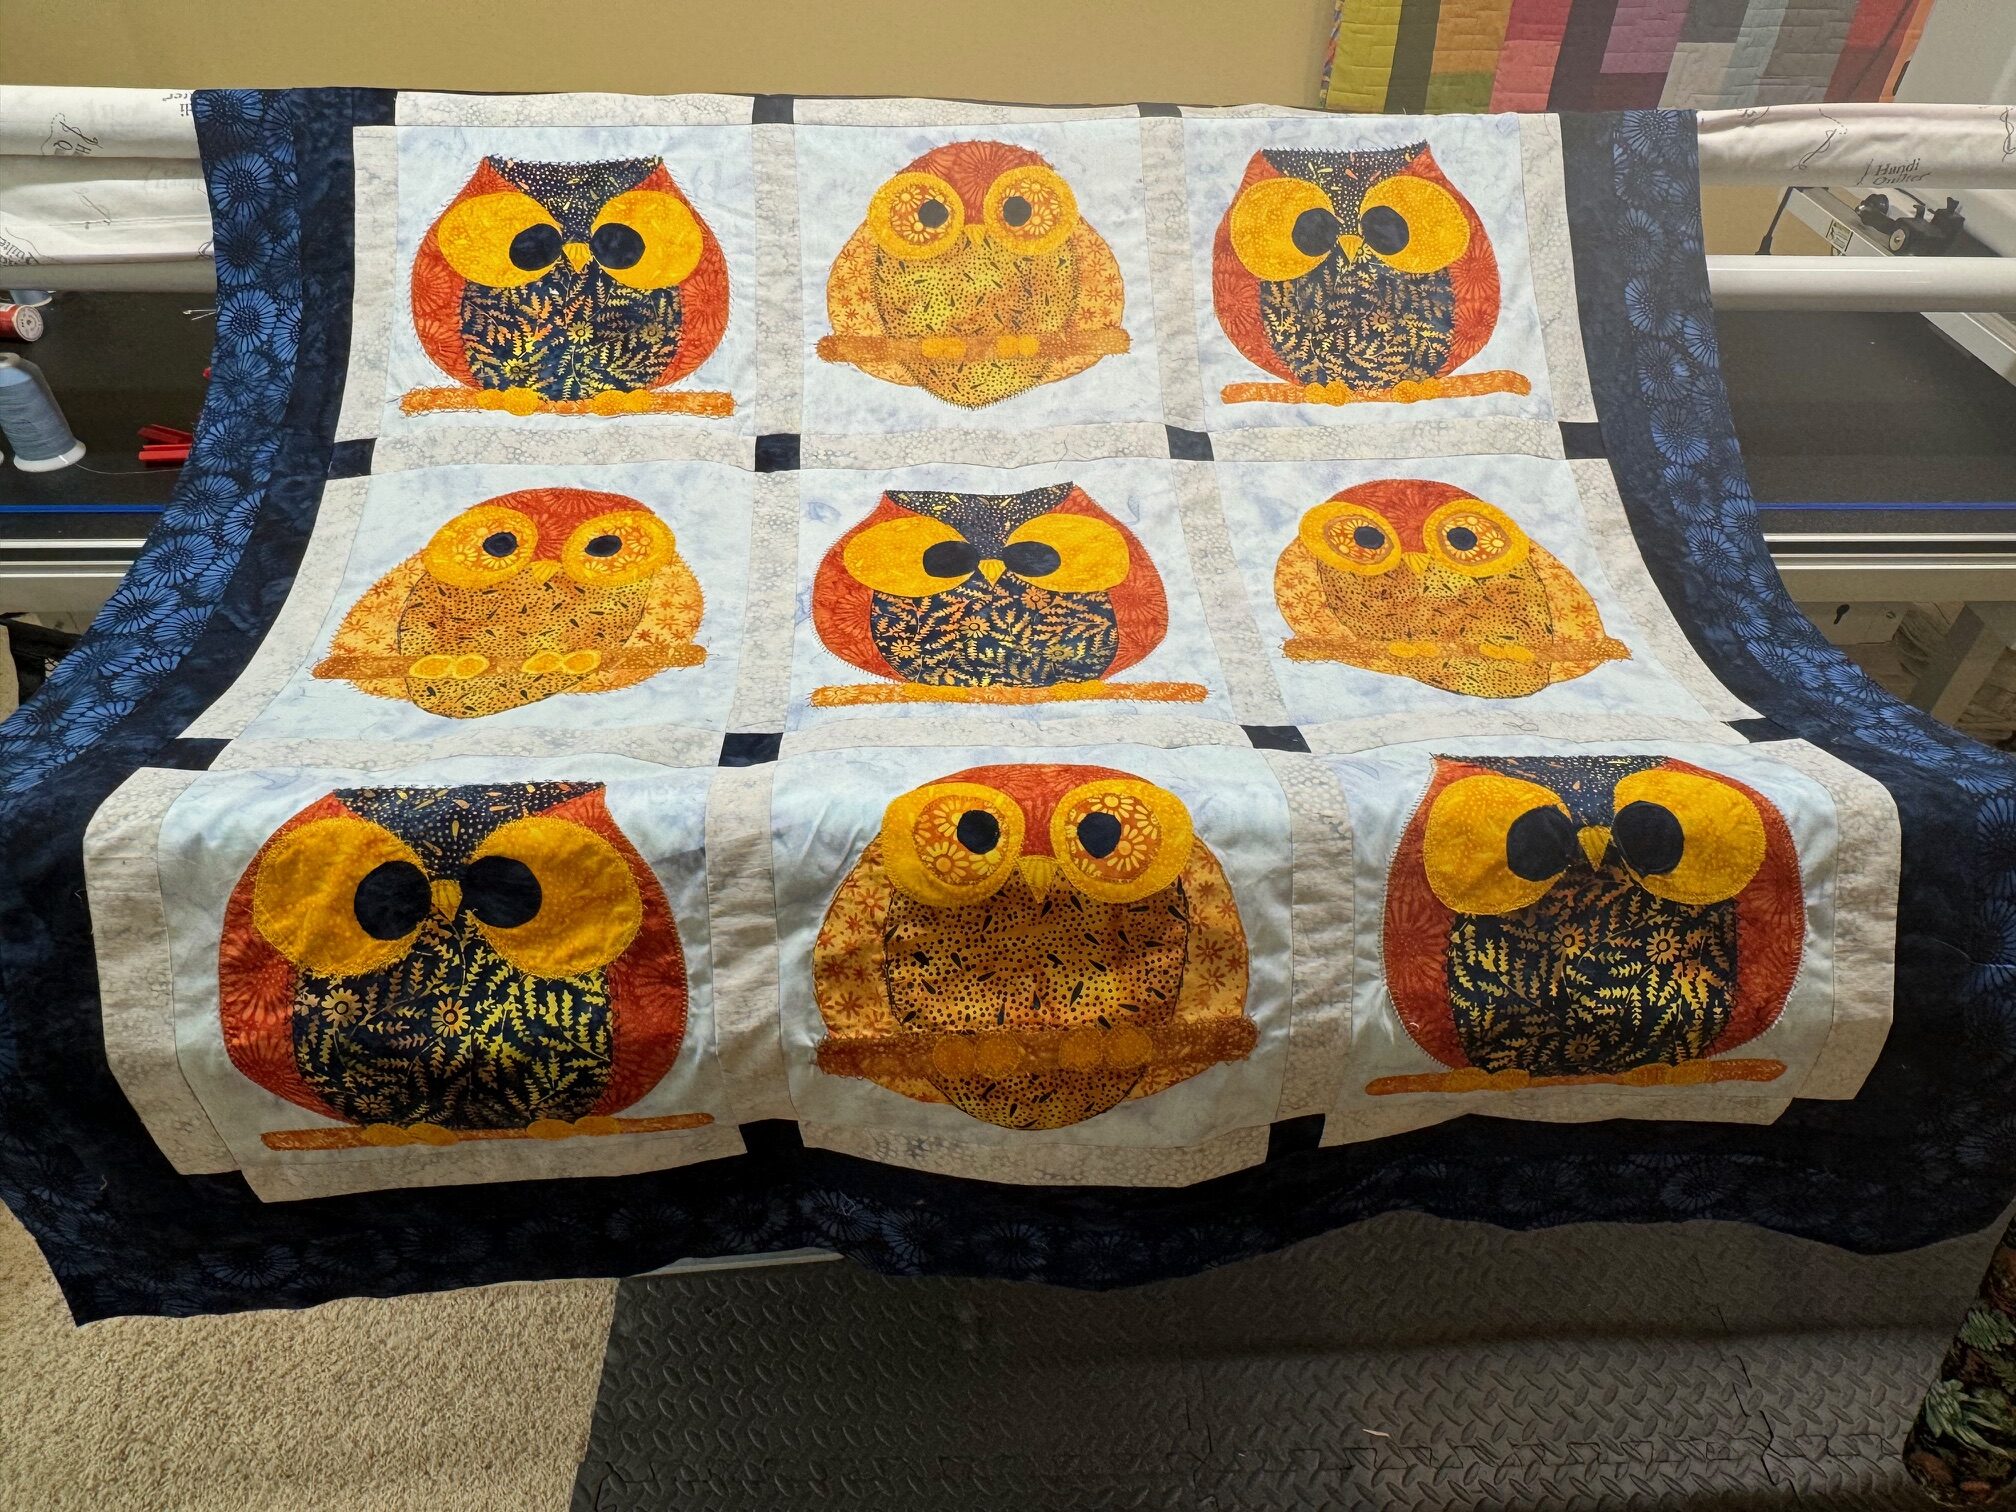
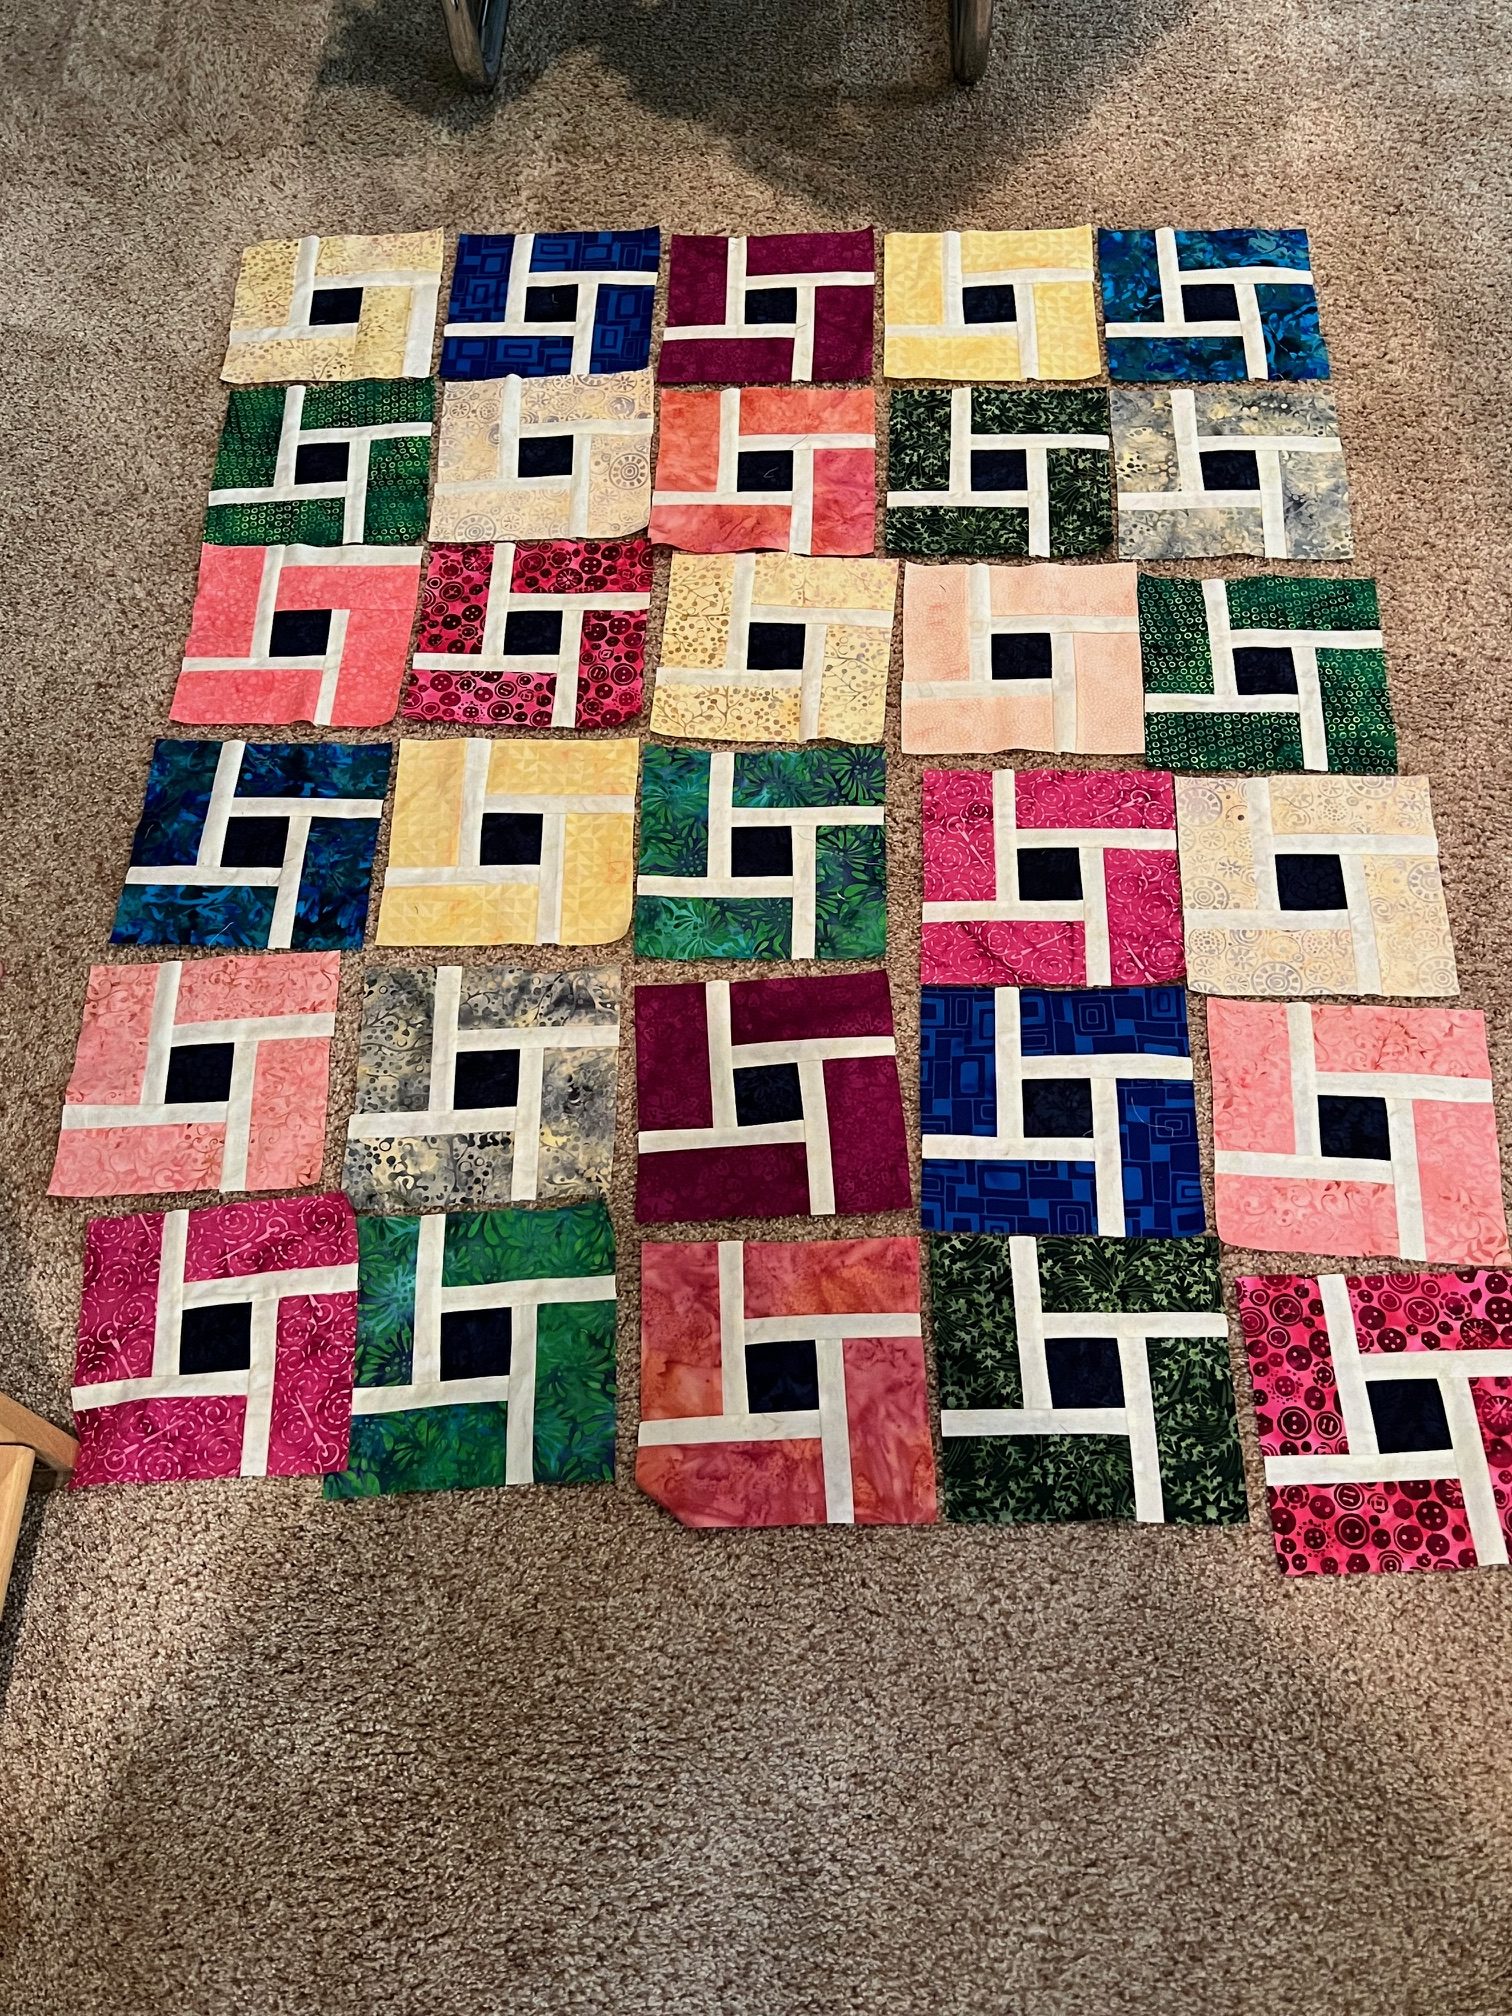
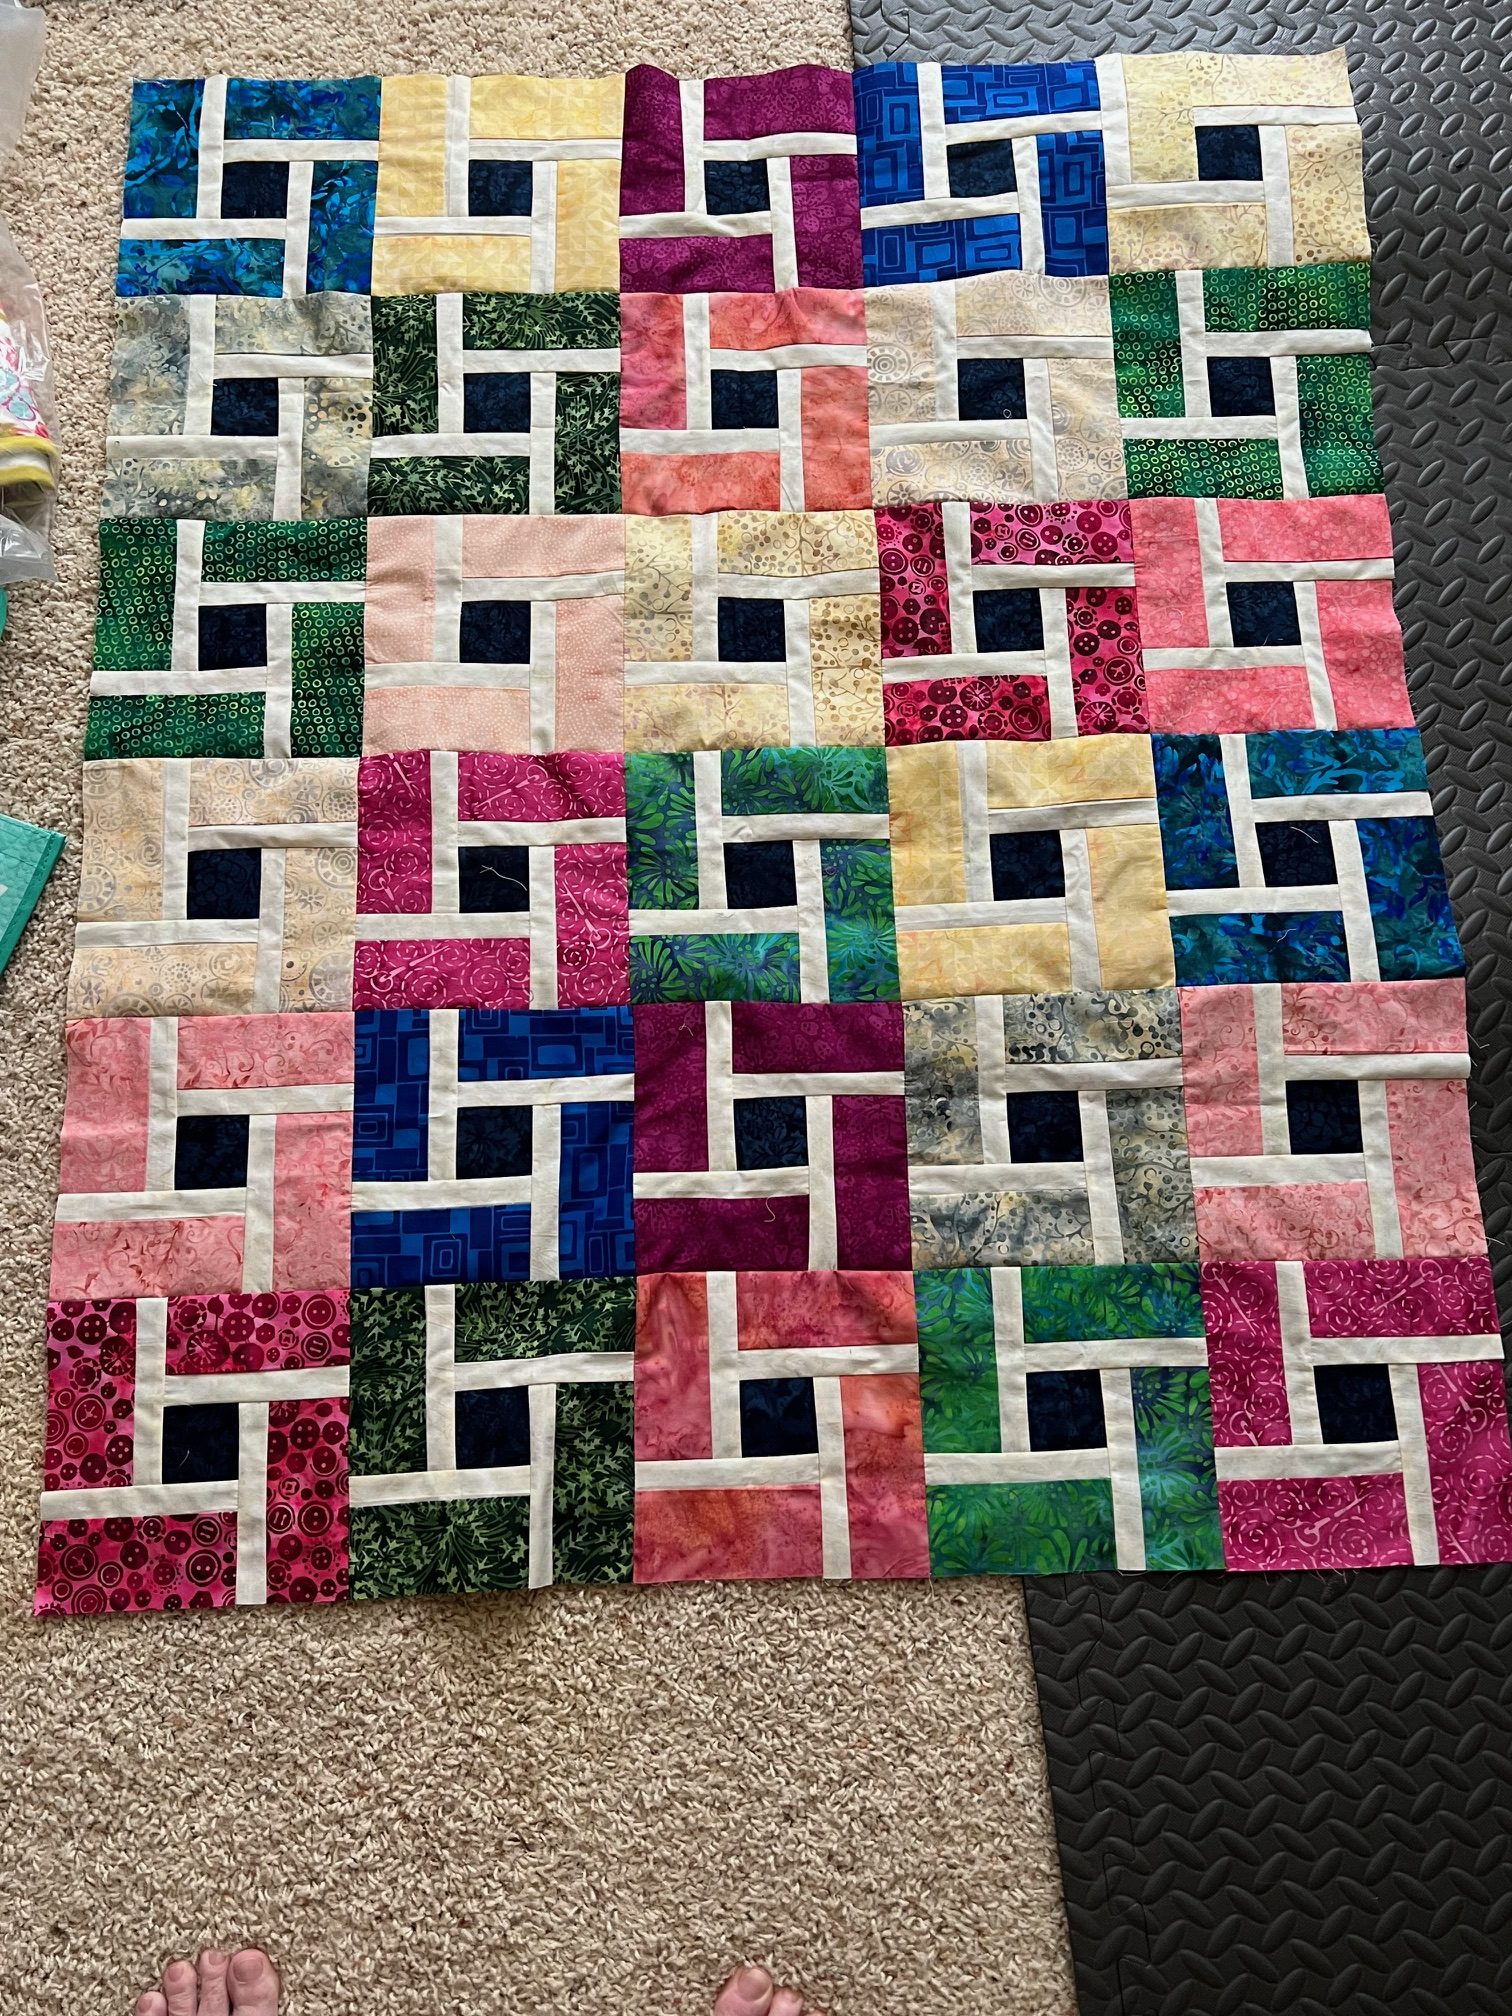
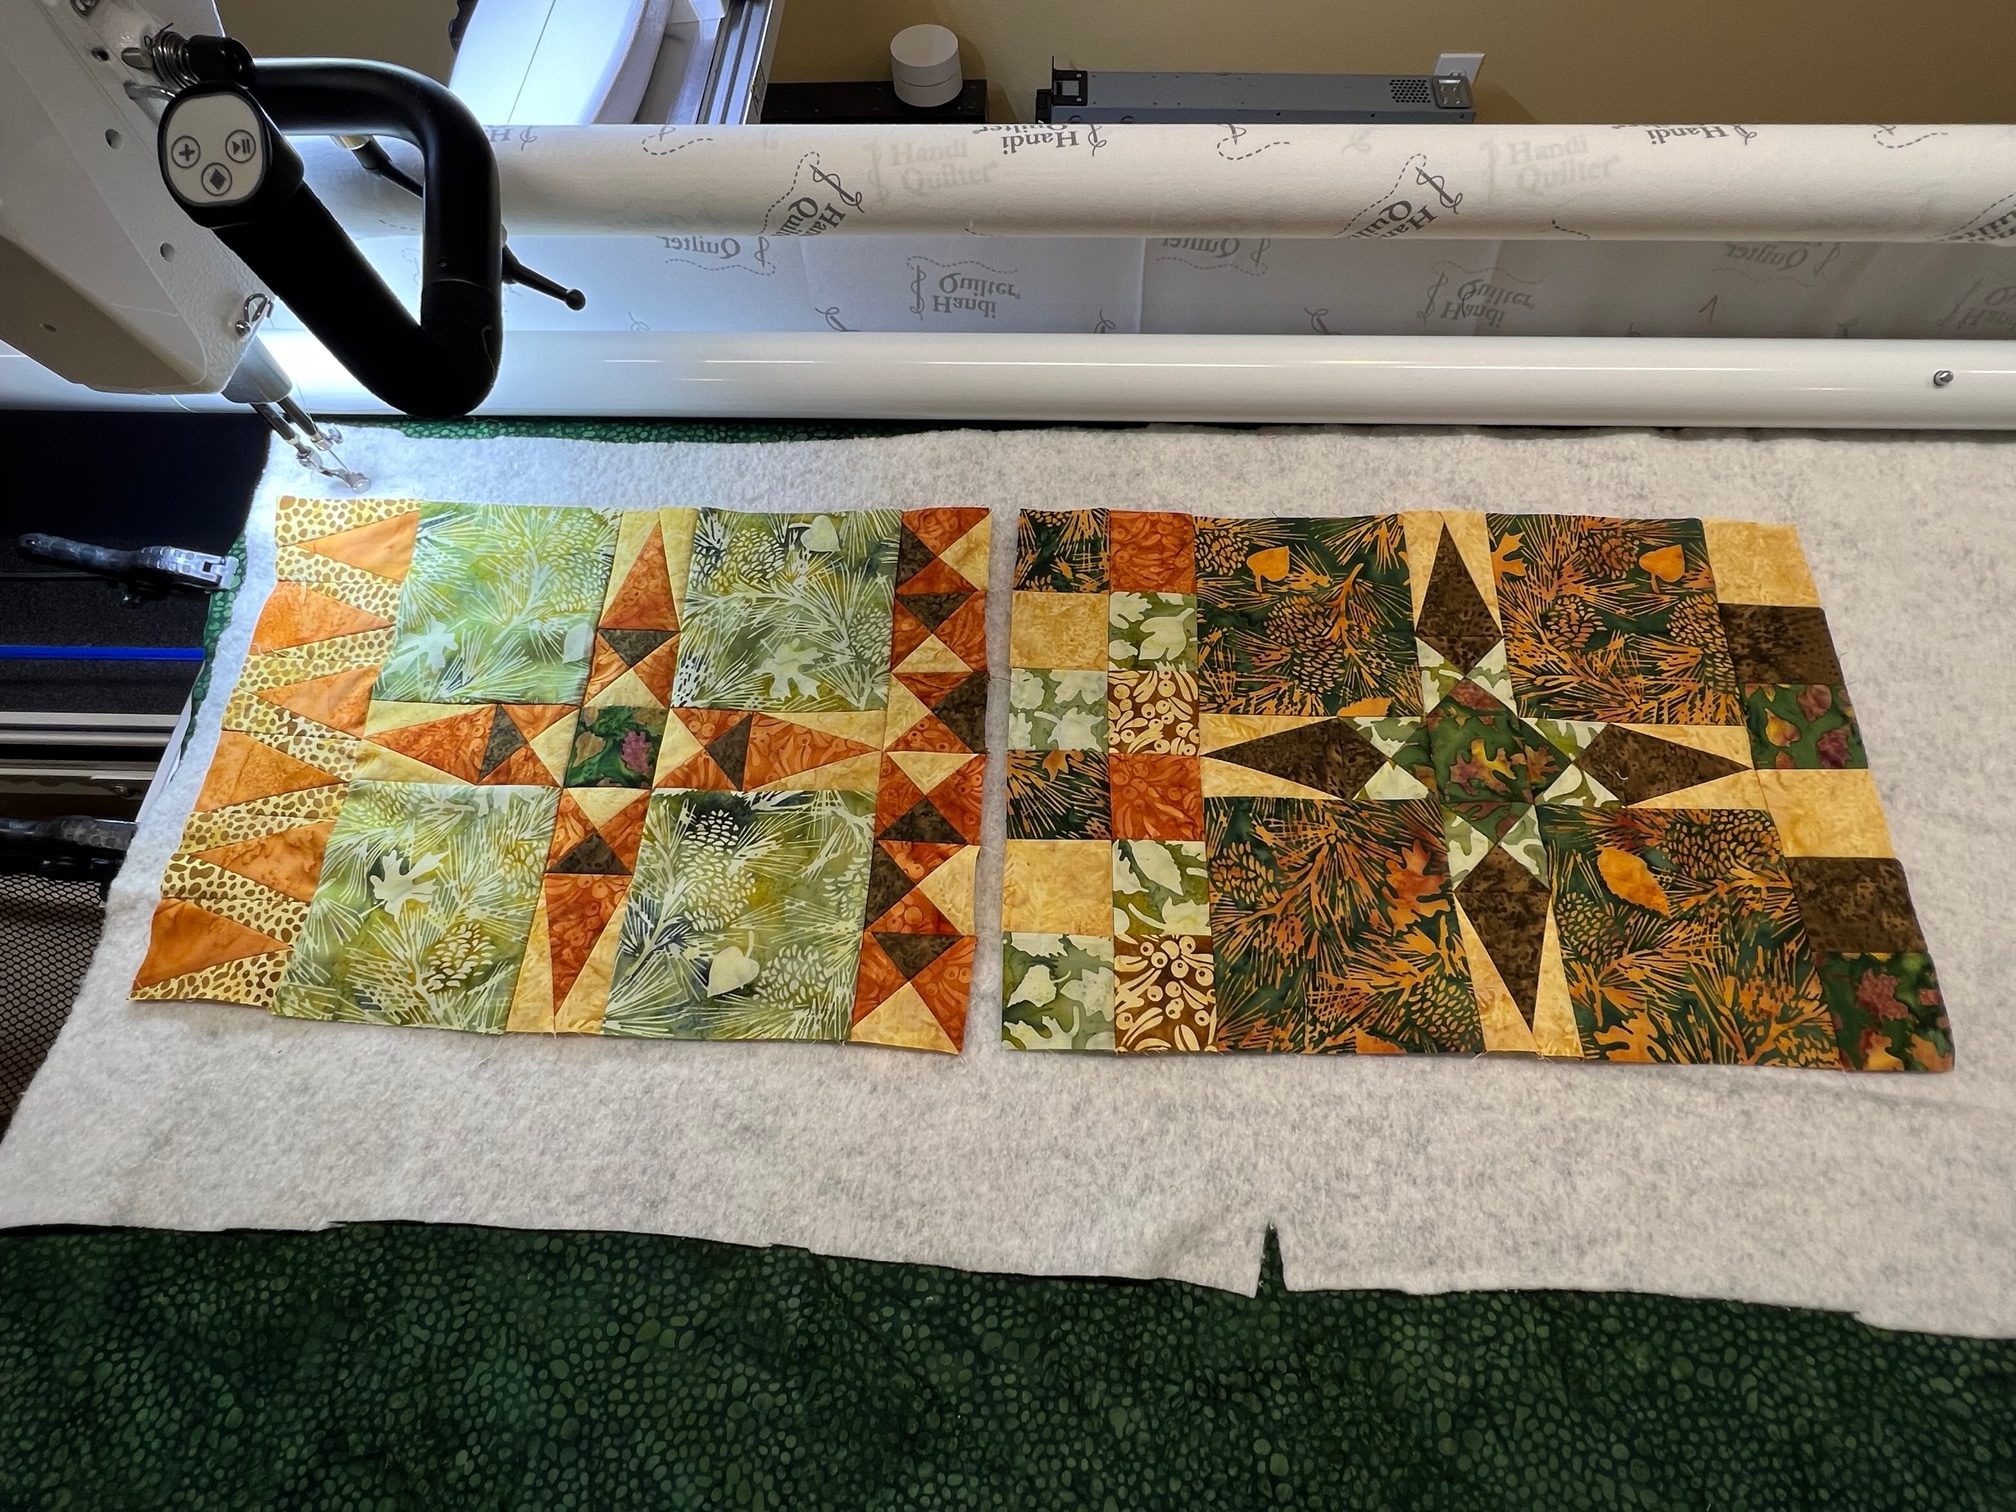
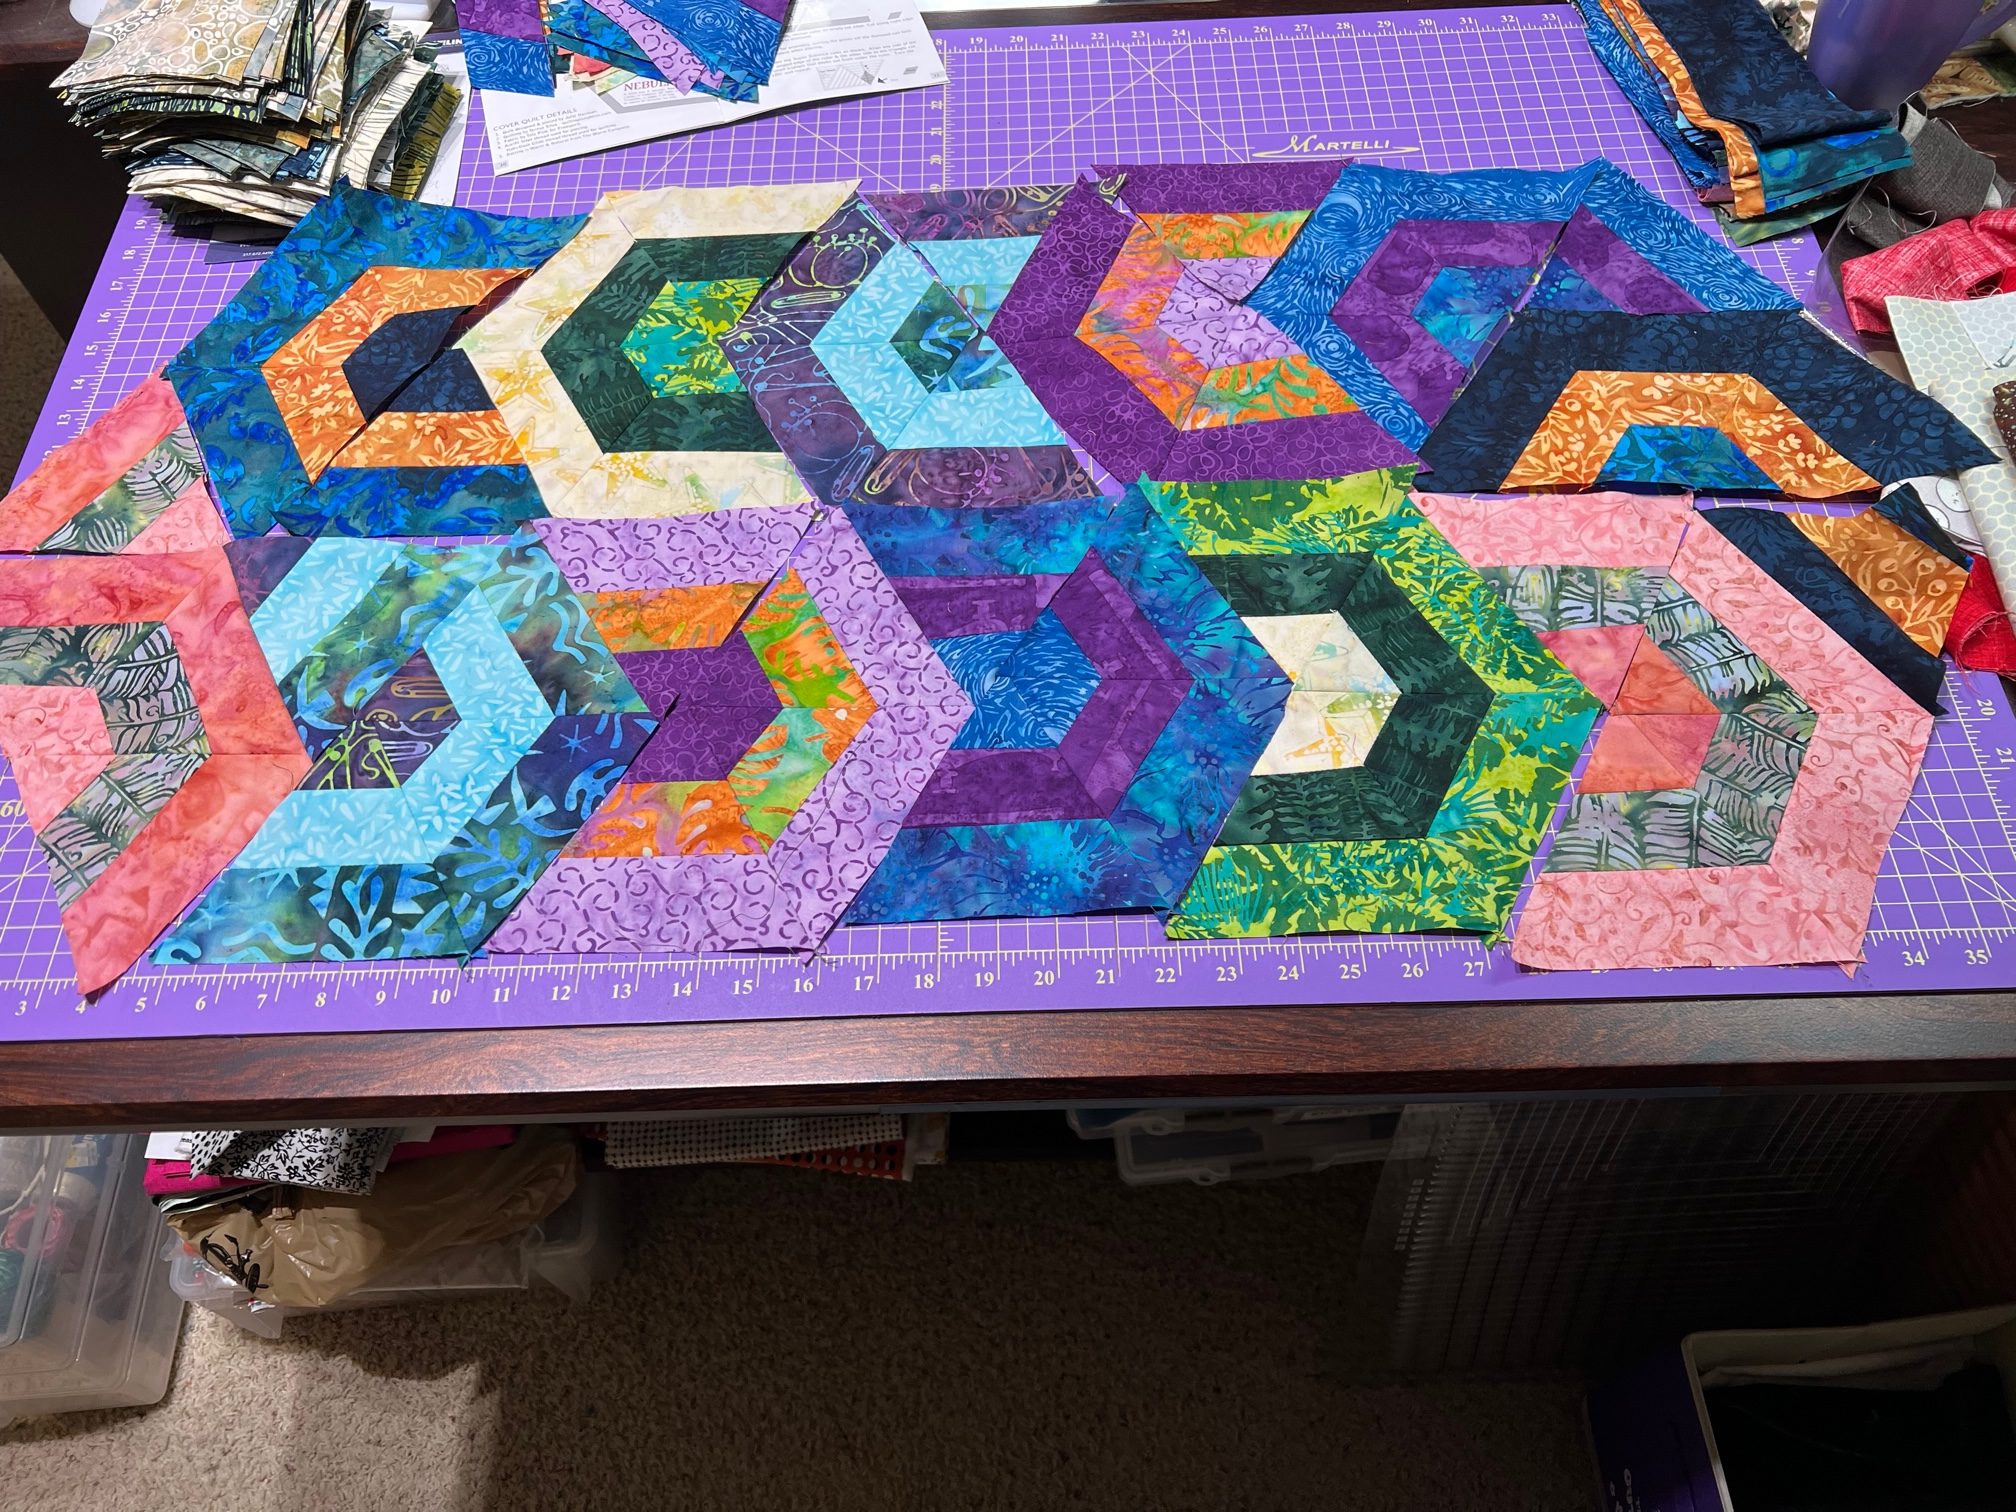
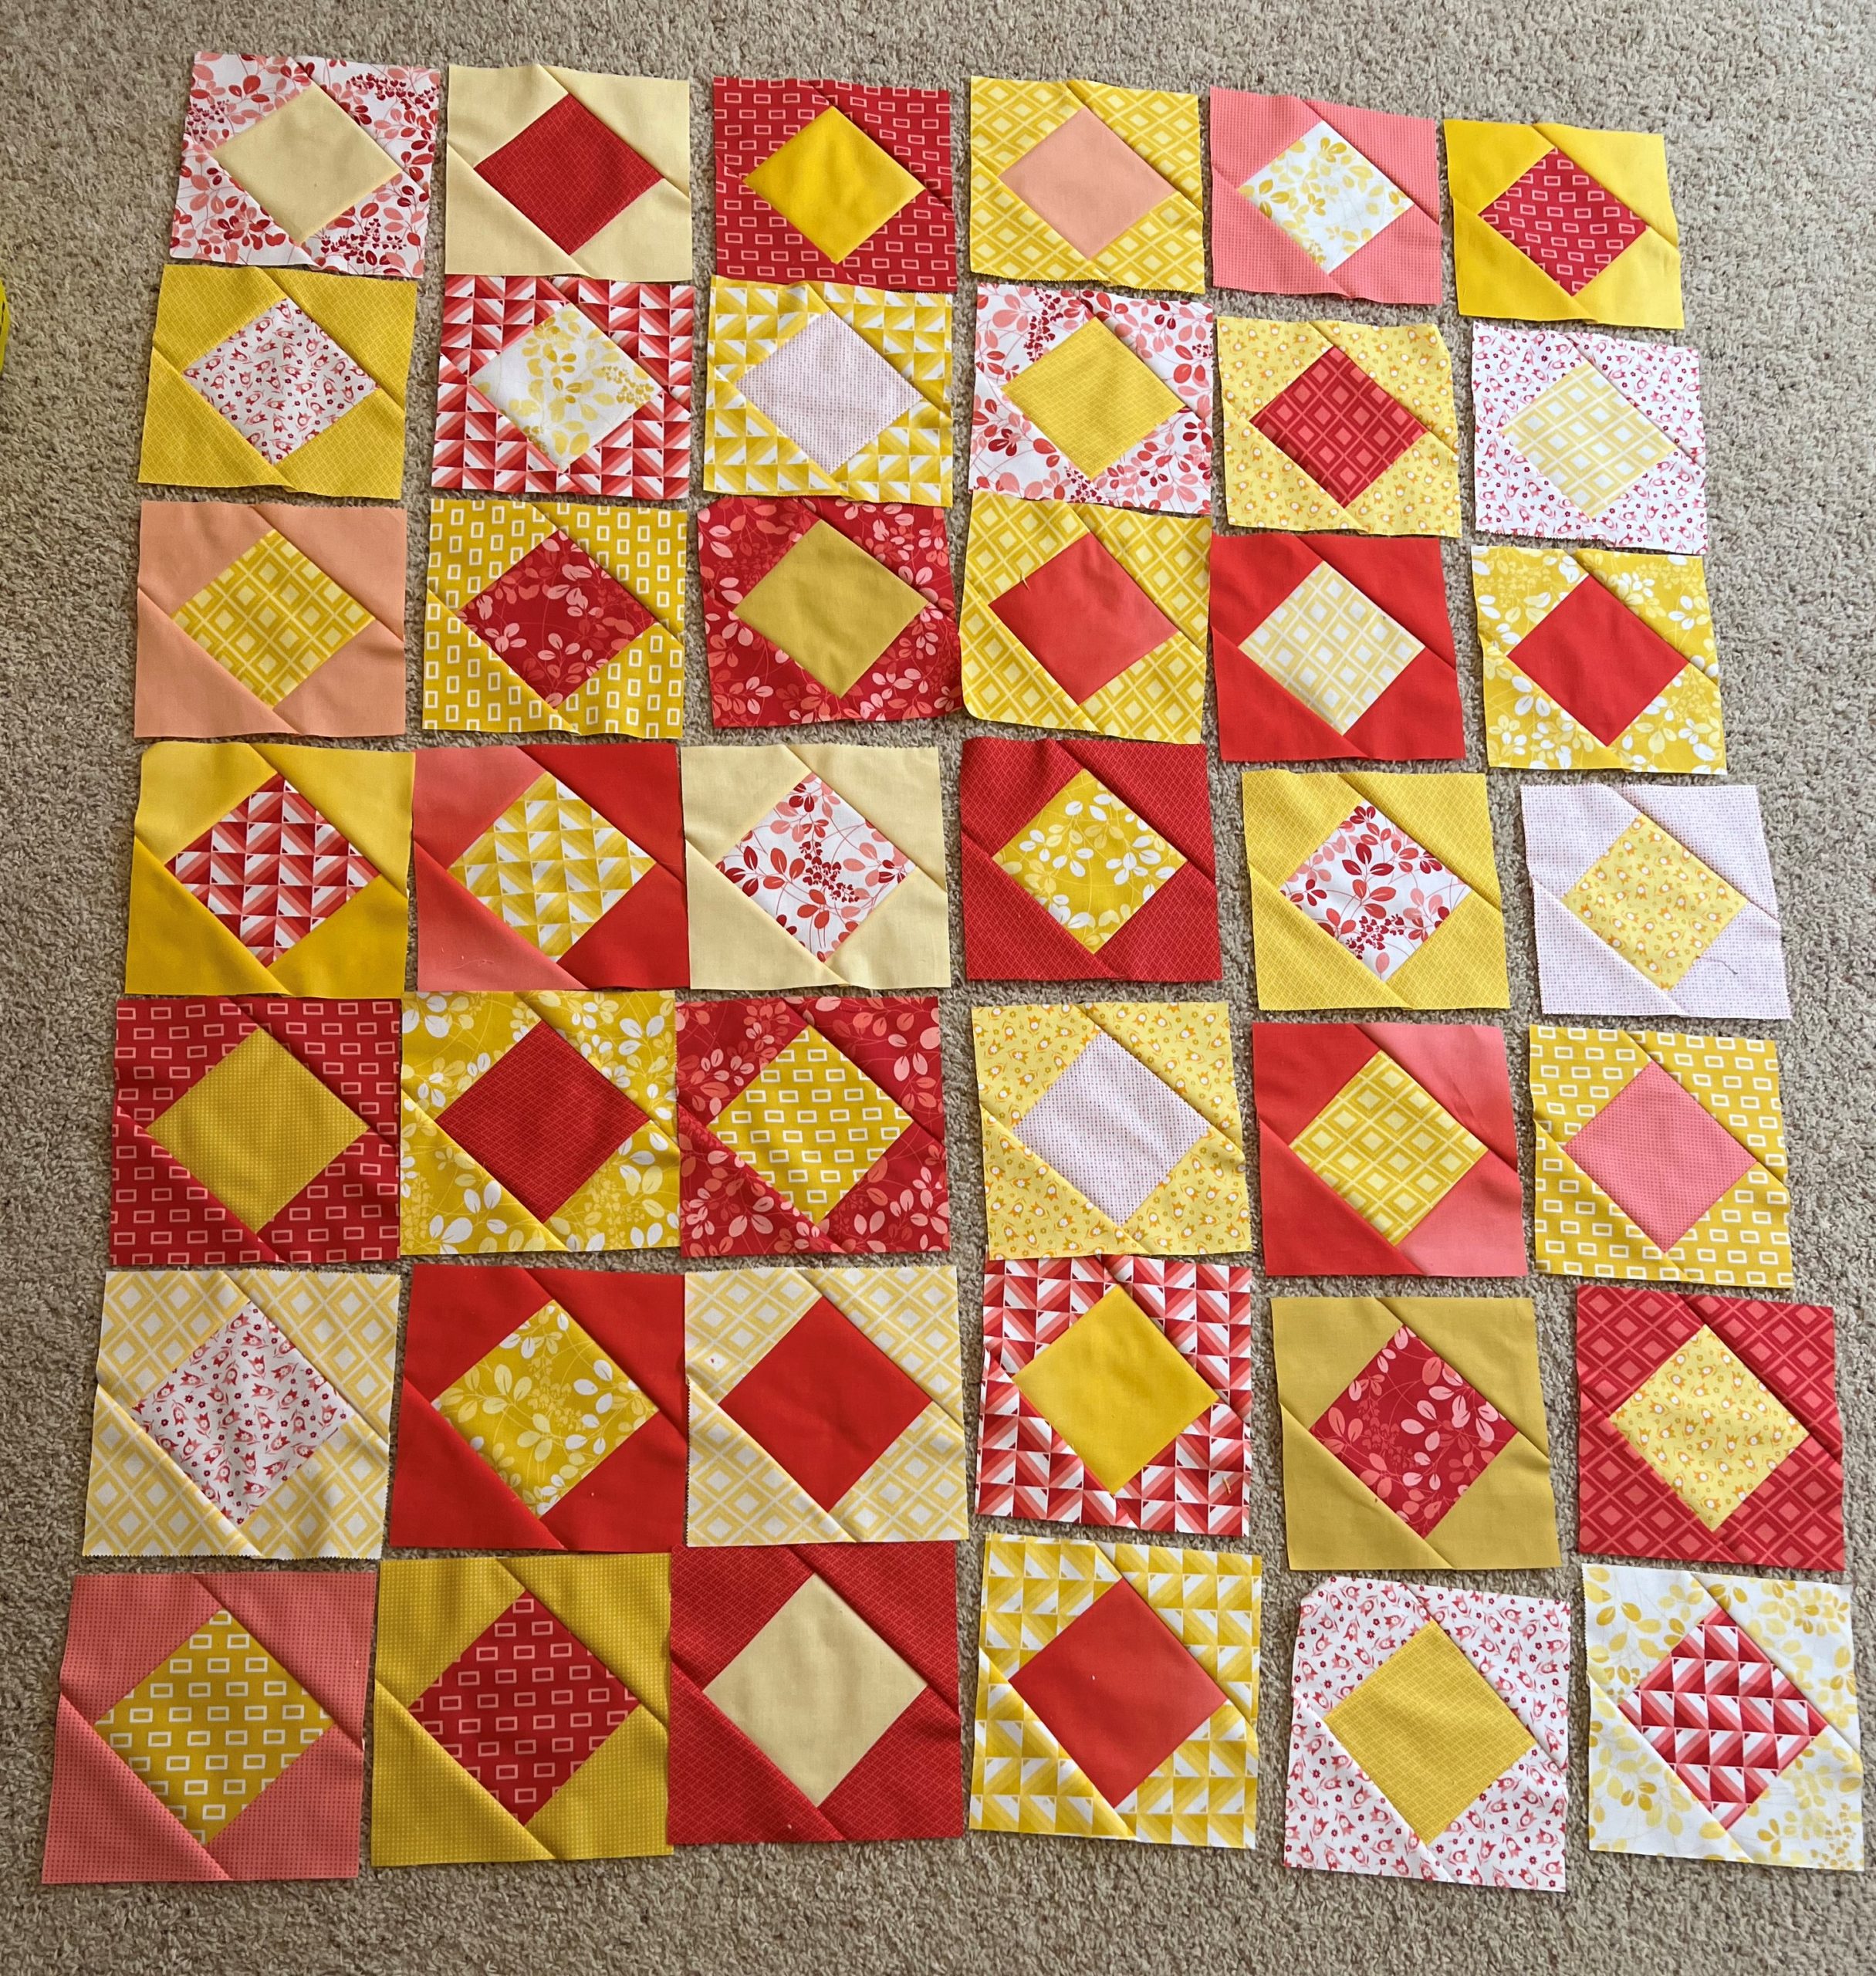
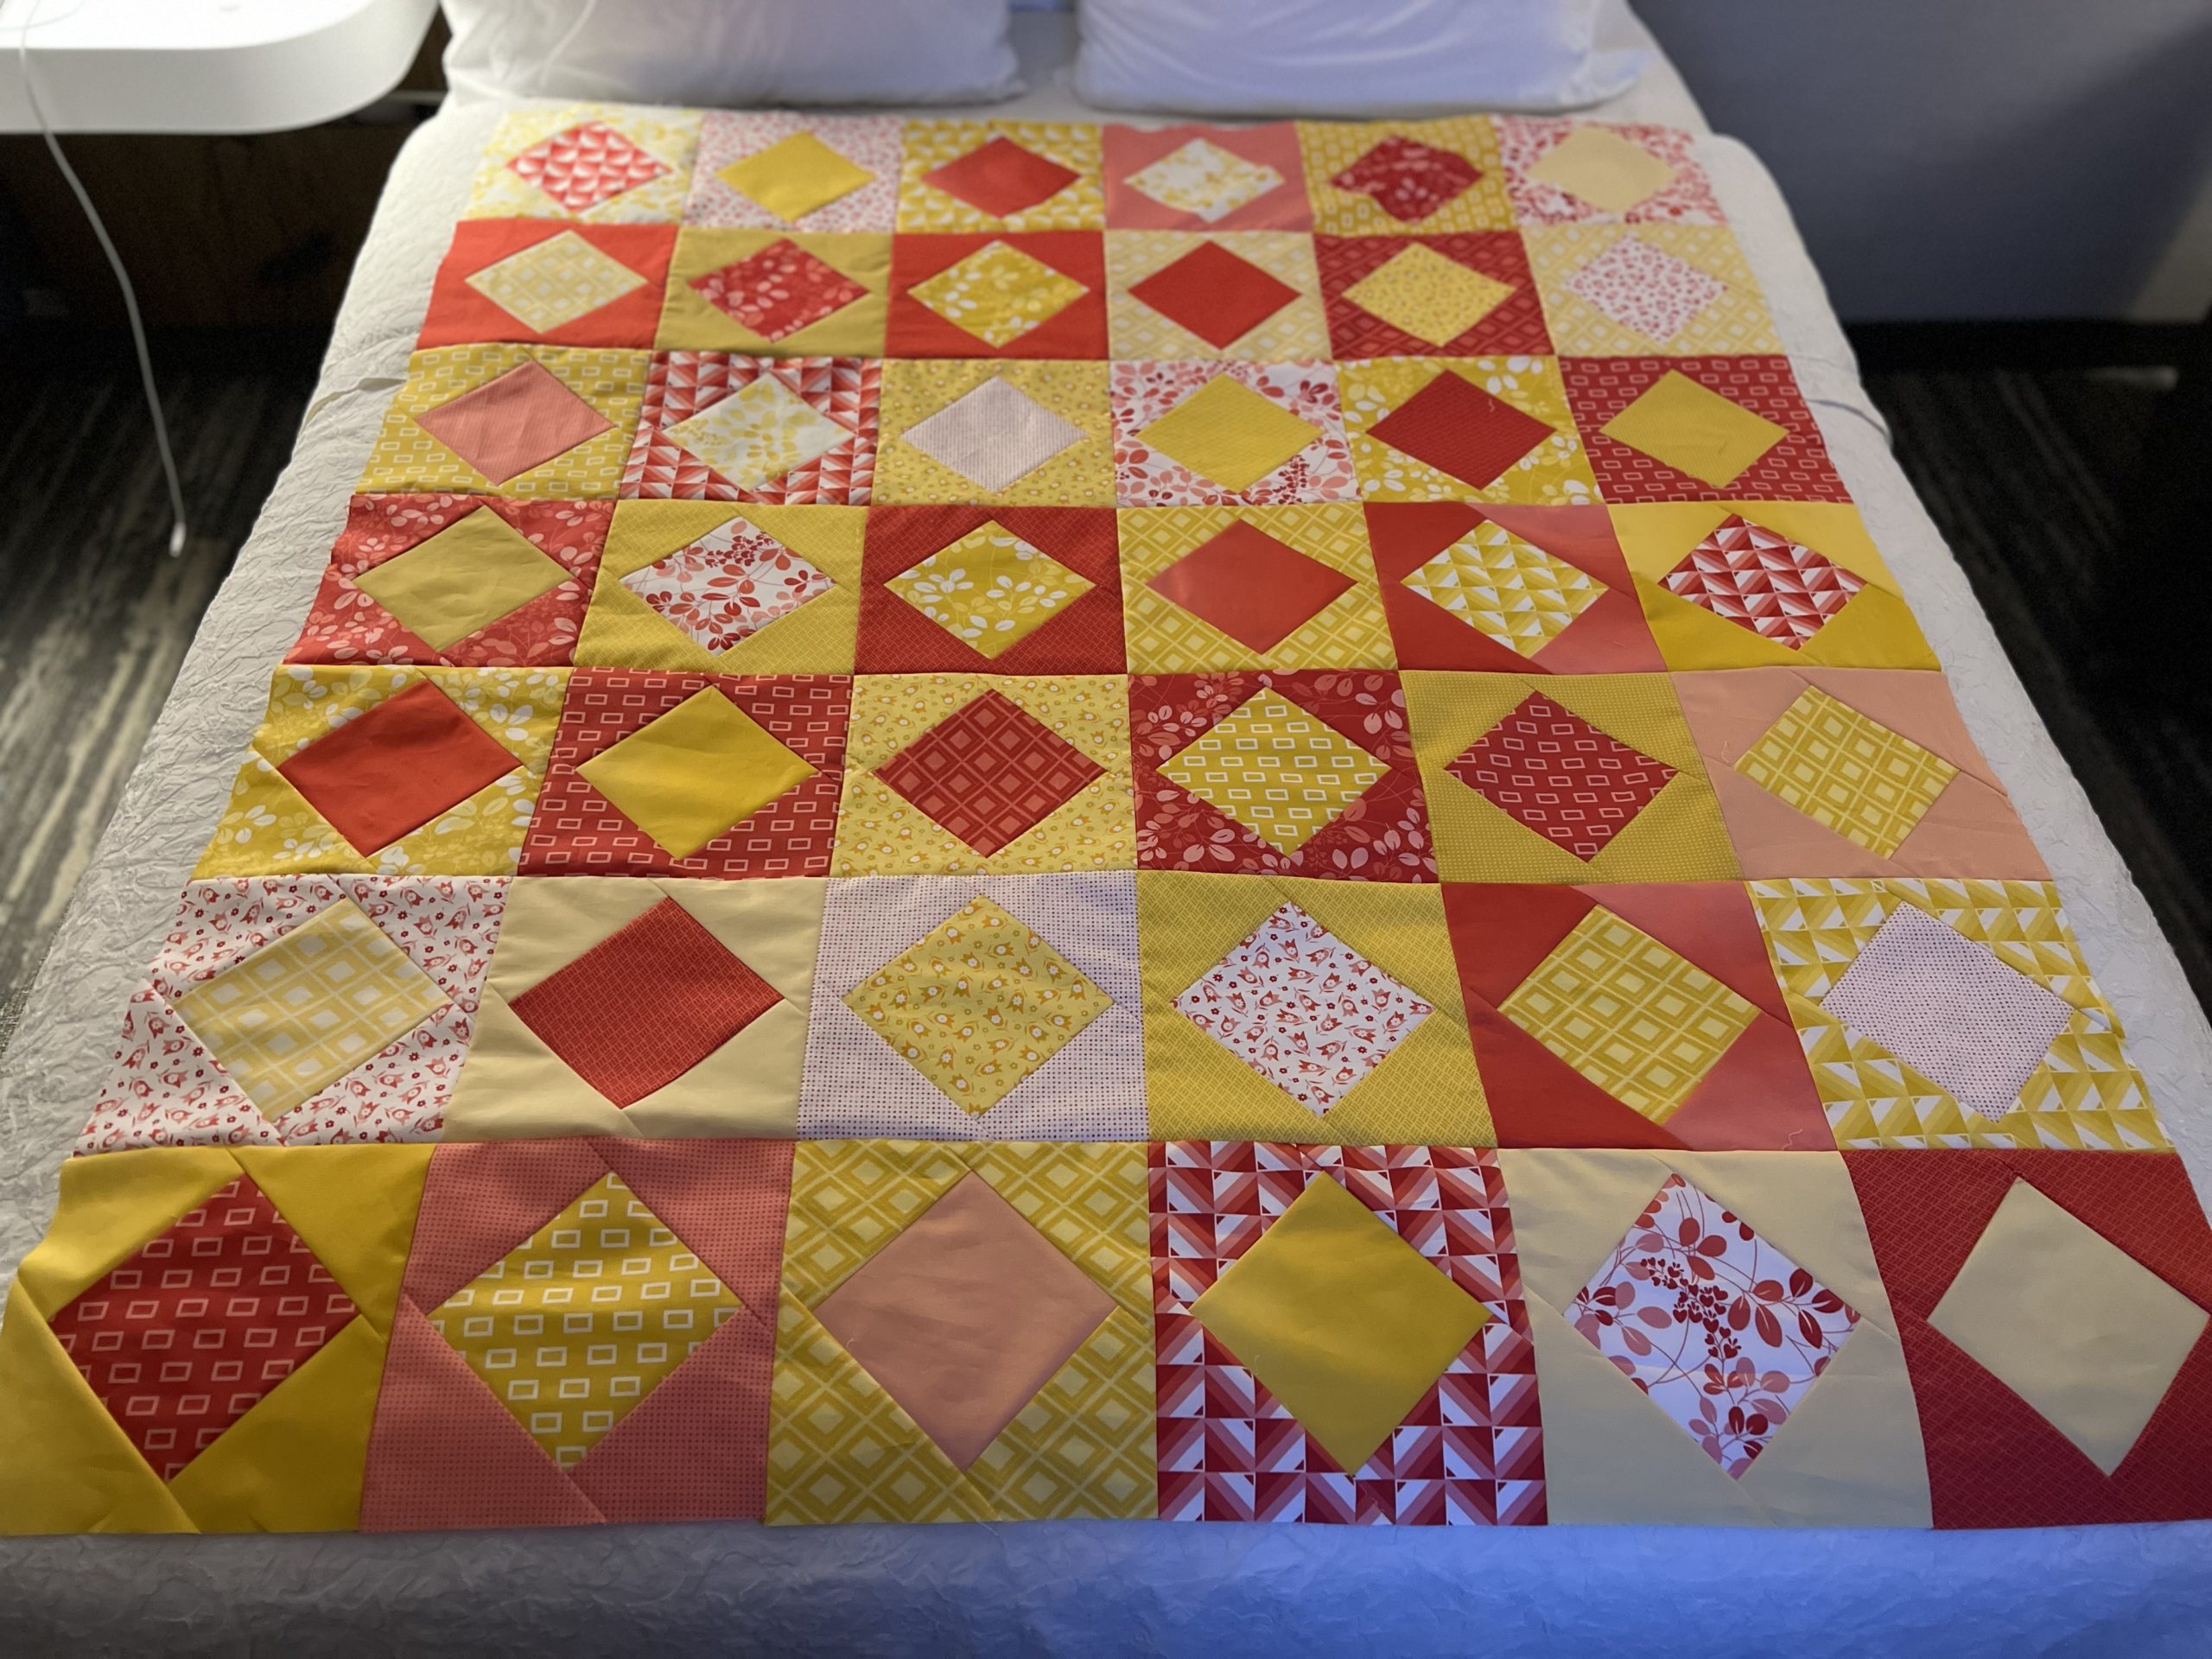
It’s always exciting to see it all come together, even if it is using blue tape on a wall to make it happen.
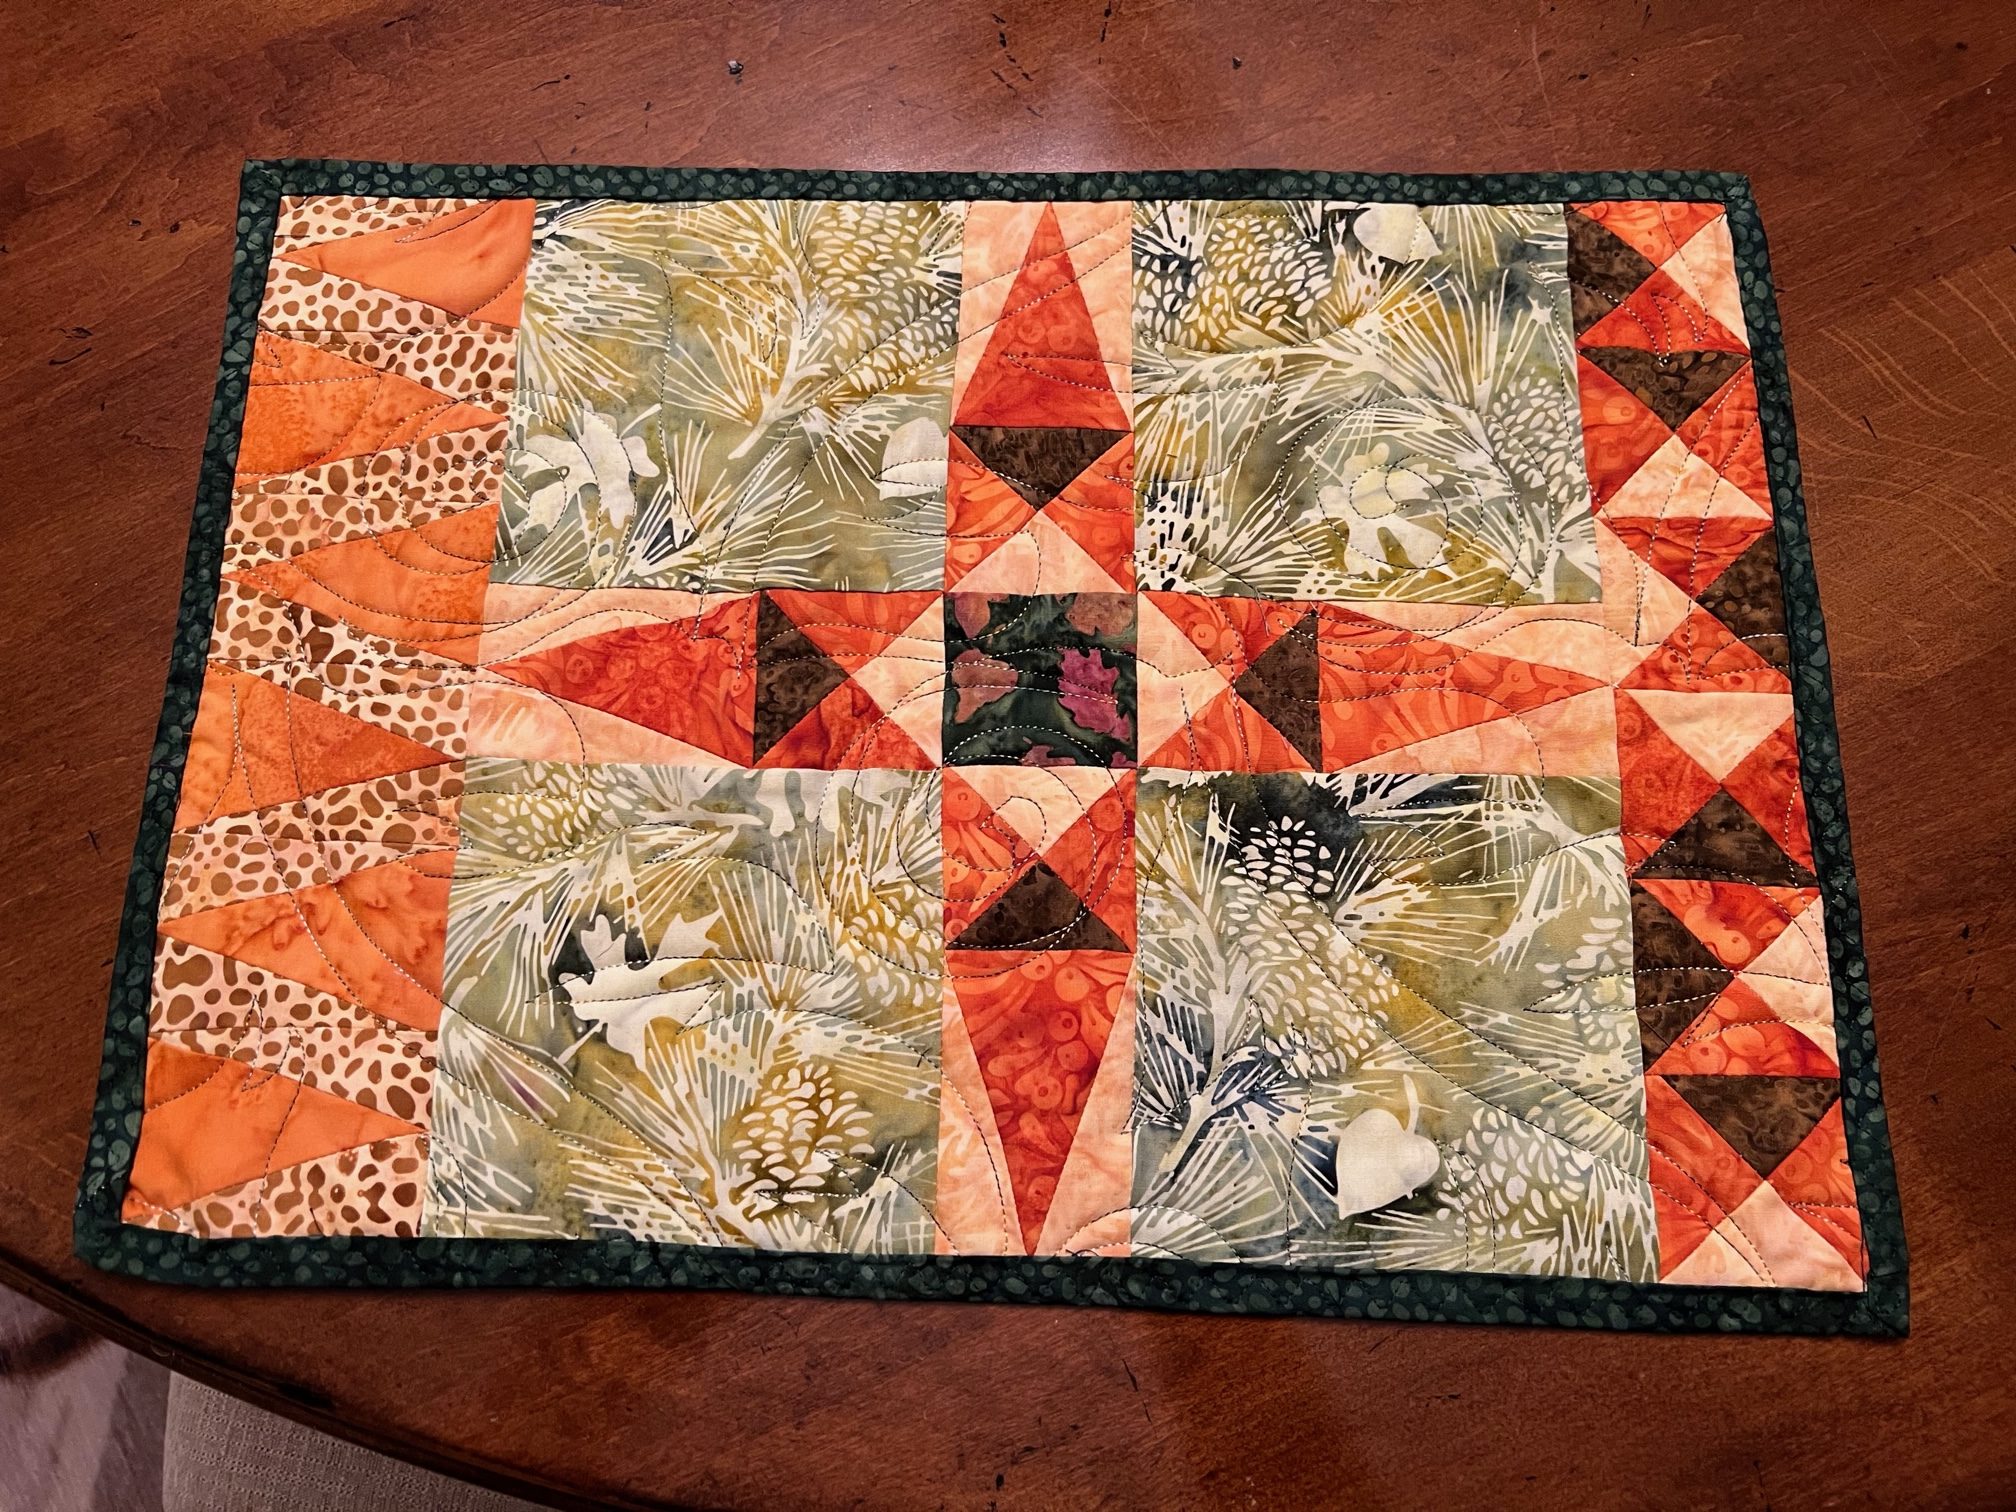
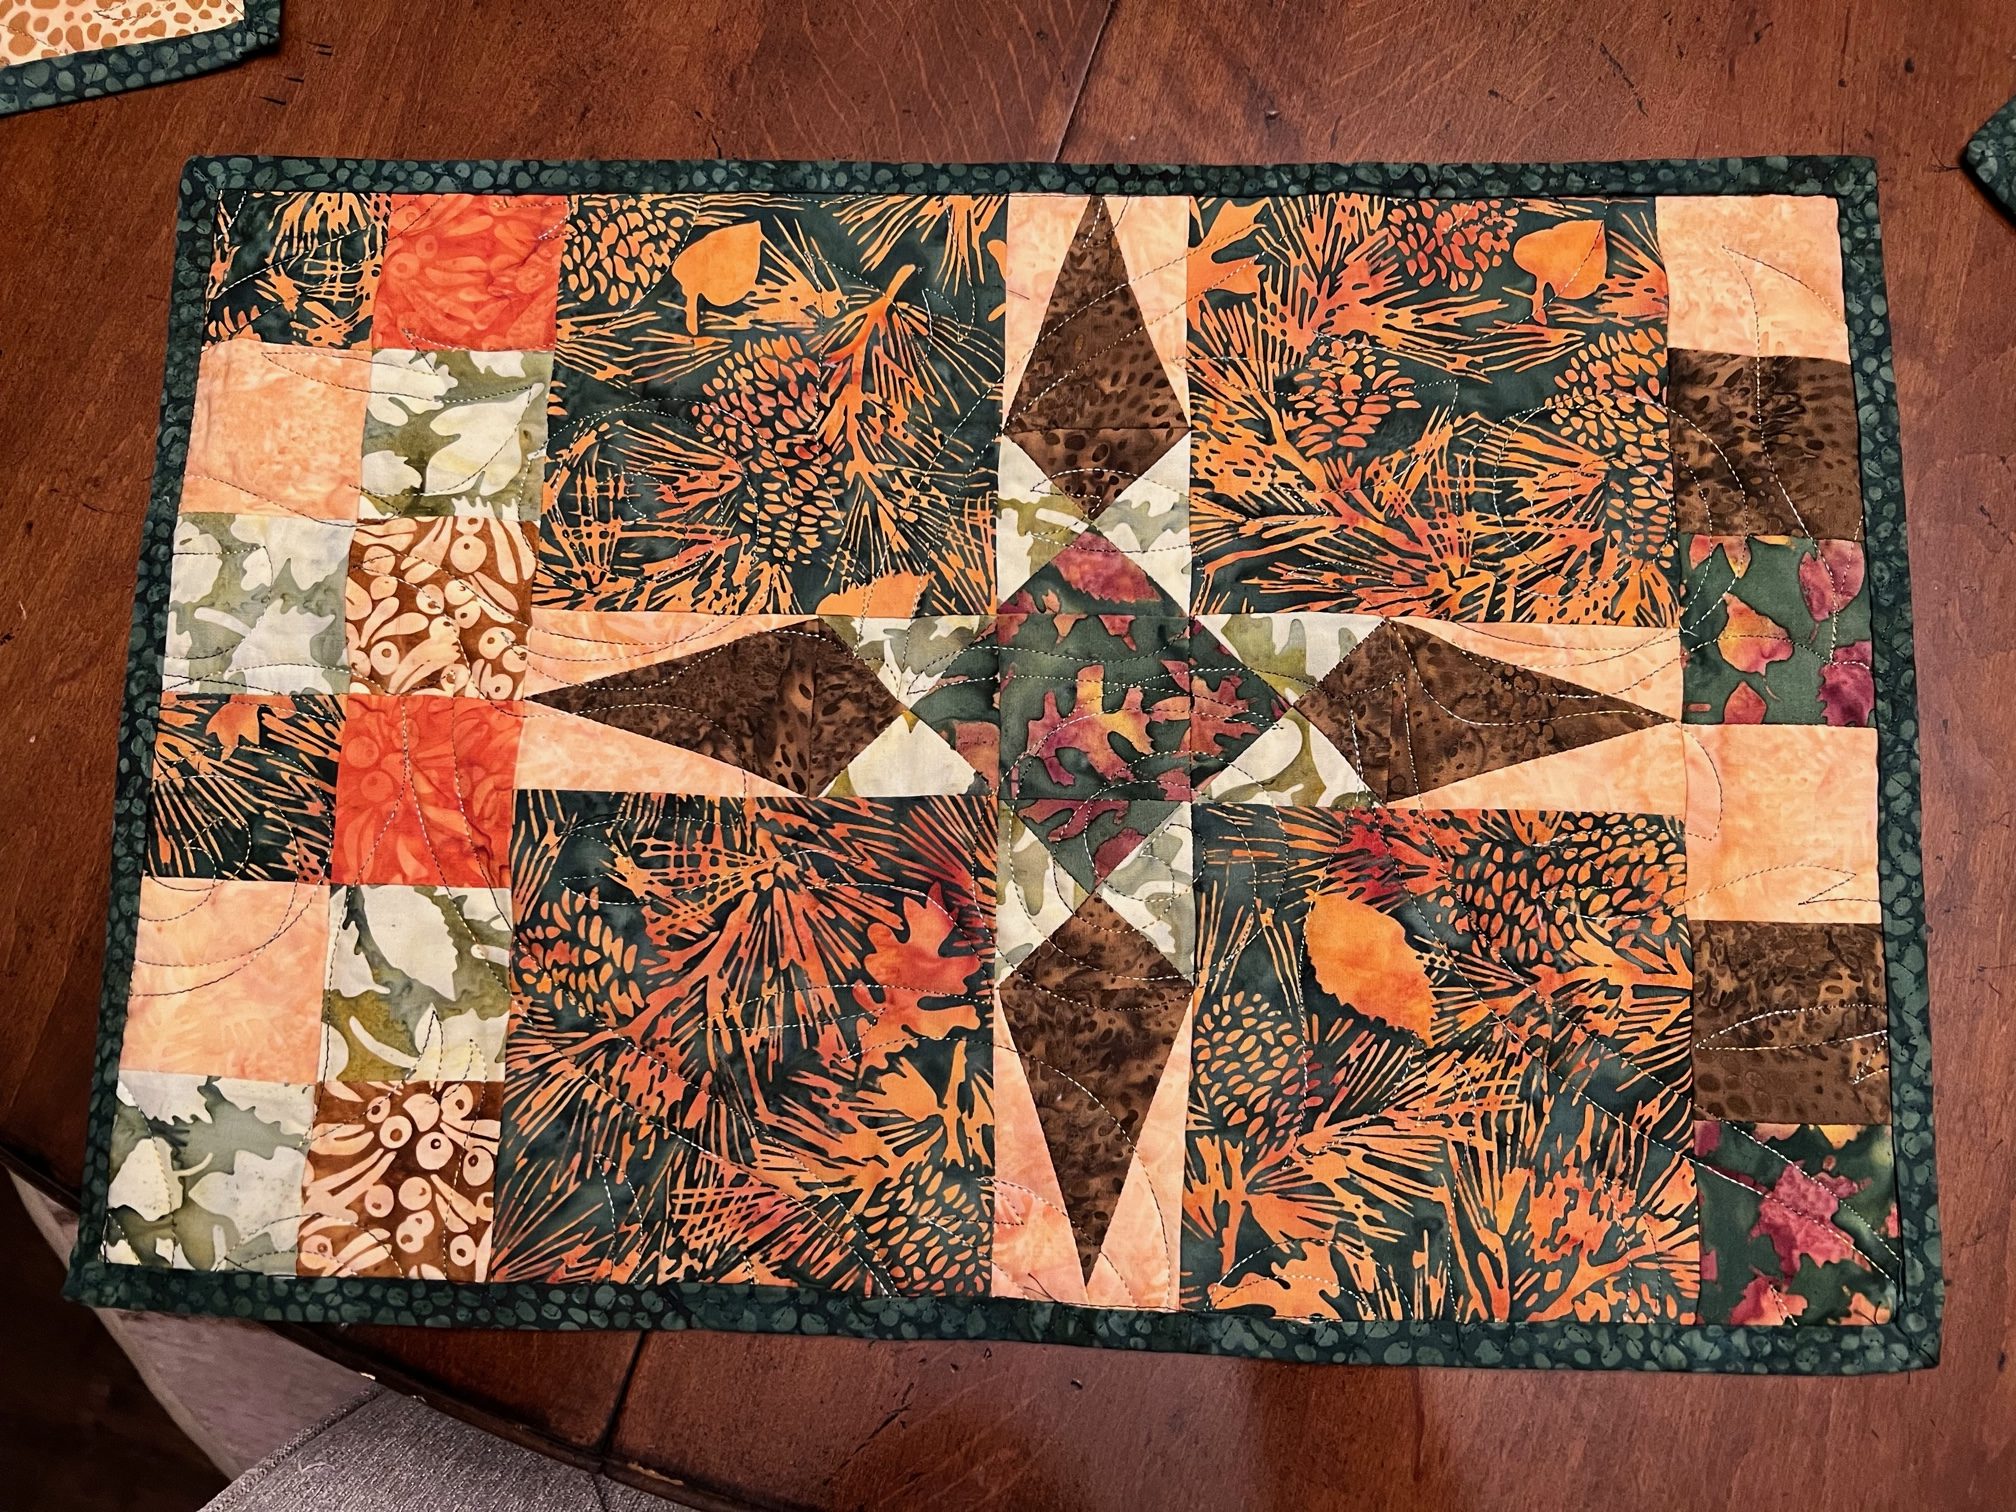
These are the four corners, the last part of the puzzle.
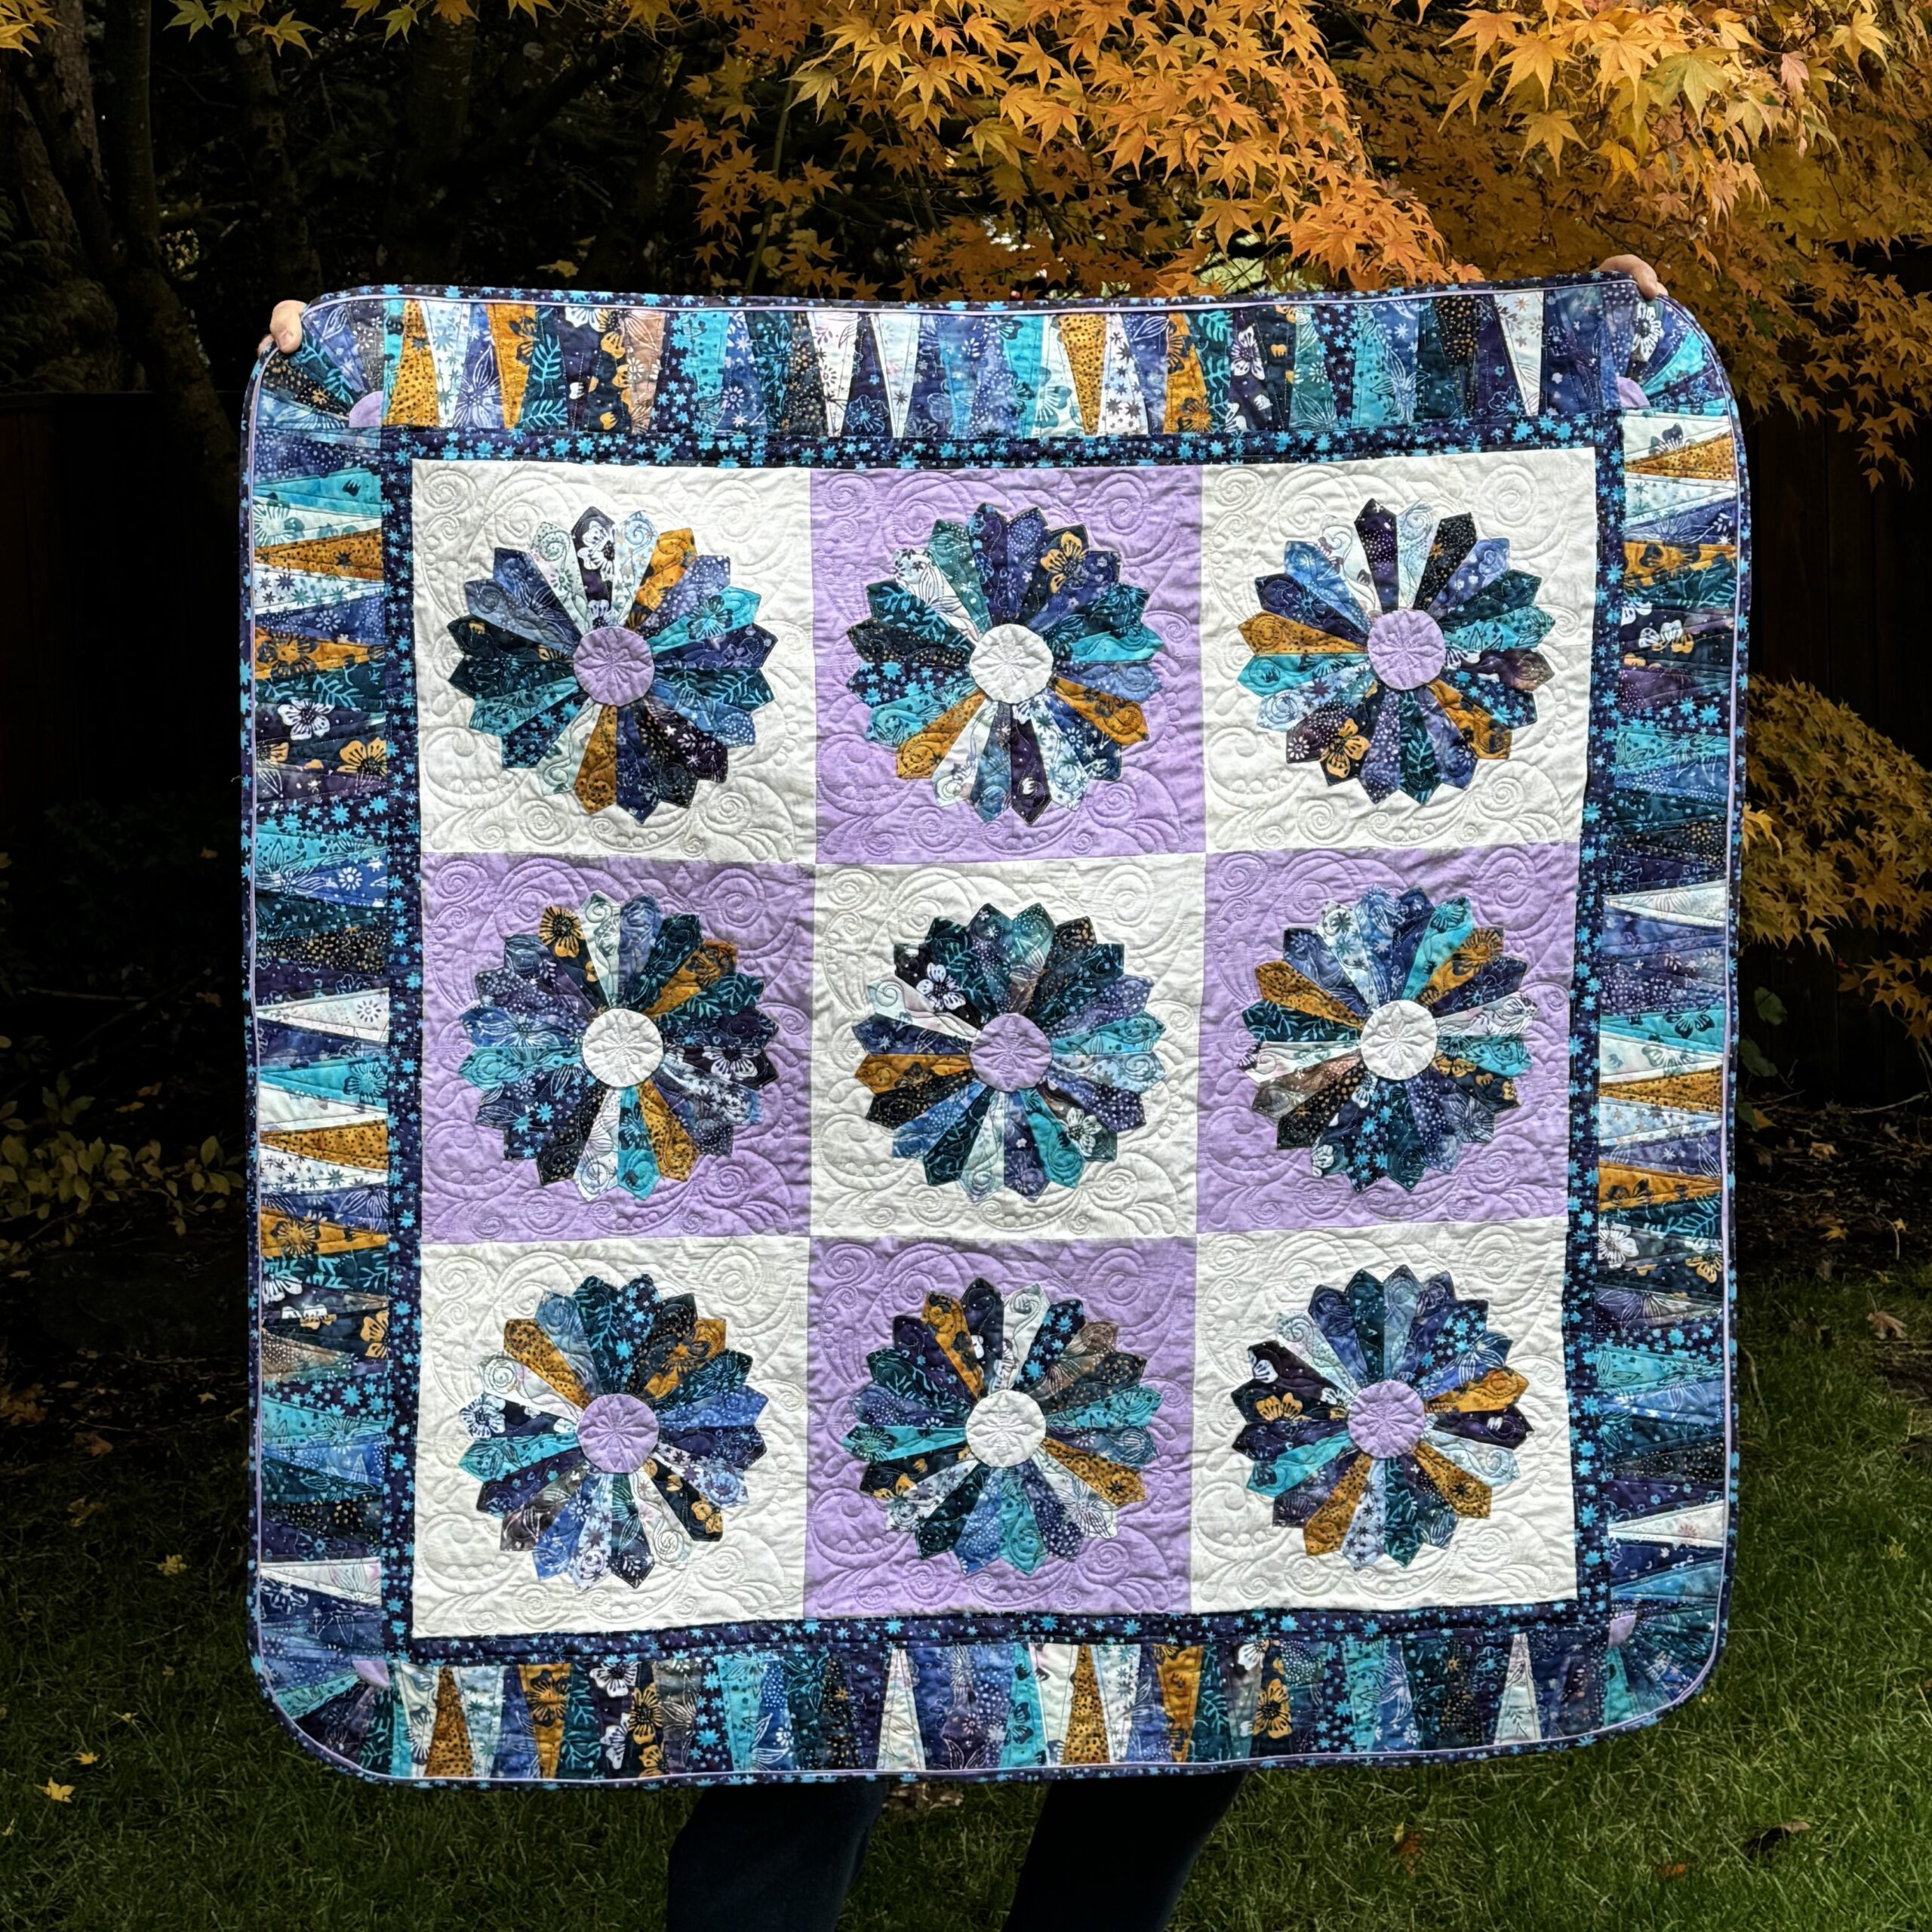
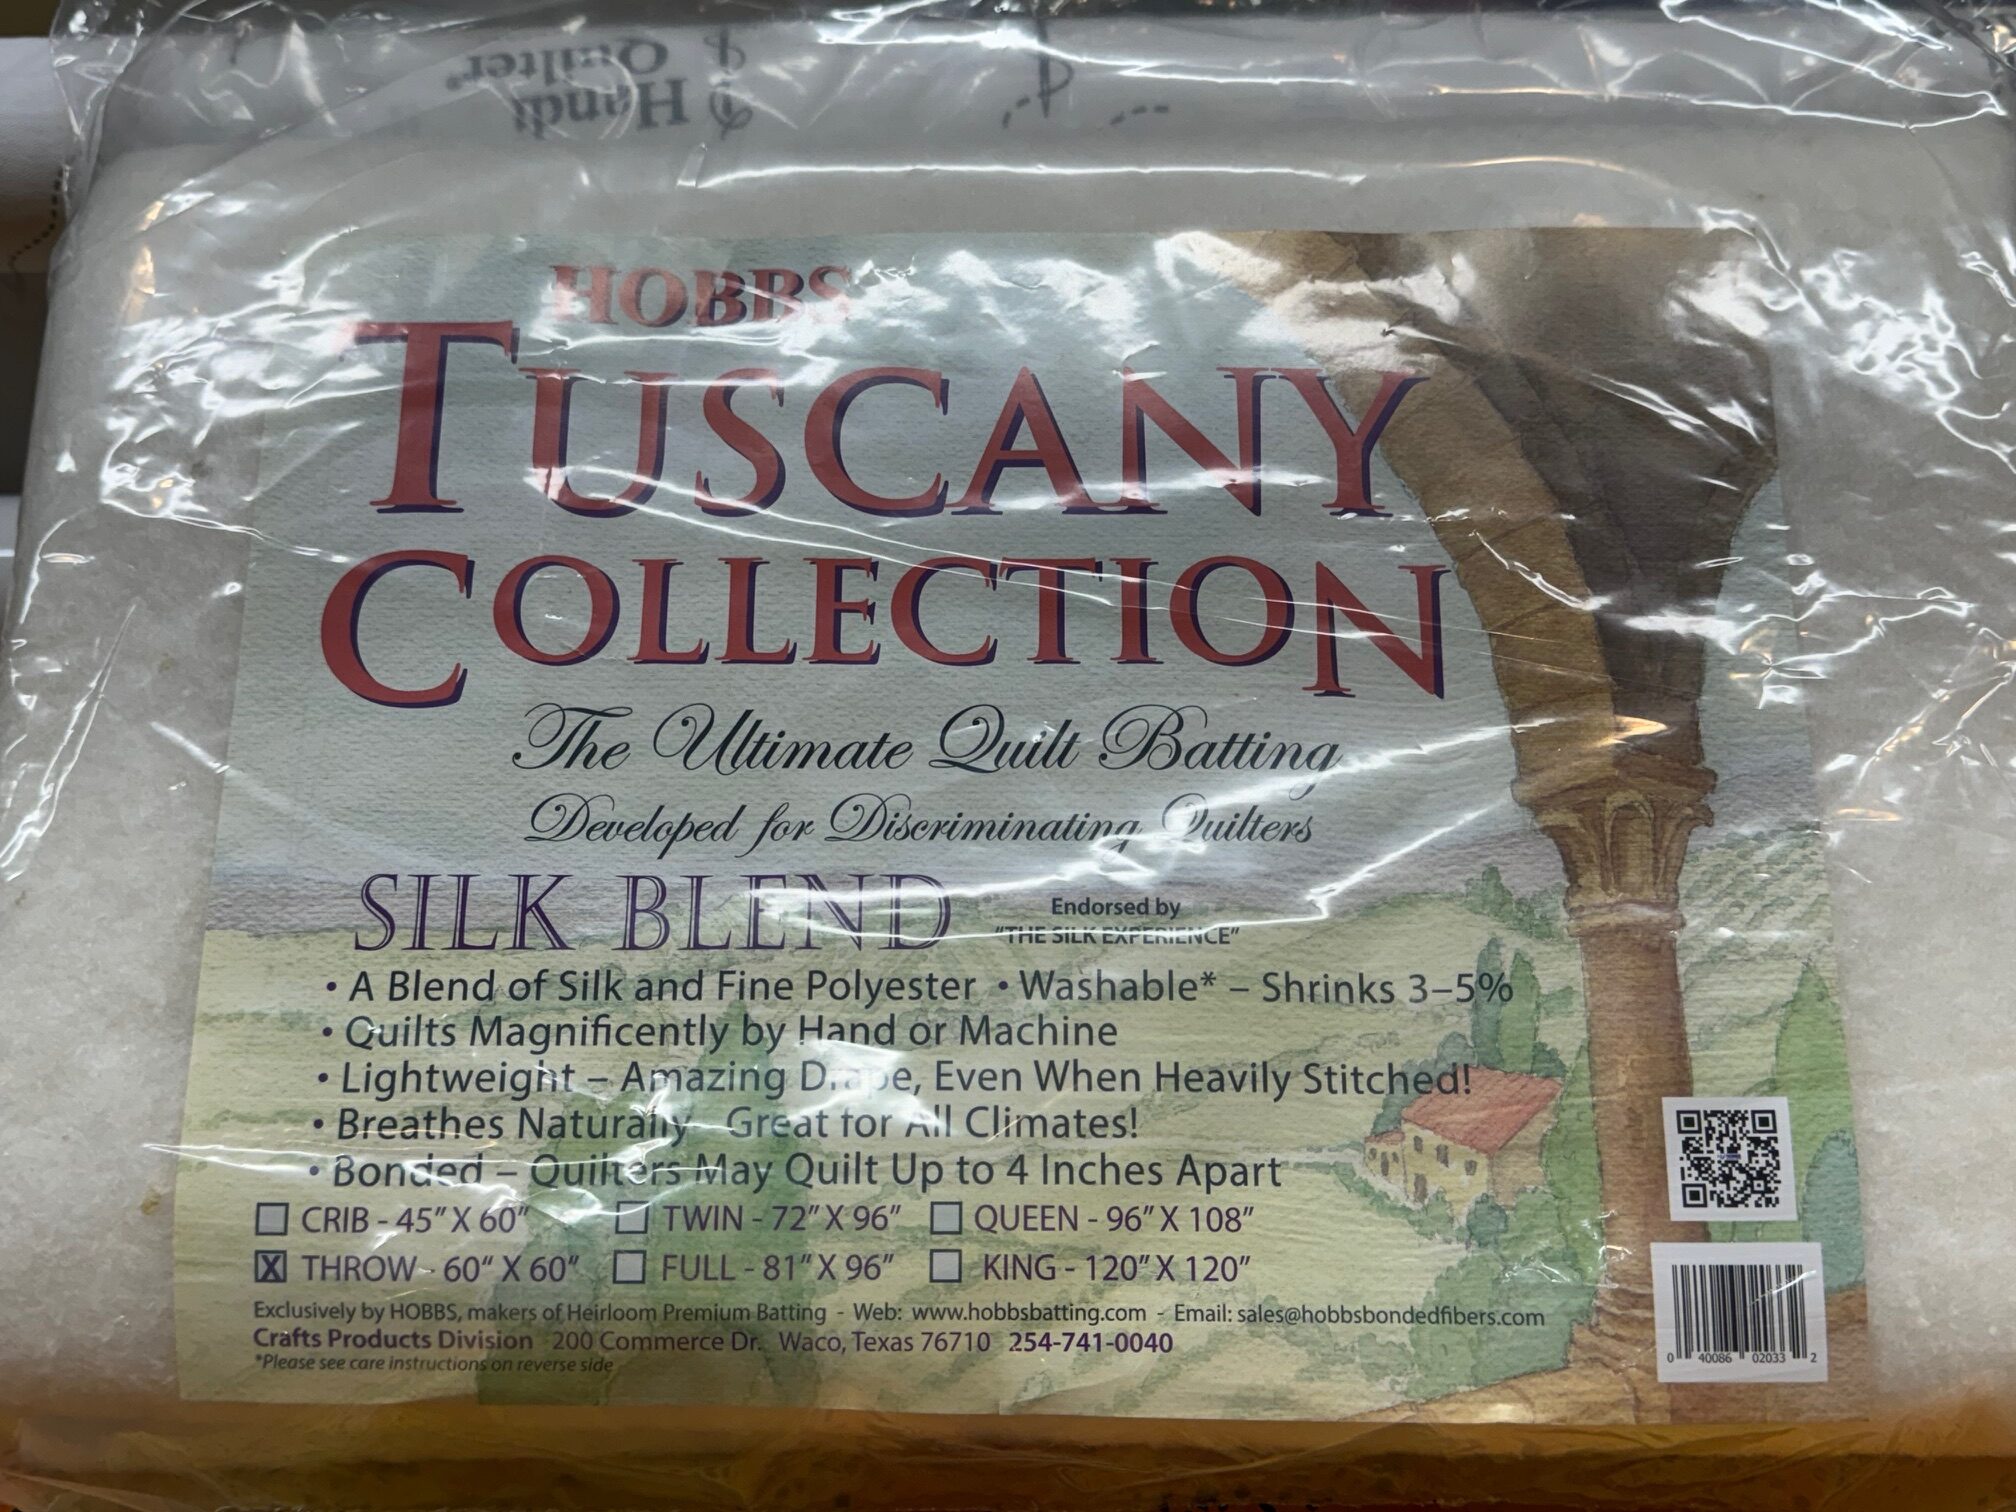
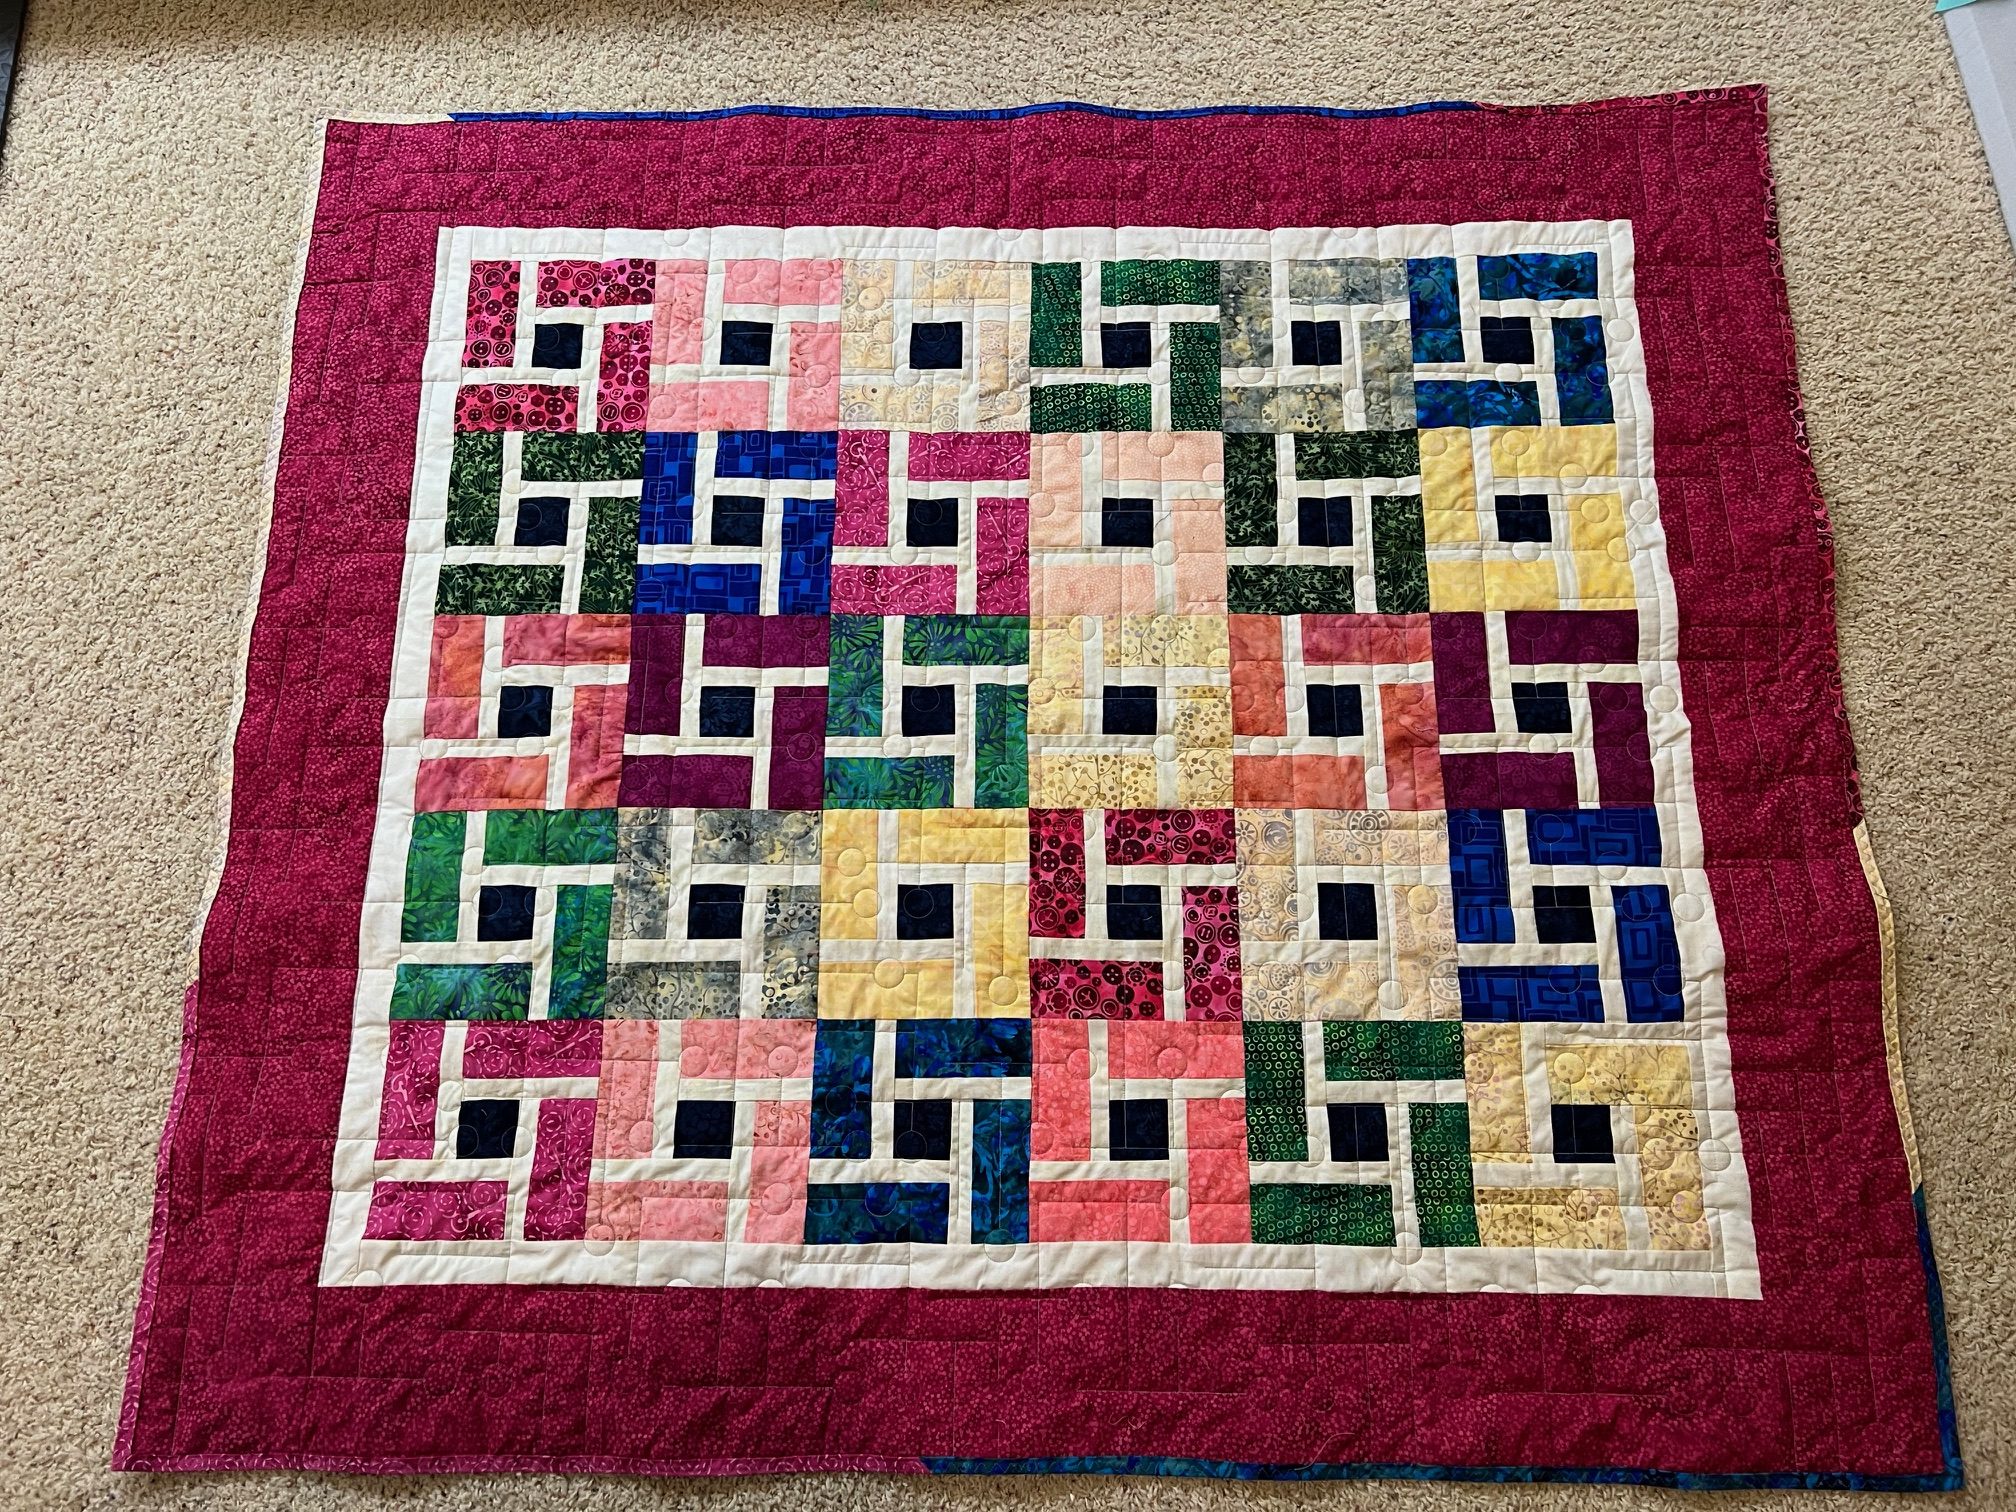
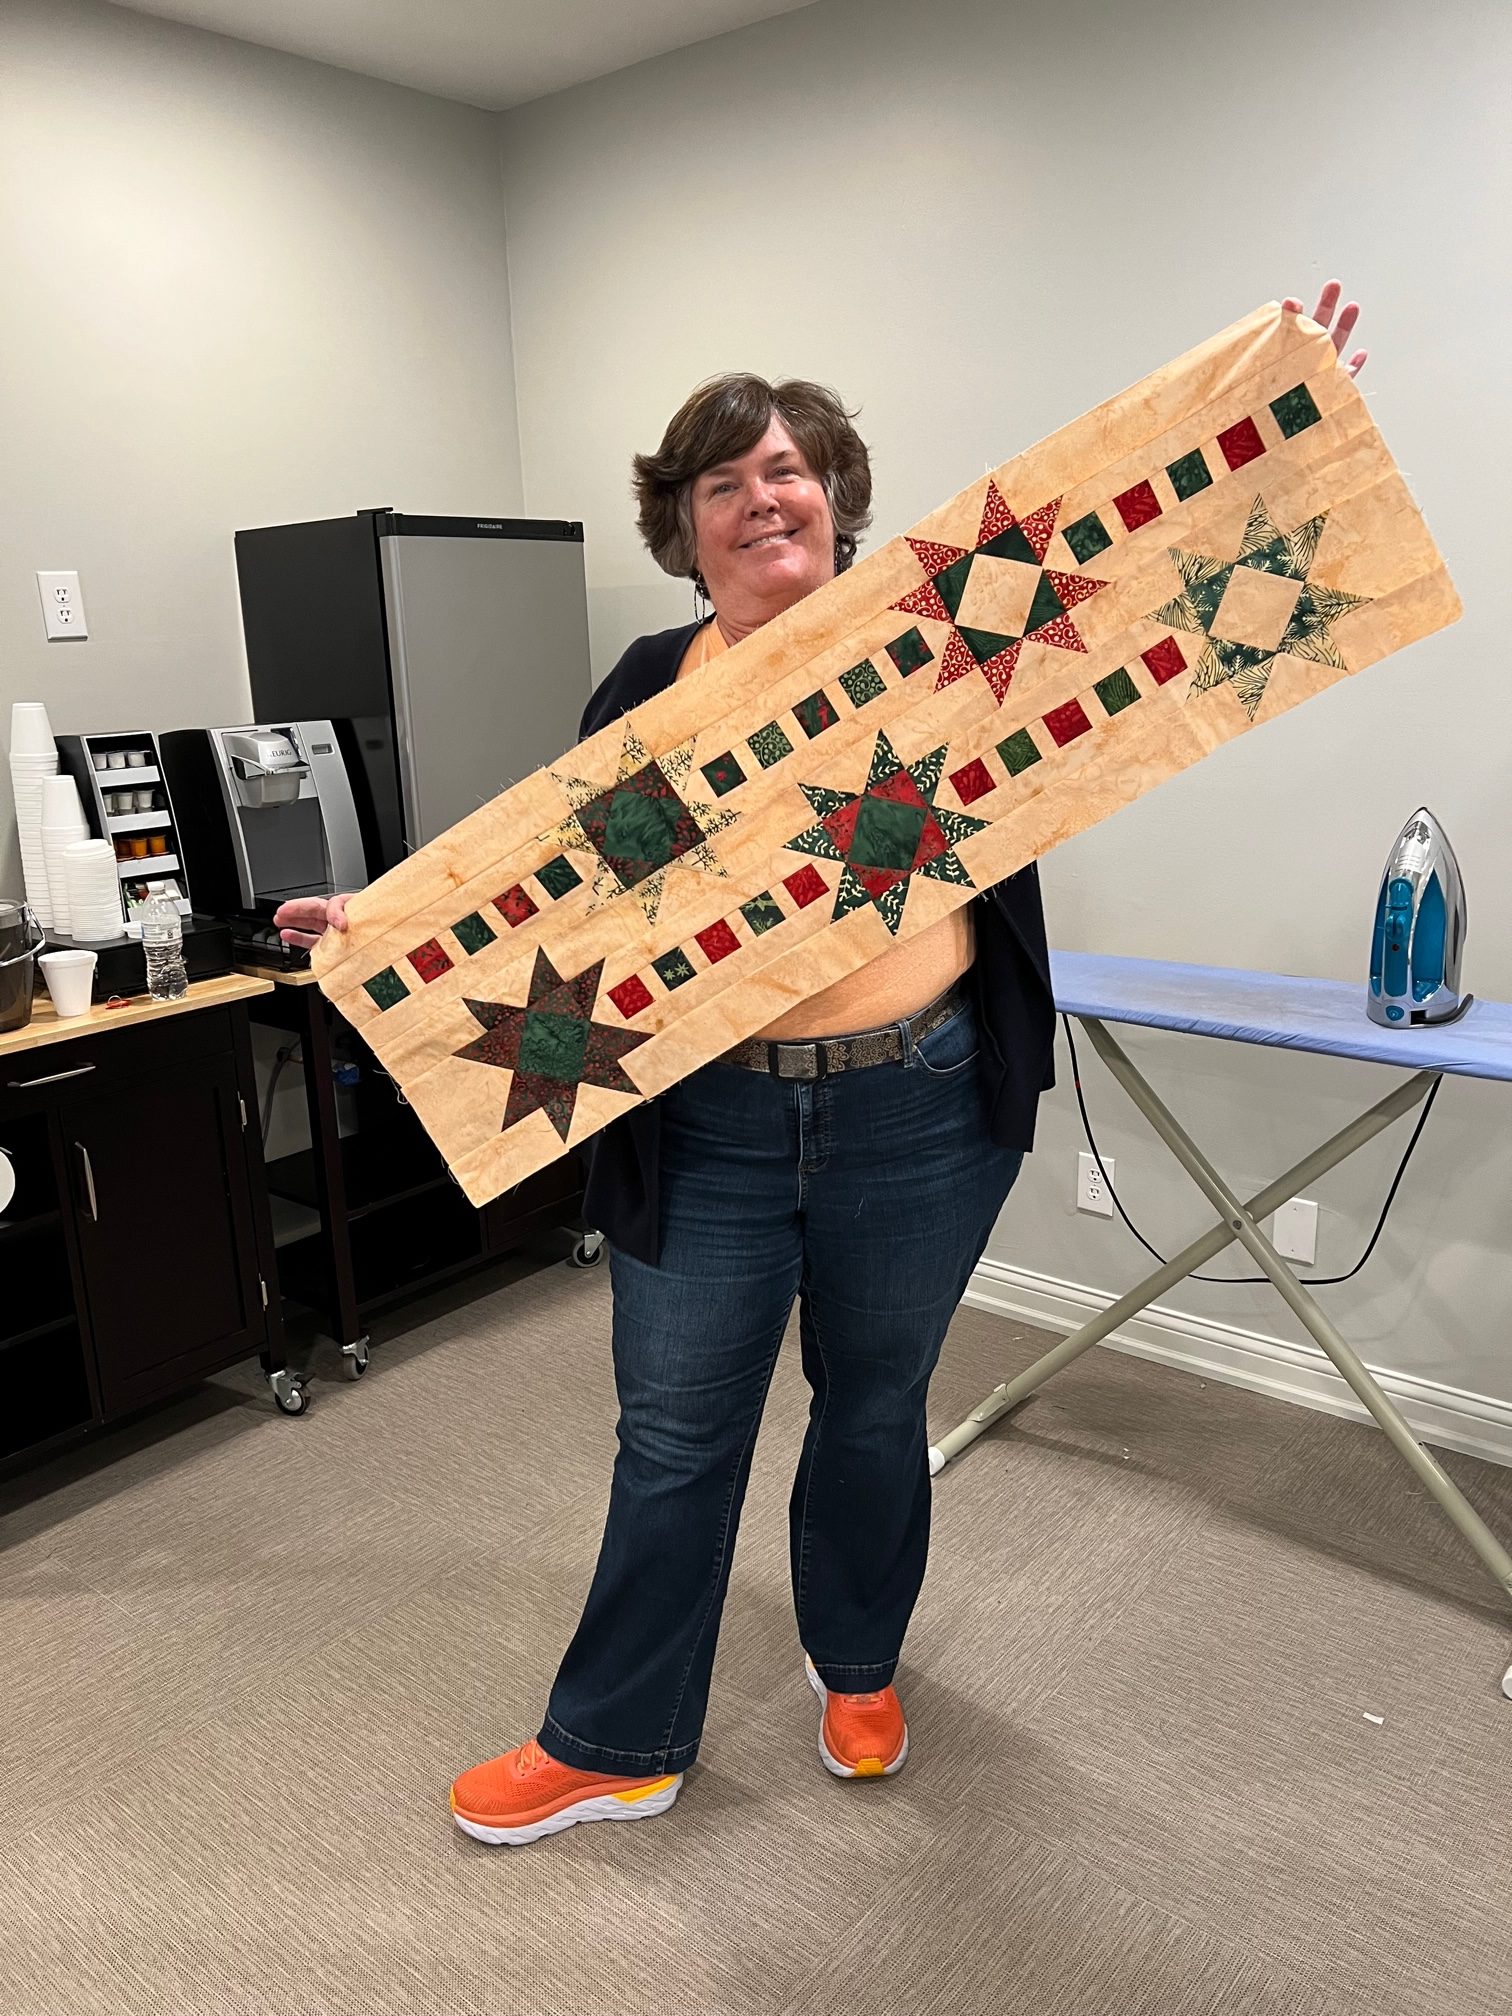
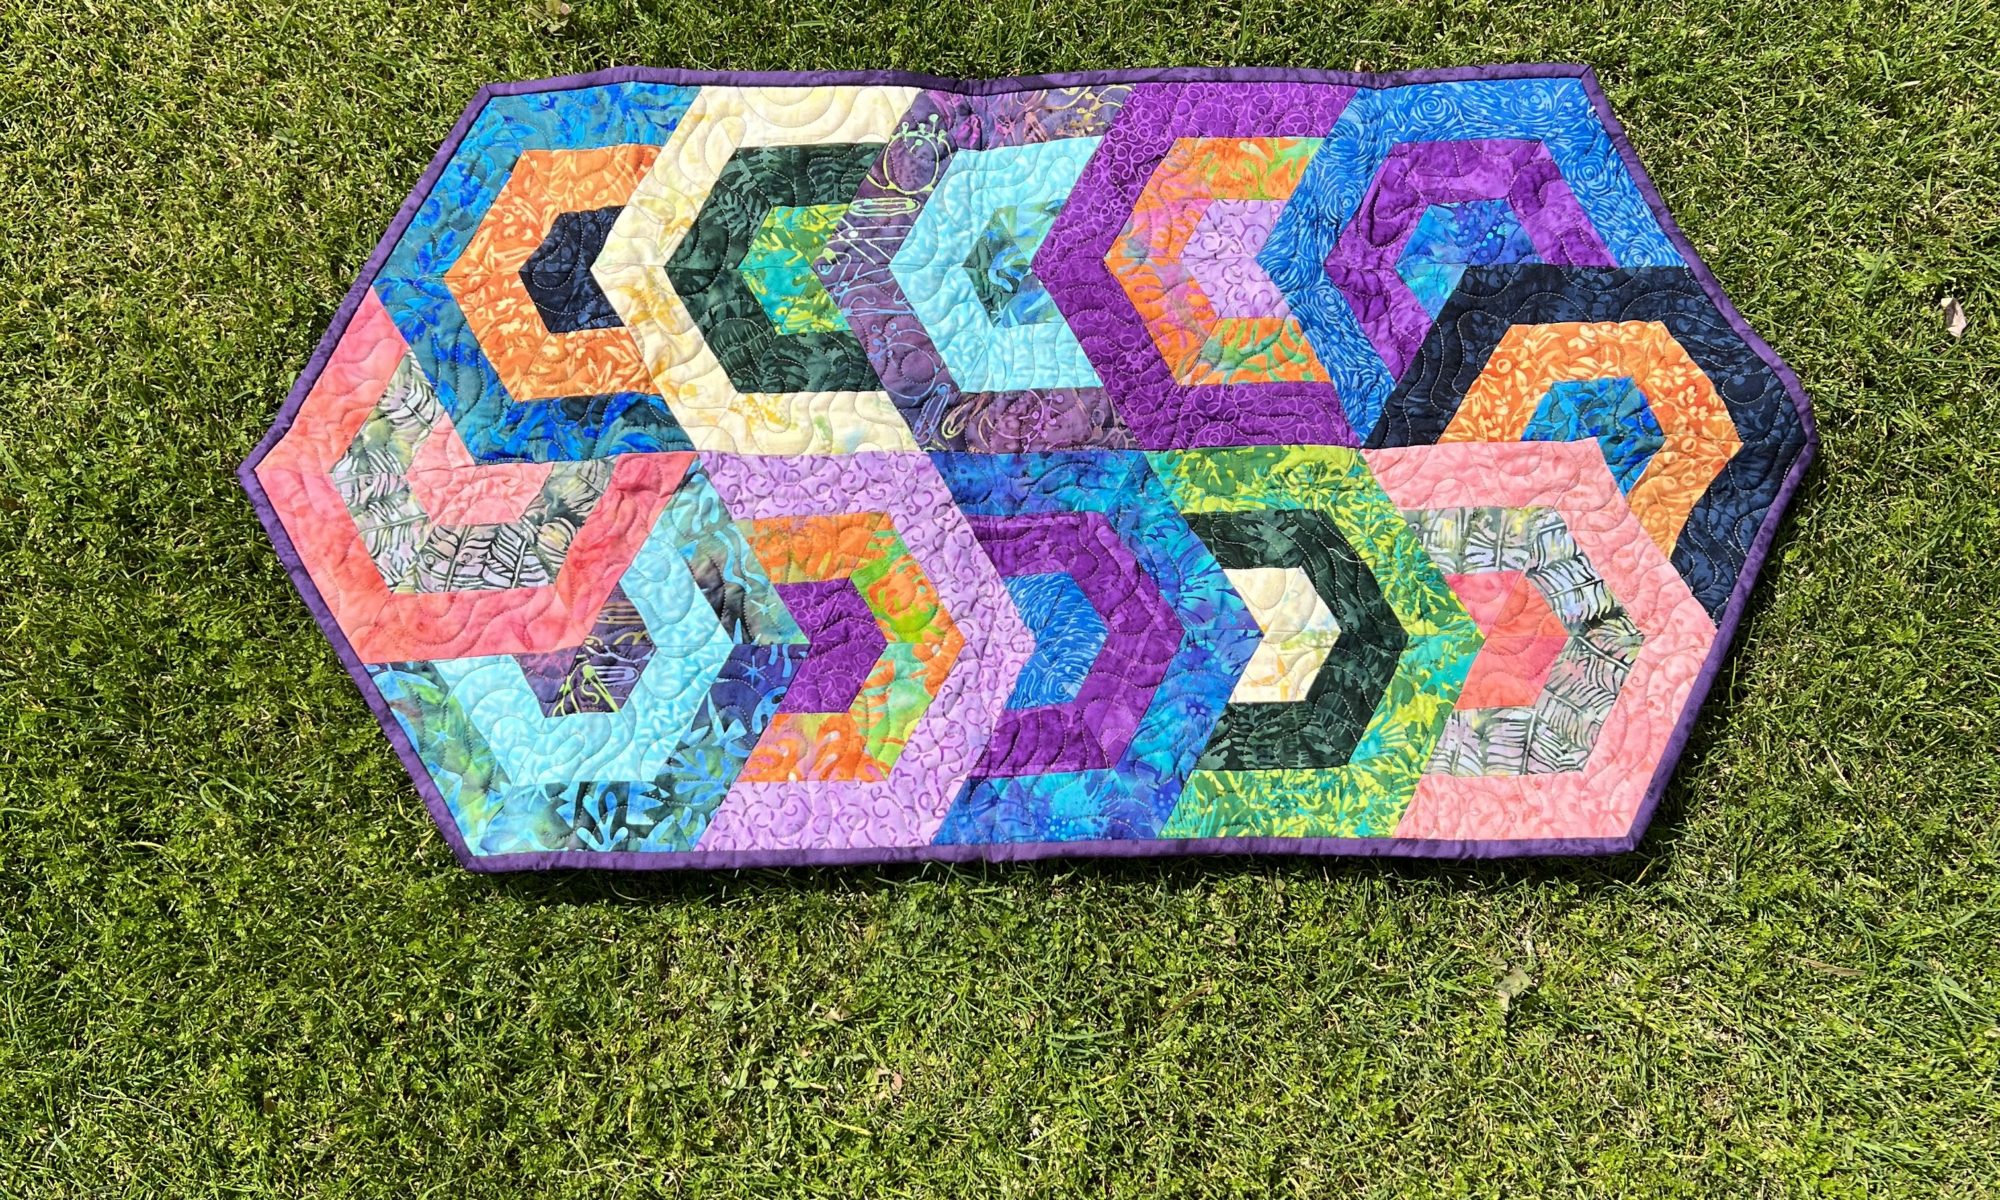
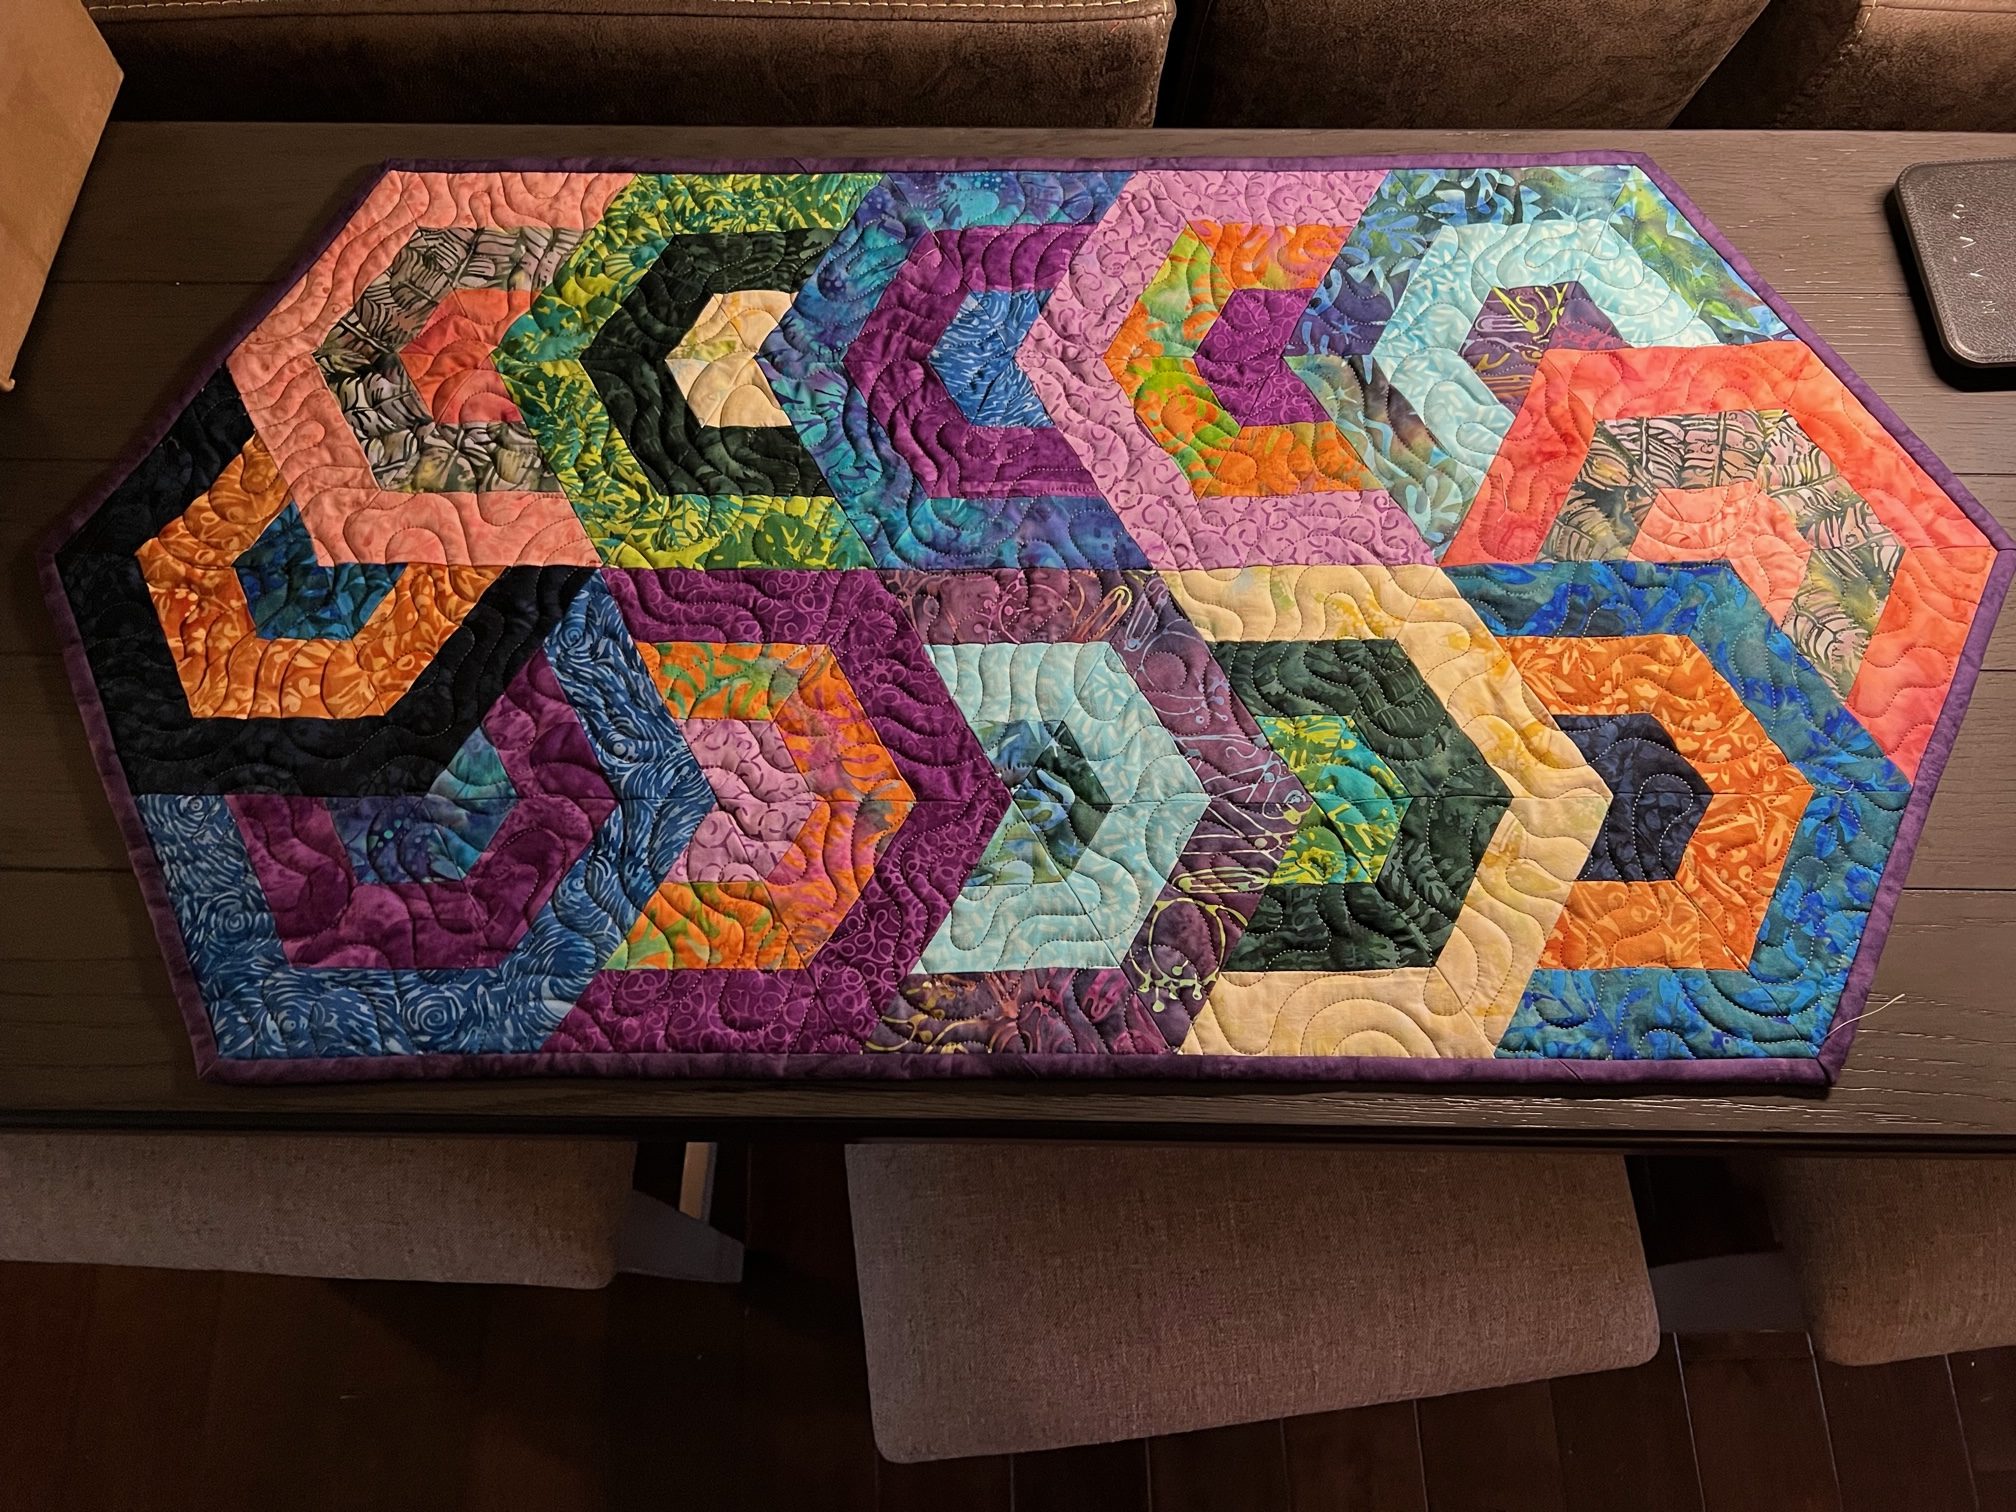
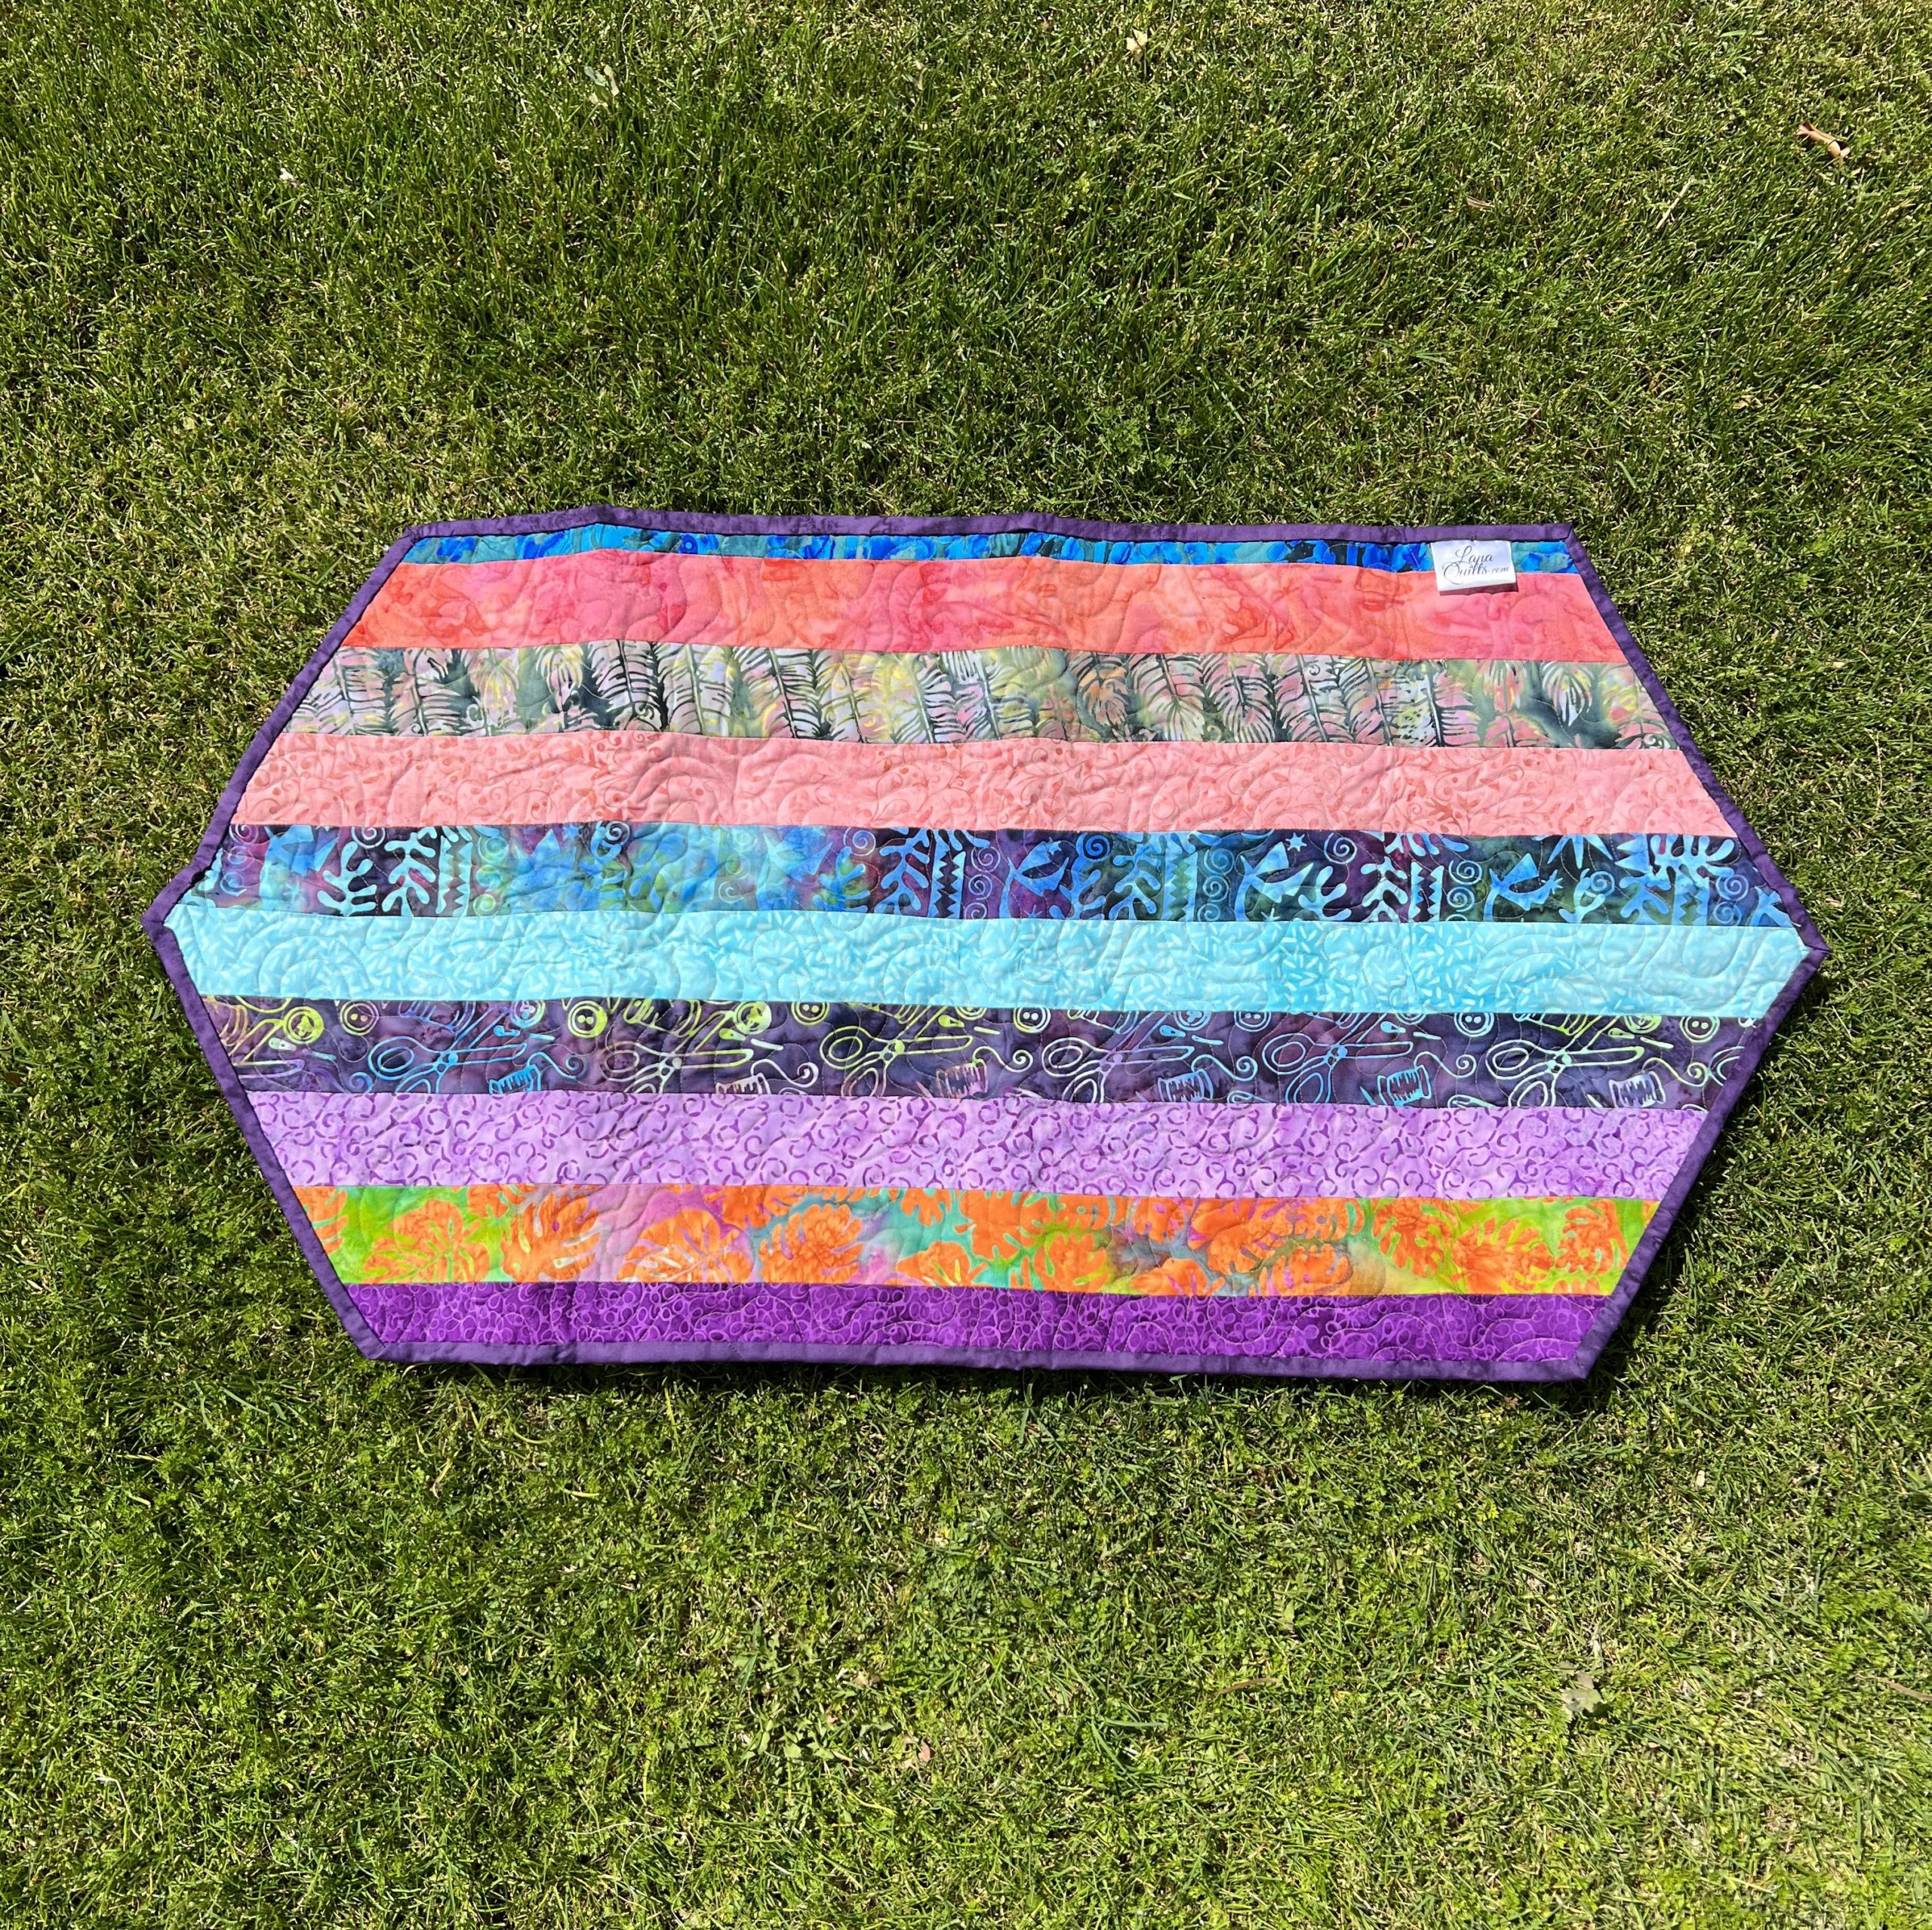
And here’s the finish. I really love it! It finishes at 48×48. First Dresden and first time making flange binding. I love the border Amelie designed for this quilt as well. I used Hobbs Heirloom cotton batting and loved the soft texture! I quilted it on my Handi Quilter Forte 24 longarm.
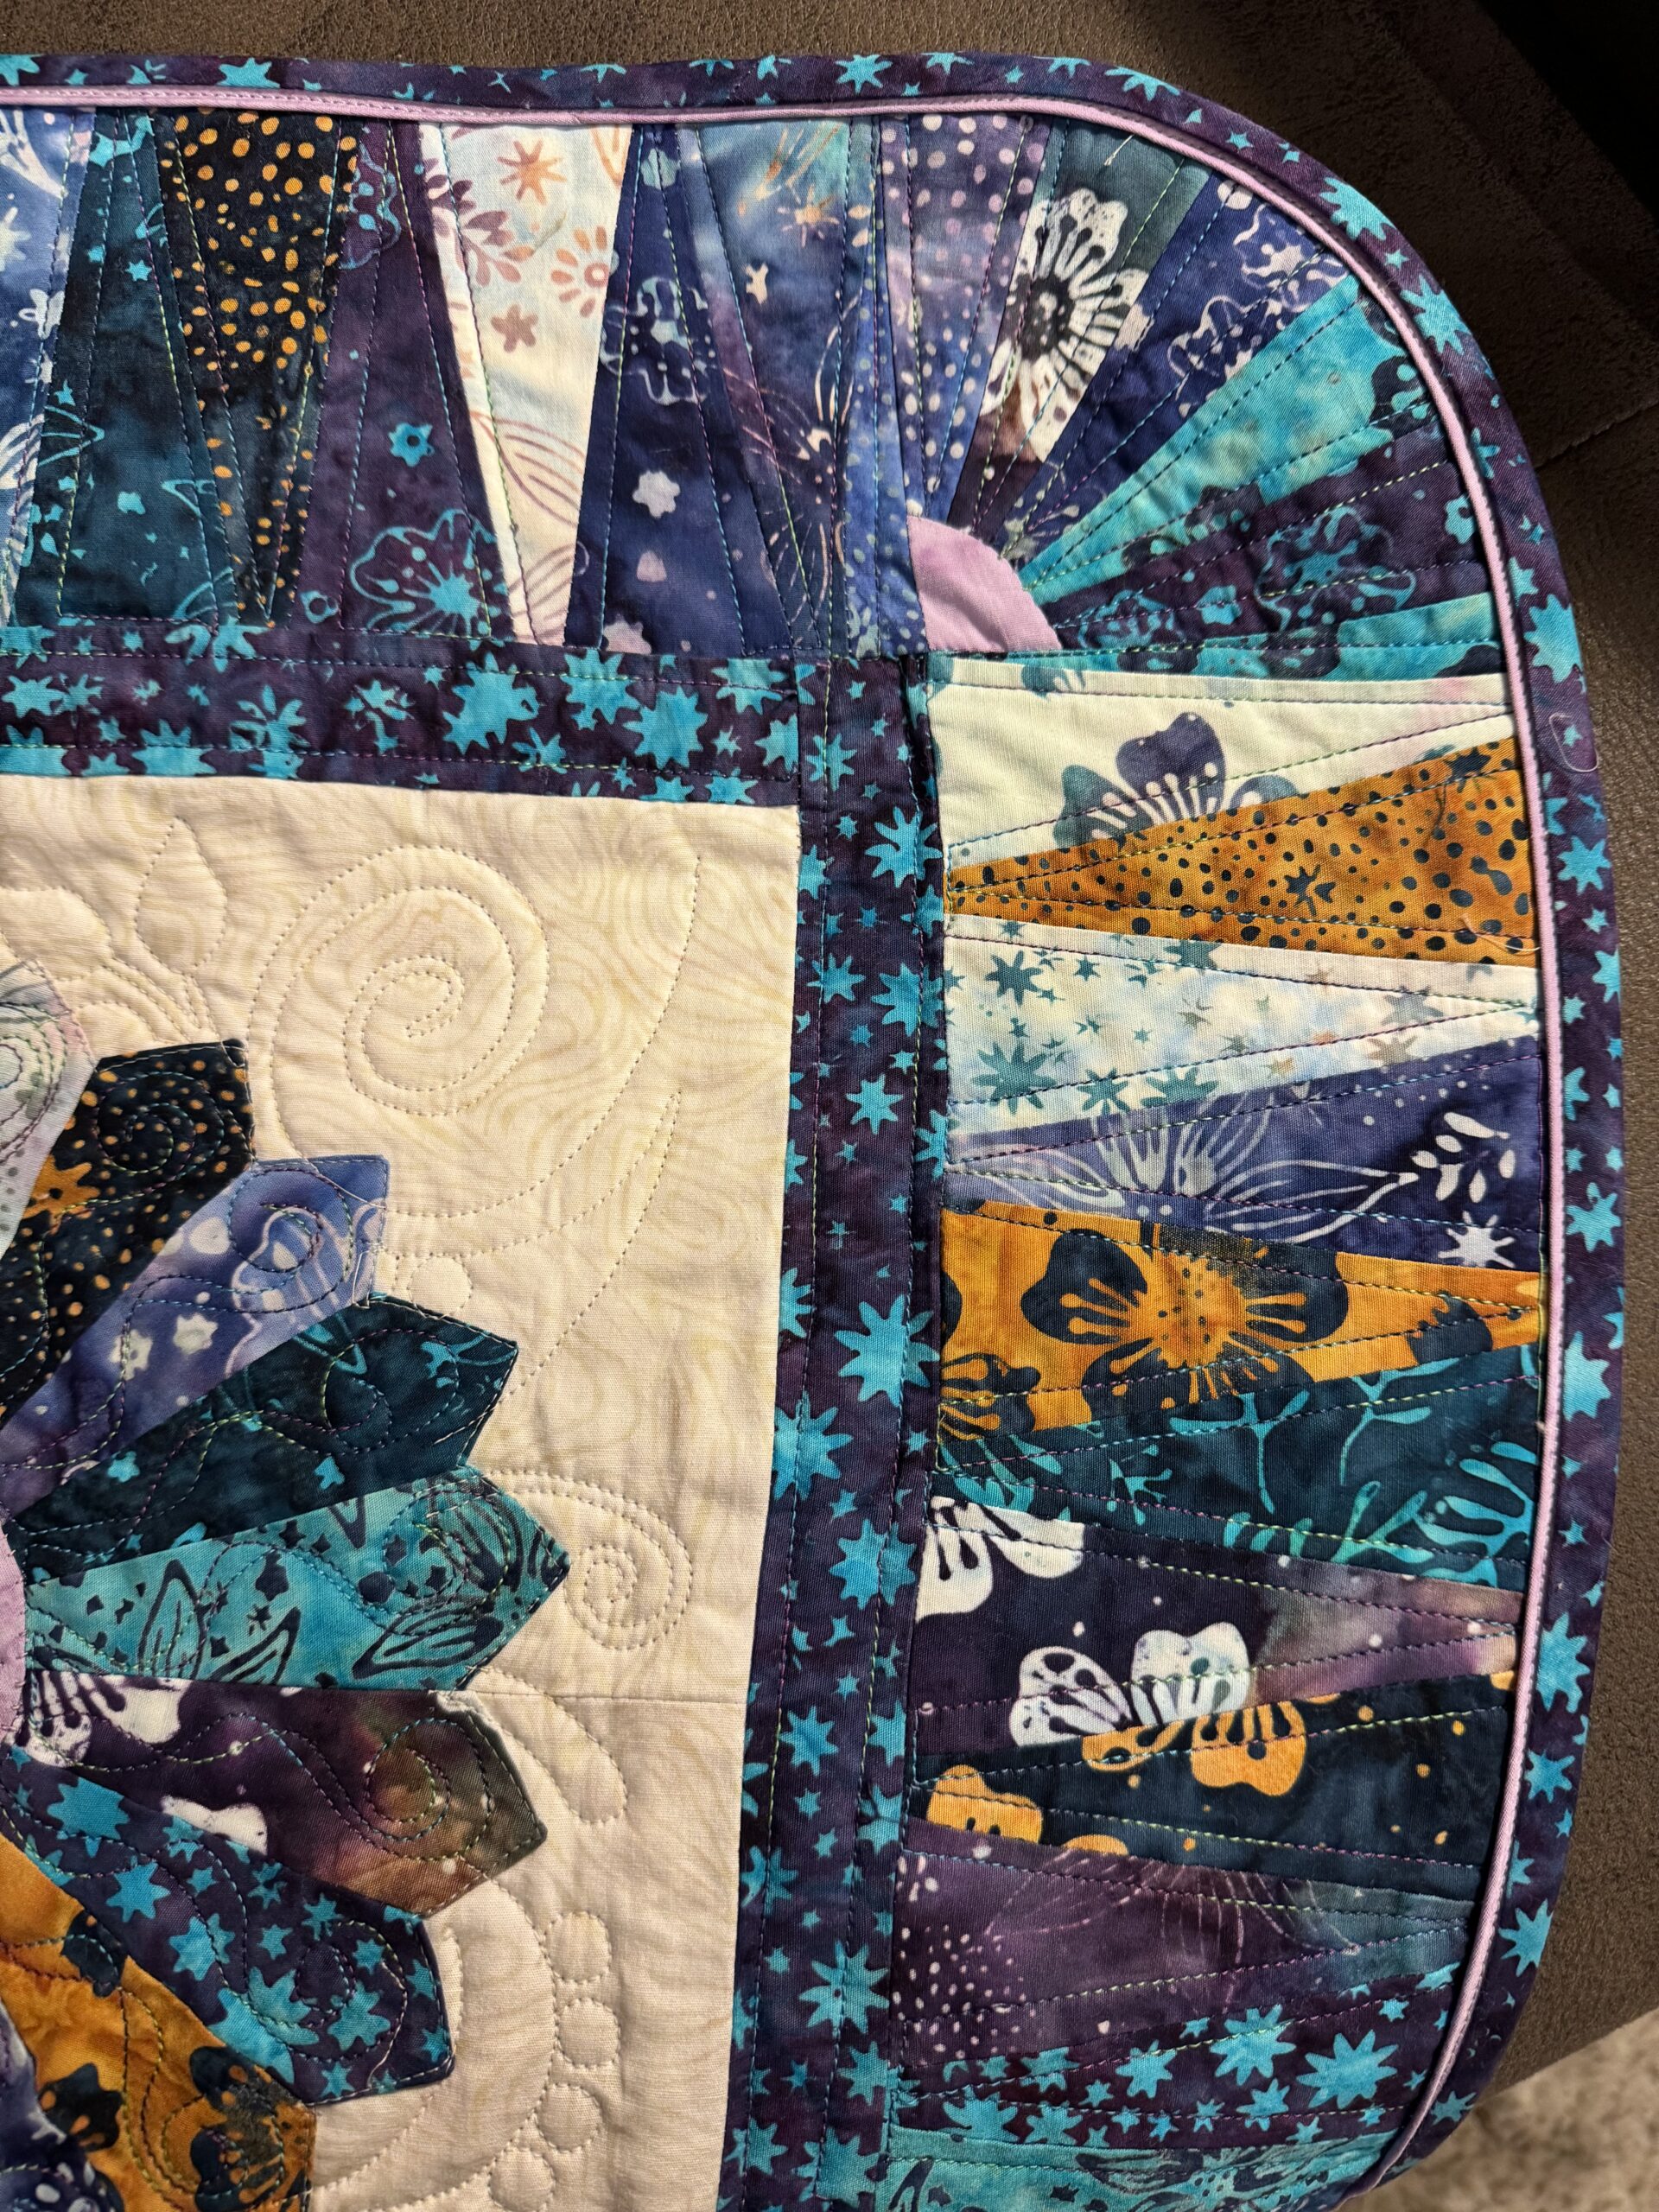
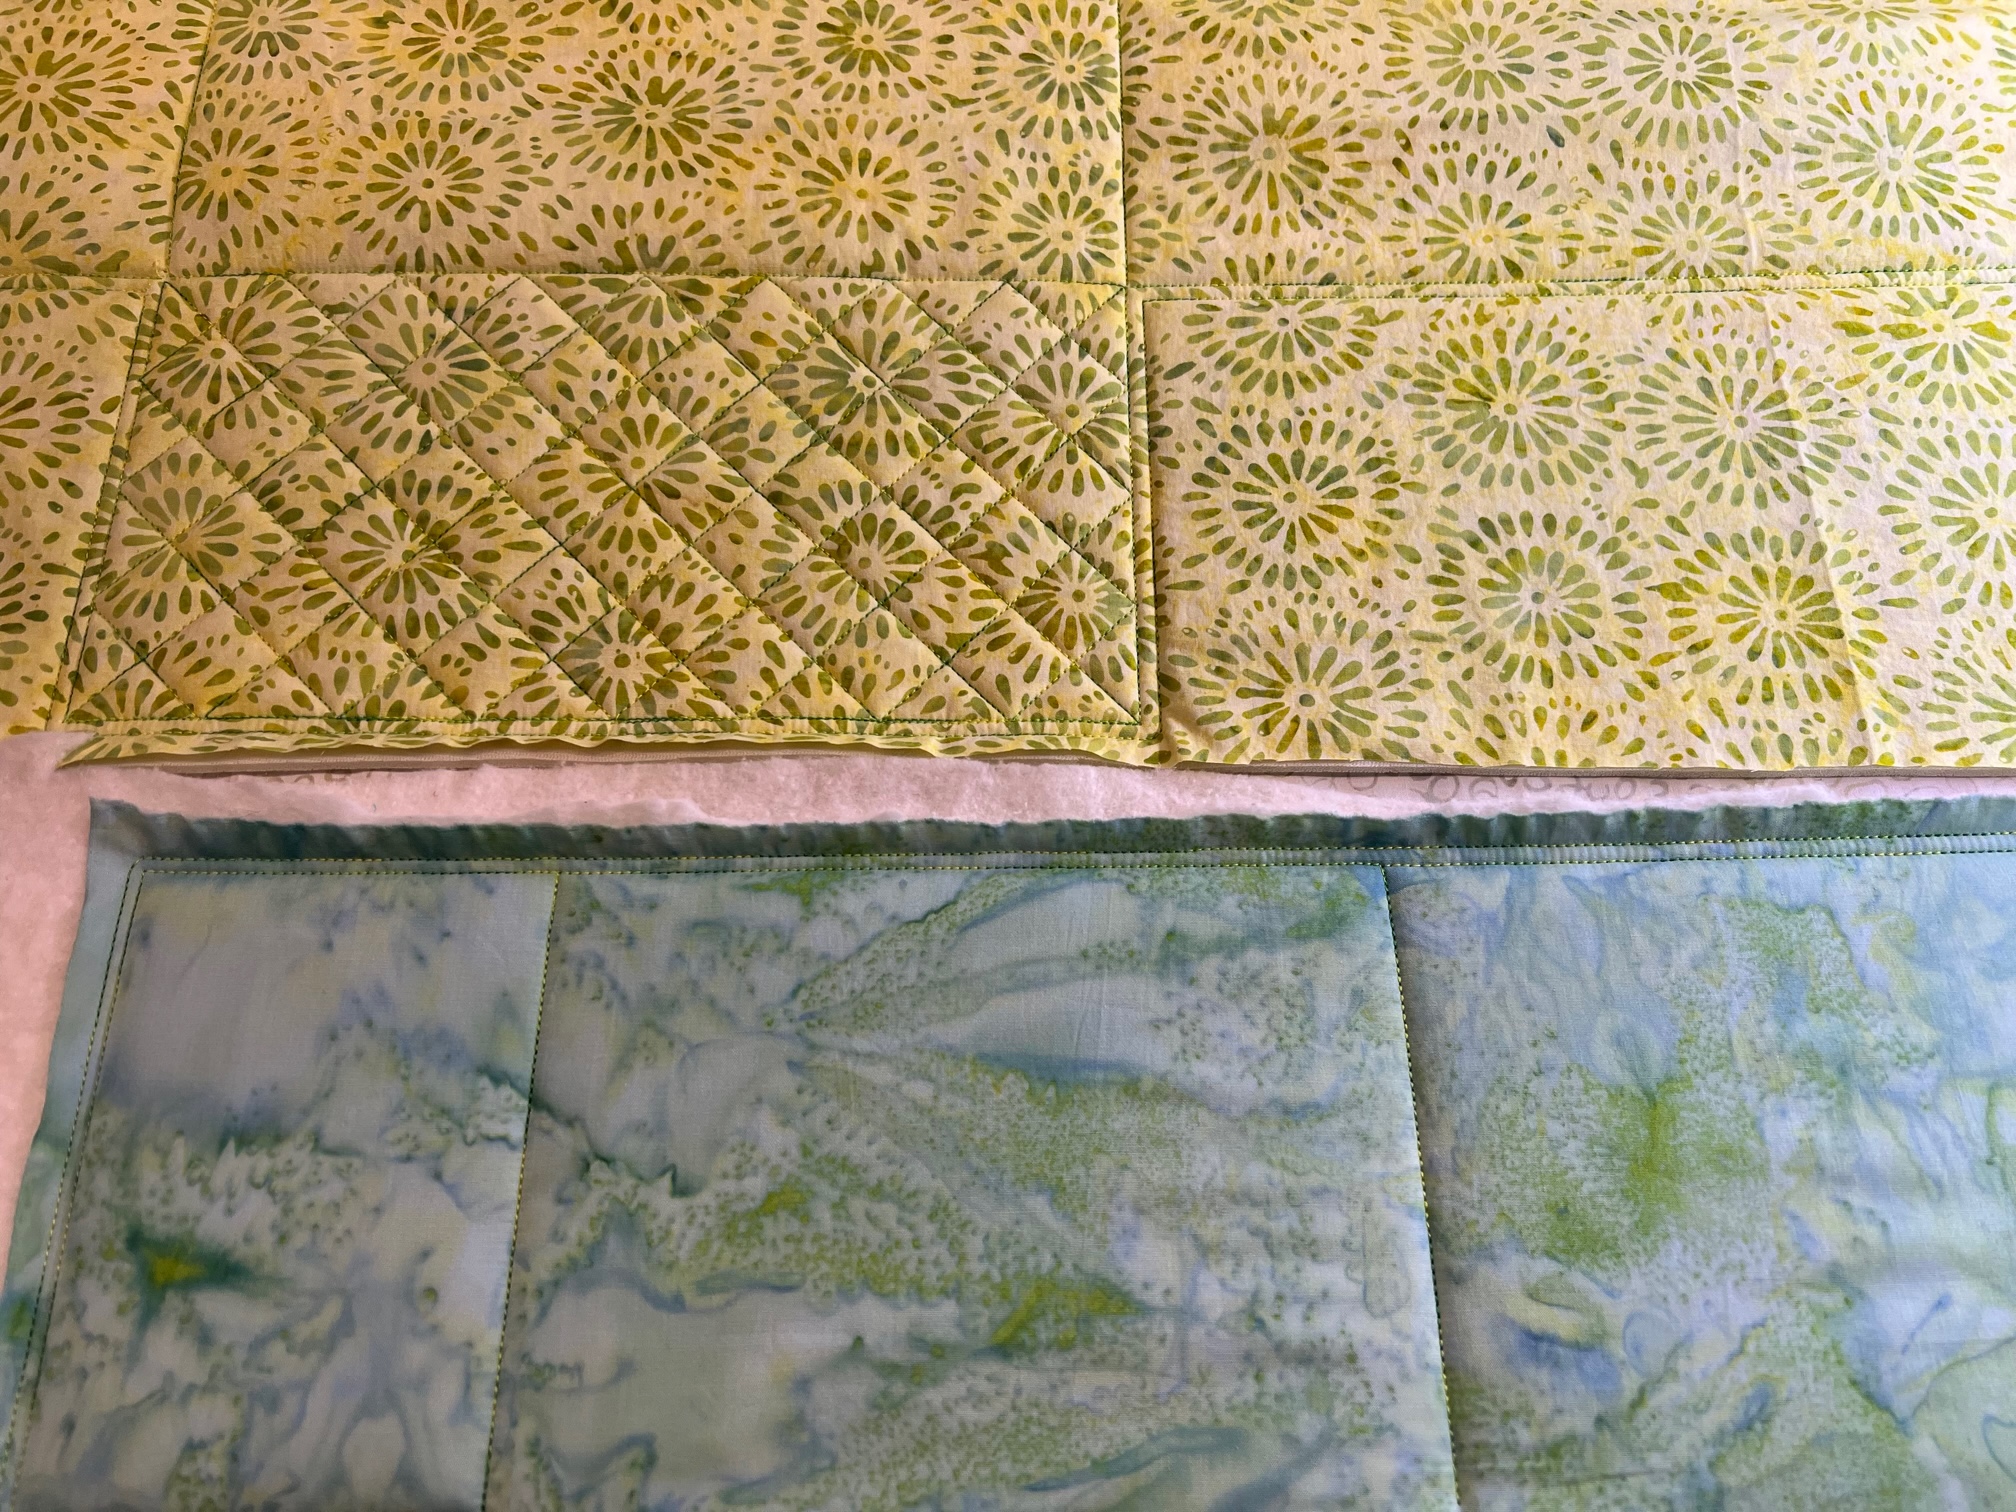
Here you can see the flange binding a bit better.
Thank you to Island Batik and their Industry partners, for supplying me with products to use for these monthly challenges. These include but may not be limited to Island Batik, Aurifil Thread, Hobbs Batting, Schmetz Needles, Oliso Iron, Deb Tucker’s Studio 180 Rulers, ByAnnie patterns, and Funky Friends Factory patterns.
Check out what the other Ambassadors made for their Dresden Plate Blog Hop Challenge:
Brenda Alburl ~ Songbird Designs
Renee Atkinson ~ Pink Tulip Quilting
Megan Best ~ BestQuilter
Pamela Boatright ~ PamelaQuilts
Susan Deshensky ~ Lady Blue Quilts Studio
Brittany Fisher ~ Bobbin with Brittany
Preeti Harris ~ Sew Preeti Quilts
Mania Hatziioannidi ~ Mania for quilts
Jane Hauprich ~ Stitch by Stitch Custom Quilting
Kim Jamieson-Hirst ~ Chatterbox Quilts
Victoria Johnson ~ Forever Quilting for You
Connie Kauffman ~ Kauffman Designs
Connie Kresin Campbell ~ Freemotion by the River
Emily Leachman ~ The Darling Dogwood
Denise Looney ~ A Quiltery
Leah Malasky ~ Quilted Delights
Maryellen McAuliffe ~ Mary Mack Made Mine
Lisa Pickering ~ Lisa’s Quilting Passion
Sarah Pitcher ~ Pitcher’s Boutique
Lana Russel ~ Lana Quilts
Julia Schweri ~ Inflorescence Designs
Gail Sheppard ~ Quilting Gail
Carol Stanek ~ Stitch with Color
Sandra Starley ~ Textile Time Travels
Jennifer Thomas ~ Curlicue Creations
Suzy Webster ~ Websterquilt