
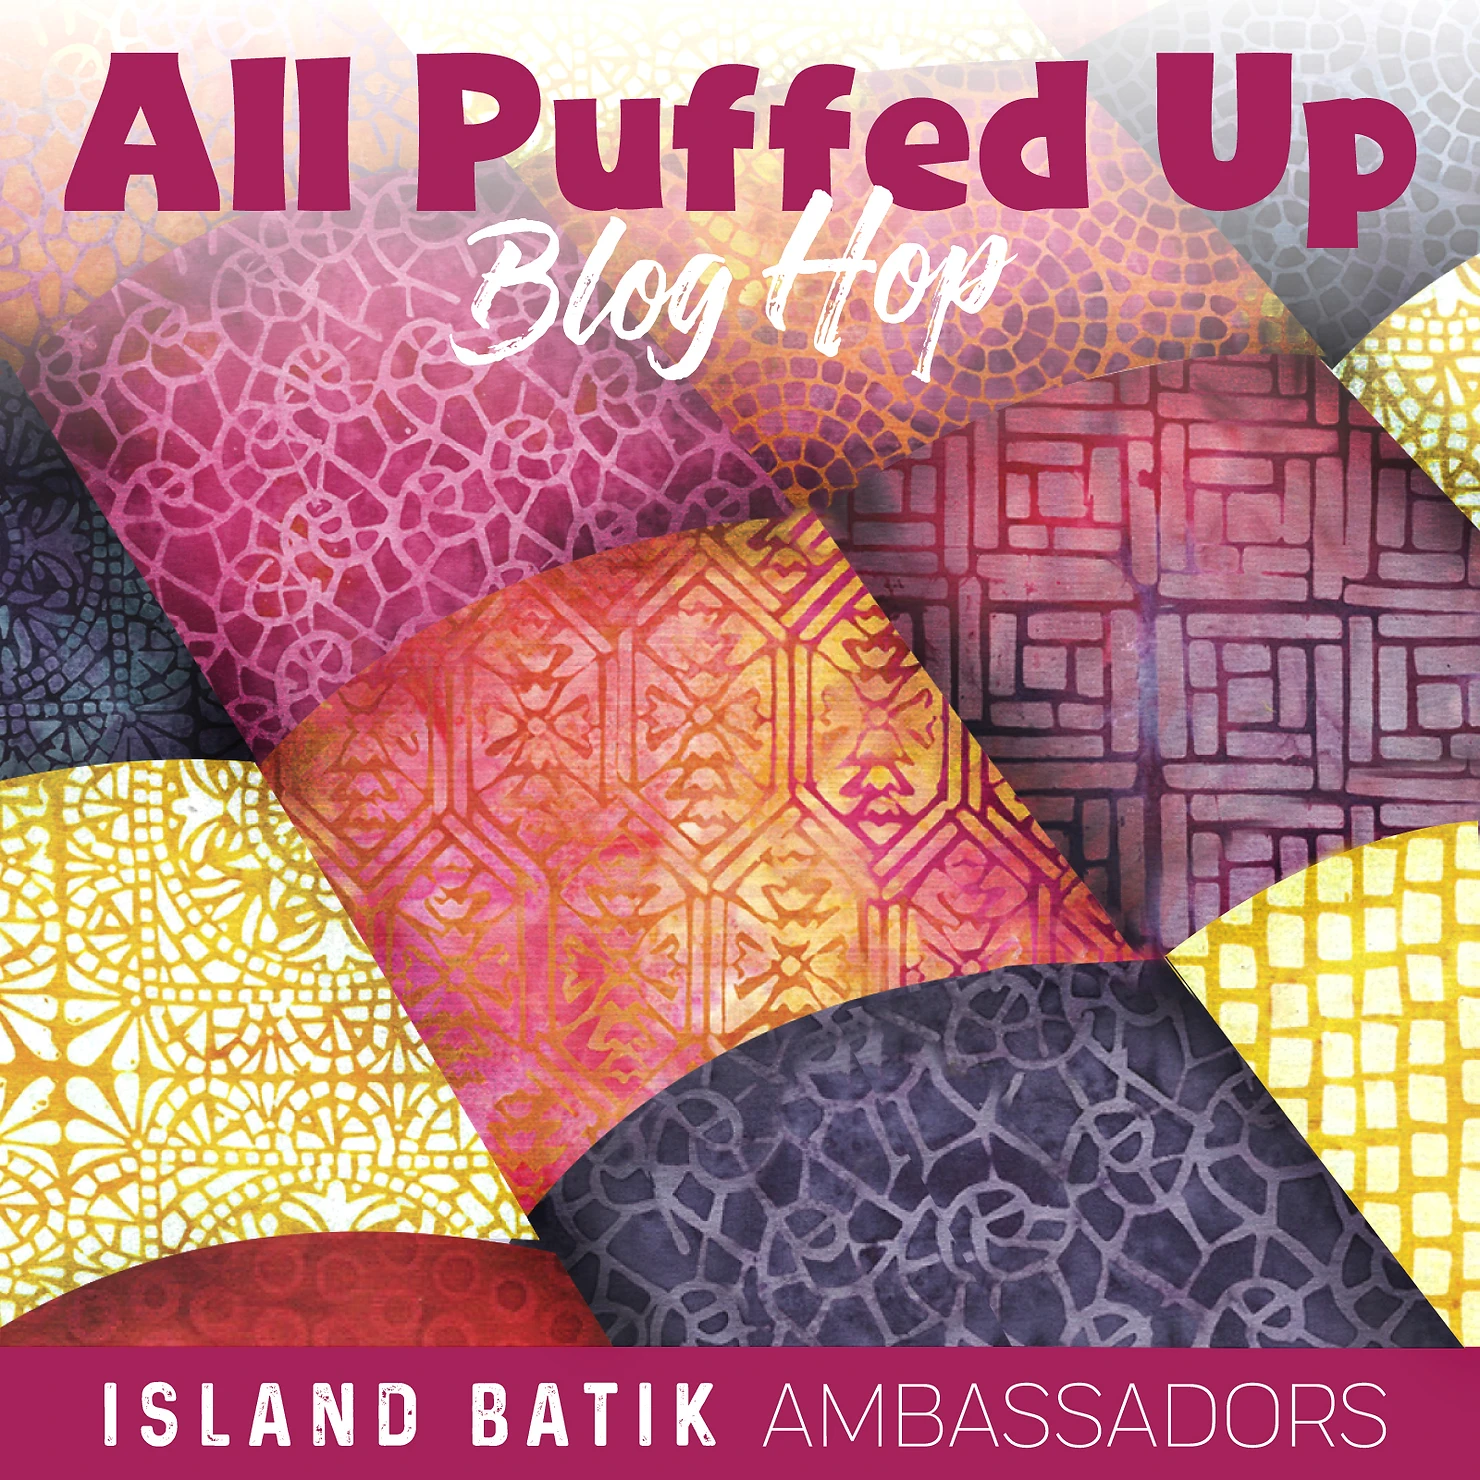
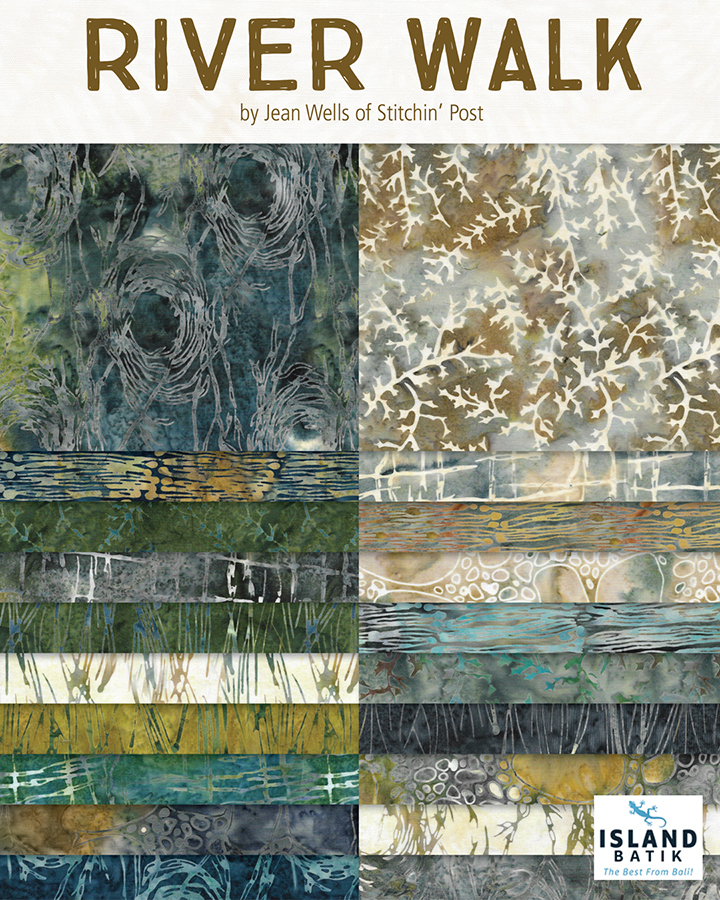
Island Batik is celebrating February with an Ambassador Puff Quilt Blog Hop. I hope you have been following along (by following Island Batik on FB) because there have been some really creative ones from our team! I was supplied with the gorgeous River Walk collection designed by Jean Wells of Stitchin’ Post. I absolutely love this collection! It reminds me of hiking, which gets me out in the great outdoors in the PNW where I live.
I watched several tutorials before I began to help me decide which method I would use. I found Lo and Behold Stitchery to be the most complete and detailed. I followed it except where noted below.
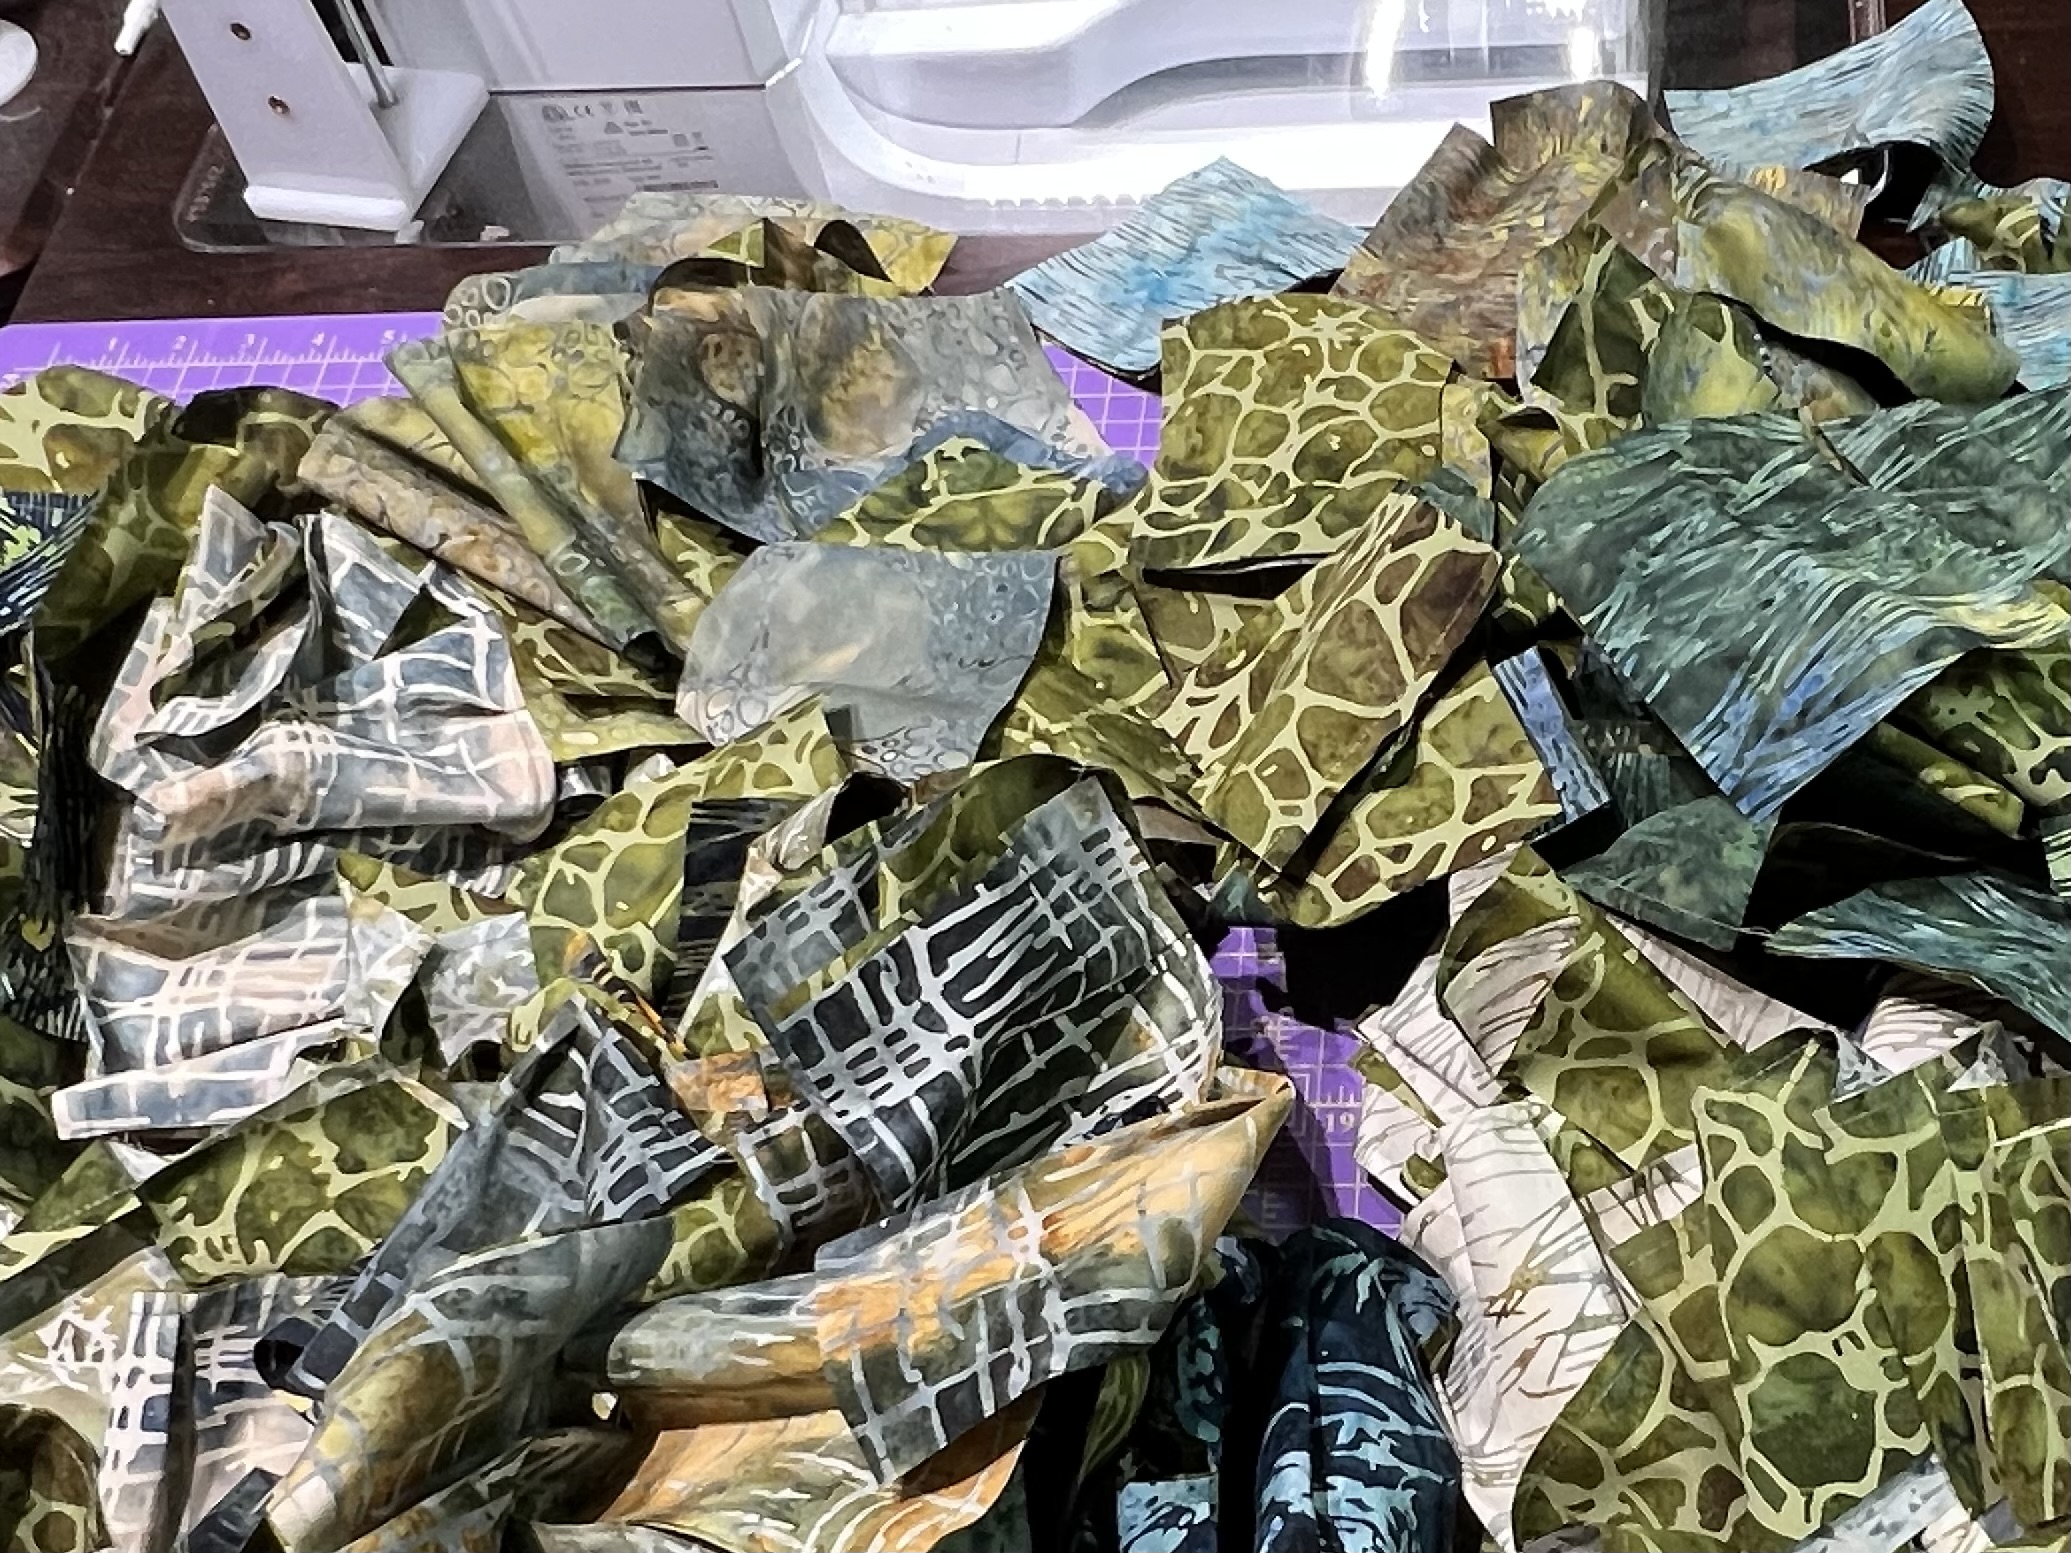
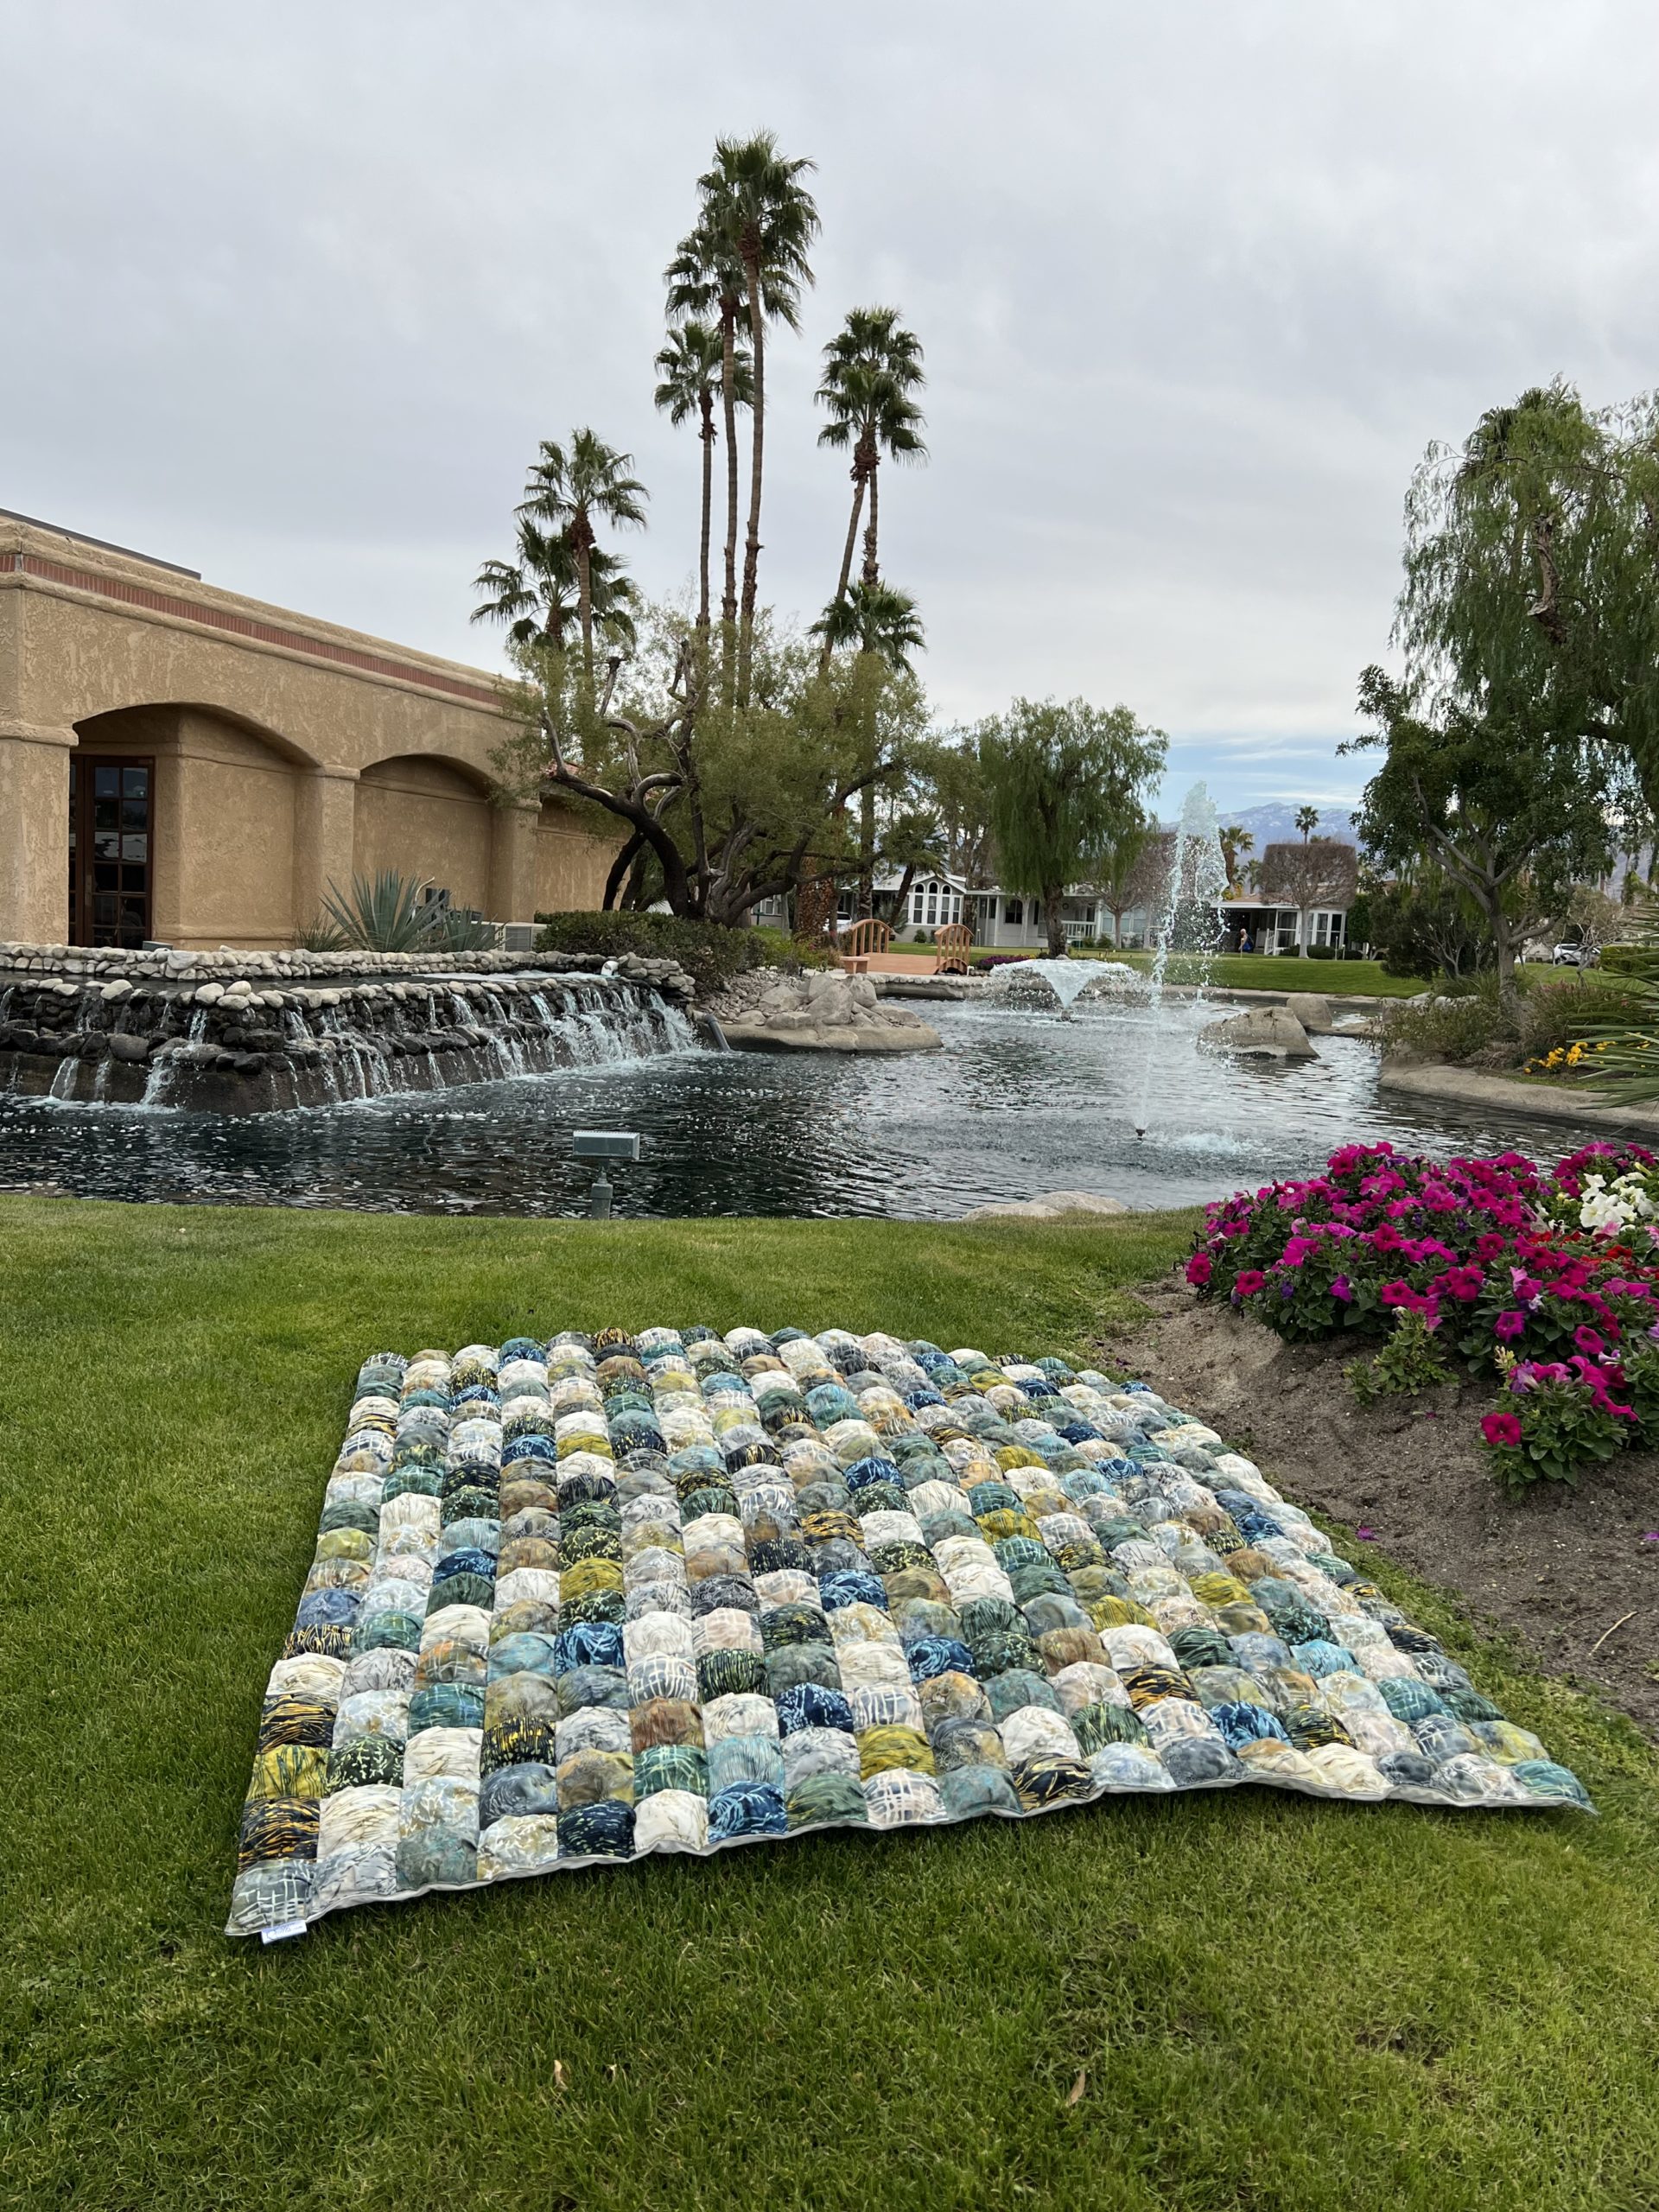
These are all squares after pleating one side. The camo print is what I used from my stash for the back of the squares. It won’t show when finished. The camo squares are 4″ and the River Walk squares are 4 1/2″ before pleating. I decided to make it 18 squares wide by 18 squares tall, resulting in a quilt 62″ x 62″.

Pleating and chain piecing 324 squares!! Pleating approximately in the middle of the 4″ square to make the 4 1/2″ square fit the 4″ square. It’s nice it doesn’t have to be exact. I did this on all three sides, and then when sewing the 4th side, I stuffed the puffs with Polyfil. I used nearly all of a 40 oz bag.

Organizing stacks of same fabric squares.

I made 324 separate puffs before joining them in rows of 18. Then I sewed the rows together to make 18 columns of 18 rows. I decided on this random layout because it reminded me of pebbles in a river. This is a choice I made that differs from the Lo and Behold Stitchery tutorial.

This is the finished quilt top

This is another difference I chose to make from the Lo and Behold Stitchery tutorial. To finish, the next step was to lay the quilt top down right sides up, lay the backing (Island Batik Porcelain) on top of the quilt top, right sides together, and then I added a layer of Hobbs poly batting on top of that. After pinning all three layers together well, I then sewed through all three layers, leaving an opening for turning, turned it inside out and stitched 1/8″ along the edge instead of binding. I’ve never done that for a quilt, but I preferred the look of it better than binding for this quilt.

To quilt, I did a bar tack stitch with my machine at every intersection. If you look closely, you may find a turtle or a frog hiding on the back of the quilt.


Loved seeing snippets of your sewing room and how you efficiently use your space, but back to the puff quilt. Beautiful job, I can’t even imagine trying to tame 324 puffs!
Beautiful quilt. Love how it turned out.
Your quilt is so pretty and I love the name of it! Perfect with those fabrics!
Your quilt is lovely. Those fabrics look like they are fun to play with. oh but those turtles and frogs on the back are wonderful. they give a little play to the quilt. thanks for sharing and inspiring
So pretty, Lana! I love your photo setting!
Your quilt is sooo pretty. I really like the way you joined the back to it. The Puff or Biscuit quilt has been on my list for a long time. I was concerned about adding the binding. Now I see how to avoid that. Thank you for sharing.
It’s been on my list for awhile, too. I’m so happy I did it. It was fun. Can’t wait to see yours!