Sunshine and Tulips for Bev

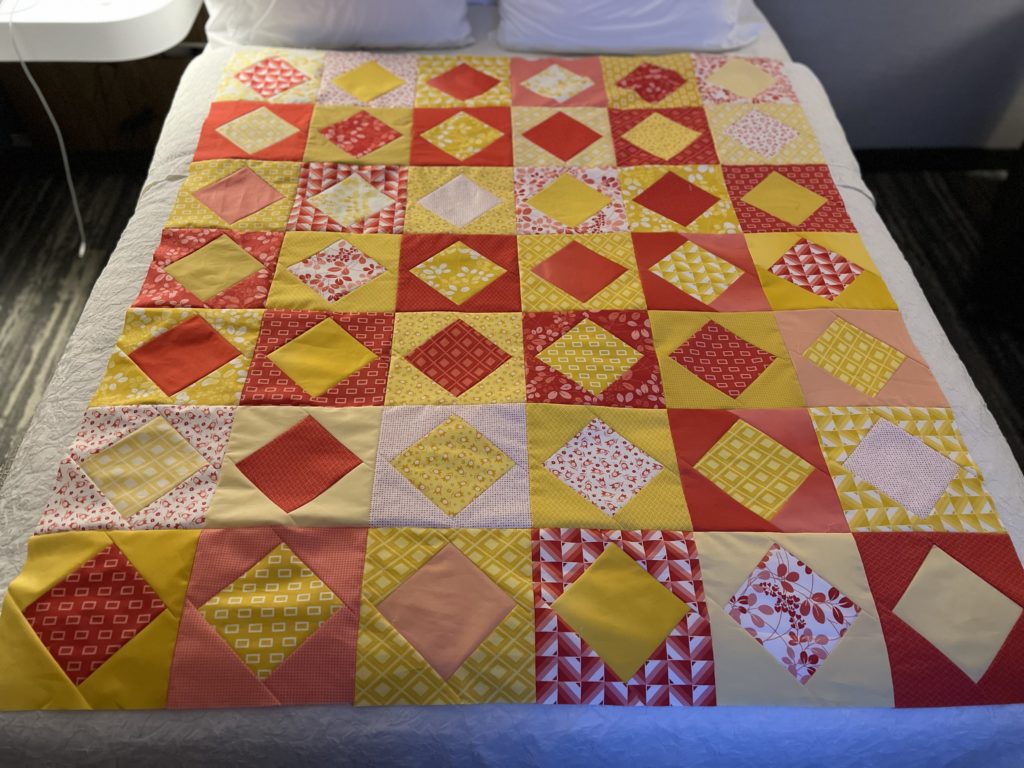
Kimberly by GE Designs

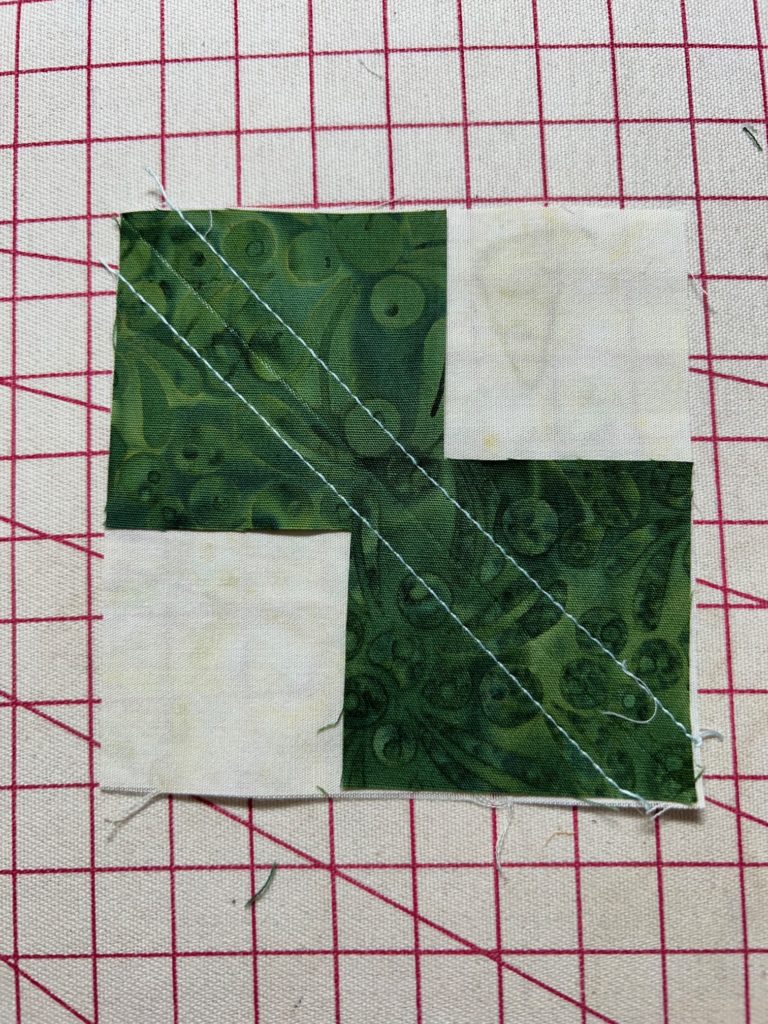
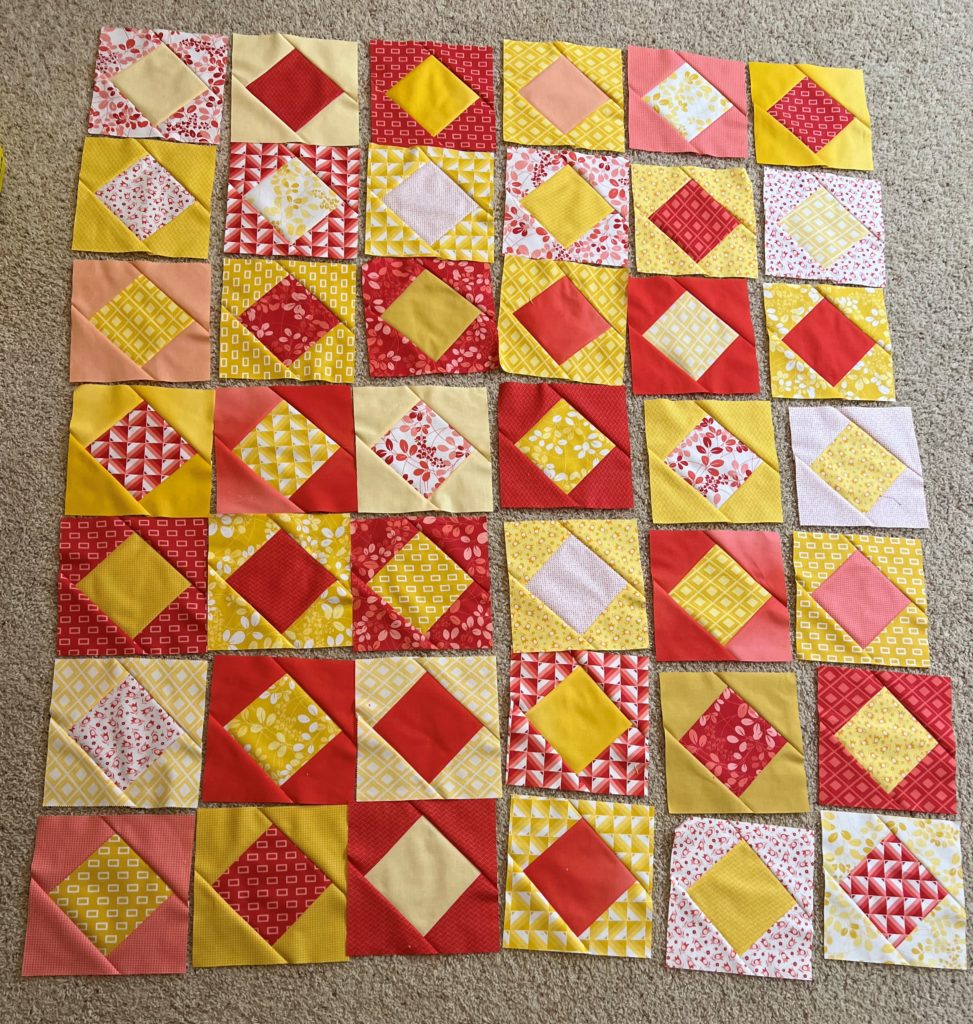
GE Designs released a new pattern in July, Kimberly, and offered a quilt a long. It required 2 layer cakes, so I selected these from my stash. They were identical, in 2 different colorways. I loved the ease of this pattern and enjoyed just sewing and not having to match up seams except for the blocks themselves. I did make sure the diagonal seams in all blocks were facing the same direction. I didn’t have a purpose in mind when beginning this quilt, but its purpose became clear as the next few months passed.
It was easy to take on my travels by car, along with my Singer Featherweight, while teaching closer to home. I was able to finish this top in one of those hotel rooms. It’s such a happy, lively quilt
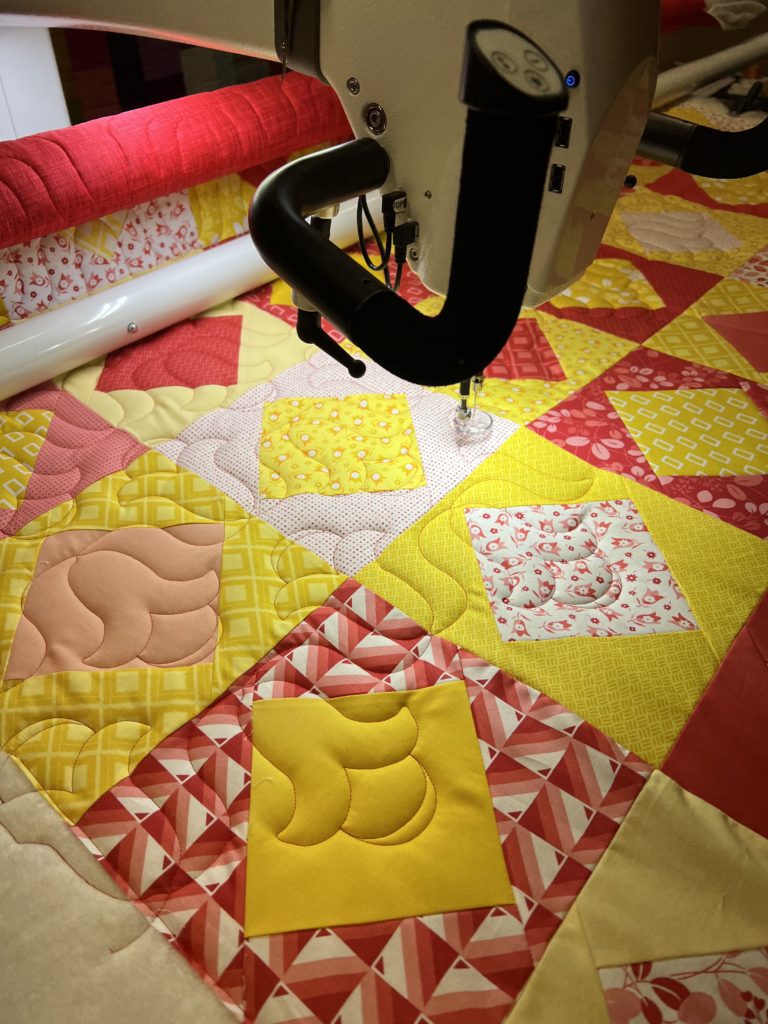
I found this Tulip Bells digital quilt design by Quiltable.com and thought it would be a great pairing for this quilt, echoing the tulips in some of the blocks. I double batted, with Hobbs 80/20 on the bottom and a layer of wool batting on the top to provide the puffiness and warmth. By this time, it was clear who this quilt had been intended for all along.

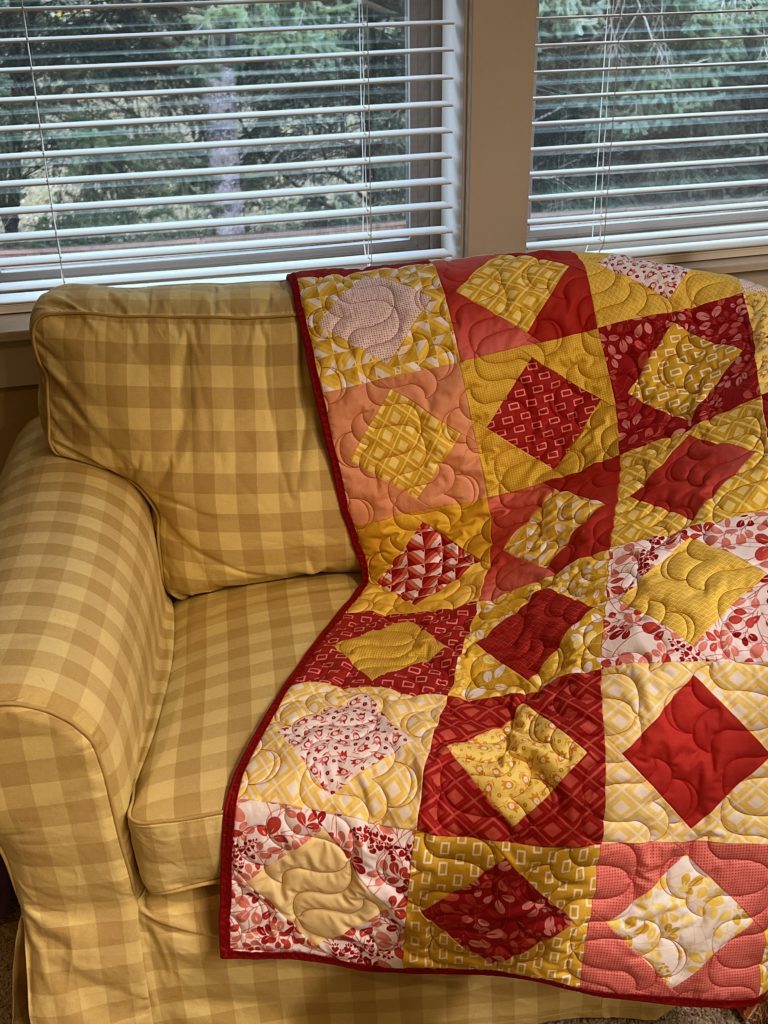
One of my very best friends is bubbly, colorful, and lively. She laughs ALL the time – so much fun to be around! She dresses in vibrant, beautiful colors. She would love this quilt, right? Made for her.

Alas , into everyone’s life come some shadows. A difficult chapter in the book of life. Even the bubbly and lively. A difficult health diagnosis shook the ground she walked on. Of course she is tackling this with her natural positivity with all her besties rooting her on. This happy quilt was made for her. Enjoy, Bev!

Mini Pumpkin Patch Quilt

Mini Pumpkins Pattern by Sew Kind of Wonderful

My favorite season is autumn and I love this pattern, It has been on my to do list for a few years. Motivation came in the form of a challenge; a Handi Quilter Educator Challenge. This year’s challenge was to make a black and white (grays allowed) quilt, plus one other color that can’t be more than 25% of the quilt.

Time is always a factor, and this quilt being only 36″ x 36″ was doable considering my traveling schedule between now and the due date. Easy decision. I finally get to make this quilt!

Pieces were cut and piecing together was begun in early October.

Two days later it was pieced. However, getting it quilted within the next 9 weeks between several teaching events, a quilt show, celebrating a birthday, Halloween, and Thanksgiving, would be tricky. But a busy schedule makes for efficient planning.

Now to decide how to quilt it. I knew I wanted to make “ghost pumpkins” on some of the background squares to mimic the colored pumpkins, so I played around with ideas for the background. Hay, so it looks like the pumpkins are laying in a patch? Pumpkin leaves with wisps of curls? Pebbles and swirls? I decided on the latter, so the small pebbles and swirls would make the “ghost pumpkins” pop. I added some leaves for interest as well. I also double batted with one layer of 80/20 and one layer of wool on top for the poof.

Challenge accepted and completed on time.

Modern Double Wedding Ring

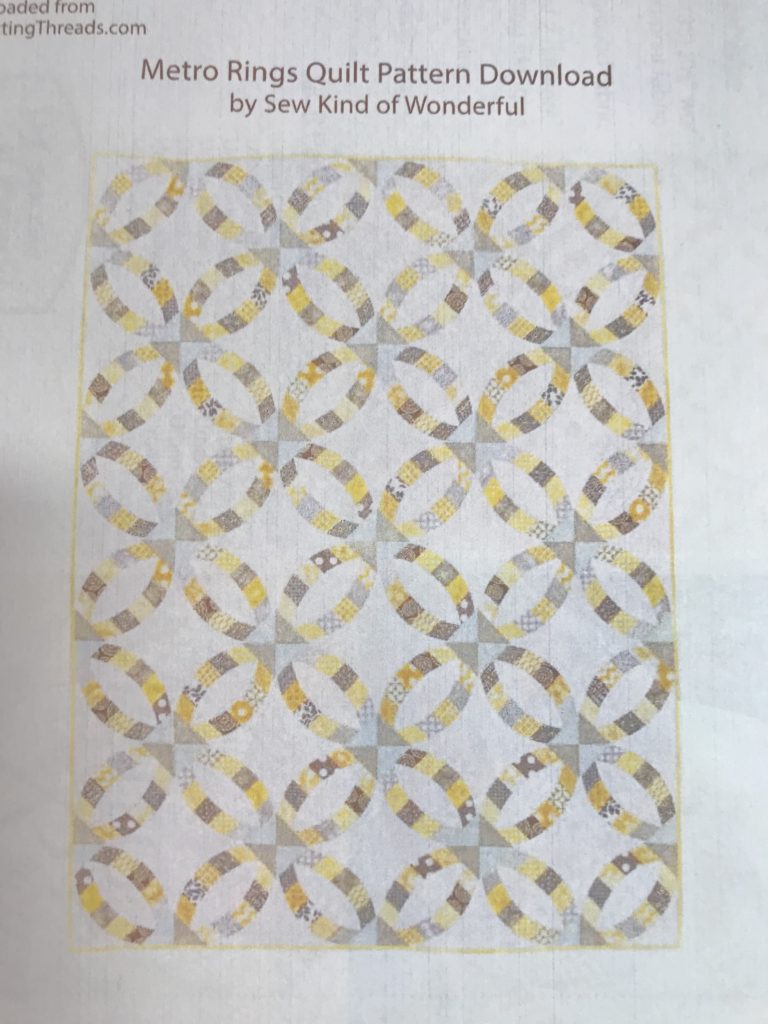
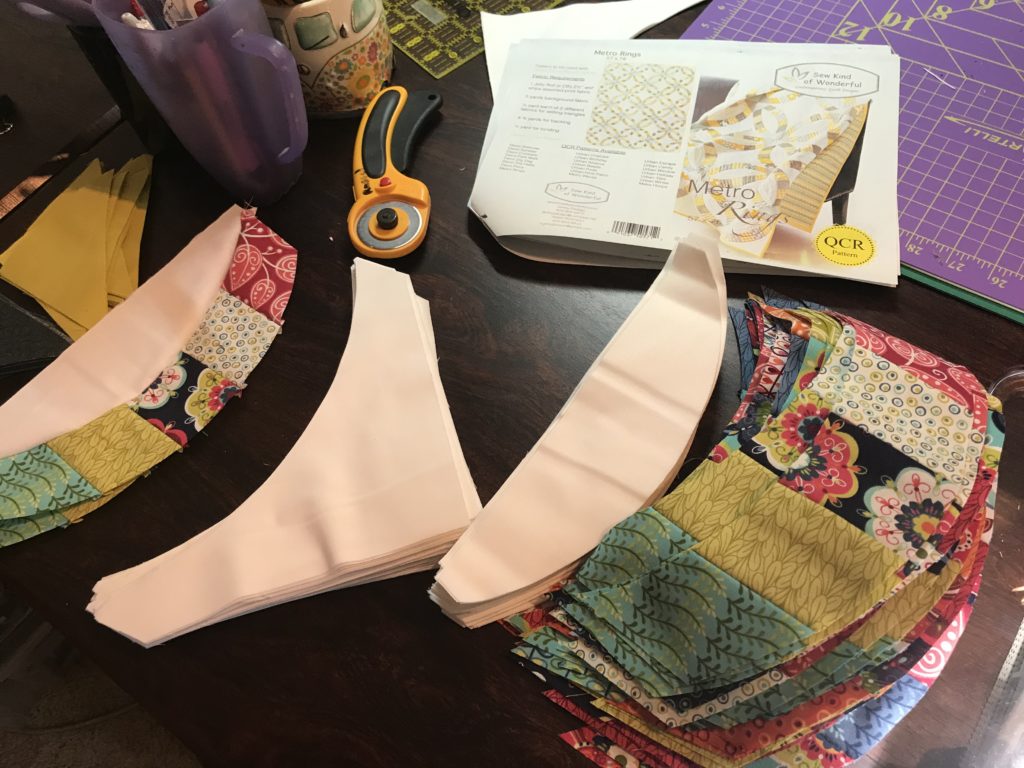
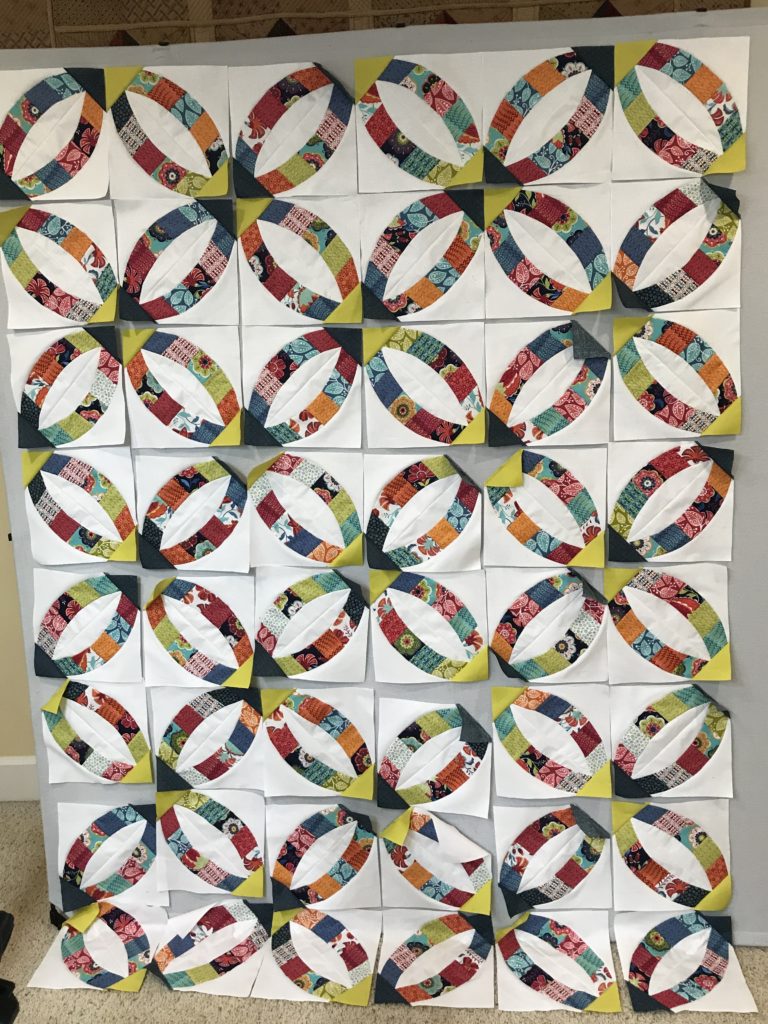
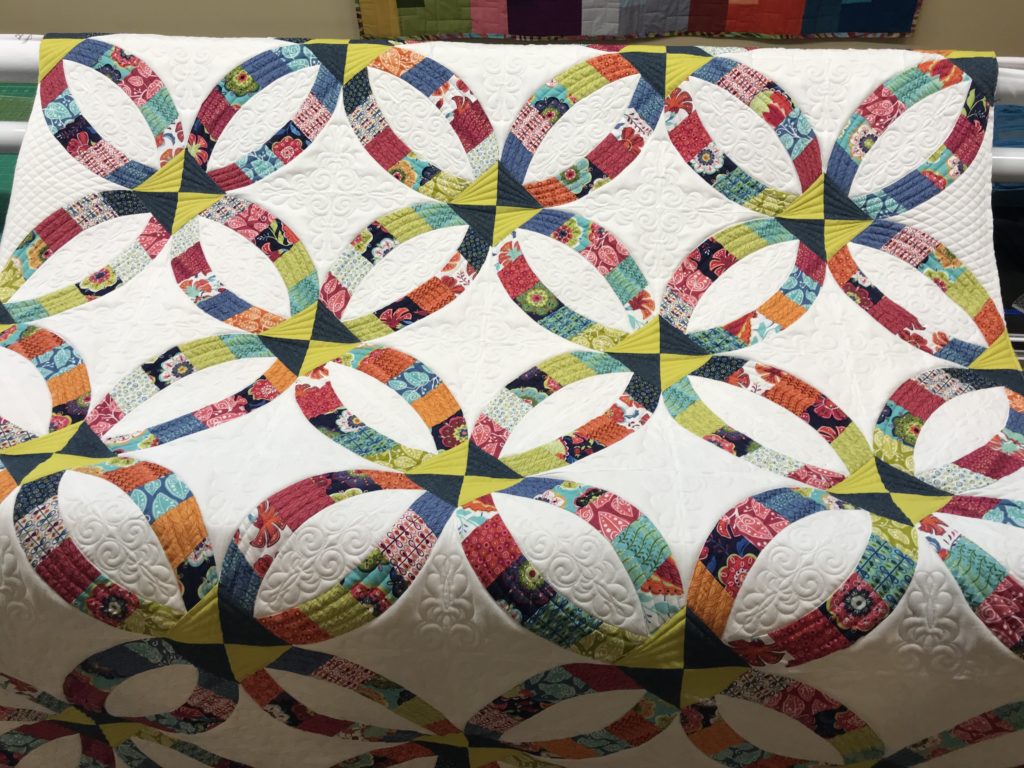
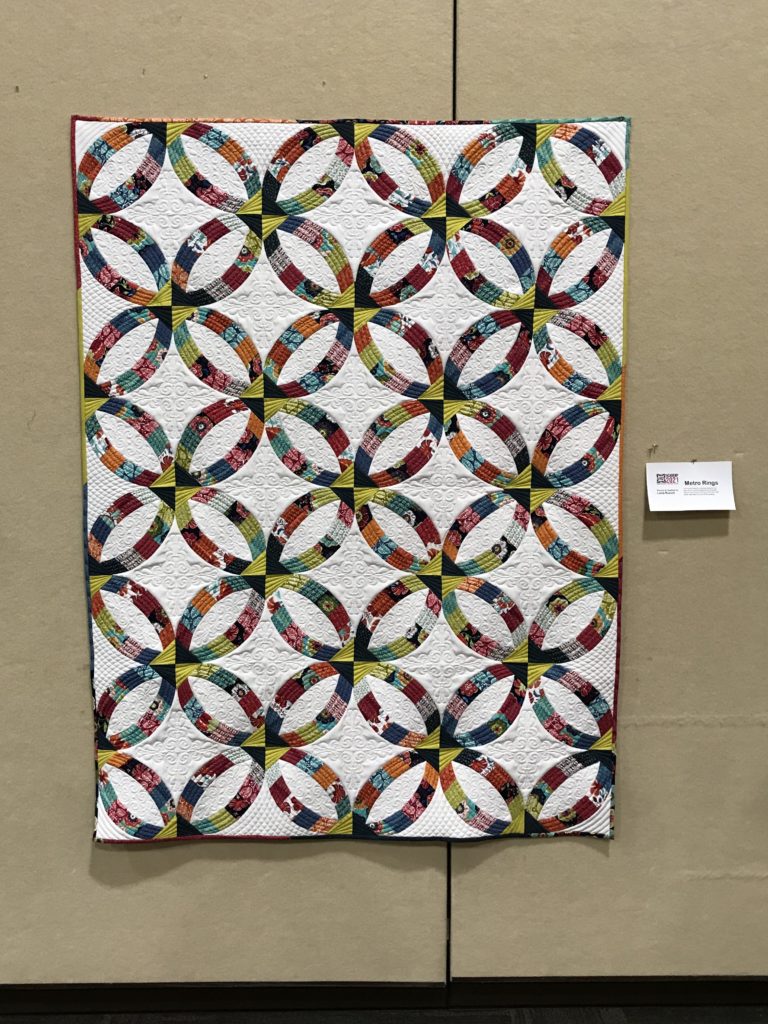
I’m more modern than traditional, so when it came to making a Double Wedding Ring quilt, I had to swerve. Sew Kind of Wonderful has a great pattern that fit the bill – Metro Rings.

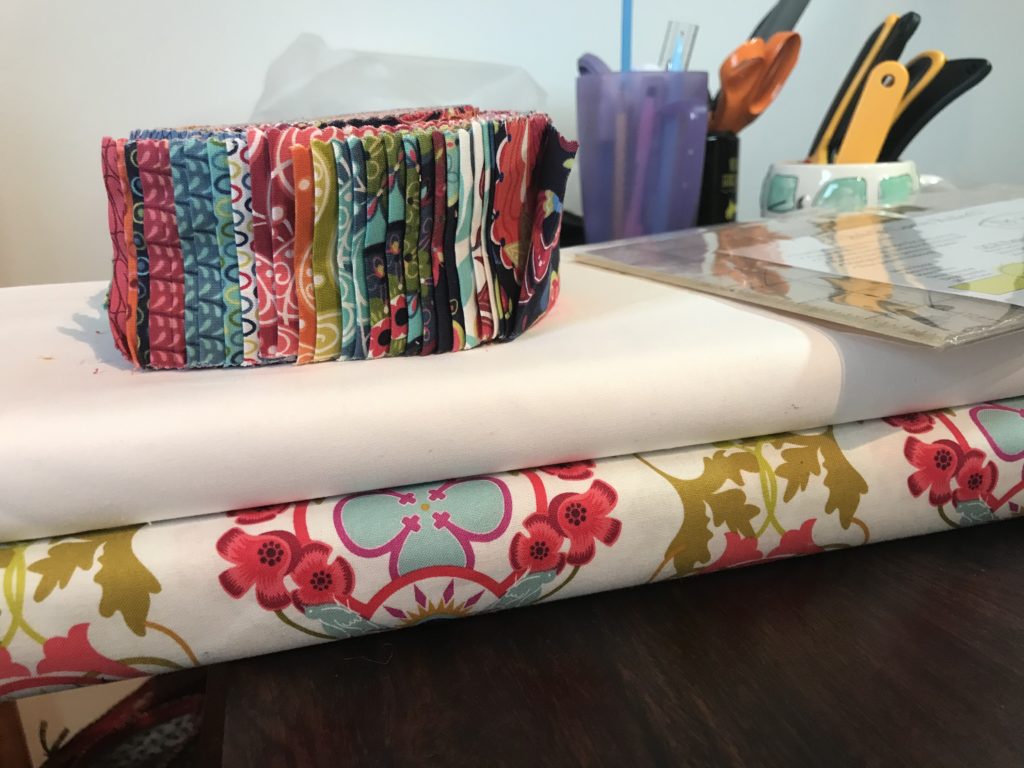
I have a healthy stash, and I was able to find the perfect combo within it – Jelly Roll, background, binding, and backing. I’ve always thought scrappy binding was cute, and this would give me an opportunity to use the leftover strips from the Jelly Roll for that.

Loved my find in my stash!
Jelly Roll opened. Like what I see!

Metro Rings uses Jelly Roll strips and the Curve ruler to cut the pieces = less curved piecing.

Also used the sold lime green and solid navy from my stash for the triangle inset pieces.

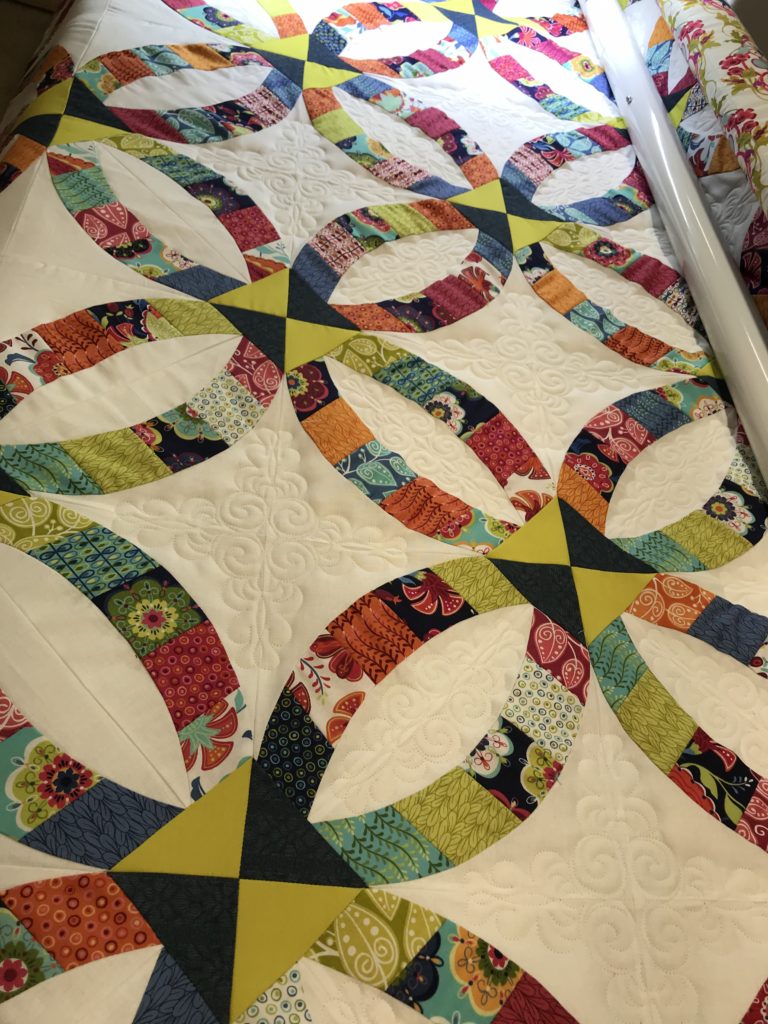
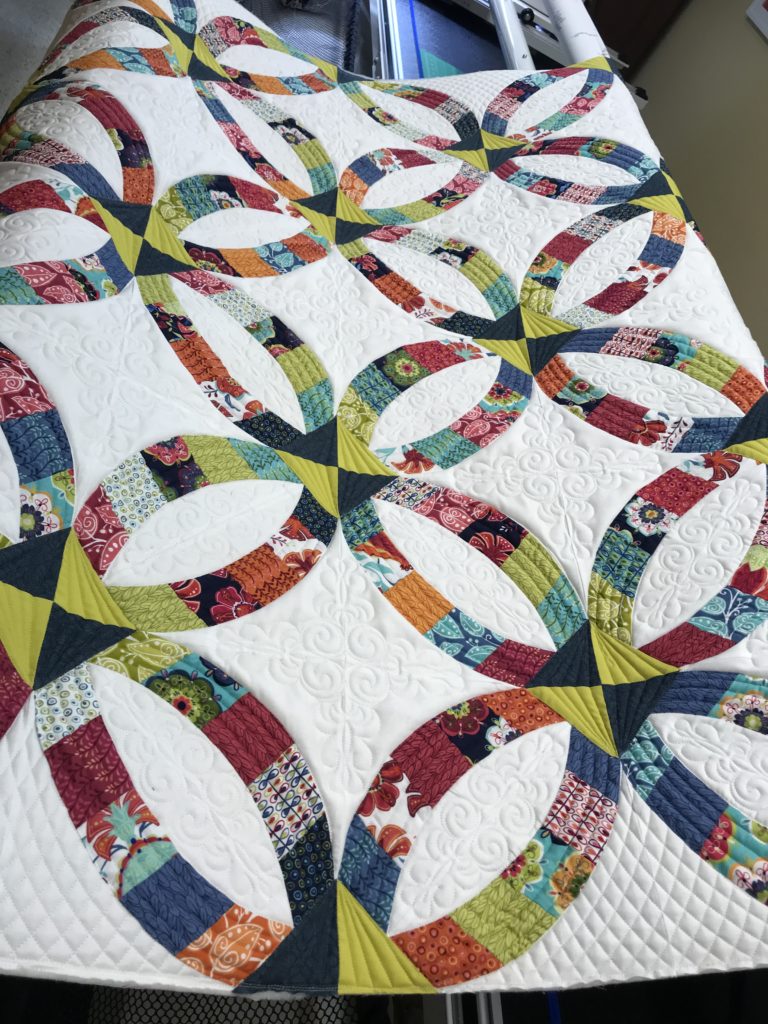
Quiltable.com has a specific digital quilting design intended for Metro Rings! Score! Quilted on my Handi Quilter Forte with Pro-Stitcher and Superior Threads So Fine!

All finished except for the binding.

Enjoyed the ruler work on the triangle insets. Curved cross hatch!

Hanging at Handi Quilter Academy 2021.

Have you thought about making placemats or a table runner on your longarm?

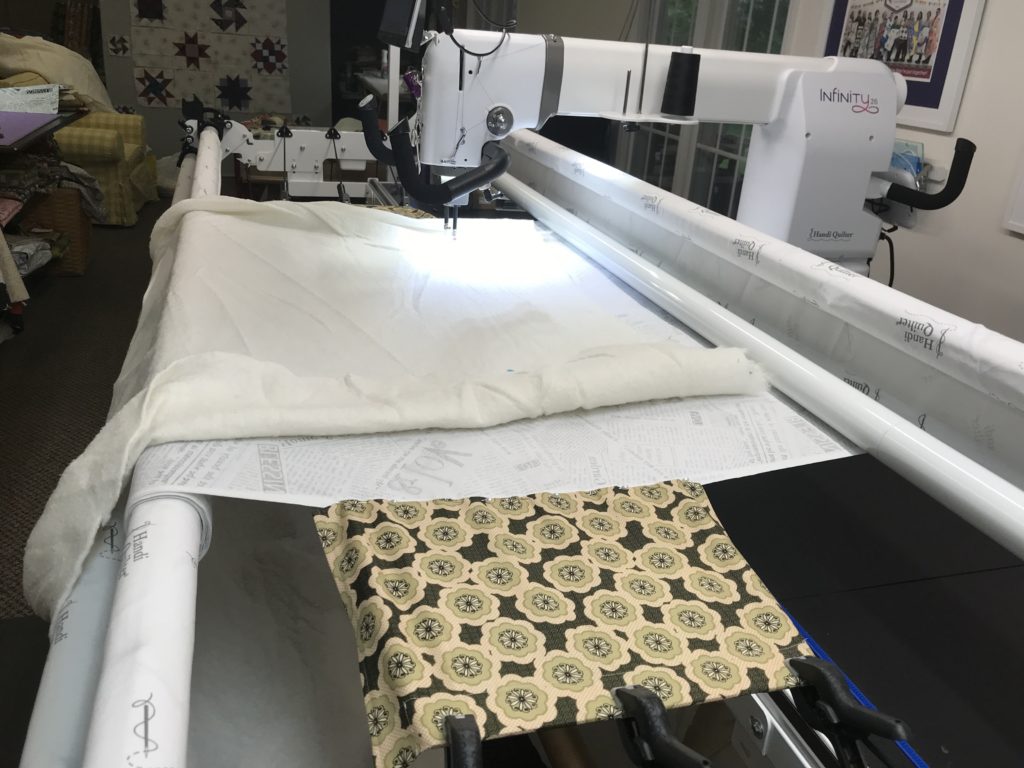
I found a beautiful piece of fabric that was a perfect fit for my BFF’s kitchen and she had a big bday approaching. So my mind got busy creating. I loaded the backing, batting, and fabric on my HQ Infinity Longarm and quilted the entire piece. After unloading it from the longarm, I cut the pieces out of the quilted fabric the sizes that I wanted and bound them. I love how they turned out and she did too!

placemats, table runner, and table topper

TWIST

This Week in Studio Time –

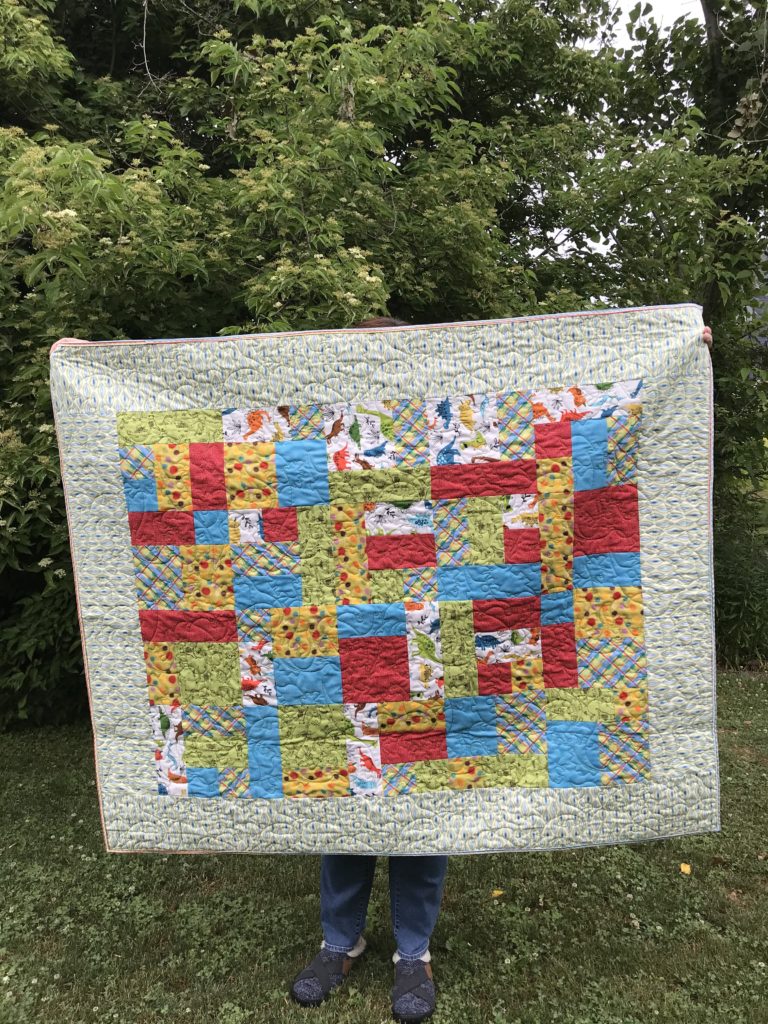
Six fat quarters and you can have a quick baby quilt using the Yellow Brick Road quilt pattern. I added a border. I love the way this goes together. If you have a friend who is learning to quilt, this is a fantastic pattern for them, and it is so fun to put together that even experienced quilters will enjoy piecing this one! I come back to it again and again.

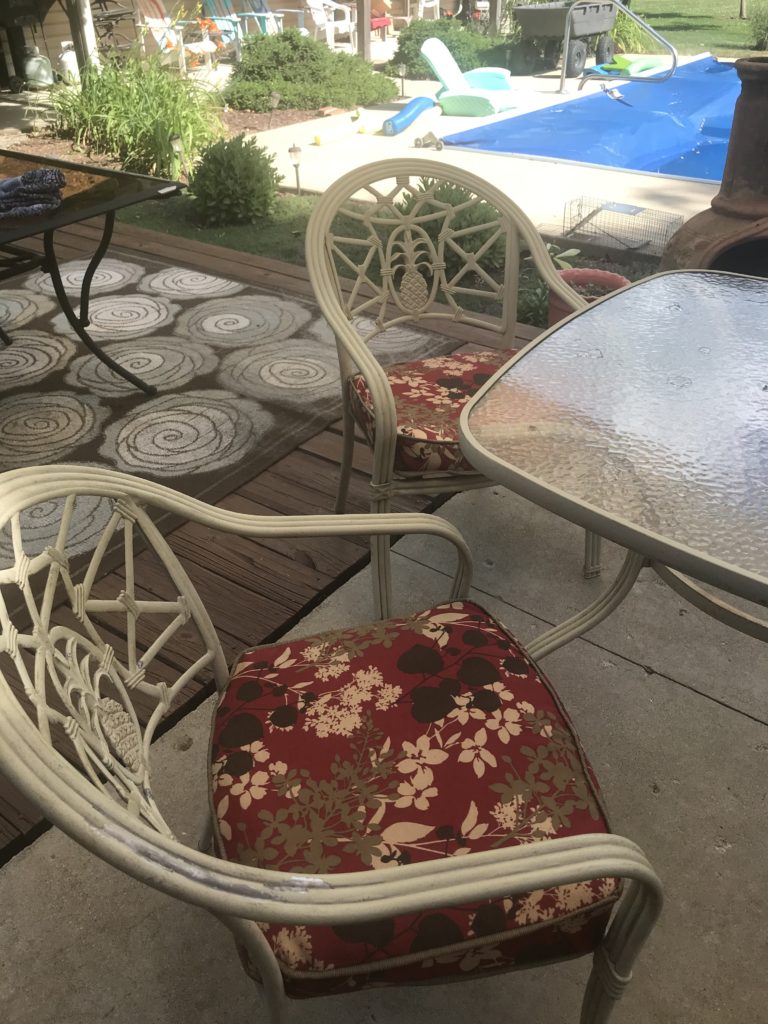
This week I also recovered a couple outdoor cushions. I’m happy with how they turned out.

I also made two of these quilt backing extenders. They are helpful when you are short on backing fabric so the machine carriage doesn’t run into the clamps. I took 2 fat quarters (one for each side), finished the long edges, and then folded it in half, right sides together, and stitched the end opposite the fold with a 1/4′ seam, and turned it right side out. Then I inserted a clean paint stick at the folded edge and marked the sides and the bottom of the paint stick. I stitched across the width and one side, inserted the paint stick, then stitched the other side to hold the paint stick in place. To use it, pin the end with the 1/4′ seam to your backing fabric, and use your clamps on the paint stick to stabilize your backing.

Handi Quilter Educator Challenge – Do You See What I See?

The Handi Quilter Educator Challenge for 2020 was to quilt a Debra Linker ice dyed piece of fabric to emphasize the faces or figures you see in the fabric. This is called pareidolia, but we decided to call it simply, Do You See What I See?

This is the piece that I chose from the options. I didn’t “see” anything at the time, but liked the colors.
After gazing at it for awhile, the green areas became green jackets and I took it from there. I used Handi Quilter Preview Paper and dry erase markers to sketch out some ideas. Easy to wipe off and start over til I liked what I saw.
This is how I began. You can see I changed my mind on the center area once I began. At this point, I had decided the green jackets would be on aliens and this center point was going to be their regeneration point. There you go, the name of my piece was Regeneration Station!
Here’s my finished piece. The aliens are coming in to renew their energy. The design on their jackets match the grid in the center and indicates their energy level. The closer the grid in their jackets, the more energy they have. Some are coming in to energize and others are on their way out, having just finished energizing. Swarovski crystals for the eyes. I left the background unquilted as I thought it made them seem as thought they were floating in nothingness in outer space. Crazy, I know, but I think I was writing a novel about these guys while I was quilting them.

Handi Quilter Educator Challenge – Vintage Quilts

At our training, we accepted a Vintage Quilt Challenge. Brenda Groelz, Director of Education for Handi Quilter, has been collecting vintage quilts for years and now it’s time to get them quilted. Our directions were to quilt them in a way the original piecer would not have imaginied. You may add a border, but you are not allowed to wash them because they are fragile. We drew numbers and when our number was called, we could have our choice of around 30 quilts. There were only 11 of us. I loved the salmon color of this one. It was machine pieced and not in too bad of shape.

I added two borders and quilted it on my Handi Quilter Infinity. I think the dark teal blue border really sets it off nicely.

Close up of the quilting. I used Pro-Stitcher in the solid areas and borders and free motion on the rest.

WP2Social Auto Publish Powered By : XYZScripts.com