I found a beautiful piece of fabric that was a perfect fit for my BFF’s kitchen and she had a big bday approaching. So my mind got busy creating. I loaded the backing, batting, and fabric on my HQ Infinity Longarm and quilted the entire piece. After unloading it from the longarm, I cut the pieces out of the quilted fabric the sizes that I wanted and bound them. I love how they turned out and she did too!
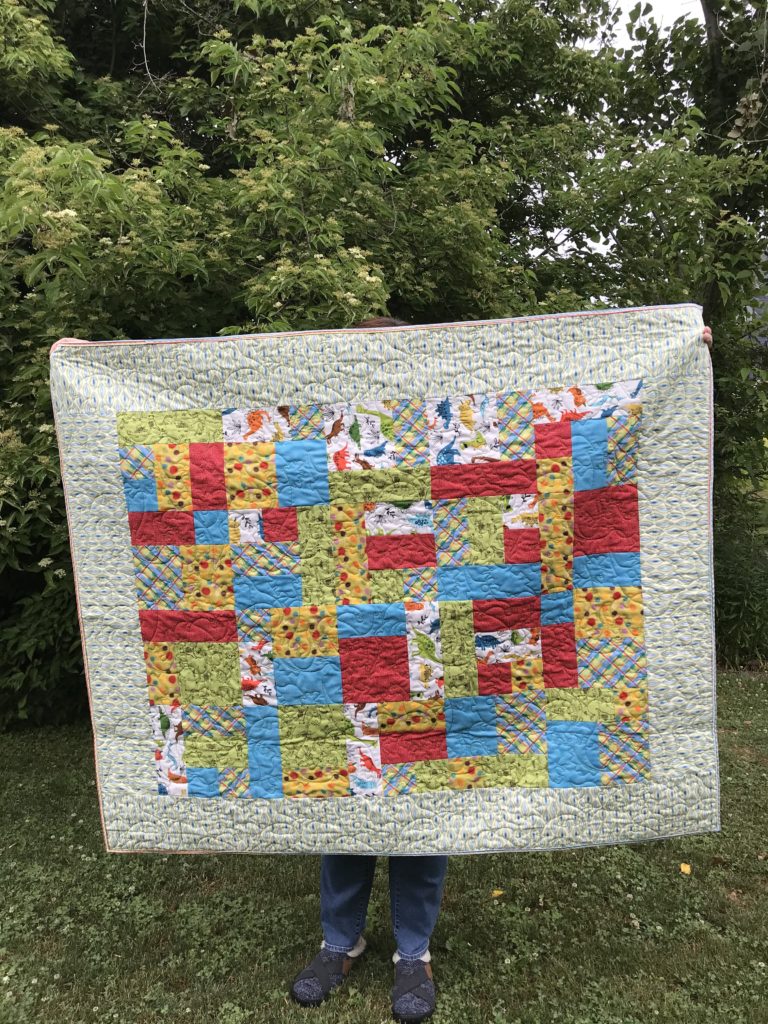
Six fat quarters and you can have a quick baby quilt using the Yellow Brick Road quilt pattern. I added a border. I love the way this goes together. If you have a friend who is learning to quilt, this is a fantastic pattern for them, and it is so fun to put together that even experienced quilters will enjoy piecing this one! I come back to it again and again.
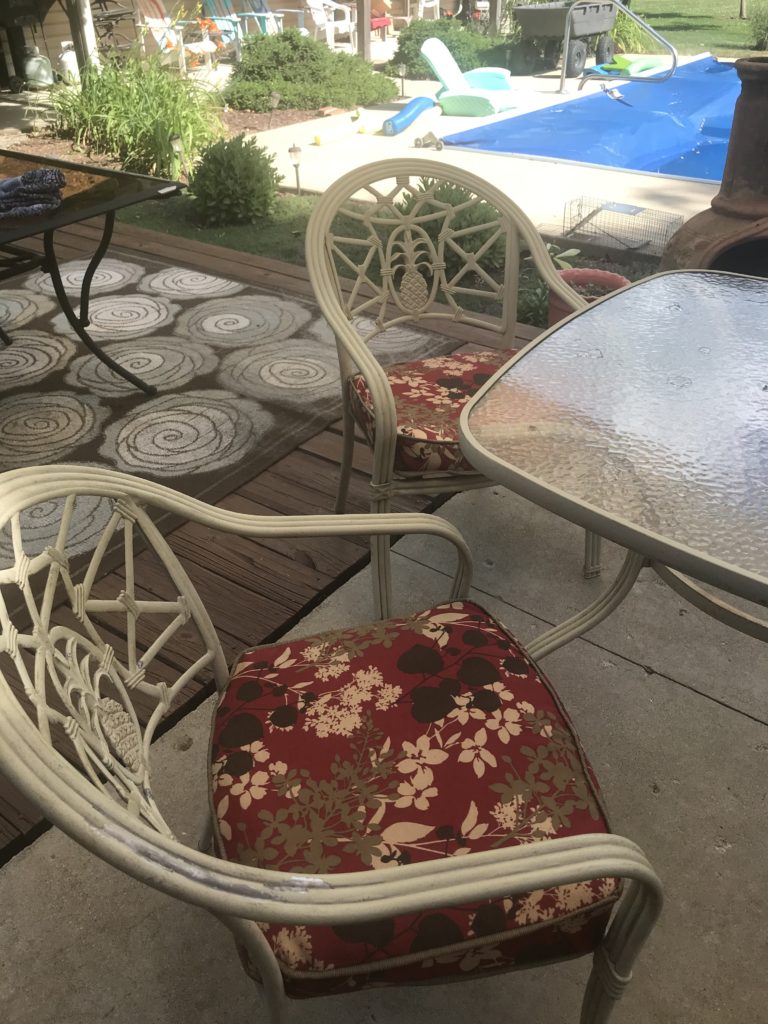
This week I also recovered a couple outdoor cushions. I’m happy with how they turned out.
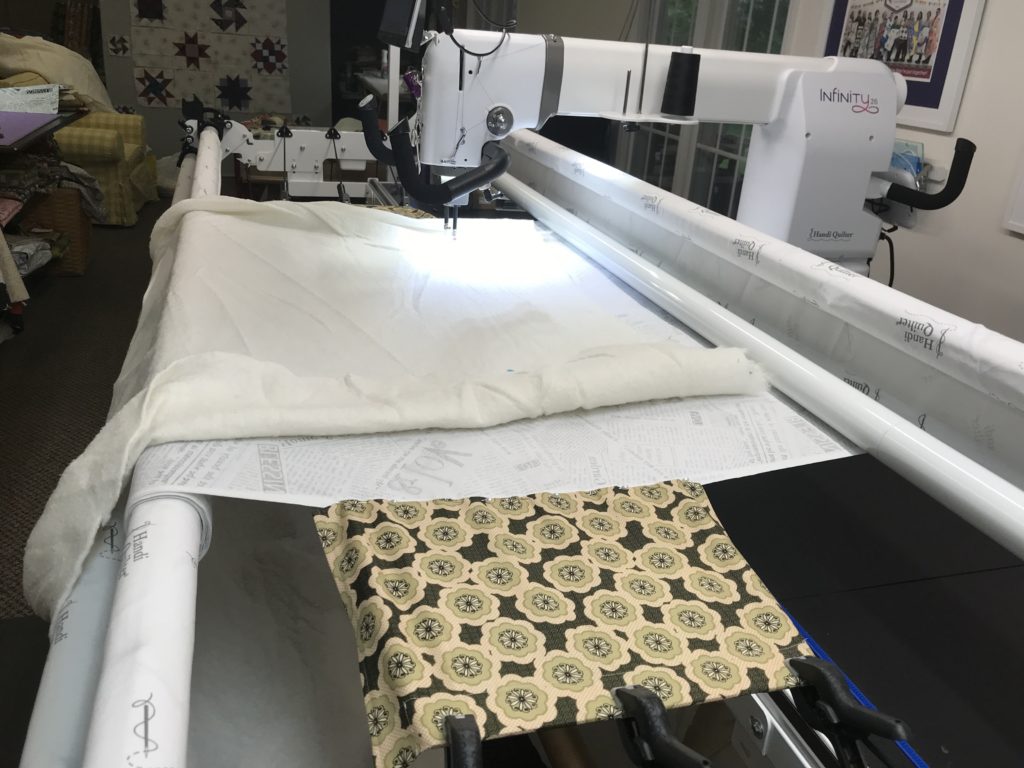
I also made two of these quilt backing extenders. They are helpful when you are short on backing fabric so the machine carriage doesn’t run into the clamps. I took 2 fat quarters (one for each side), finished the long edges, and then folded it in half, right sides together, and stitched the end opposite the fold with a 1/4′ seam, and turned it right side out. Then I inserted a clean paint stick at the folded edge and marked the sides and the bottom of the paint stick. I stitched across the width and one side, inserted the paint stick, then stitched the other side to hold the paint stick in place. To use it, pin the end with the 1/4′ seam to your backing fabric, and use your clamps on the paint stick to stabilize your backing.
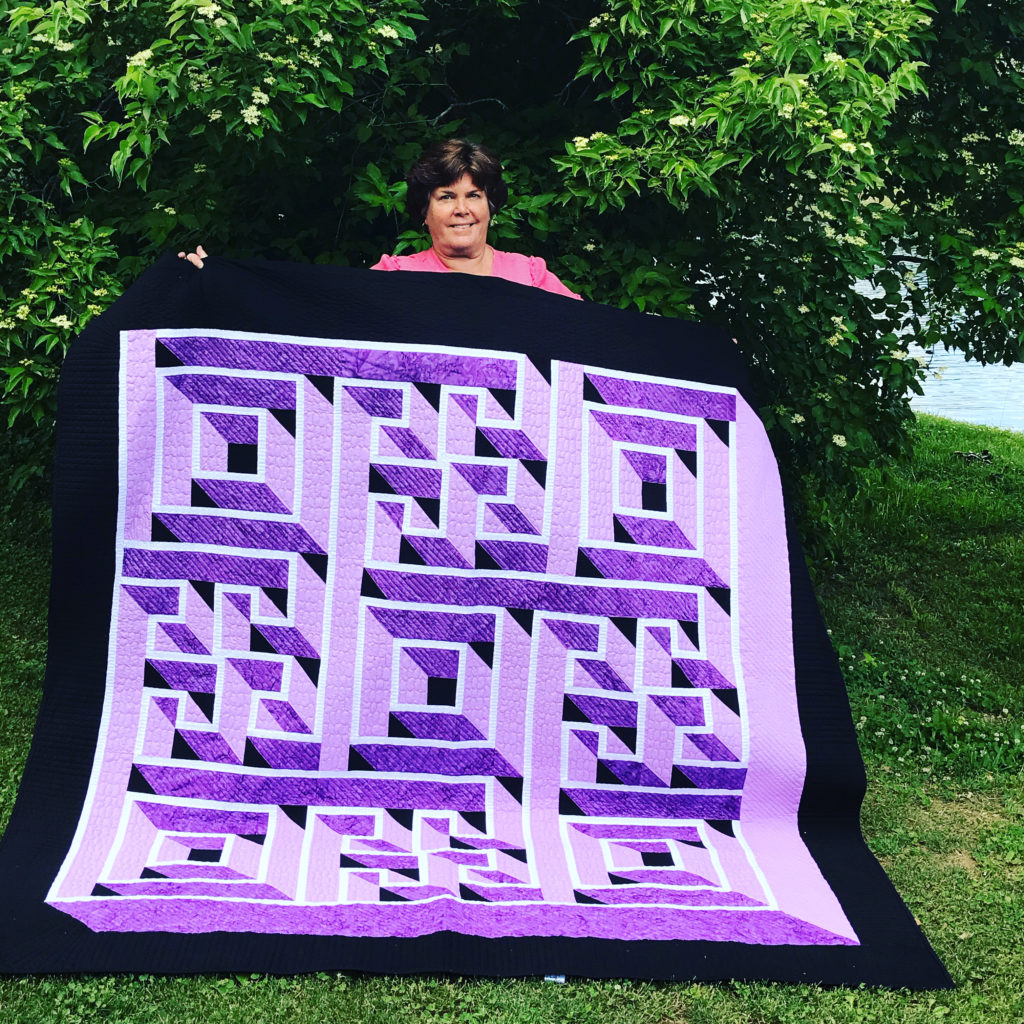
This has been on my list for quite awhile and I’m so happy I moved it to the top of my list. This was gifted to my grandson for his high school graduation. I was trying to think of a more masculine pattern to suggest to him. He liked the pattern and chose the colors. It went together so much easier than I thought. I hadn’t noticed that it’s really just two different blocks! If you’ve been considering making this one, I would encourage you to do so. I quilted this on my Handi Quilter Infinity using a design from Wasatch Quilting.
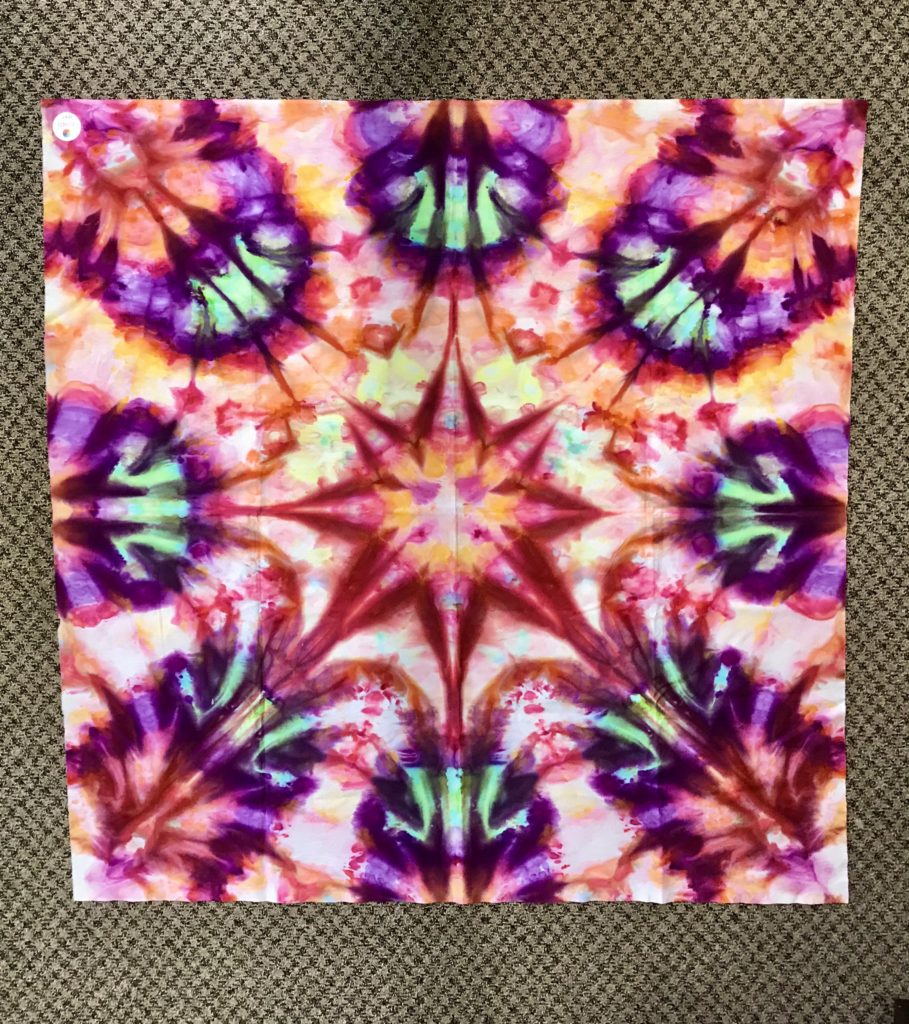
The Handi Quilter Educator Challenge for 2020 was to quilt a Debra Linker ice dyed piece of fabric to emphasize the faces or figures you see in the fabric. This is called pareidolia, but we decided to call it simply, Do You See What I See?
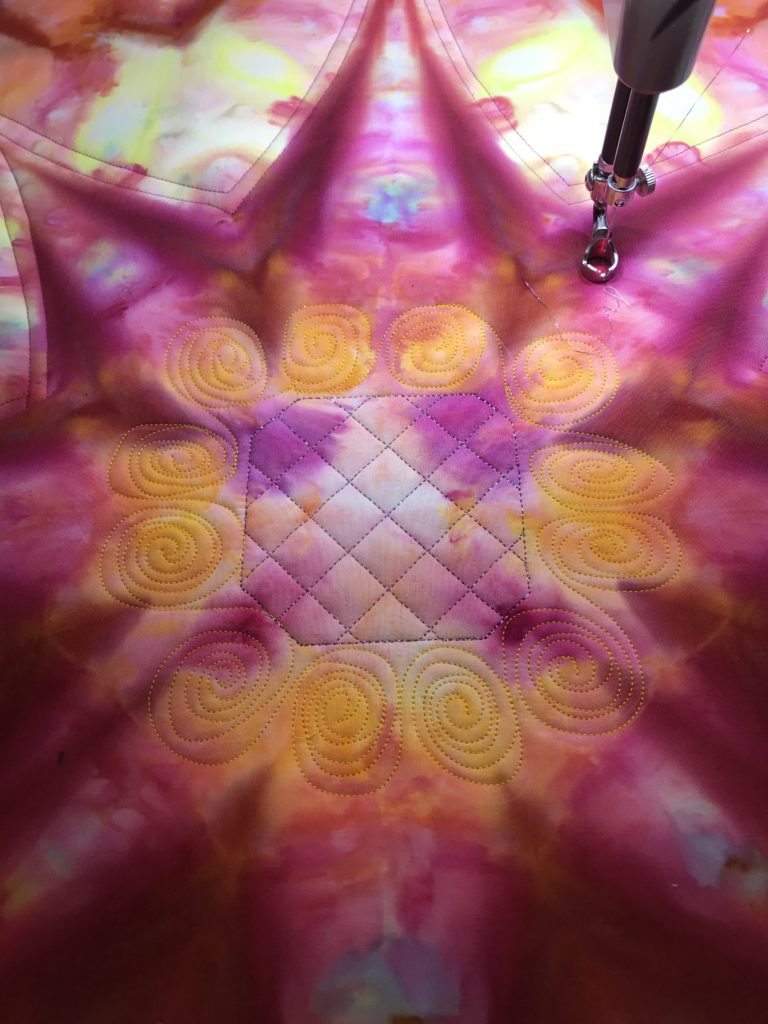
This is the piece that I chose from the options. I didn’t “see” anything at the time, but liked the colors.After gazing at it for awhile, the green areas became green jackets and I took it from there. I used Handi Quilter Preview Paper and dry erase markers to sketch out some ideas. Easy to wipe off and start over til I liked what I saw.This is how I began. You can see I changed my mind on the center area once I began. At this point, I had decided the green jackets would be on aliens and this center point was going to be their regeneration point. There you go, the name of my piece was Regeneration Station!Here’s my finished piece. The aliens are coming in to renew their energy. The design on their jackets match the grid in the center and indicates their energy level. The closer the grid in their jackets, the more energy they have. Some are coming in to energize and others are on their way out, having just finished energizing. Swarovski crystals for the eyes. I left the background unquilted as I thought it made them seem as thought they were floating in nothingness in outer space. Crazy, I know, but I think I was writing a novel about these guys while I was quilting them.