Merry Christmas to Me!

My wish for each individual is to live in harmony and be in good health.  Those are the big two for me.  Wouldn’t that be amazing if everyone had those two things?  So I remind myself to live in the moment, be mindful, and do what I can to control my good health.


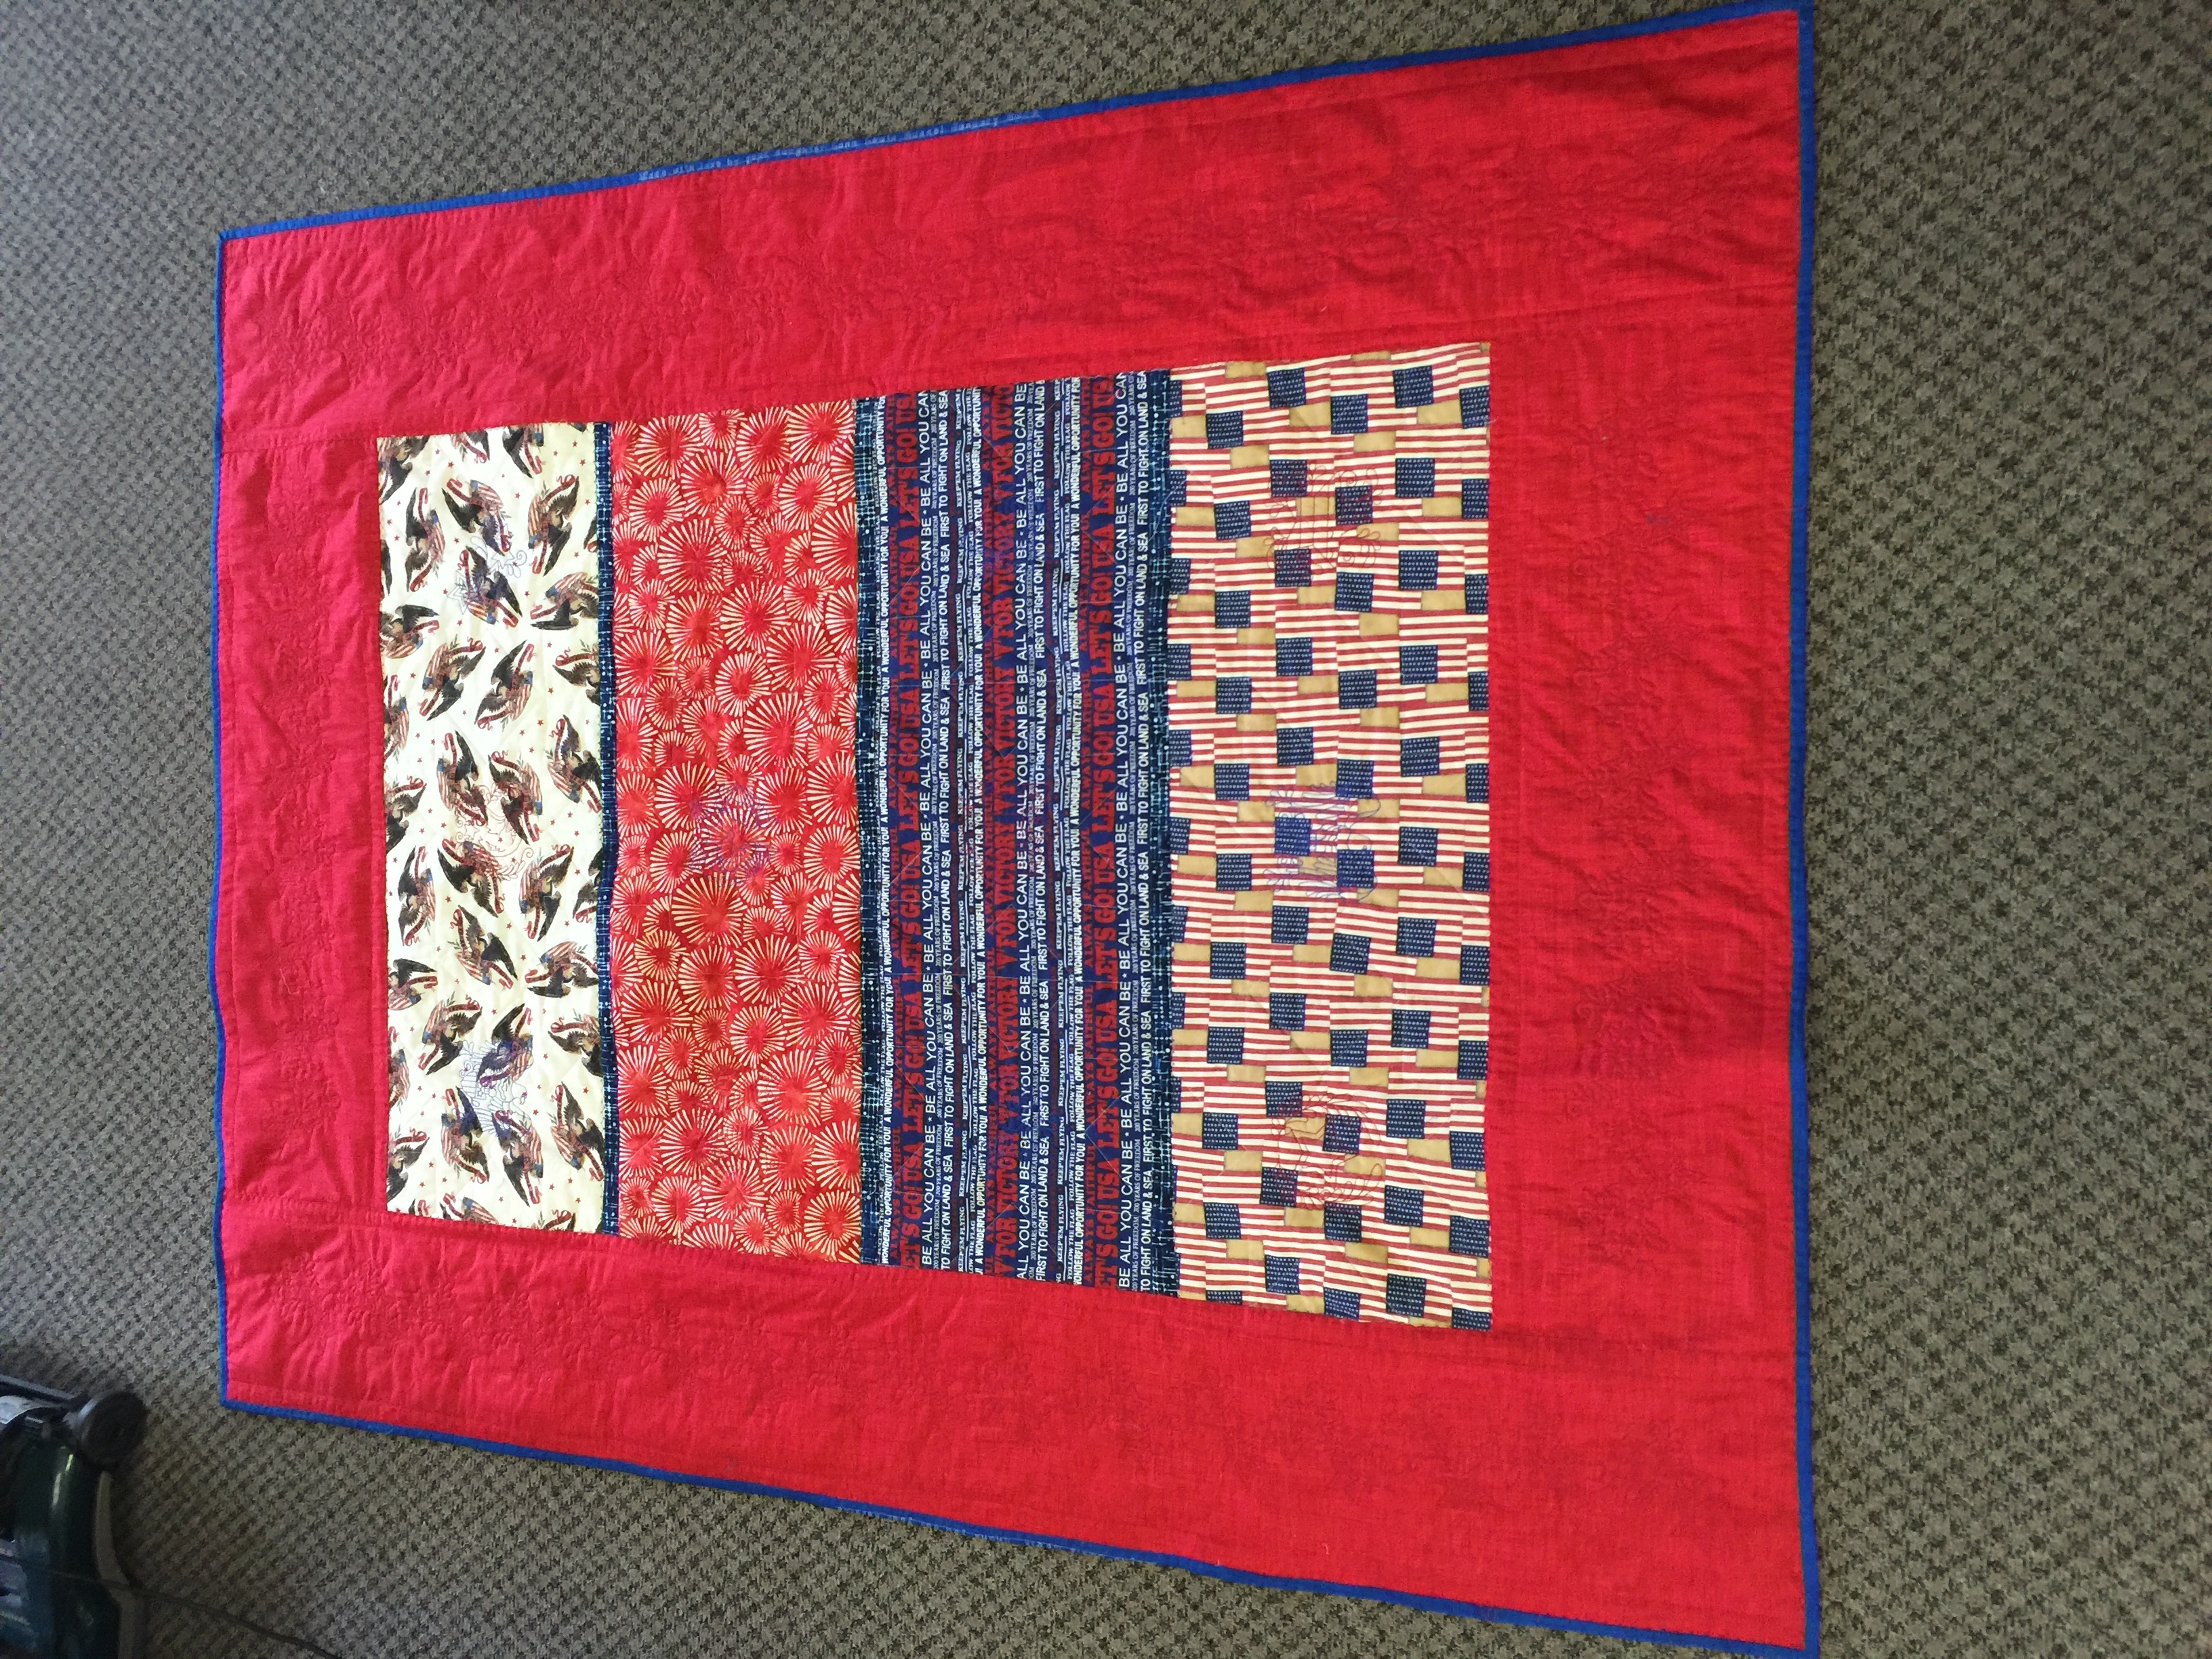
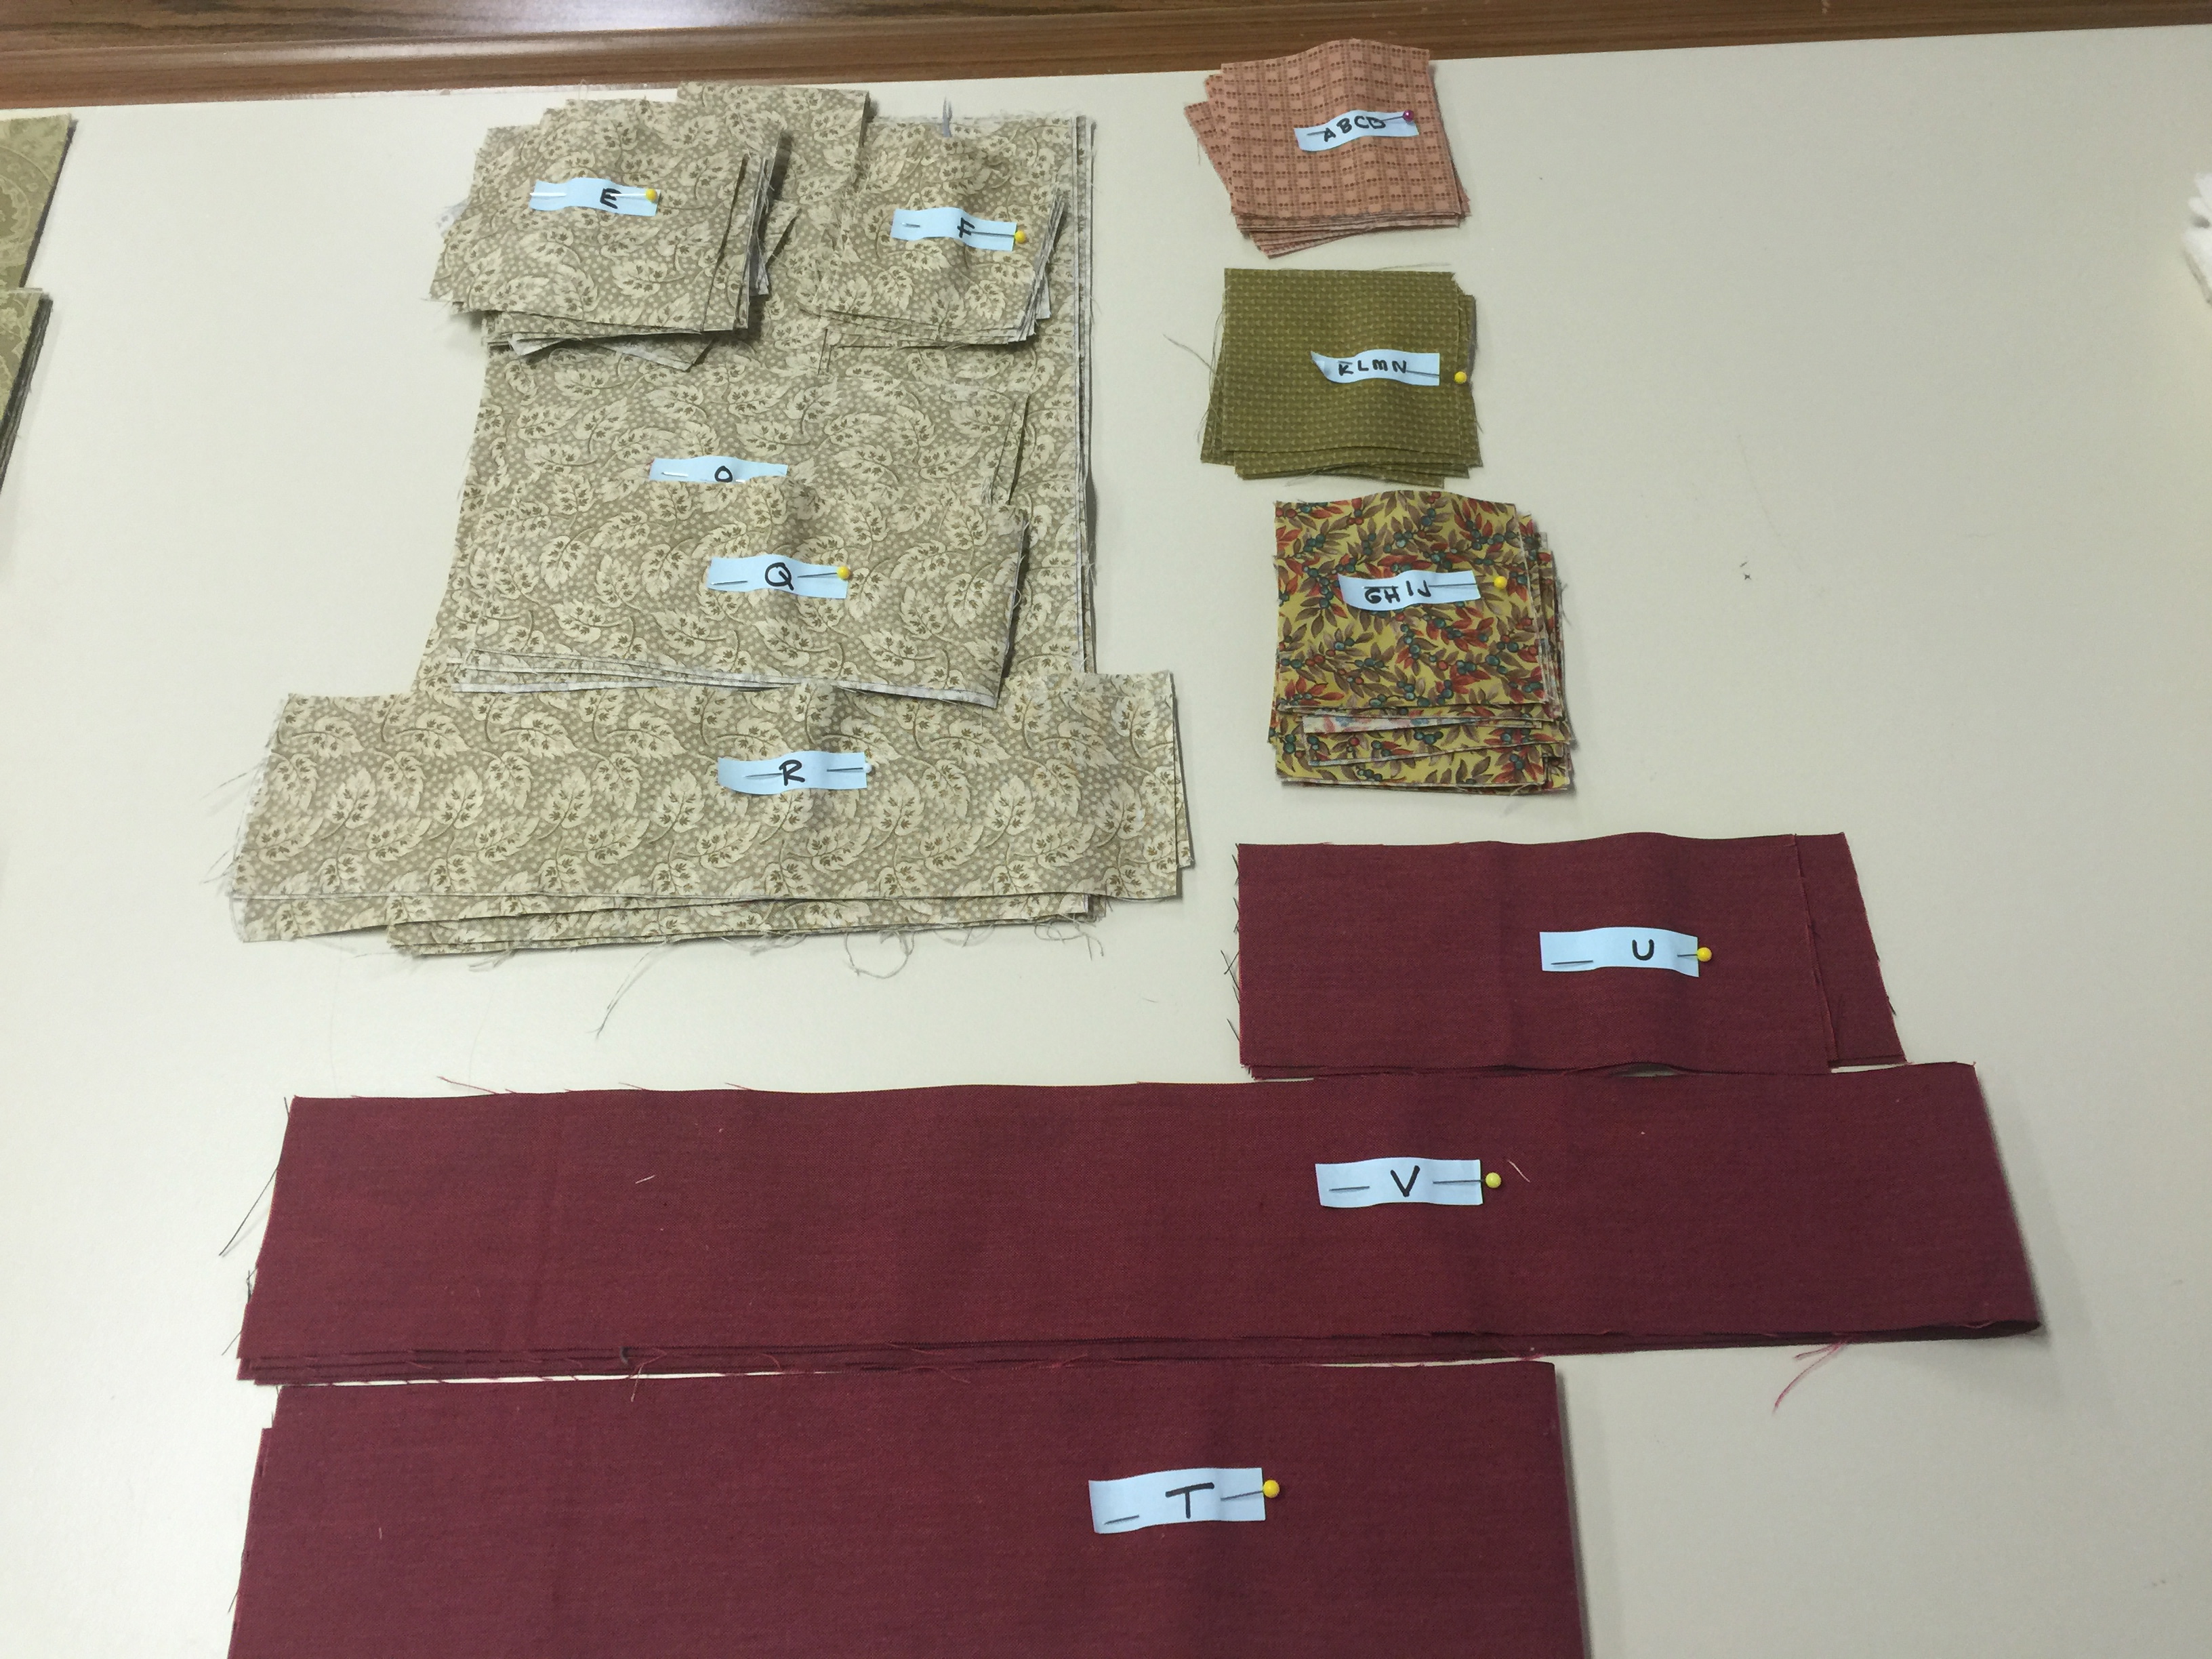
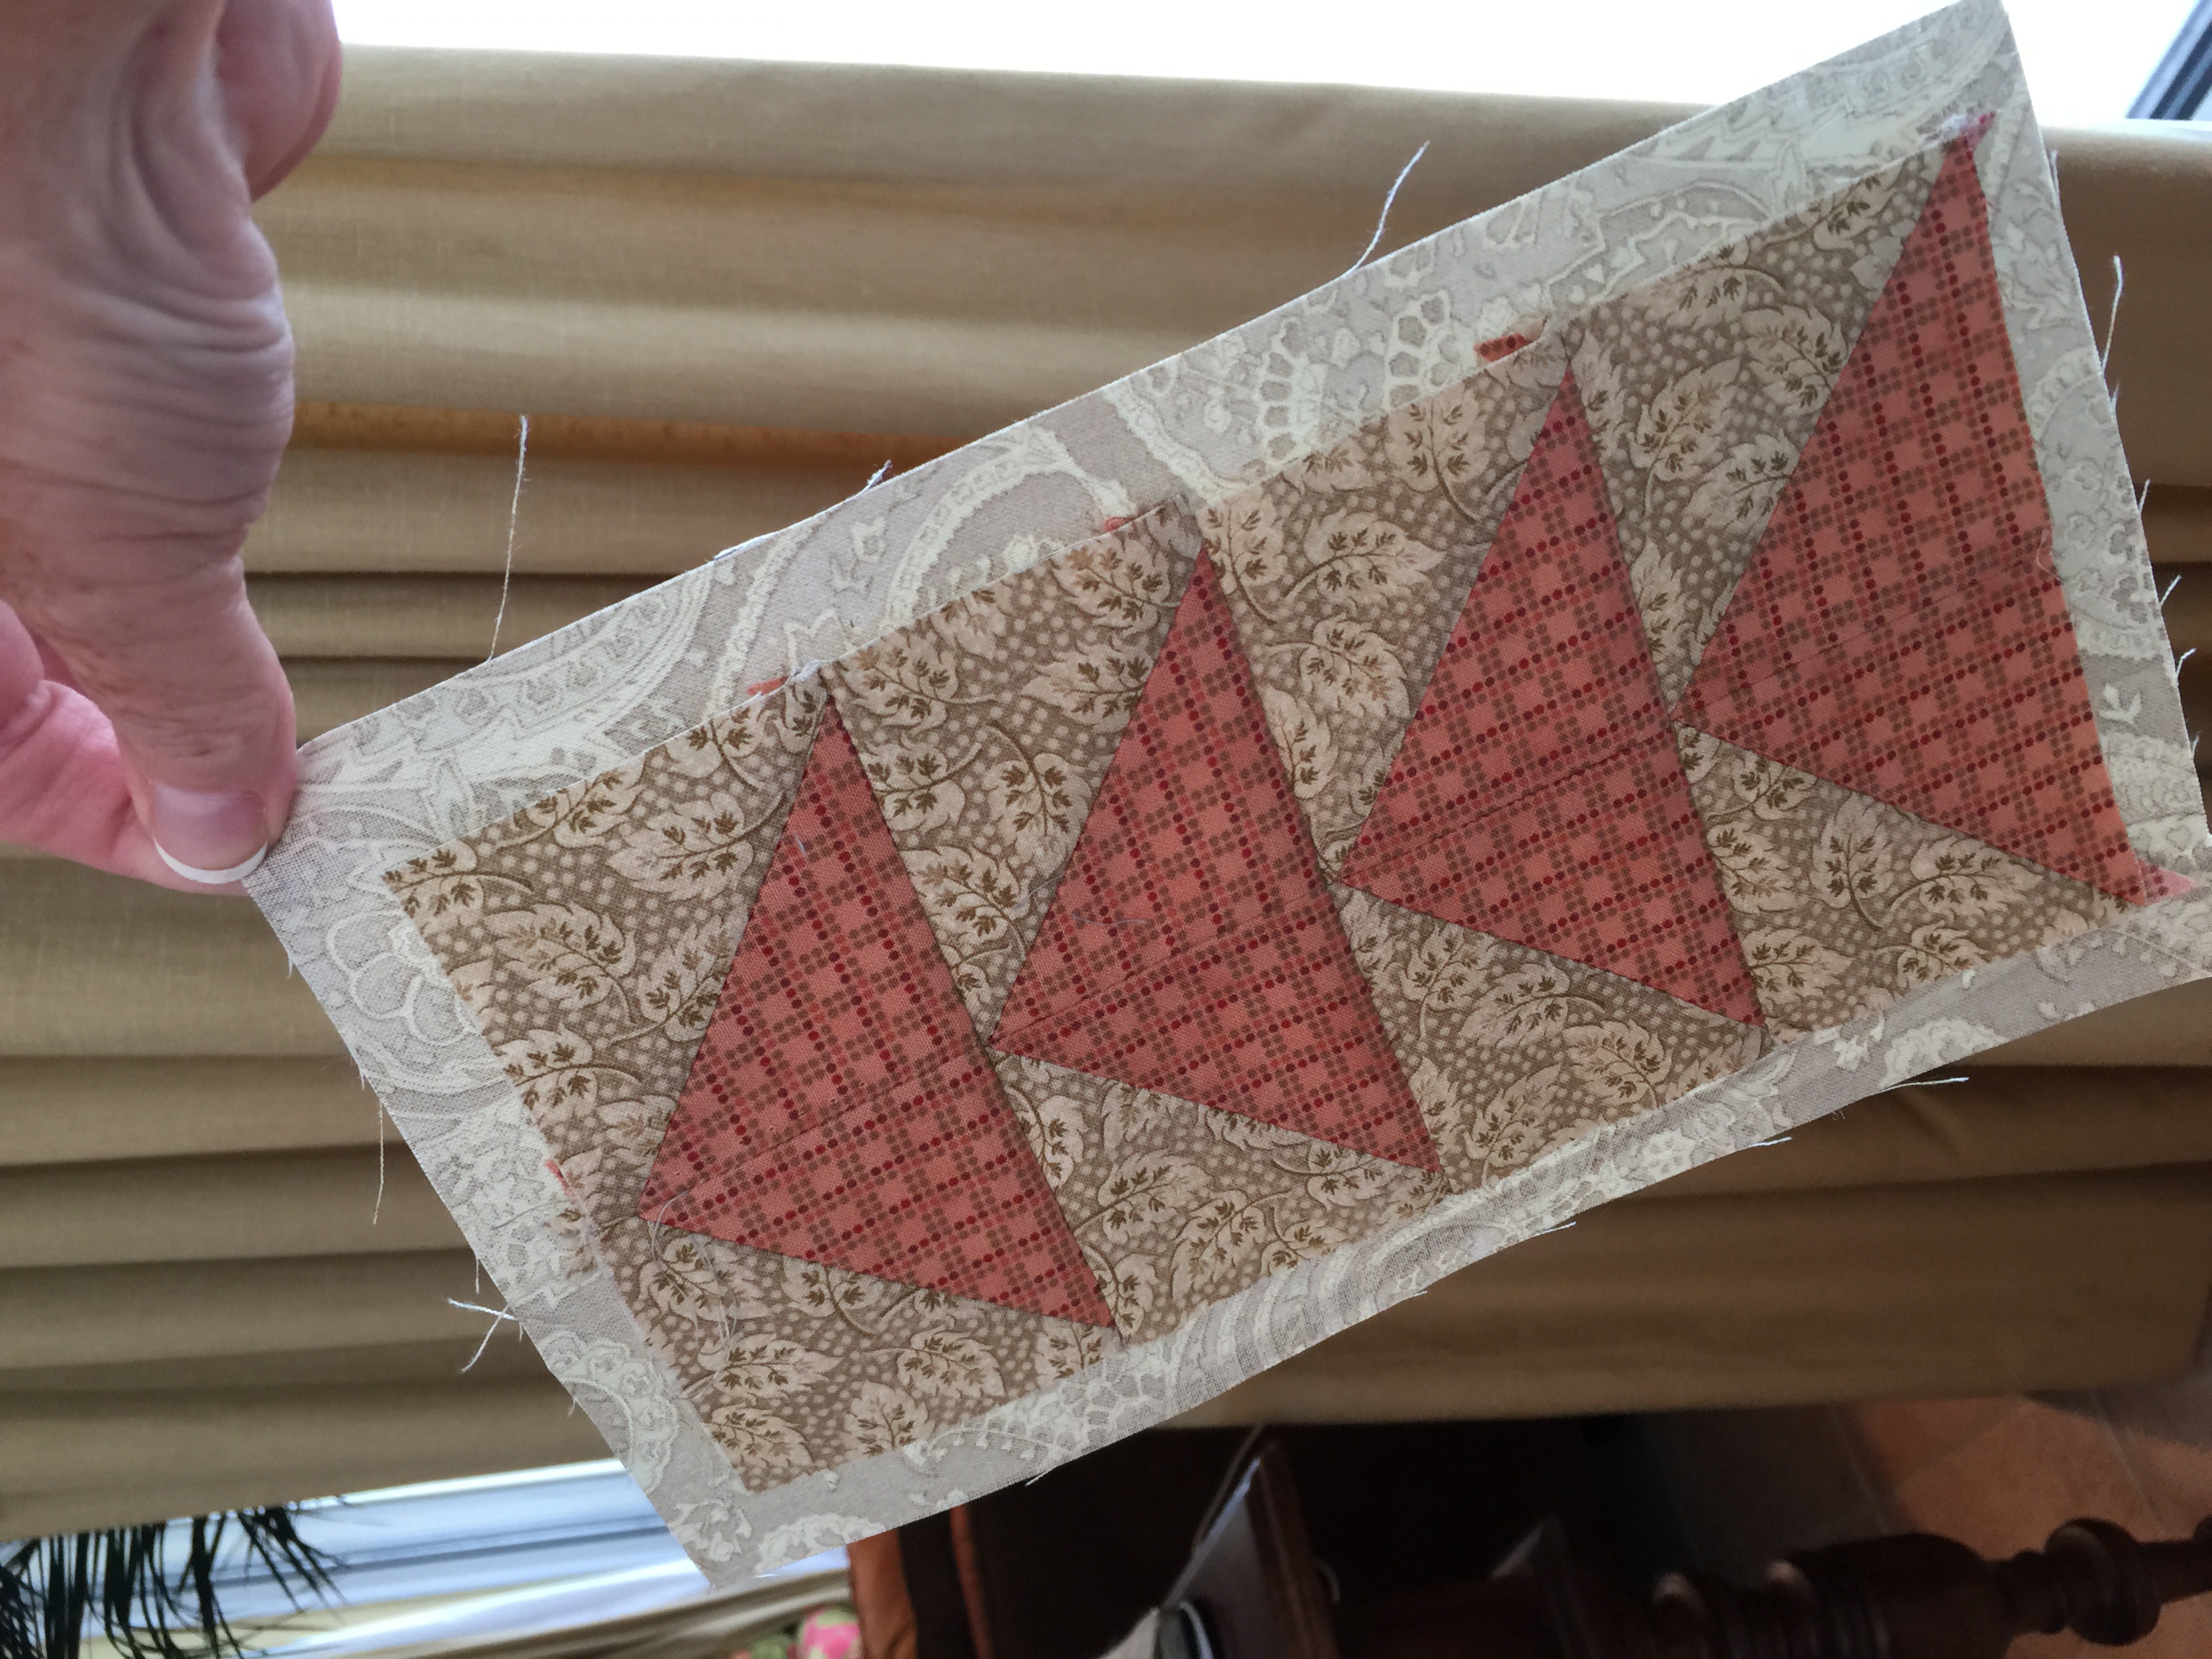
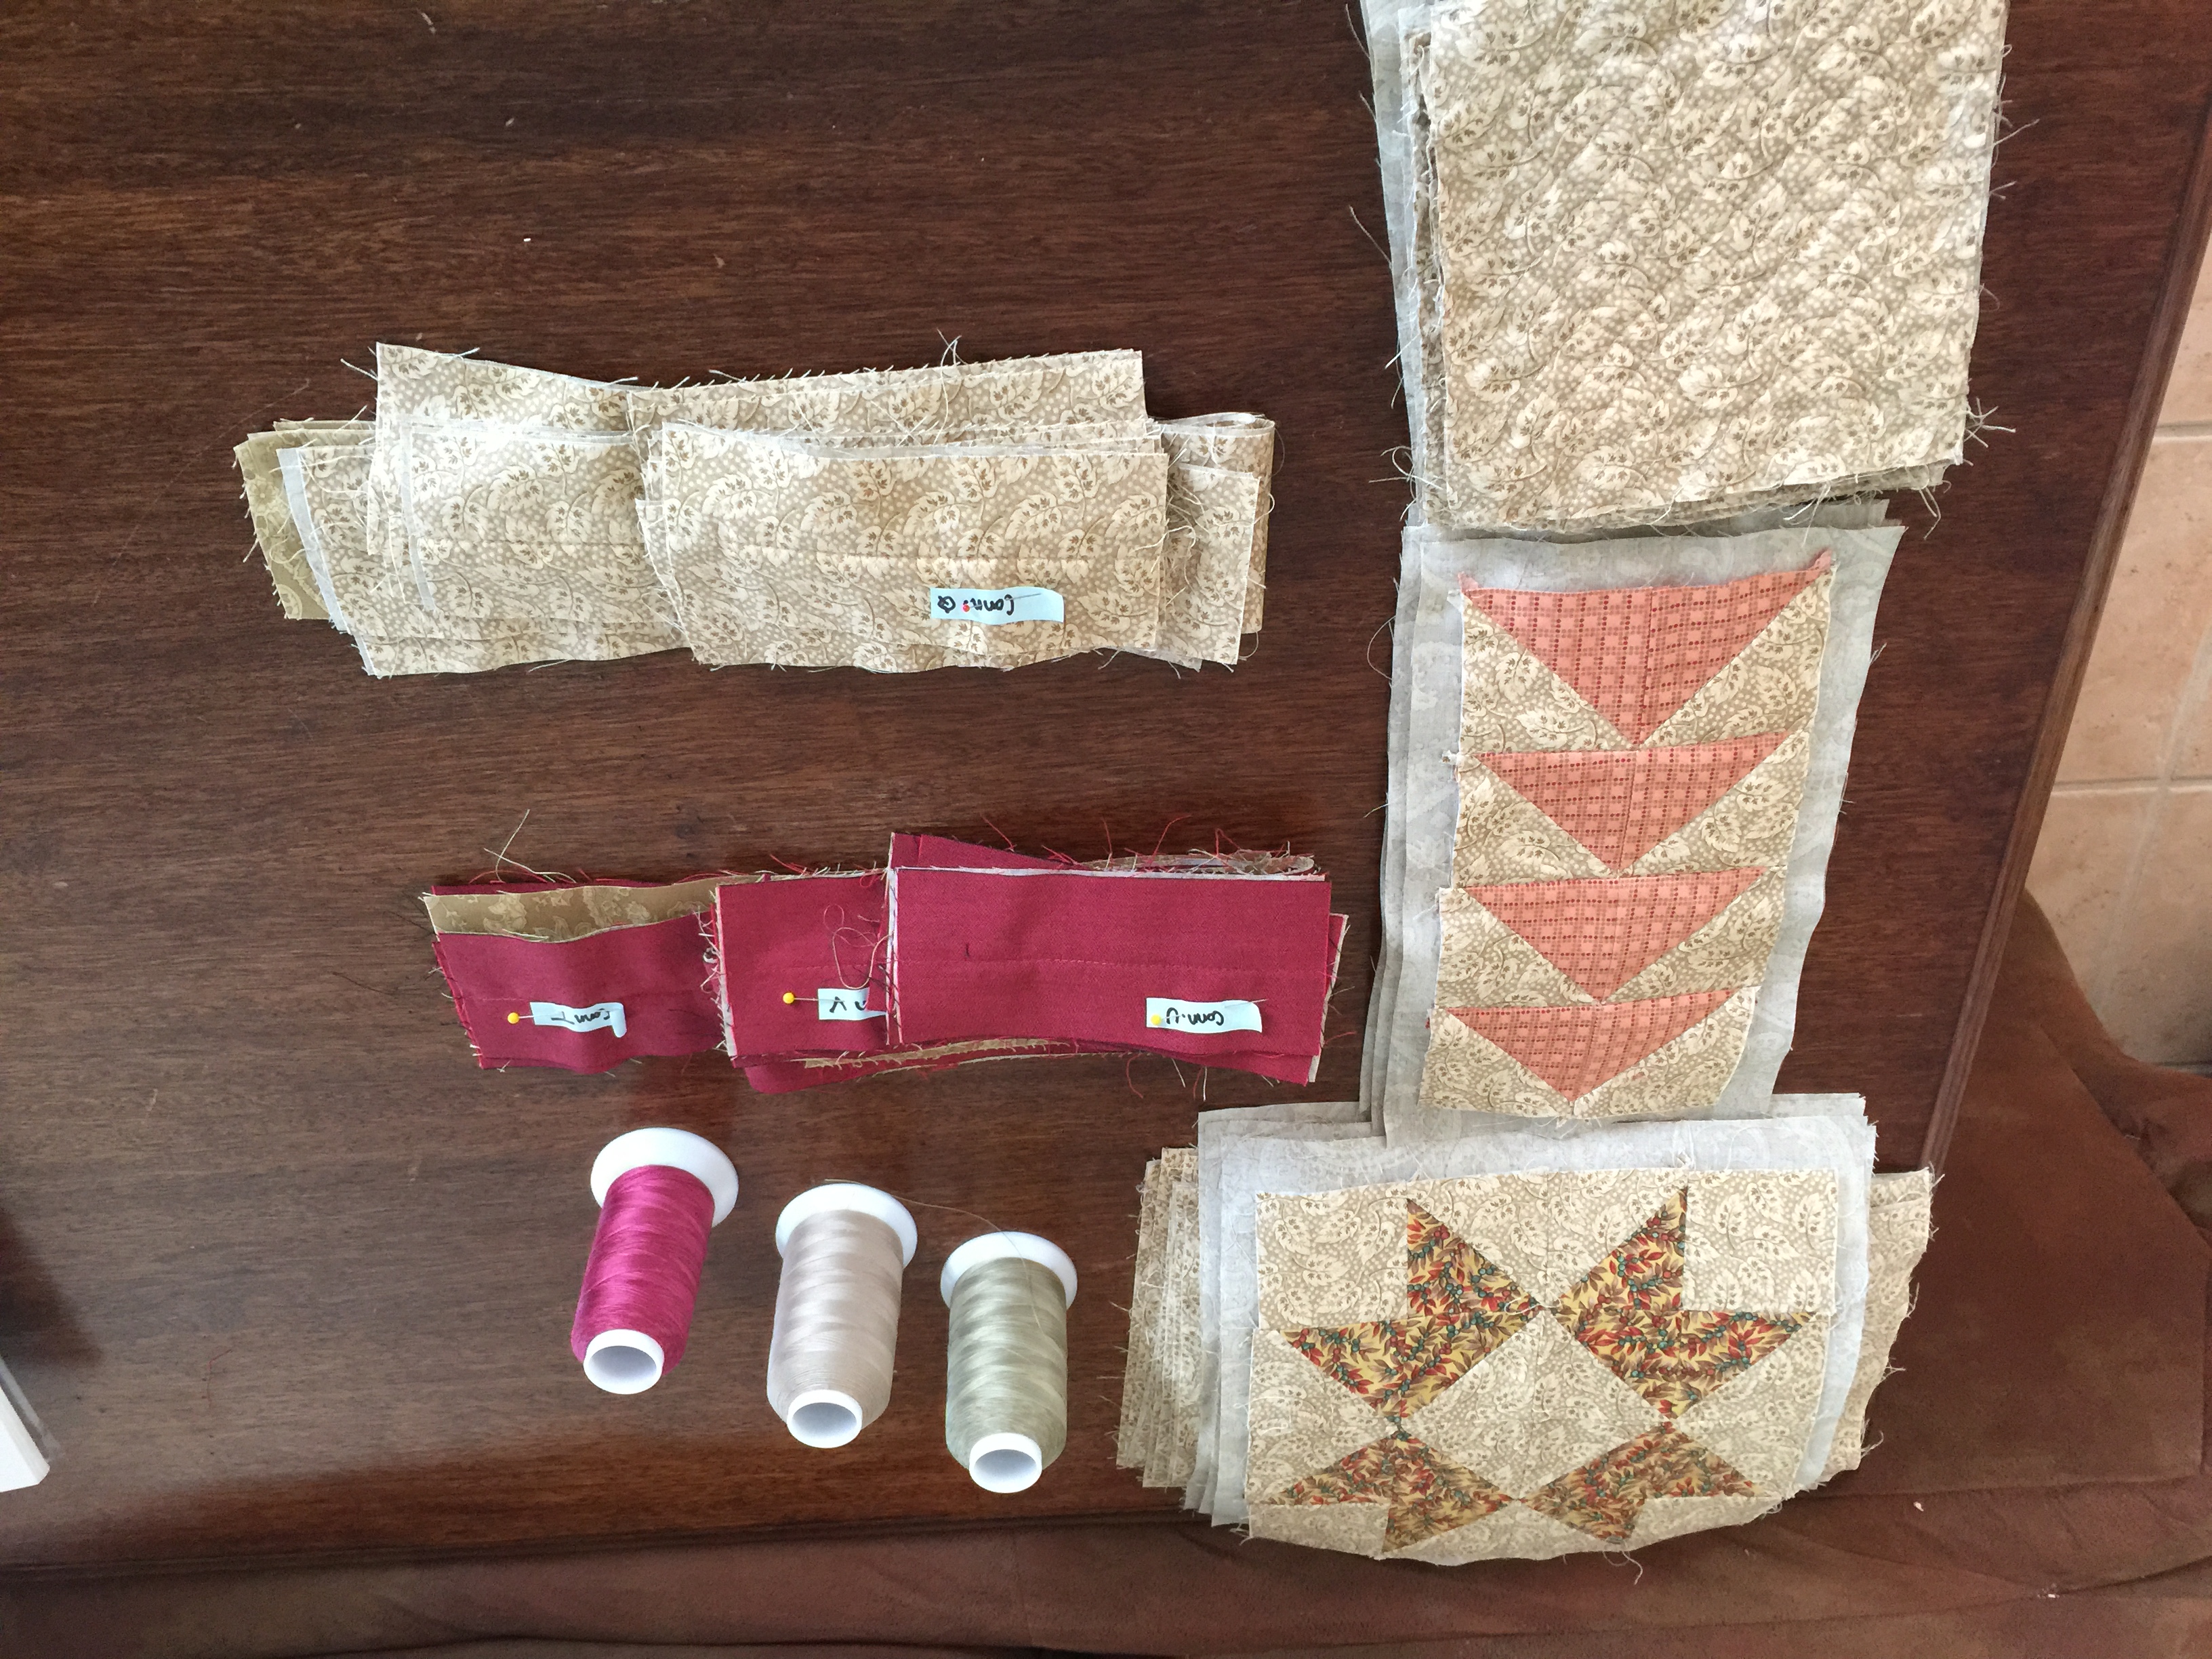
Quilting, sewing, and creating make my heart happy.  Simply said, it is my thing.  Now that I’m retired, I get to spend even more time doing my thing.  I began sewing garments at age 12 and progressed to counted cross stitch, general crafting, and finally discovered quilting 15 years ago.  I just love playing with fabric!!  I have pieced many, many quilt tops and started many more (Hello, UFOs!).  I discovered and fell in love with Cotton Theory, which allowed me a way to finish my own quilts (quilt first, then assemble) using my domestic machine.  But I still have at least a dozen quilt tops sewn before I learned about Cotton Theory.  How am I going to finish those?  I just could not look forward to trying to wrestle them under my sewing machine needle.  I didn’t want to send them to a longarmer to finish; I want to do it myself.  I want to put my final signature on my work.


My new baby

Enter the Handi Quilter Simply Sixteen (cue singing choir of angels!).  I first laid eyes on her at the Houston Quilt Show 2015 when she was introduced.  A smaller 6′ frame and certainly more affordable than the larger models.  I came very close to adopting her right then and there, but decided to give it some more thought.  Then a couple weeks ago, my LQS, Always in Stitches, dangled a sprig of mistletoe over her and I welcomed her with open arms.  Merry Christmas to me!

My new baby

New Class added

Beginning next week is a class featuring the Dancing Stars Cotton Theory quilt.

IMG_1971This is a beginner Cotton Theory quilt and uses both of the two main joining methods – the Highway and the One Way.  It’s 52″ x 52″ so it would make a nice baby quilt, lap, or throw.  If you live locally, and would like to join us, please email me (lanarussel@gmail.com) for current openings and project materials list. Classes are on the first Monday and Wednesday of every month in my home studio. I have room for 6 in each session.  Dates for this project are June 1 and 6, July 6 and 11, August 1 and 3, and September 7 and 12.  Mondays are 1:00 pm – 4 pm, Wednesdays are either 9:00 am – noon or 1:30 pm- 4:30 pm.  Cost is $10 per 3 hour session.  Pattern is $12.

This is an easy one to cut out; I was able to get all pieces cut out, labeled, sandwiched, and pressed in one day.  Lots of same sized pieces makes it super easy.  I’m ready to sew!

 If you come in June with all pieces cut and labeled, we can get right to the quilting because you piece and quilt at the same time!!  If you are unable to get it cut out before then, please bring a mat and rotary cutter, so you won’t have to wait for the cutting table.
Hope you can join us to learn this fun way to quilt!

Quilt of Valor

After hearing a presentation about Quilts of Valor at our local Quit Guild, I signed up to be a presenter.  My first presentation was a triple one – to a father and his two sons.  I was very moved by the experience.  I knew I wanted to start making some of these quilts for donation.  But, the first one needed to be for my 95 year old father.  I found the idea for this quilt on the Accuquilt website.  I revised the Celebration Table Runner by adding three rows and continuing the flying geese as the border.  I also modified it to make it using the Cotton Theory method.

Dad's Quilt of Valor front
Dad’s Quilt of Valor front

IMG_1985
Dad’s Quilt of Valor back

And I was able to present it to him when I visited him in Florida in February.

Dad's Quilt of Valor
Dad’s Quilt of Valor

I’m so happy to be involved with this organization.  www.qovf.org


Time for TWIST

TWIST = This Week In Studio Time

Last week I was able to finish a Quilt of Valor for my father, who is 95 and served in WWII. It is based on an Accuquilt pattern, Celebration Table Runner.  I modified the pattern not only to make it quilt size, but also to construct it using the Cotton Theory method. Finished size is 60″ x 70.”

Dad's Quilt of Valor front
Dad’s Quilt of Valor front

IMG_1985
Dad’s Quilt of Valor back

I will be able to present it to him on Valentine’s Day.  Can’t wait!  He has NO idea!!

I upgraded from an Accuquilt Go to an Accuquilt GO Big recently and am loving it!  I am appreciating the speed and accuracy of the cuts.

Happy Sewing!

Lana


Bossa Nova Tutorial

Interested in seeing a tutorial of just how a Cotton Theory Quilt is assembled, step by step?  Here we go…

Step One -cut and label front pieces according to the directions.  This is Bossa Nova.
Step One -cut and label front pieces according to the directions. This is Bossa Nova.

Cut and label back pieces

Cut and label batting pieces.  Hobbs 80/20 batting is recommended.  Cotton Theory makes great use of batting scraps.
Cut and label batting pieces. Hobbs 80/20 batting is recommended. Cotton Theory makes great use of batting scraps.

Piece the blocks as usual

Steam quilt sandwiches front and back.  The poly in the 80/20 batting adheres to the cotton fiber in the quilt pieces reducing the need for pinning.
Steam quilt sandwiches front and back. The poly in the 80/20 batting adheres to the cotton fiber in the quilt pieces reducing the need for pinning. In this case the back piece is 3/4″ larger all the way around to allow for the 1″ seam allowance.

Quilt pieces as desired

IMG_1531
All pieces quilted – crosshatching, outlined, straight line quilting using wobble stitch


IMG_1585
Sew pieces together using 1″ seam allowances

IMG_1586
For One Way finish, cut one side’s seam allowance to 1/4″

IMG_1587
Seam allowance trimmed to 1/4″

IMG_1590
Double fold 1″ seam allowance over the 1/4″ seam allowance and decorative stitch


Since the quilt is reversible, the label goes on the binding.

The binding is sewn on to the back side first and then decorative stitched on the front. side.


IMG_1715
Completed Bossa Nova front. When you are finished, it’s already quilted!!

IMG_1716
Bossa Nova back


Hope this helps you understand the process a little better. Please don’t hesitate to comment and ask if you have any questions.

Take Care til next time,

Lana

TWIST again

TWIST – This Week In Studio Time

Hello!  Super busy week, but managed a finish: my Bossa Nova cotton theory quilt.  I wanted to complete this so I could have a complete step by step tutorial ready for my Cotton Theory quilting presentation for the south side Indianapolis quilt guild Thursday.  I’ll post the same tutorial here in its entirety very soon, but next week is Houston!  YAY!  First time for me!  I look forward to reporting on that experience, too!  But, first things, first – my finished Bossa Nova…

Bossa Nova
Bossa Nova

IMG_1716

I loved meeting the ladies from the south side guild!!  What a fun group!  Super friendly!  My husband even commented that they were as friendly as Airstreamers!  We meet the nicest people camping and now that he is helping me set up for my presentations, he will see first hand how friendly quilters are.  We enjoyed meeting and talking with them so much that we both forgot to take pictures!  Next time…

Take Care,

Lana

Quilter in Residence!

This summer the Indiana State Museum had a quilt exhibit entitled 19 Stars.  Here’s their description of the exhibit:

“Indiana is the 19th state to join the Union; the state flag depicts nineteen stars. In anticipation of the state’s Bicentennial, this exhibit presents 19 historic star-patterned quilts selected from the Indiana State Museum’s collection along with 19 contemporary star-themed quilts created by some of Indiana’s outstanding quilters.

Stars were favored patterns in the 19th and 20th centuries and appear in many variations. The historic quilts in this exhibit span a hundred and fifty years of Indiana quilt-making, from the 1830s to the 1980s. In contrast, most of the contemporary works were created specifically for this exhibit, and incorporate the star theme in any number of ways, from overt to illusory. The artists’ techniques vary widely, from traditional piecework and appliqué to improvisational collage, layering, or richly textural thread painting.”

The Quilt Guild of Indianapolis, of which I am a member, thought it would be nice to have some members sit outside the exhibit quilting and available to answer any questions visitors might have about quilting or our guild.  My friend, Bev, and I enjoyed this so much the first time we did this that we signed up for double duty.  Here I am working on a Cotton Theory Charity Quilt.

I really enjoyed the experience!

Take Care,

Lana


Time for TWIST

{Sorry to keep you waiting, but I’ve had some major technical difficulties which required a full backup, restore, and reload.  Hopefully, I’m back up and running again.  This post is from the week of August 14.  I’ll get you caught up asap.  Thanks, Lana.}

TWIST ~ This Week In Studio Time

I completed Step 2 of my current Cotton Theory project, the piecing.

IMG_1513
Piecing for Bossa Nova completed

TWIST ~ This Week In Studio Time

This week was a short one for me in my studio, but I did manage to meet my goal of getting my next Cotton Theory project cut out and labeled.

Can’t wait to get quilting it next week!!

Wedding Quilt

When a friend asked me to make a quilt for her family to give as a wedding gift, my mind immediately went to a layer cake in my stash.  I had been anxious to sew it up into something beautiful.  Neutral, contemporary prints I could see most twenty somethings appreciating.  I filtered through quilt patterns until I landed on Jenny Doan’s Illusion Quilt, larger pieces for the focus fabrics and easily adapted to Cotton Theory.

Jenny Doan's Illusion Quilt using Contempo Studios Paintbrush Shadows
Jenny Doan’s Illusion Quilt using Contempo Studios Paintbrush Shadows

Label
Label

Back side
Back side


I’m happy with how it turned out and so is the family giving it as a gift.  Couldn’t ask for more.  Well… hope the bride and groom love it…

WP2Social Auto Publish Powered By : XYZScripts.com